5 Minute DIY Vintage Jewelry Magnets
I personally would love a gift of vintage jewelry magnets. Handmade gifts are the best. They mean you put time and thought, and a bit of effort into the gift. It also means your gift is special. It takes just a few minutes to make the magnets and they are very inexpensive…and classy.
You can make magnets from earrings, keys, dominoes, checkers, seashells, small toys, coins, and scrabble tiles (think monogram or personalization)…..I could go on and on.

I think these vintage earring magnets are my favorite of all the DIY magnets I’ve put together. I really like them, and they are perfect for the metal magnet board I made a while ago.

I have several jars full of junk jewelry. There are bits and pieces and odds and ends and even some pieces in perfect condition. I dug through my stash of reclaimed bling to find a few pretty pieces…..soon to become magnets.

I found several earrings and clipped the thingy off the back using wire cutters. I hesitated to ruin the earrings, but they weren’t doing any good, just sitting in a jar. They needed a showcase.

E-6000 is my favorite glue when working with jewelry. I used it to adhere the earrings to the strong magnets. The magnets are the thick kind. Don’t buy those little thin pad magnets. They aren’t strong enough. I speak from experience. Don’t waste your money.
Products in this post:
E6000
Howard’s Wax in Neutral
Ceramic Disk Magnets
This DIY only takes a few minutes. Once the glue is dry you’re ready to put the unique vintage magnets in a gift bag or box……or keep them for yourself.
Next, I’ll show you how I made my decorative magnet board I found a chippy white panel from a reclaimed door and this rusty tin in my pile of stuff.
")
I got the panel at My Favorite Junk Shop and the tin at the Nashville Flea Market. I cut the tin to size using tin snips.

I attached the tin to the board using tiny screws. I applied one saw tooth hanger to the middle top back of the board and put wall protectors on each corner. My favorite Howard’s Wax in neutral protects the rusty metal and chippy paint, giving it a little sheen. That’s all it was to it.

The pretty magnets made from vintage earrings are perfect on this magnet board. The paper on the board is a wedding announcement from 1953. It was in a bunch of cards I ordered from eBay. I love Ephemera.
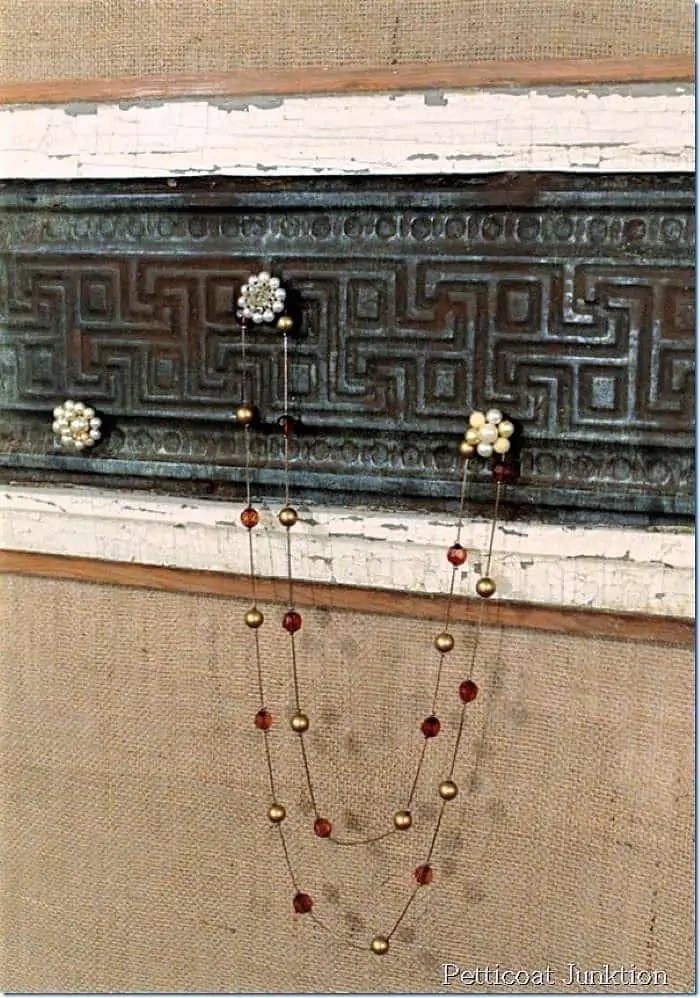
The magnet board is a great way to store necklaces. I just loop the necklaces over the earring magnets.
Now let’s look at some more easy magnet projects. I made these vintage key and furniture hardware magnets earlier this year. I like them too…..it’s hard to pick a favorite.
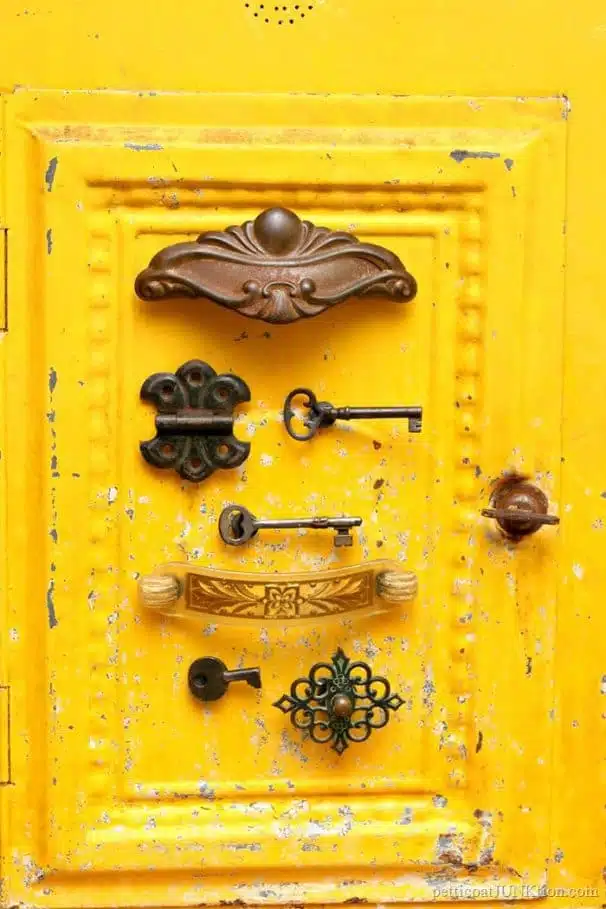
Again, all you have to do is pick a piece for your magnet and glue it to the magnet. Easy peasy.
More magnets using various pieces of jewelry…..
Jewelry Magnets
These aren’t vintage magnets but they’re cute. Just goes to show you can use anything to make a magnet.
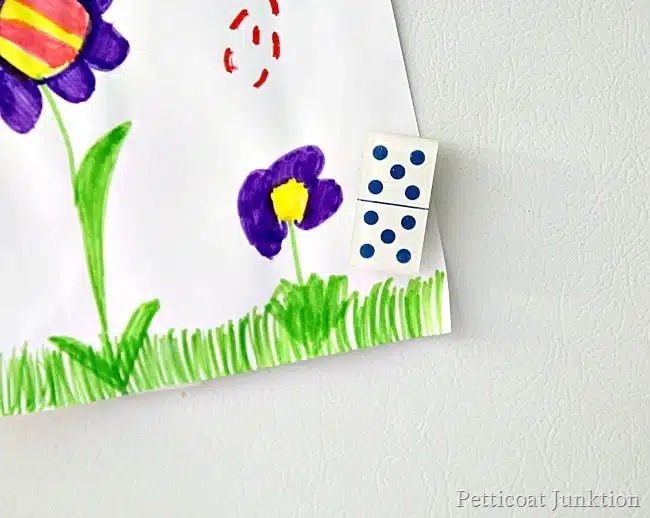
Domino Magnets

What do you think of the vintage magnets? Do you make gifts for your family and friends or do you buy something already made? Leave a note. I read all of them. As always, thanks for being here friends, Kathy

Author: Kathy Owen
Kathy Owen is the founder of the home decor blog Petticoat Junktion where she shares tutorials on painting furniture and upcycling thrifty finds into unique home décor. Her DIY projects have been featured on the Home Depot Blog, Plaid Crafts, Behr Designer Series, and in numerous magazines. Kathy’s newest website is HappyHomeDIY.com
I love this idea! I have a bunch of my mom’s earrings sitting in her old jewelry box- it would be so much better to see them every day! I’m thinking this could work on big push pins for a bulletin board as well…
What a great idea! turned out awesome! Thanks so much for sharing at Merry monday!
I love this idea! Makes me think of my Grandma’s clip on earrings and I wish I had some of hers to recreate this. Visiting from Share It One More Time party.
I love the look! Thank you for sharing how you made it.
That’s a great way to repurpose old earrings, Kathy! I have a bag of them somewhere around here…I need to find them. The metal message board in my office could use some pretty bling!
Love this project! Looks awesome!
I painted them with really dark paint. Thanks for asking this question. I actually had to go look at the board and the screws. I forgot about painting the screw heads. Thank you Karen!!
I LIKE this….ideas…thanks
Love your project!
I think this is one of your nicest projects, no wonder you wanted to post it again!
so love this and tyou for sharing! 🙂
Love love love it.
What did you do so that the screws don’t show in the finished product?
Saw an Angel in your jewelry drawer…