Simple Christmas Decor Made With Black Electrical Tape
As an Amazon Associate, I earn from qualifying purchases.
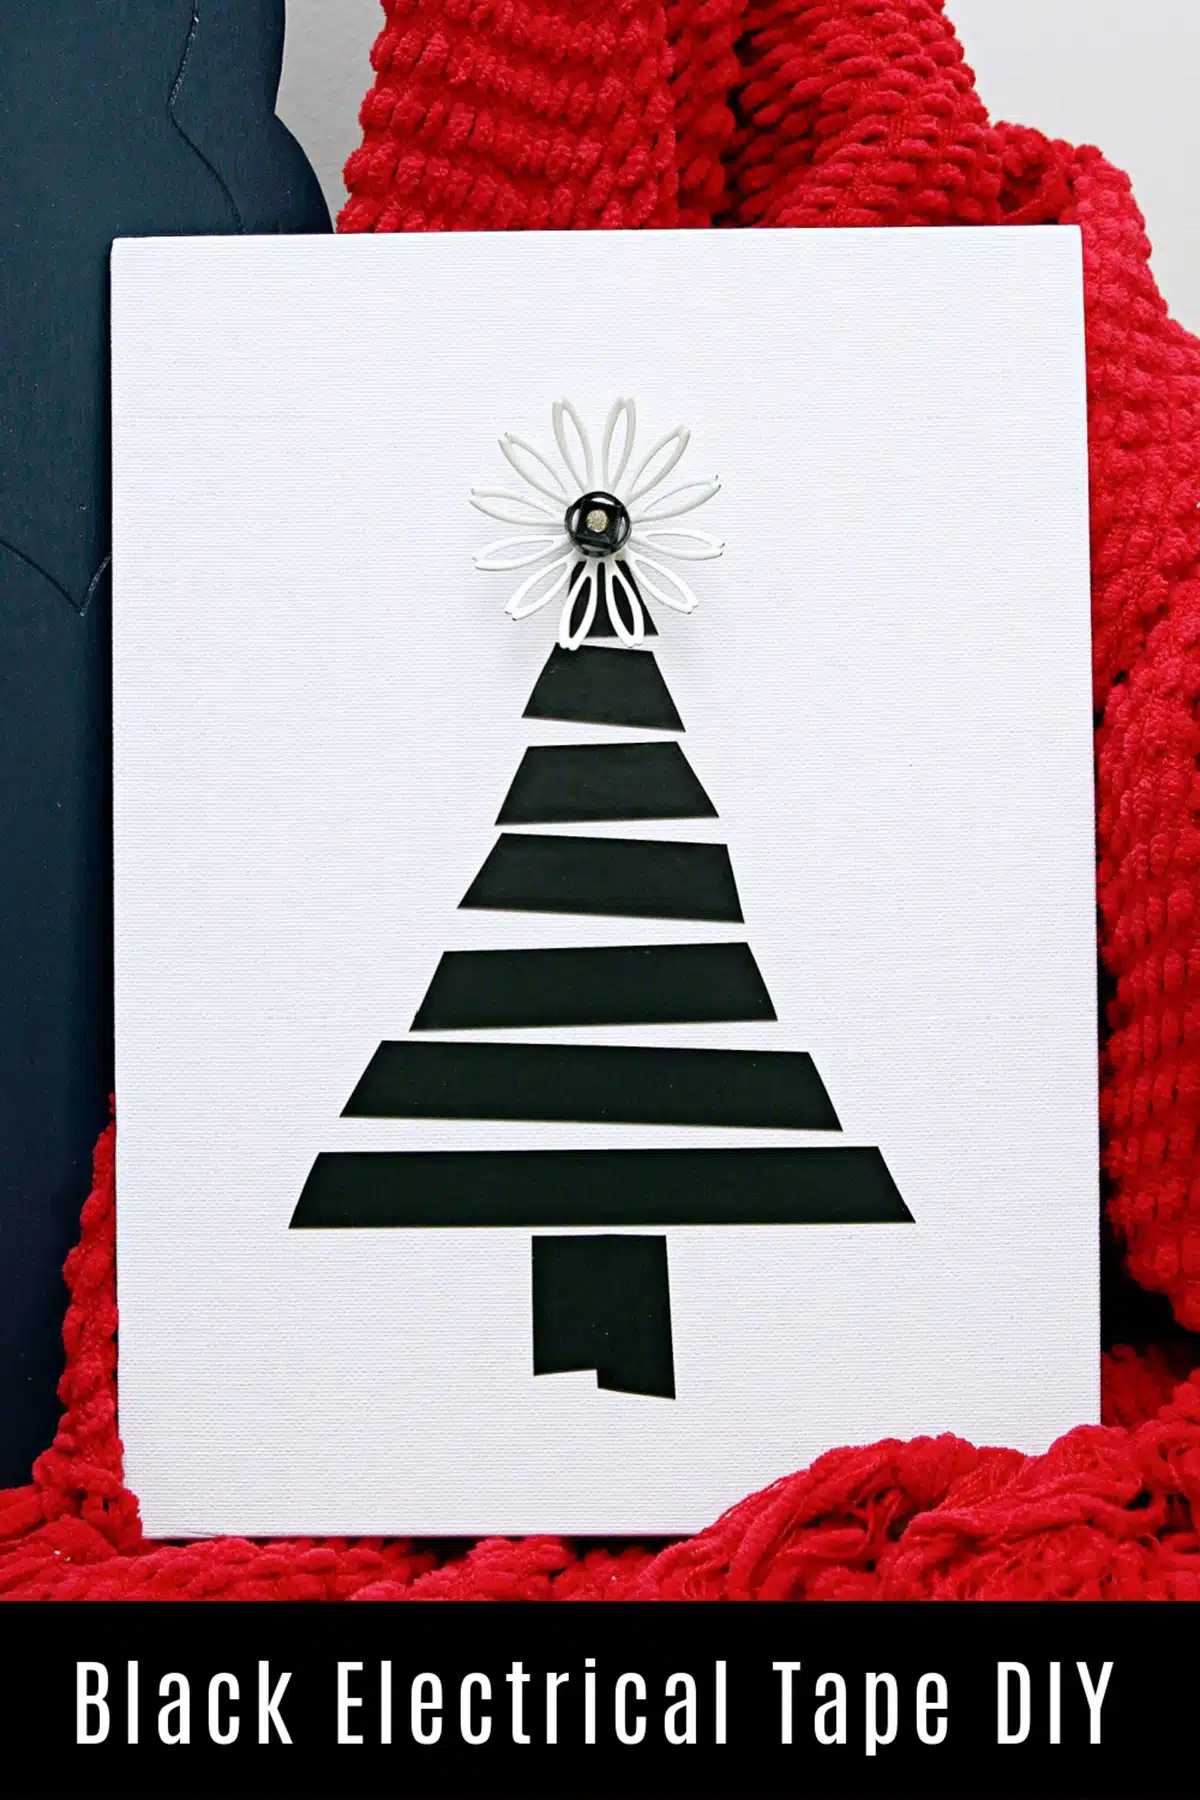
How to make a black and white Christmas tree wall hanging using black electrical tape.
This DIY piece is going to amaze you. Why? Because it is so simple to create yet looks like a designer item, very modern. The whole project took less than 10 minutes to make.
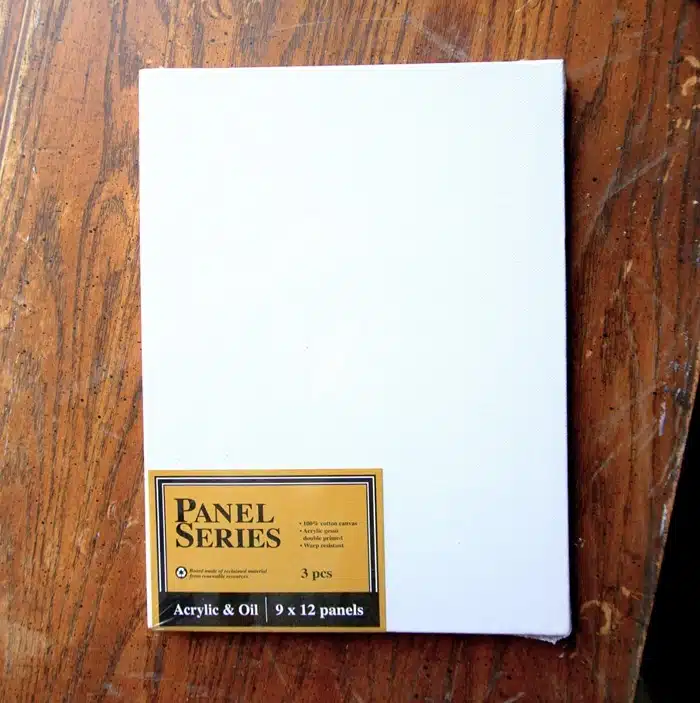
I purchased this package of cotton canvas panels a while ago when they were on sale at the local hobby/craft store. You never know what might come in handy in the future.
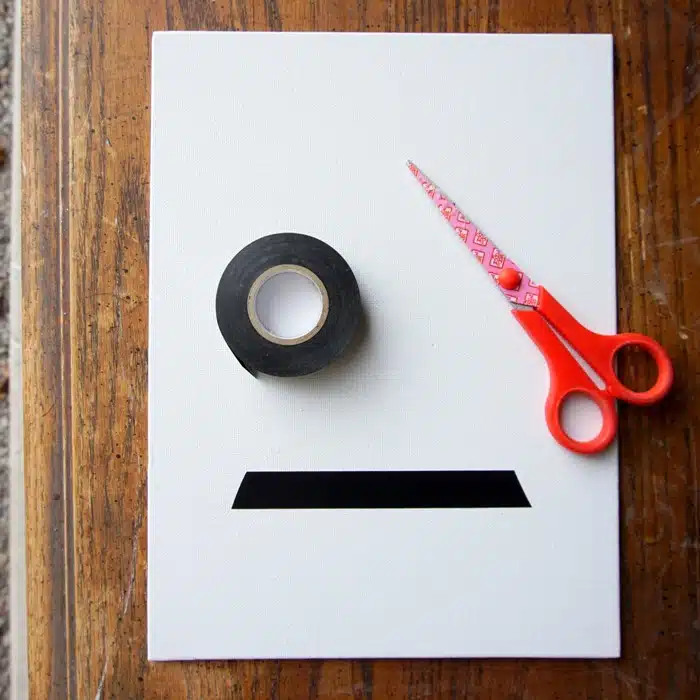
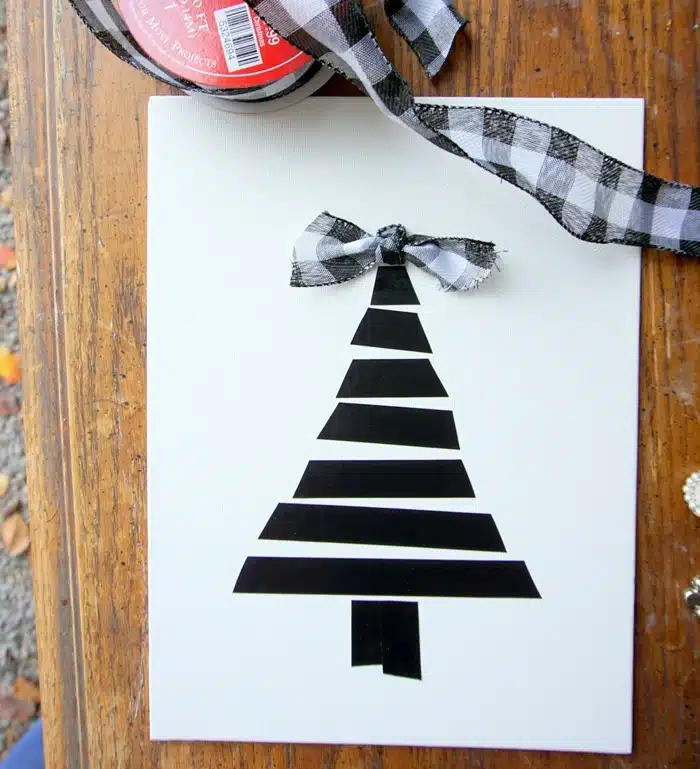
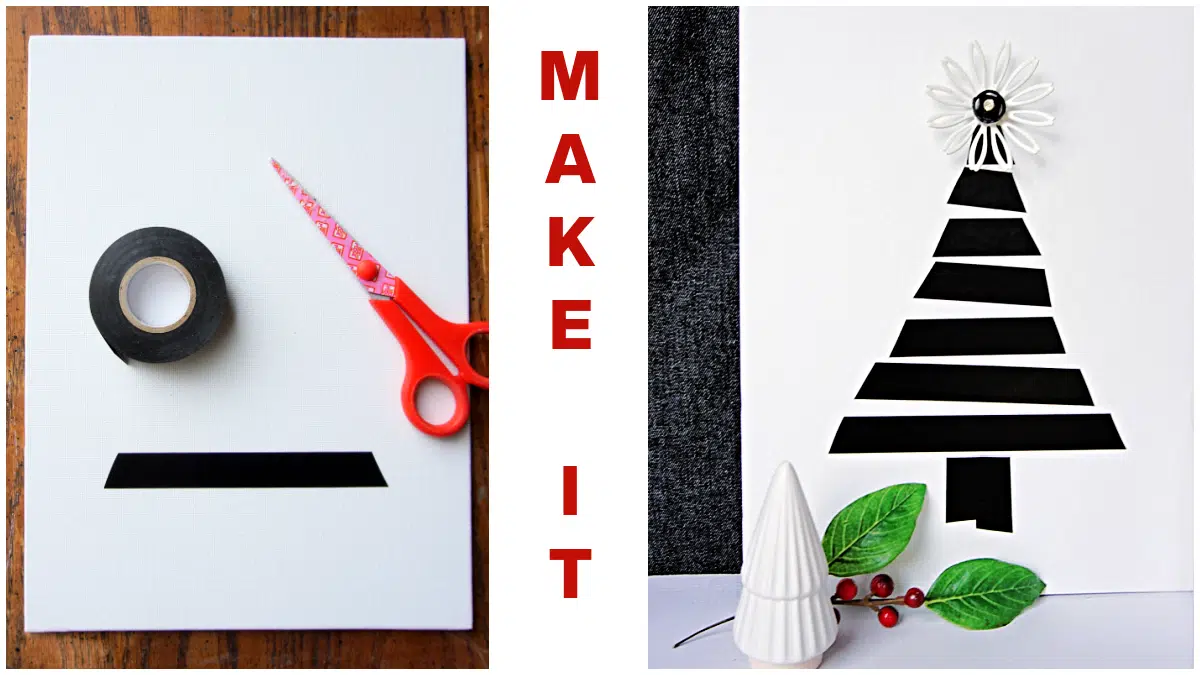
I started the project with one panel, a roll of black electrical tape and a pair of scissors. It’s almost impossible to rip or tear electrical tape. It just stretches and stretches and causes me to say a few bad words. At least you can tear duct tape.
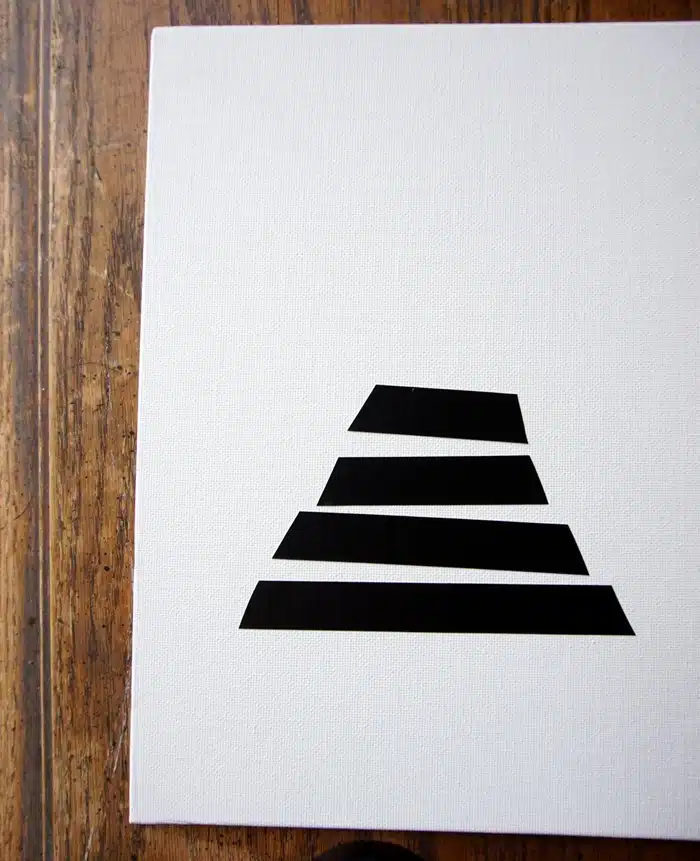
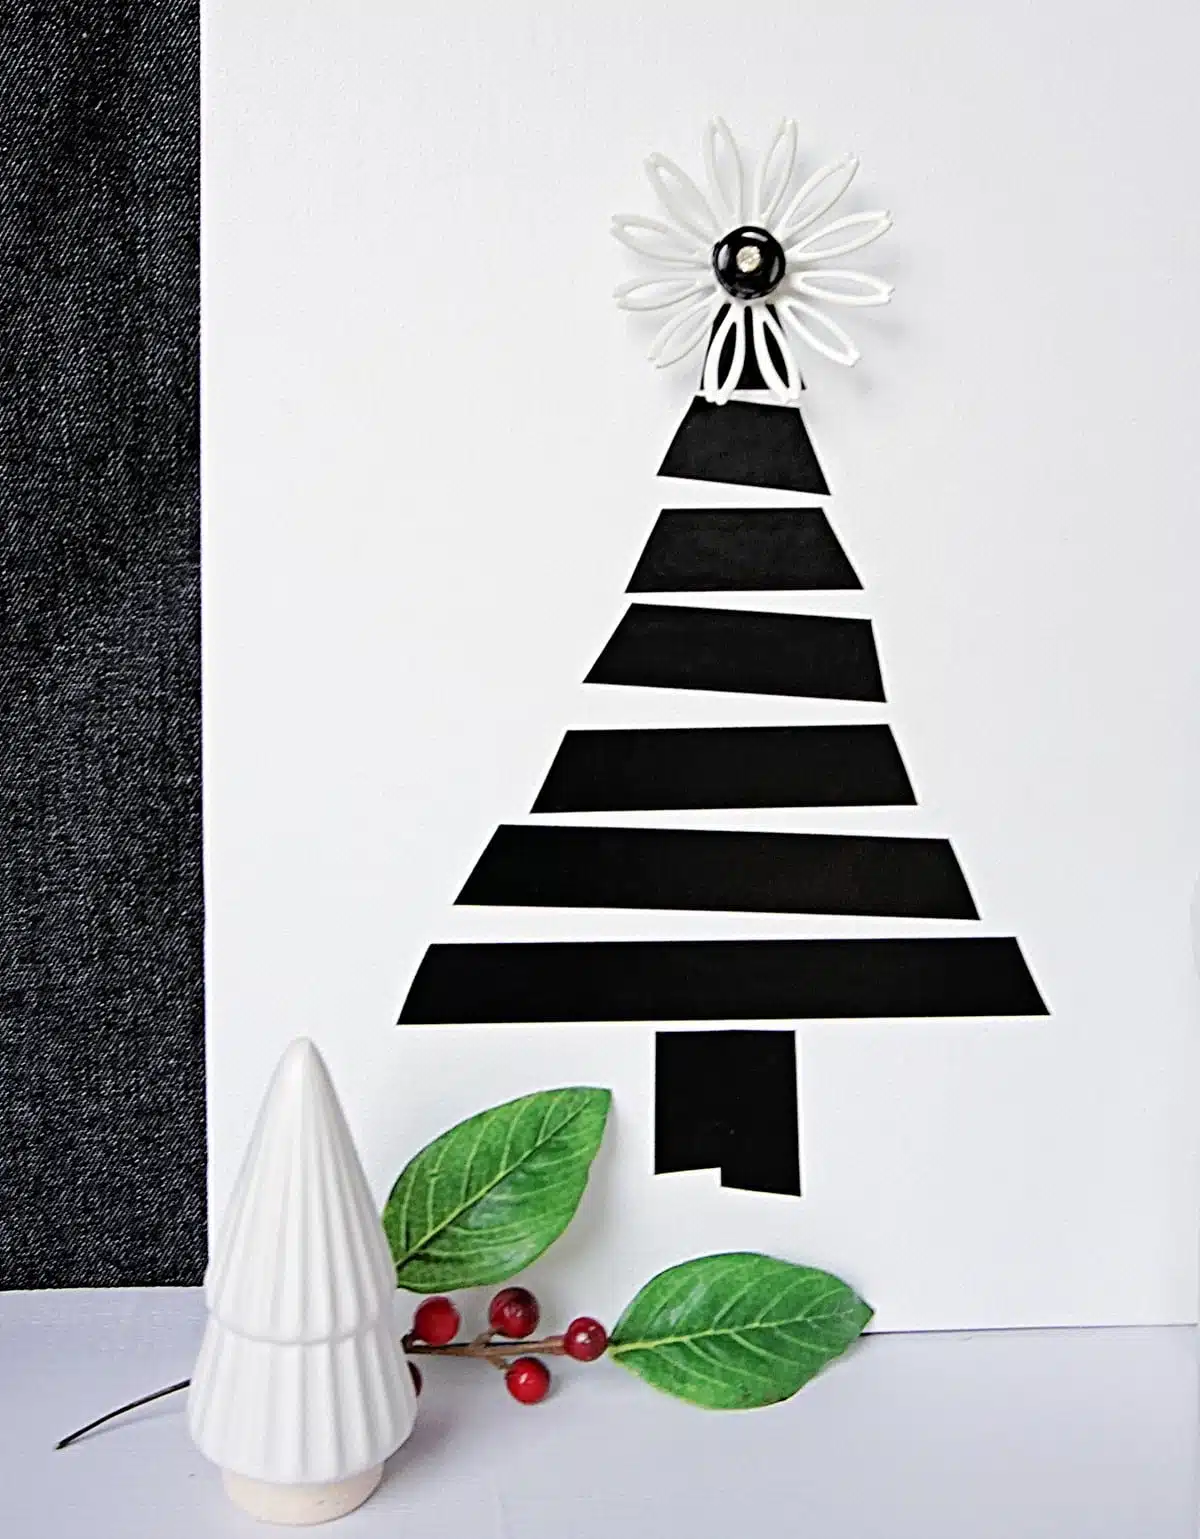
To make the Christmas tree I started with a large piece of tape for the bottom “branches” of the tree then I cut the tape pieces shorter as I went up the tree. You can see I planned for each row of tape to be a little unlevel or not straight compared to the piece below it.
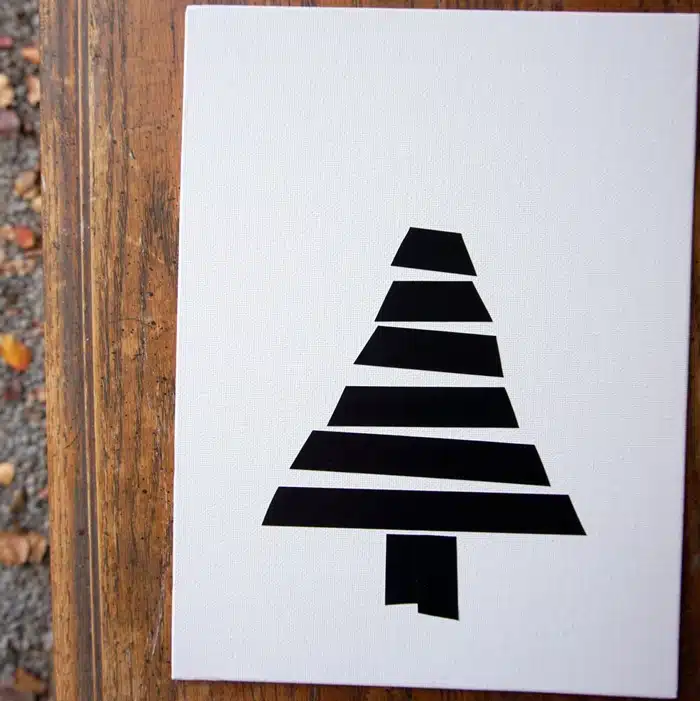
I did not measure the pieces of tape. It’s better just to let things be a little uneven and whomper-jawed because then the tree has character. To keep things simple, I used black tape to make the tree trunk too.
Once the tree looked like I wanted, I started searching for a topper. I thought the black and white bow was cute but not perfect.
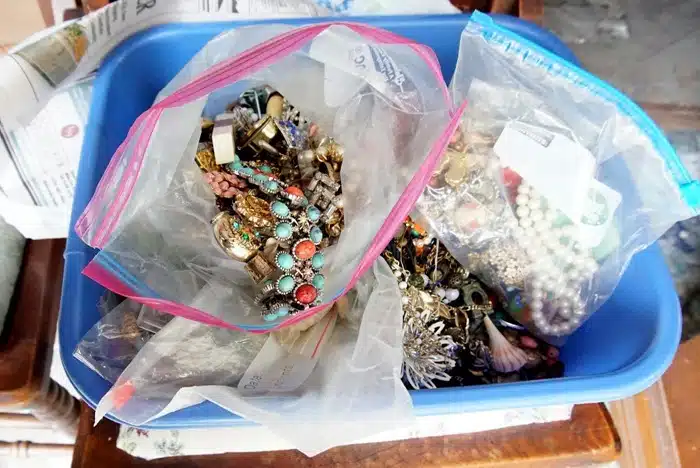
So I started searching through bags of jewelry. My stash of jewelry includes new, vintage, broken, and perfect pieces.
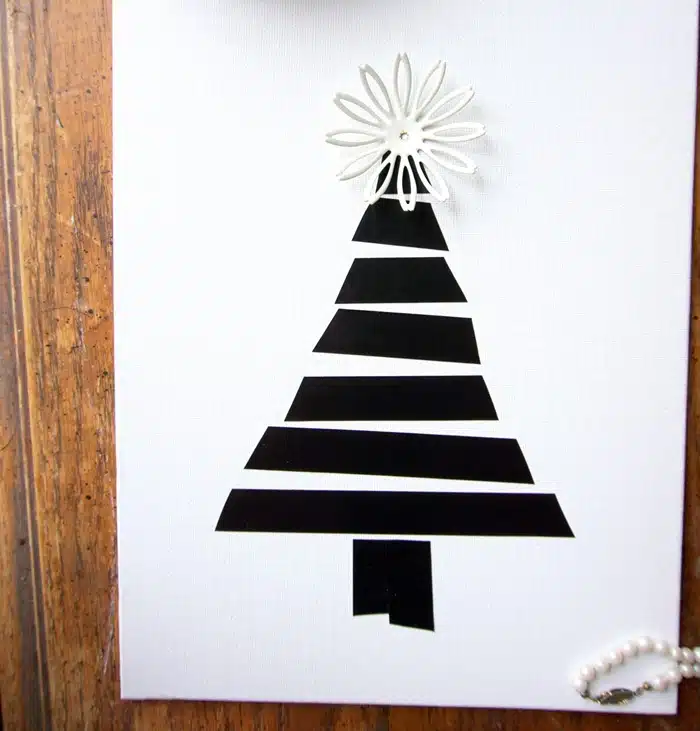
And this is why I have all that jewelry…..I found the perfect topper for the tree. I think the floral-looking piece was once a brooch. The center part was missing, so I started searching through the jewelry again.
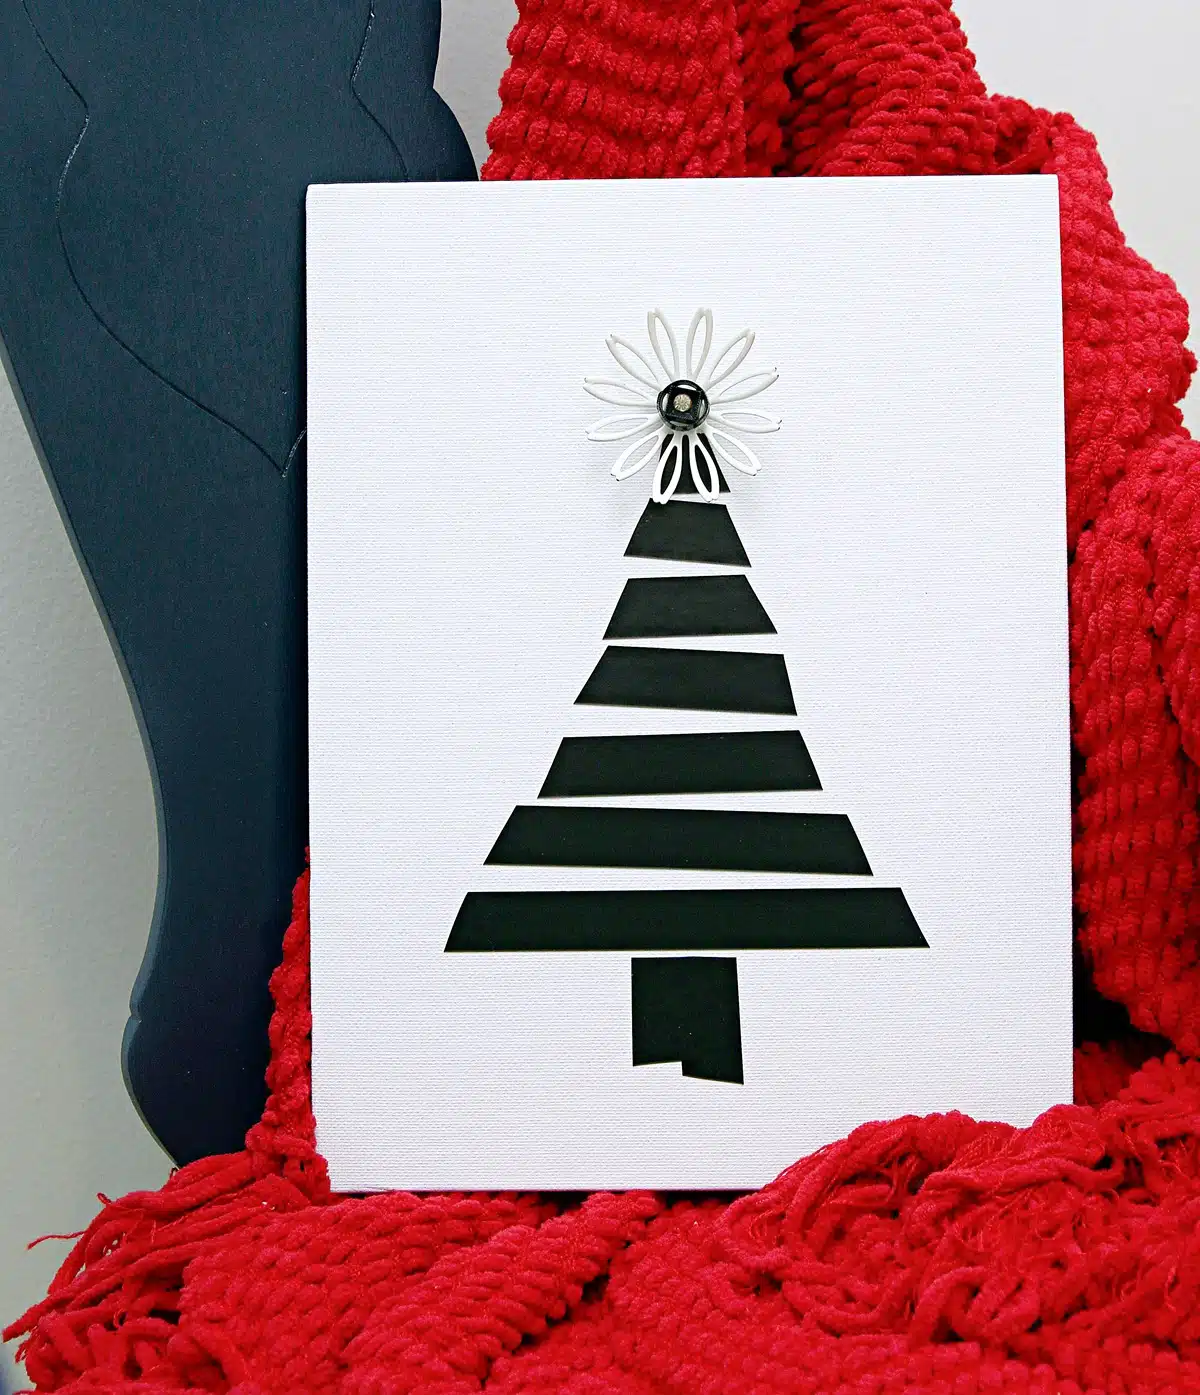
I found a black button with a small rhinestone in the middle to add to the center of the flower piece. I used hot glue to adhere the two topper pieces to the canvas panel. Now, isn’t that tree a beauty?
The large tree topper really makes the design work. Projects like this are so easy and the results are amazing. I’ve created a lot of projects using electrical tape and duct or Duck Tape.
The great thing about using tape on a DIY craft or project is that it does not permanently change the base item. You can always remove the tape and use the item as is or make another project.
Well, I told you this was an easy project. It was a short tutorial too. Leave a note if you have time and thanks for being here, Kathy




Happy New Year Kathy! Just popping back over to let you know I’ll be featuring your post at our January Sweet Tea & friend’s Link Up. Which will be live later on this evening.
{{Hugs}}
Thank you!
This is genius! What a creative idea. Love this!
Thanks so much for sharing with Sweet Tea & Friends this month dear friend. I’m so happy you’re here.
Merry Christmas to you and your family.
Inspired, Kathy! Could you also use Washi Tape in a Christmasy design or wouldn’t it stick as well?
Now you gave ME and idea. I think I’ll make another tree and paint over it and lift up the tape. Thanks!!
Thanks for the great idea!
You surprised me! I thought you were going to paint over the tape!!! I like your idea, although it’s not my cup o’ tea. I’ve thought about doing that but using paint over it. Love the “star” on top, though. Keep those ideas coming!