Chicken Wall Decor Idea: Instant Wall Art With Framed Placemats
As an Amazon Associate, I earn from qualifying purchases.
How to make rooster and chicken wall decor using fabric placemats and frames.
I don’t remember where I bought this set of placemats and I’ve only had them for about 6 months. My memory! I found the post where I shared a picture of the chicken and rooster placemats along with my junk finds but I didn’t write any details about the purchase.
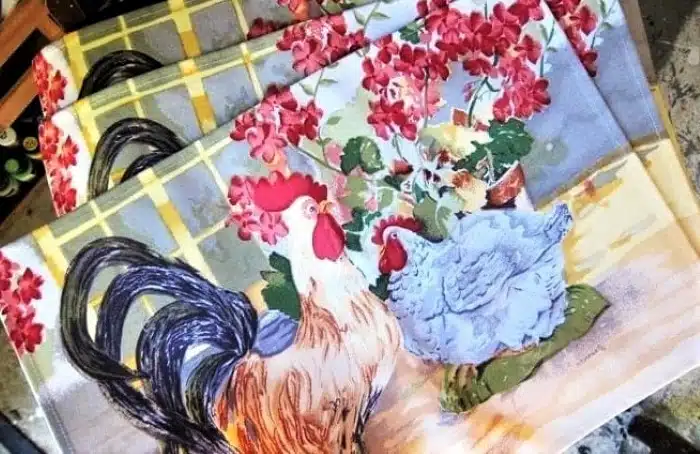
Anyway, the design was so pretty and colorful I bought the placemats with the idea of framing them, and I did. I framed all four. I have three of the four framed placemats to share with you. And today is Thrift Store Decor Day so it’s going to be fun.
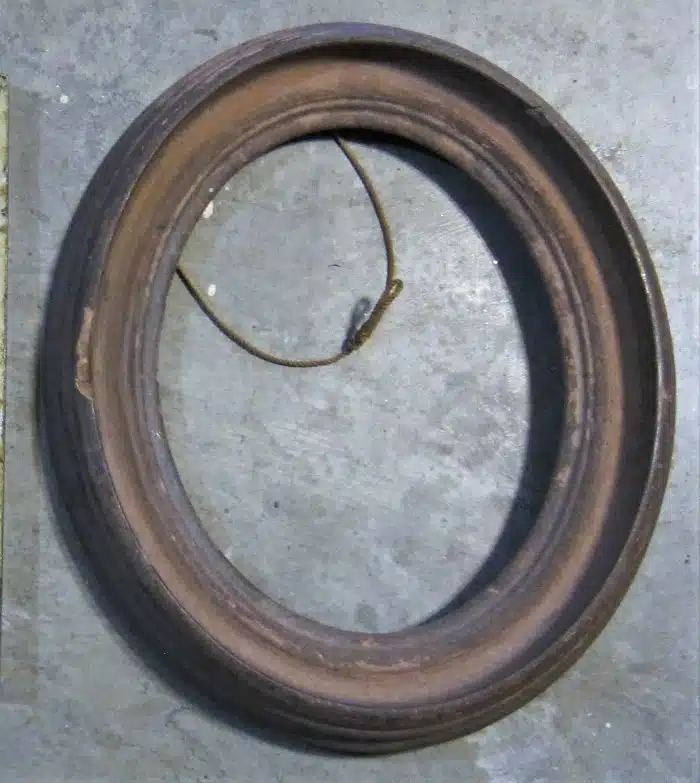
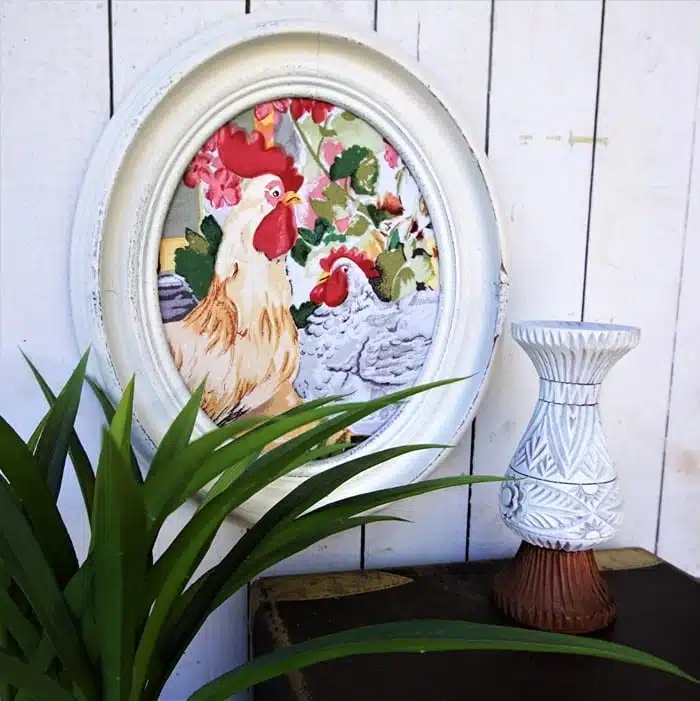
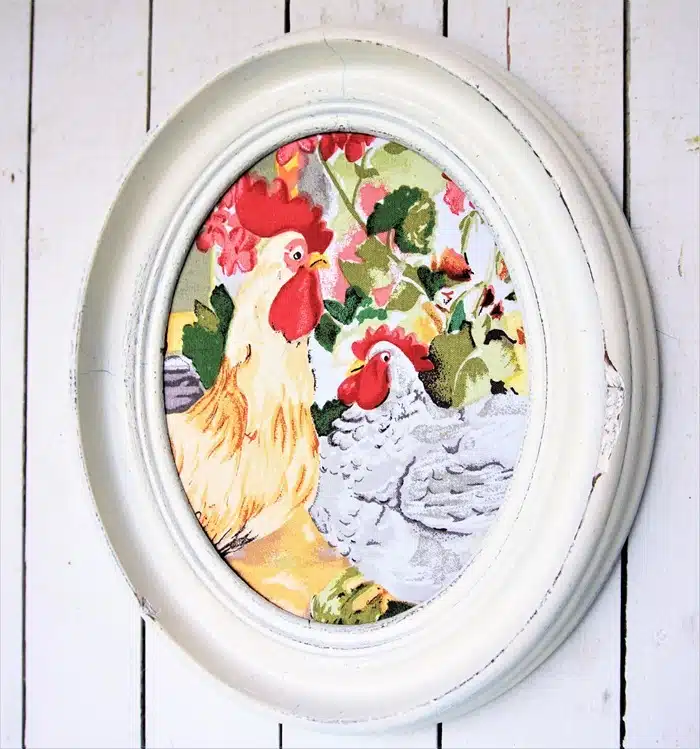
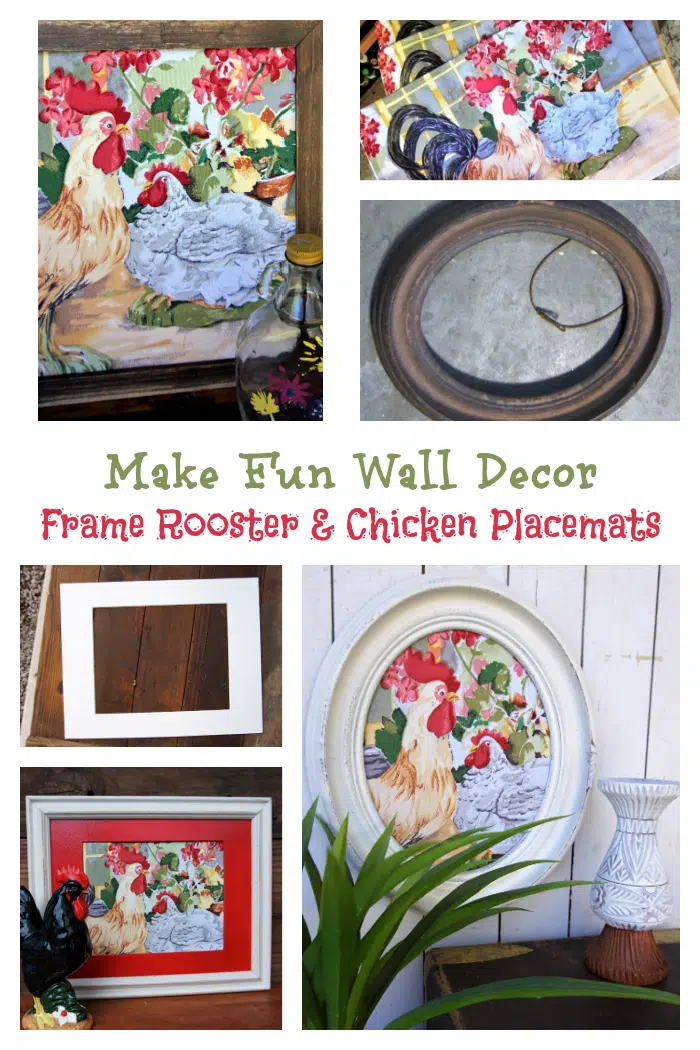
I bought the oval wood frame at my favorite junk shop. It’s a bit dinged up but that just adds character.
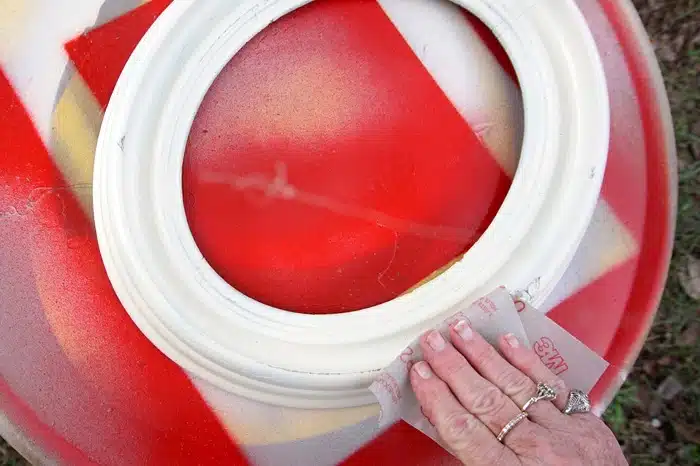
The first thing I did was clean the frame and man was it filthy. I finally quit scrubbing and just grabbed my favorite color spray paint, Rustoleum Heirloom White. Then I distressed the paint by hand using 220-grit flexible sandpaper.
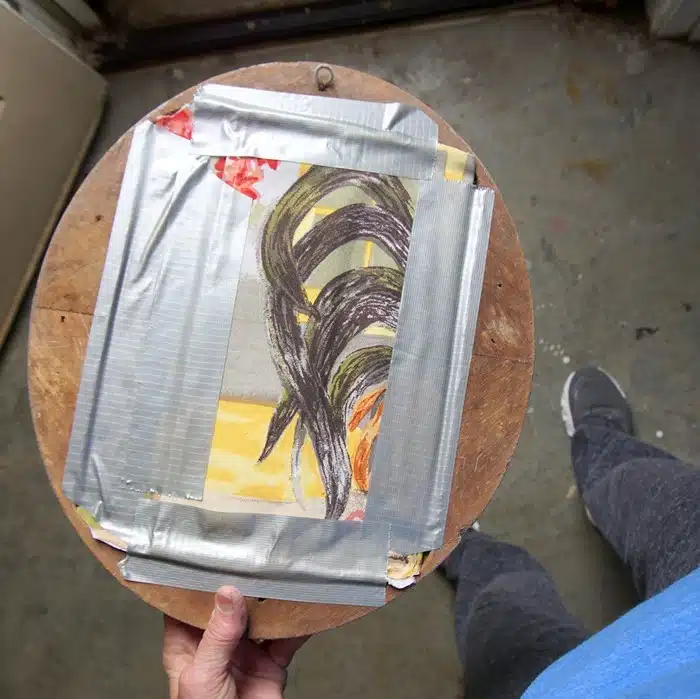
The oval frame did not come with a mirror or backing so I cut a heavy piece of cardboard the size of the opening in the back. I trimmed the placemat small enough to wrap around the cardboard then duck-taped the placemat in place. I was careful to place the rooster and chicken in the center of the frame.
And it turned out beautifully if I do say so myself.
The dings and dents on the antique frame look just fine after the paint is distressed.
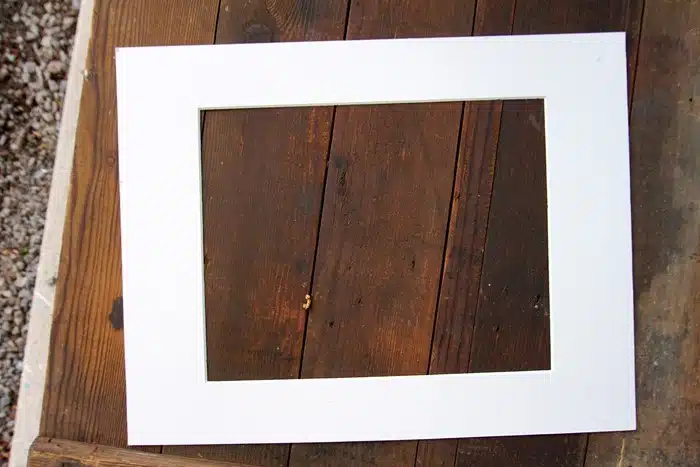
Now I’m going to frame another placemat using a very different picture frame and technique. I didn’t get a photo of the frame before I took it apart. The white mat came with the frame.
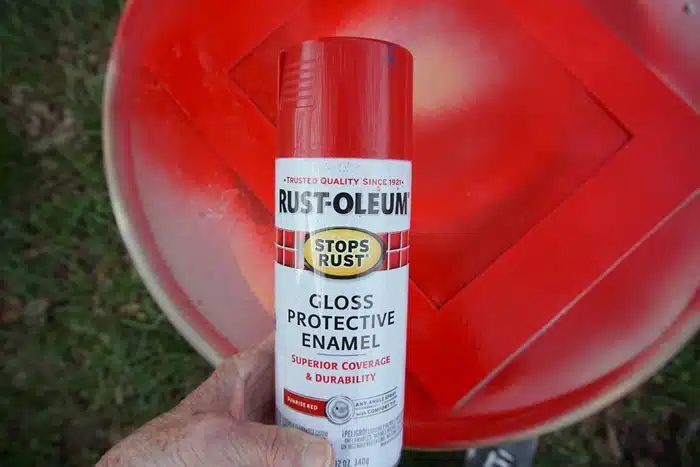
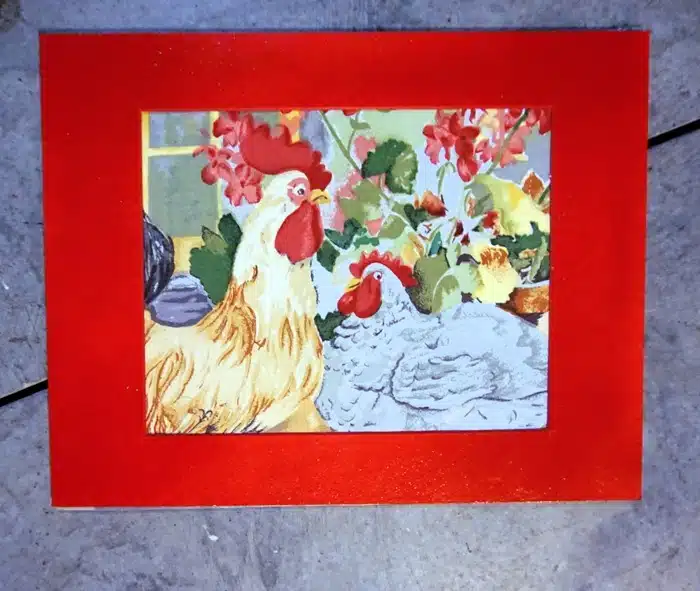
I spray painted the mat with gloss red spray paint. Yes, you can spray paint paper if it’s kind of thick. If the paper is too thin it will warp or buckle up.
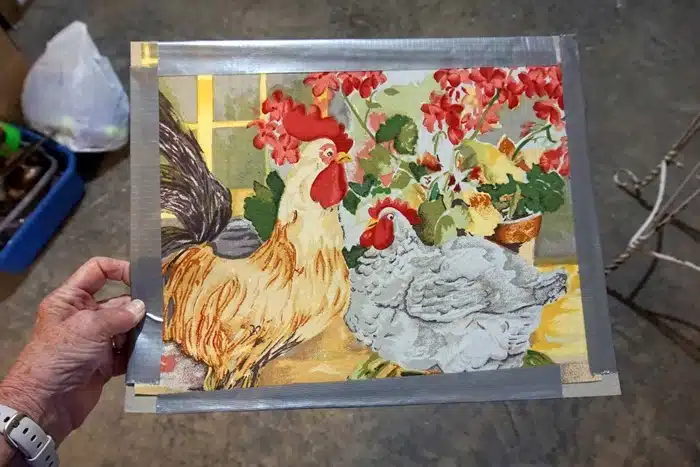
While the mat was drying I cut one of the chicken placemats and duck-taped it to the piece of heavy paper that backed the frame to hold it in place. Again I was careful to place the chicken and rooster design just so in the frame. I wasn’t worried about the duct tape because the mat would cover that area.
I situated the spray painted mat board over the taped-down placemat and then placed the whole thing in the frame.
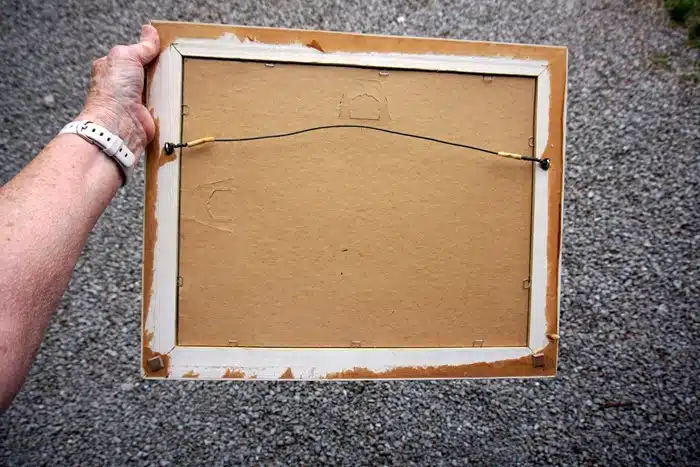
I added a backer board from another frame to the back of this one and I was done. The wire hanger came with the frame.
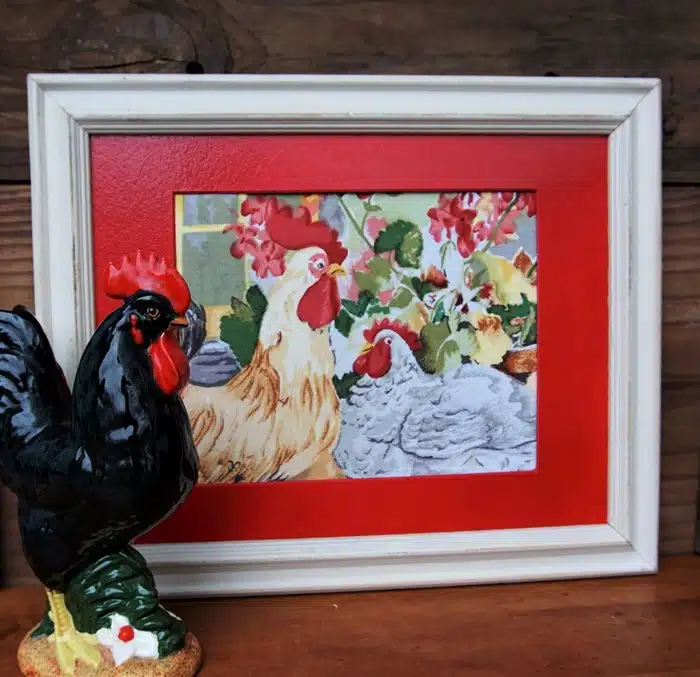
And that is framed rooster and chicken placemat number 2. The ceramic rooster is one of two we have that belonged to the hubby’s mom. I love those roosters.
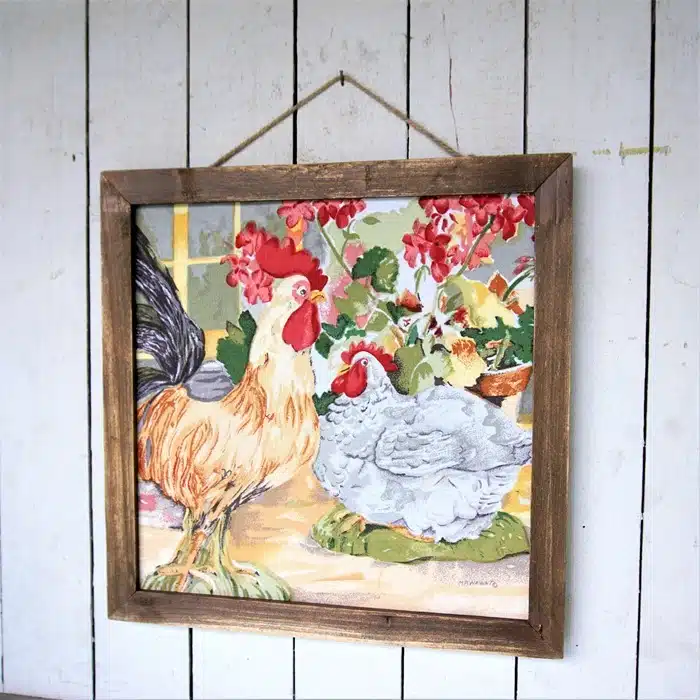
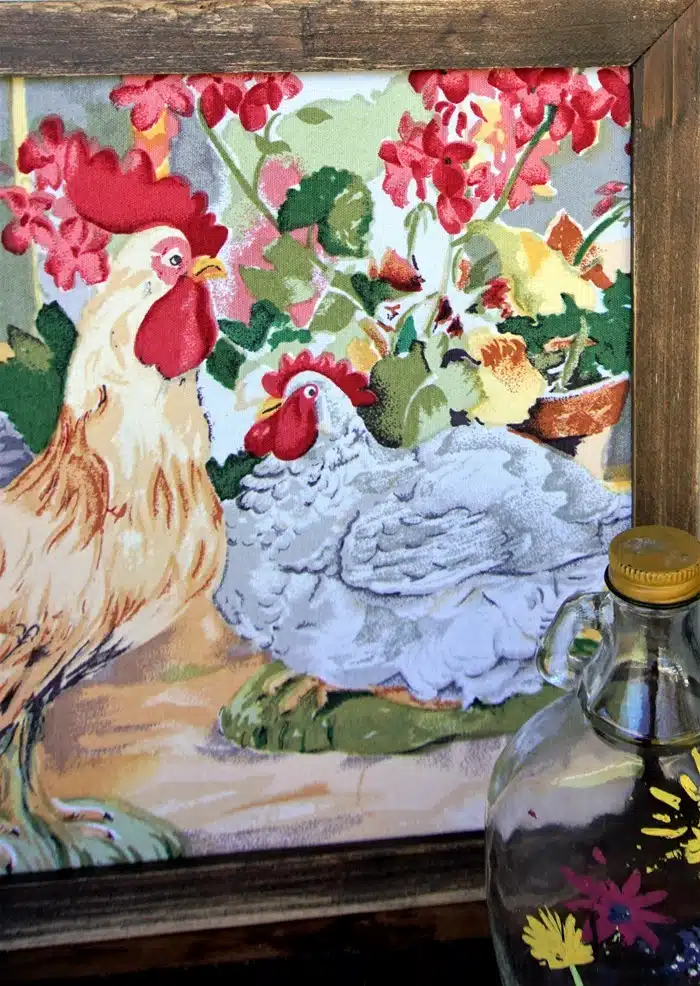
I don’t have a tutorial for the last two placemats. I actually framed the mat above a few months ago then had to set the project aside to do something else. The dark-stained square frame is perfect for a country kitchen.
The fourth framed placemat is at my booth and I didn’t get a photo of it. I framed it a few months ago also. Actually, the story goes like this….I started framing the placemats in December 2022. I brought everything into the house because the workshop was cold to do any work.
I had to halt the projects because of Christmas and all of the frames and mats and tools lay on the bed in the guest bedroom for 2 months. A blogger’s home is always a disorganized mess with half-finished projects in just about every room. True. So really no tutorial or in process photos for two of the placemats.
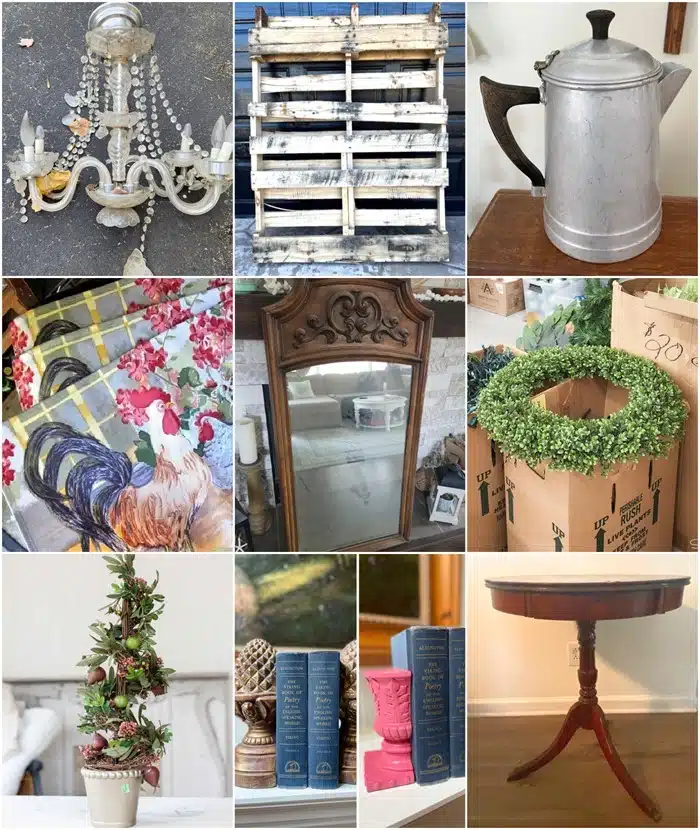
So which framed piece do you like the best? I think my fave is the square wood frame. Leave a note if you have time before taking the tour. Click the text links below the “before” makeovers photo collage to see the great projects from my friends on the Thrift Store Decor Team….
Thrift Store Decor Tour:
Upcycled Glass Chandelier My Repurposed Life
Pallet Herb Garden My Uncommon Slice of Suburbia
Old Coffee Pot Upcycled As A Flower Pot Organized Clutter
Chicken Wall Decor Idea Petticoat Junktion ( you are here)
How to Update an Old Mirror Domestically Speaking
St. Patrick’s Day Wreath Sadie Seasongoods
Thrift Store Upcycle Idea for Spring Reinvented Deleware
Whitewashing Bookends Our Southern Home
Thrift Store Painted Side Table Shop At Blu
As always thanks for being here, Kathy
Favorite DIY Tools and Paints:
Beyond Paint for Furniture
Ryobi Drill (cordless)
Mouse Sander (cordless)
FrogTape Painters Tape
Howard’s Restore-a-Finish
Rustoleum Heirloom White Spray Paint
Rustoleum Metallic Copper Spray Paint


Great idea! I’ve done that too.
I love the idea of framing a pretty scene or pattern in fabric! I have a couple of framed “prints” in my living room that are actually scraps of fabric I love.
What a great idea! I love the white frame with the red mat.
Now I need to go and find all the placemats! This is so stinking cute. I love the vintage look each frame gives the placemat. So very clever!
What a quick and easy way to add some fabulous framed artwork!
What a great idea for quick art!
My fave is definitely the round frame. I buy those frames every time I see them! Thanks for the inspiration, Kathy! Pinned 🙂
I think I like the barnwood frames the best! Perfect fabric for framing. Pinned!
They were just waiting to be framed, what a great idea!!!
They were truly meant to be framed like little tapestries, Kathy! I love the white frame, but I’m partial to oval frames anyway. Love the side eye that Mrs. Hen is giving us all, LOL!
I love those chicken pictures, they all are so cute in the different frames.
I like the wood one because so much more of the placemat shows. But I LOVE the red matted one.
I think you should paint the wooden frame (large one) red. lol
super cute projects, pinned!
gail
Love the one with the red frame. Red is my favorite color and I have red accents and chickens in my kitchen. Love it.
The one with the red mat is my favourite. It make the picture pop!
I like them both, but I LOVE the one in the white frame. So cute!