DIY Christmas Ornaments Garland
As an Amazon Associate, I earn from qualifying purchases.
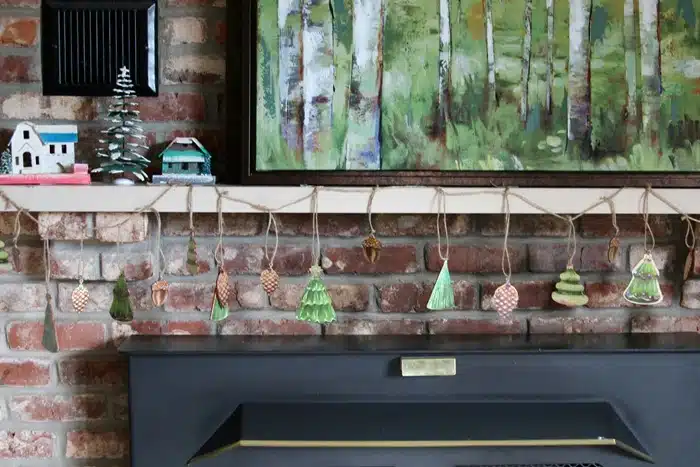
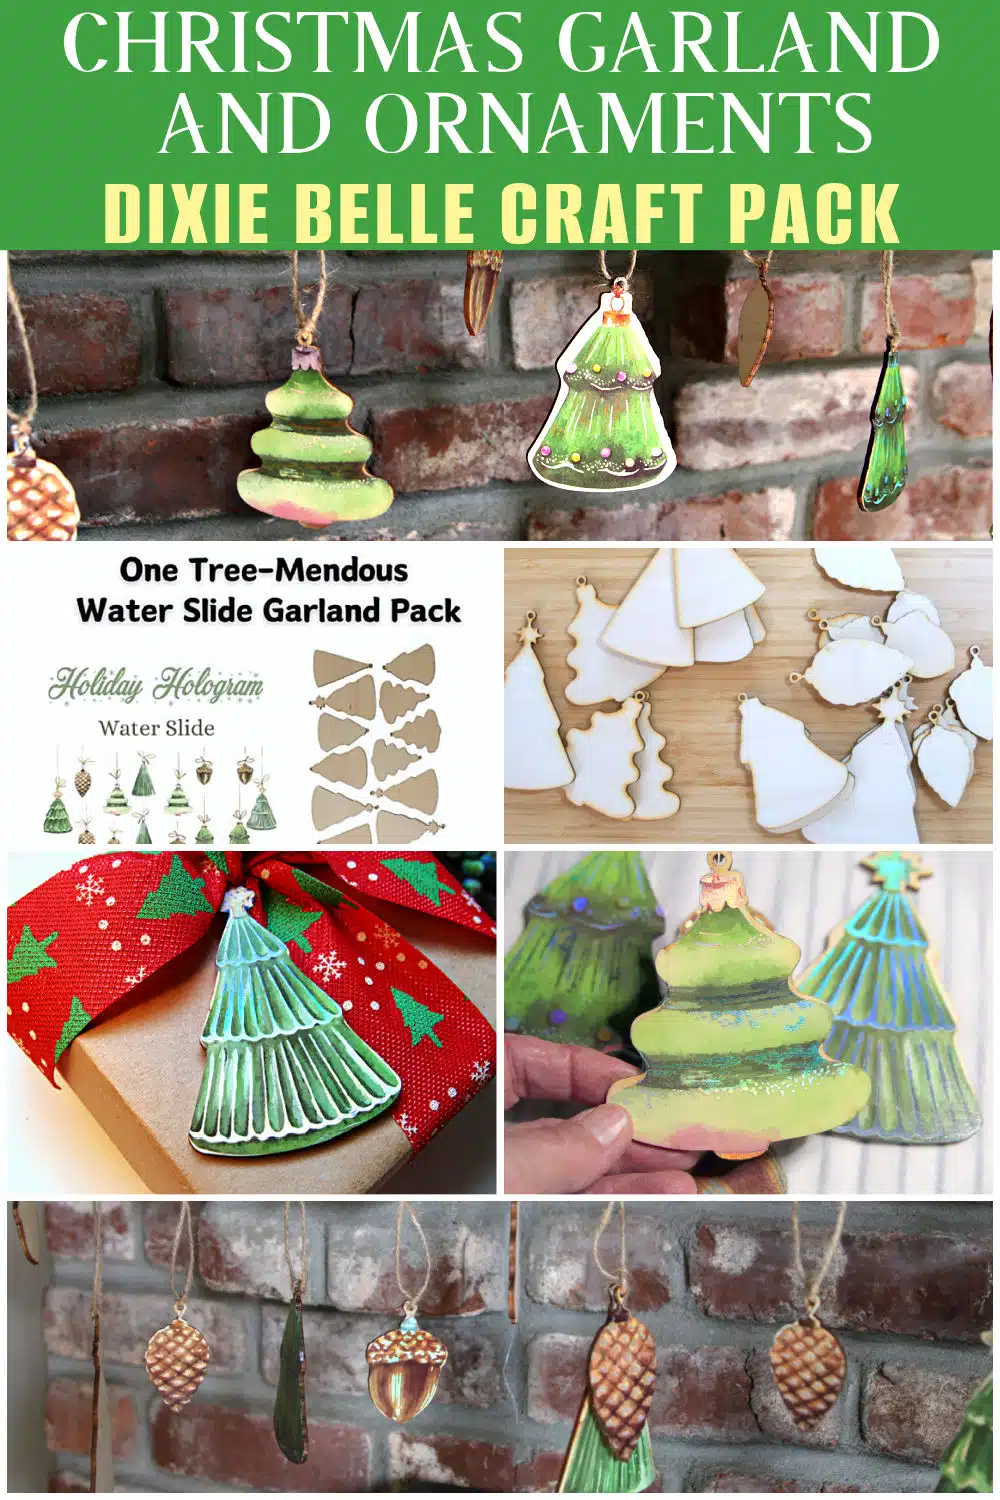
The shimmery Christmas ornaments garland I created with a Dixie Belle craft package is my new favorite thing. The only extra supply I needed was a roll of jute to string the garland. Christmas craft packs make crafting easy. You don’t have to go out and buy a bunch of craft supplies.
I have a complete tutorial on the garland (plus extra ideas!) and also a great giveaway! I’m joining five super-talented blogging friends for a DIXIE BELLE GIVEAWAY JUST FOR YOU!!! A BIG thank you to Dixie Belle Paint Company for sponsoring today’s post!

Be sure and read to the end of this post, where you can enter to win a $200 Dixie Belle credit to try their holiday products or any of their products. Then, visit my DIY friends for an opportunity to enter 5 more $200 giveaways!
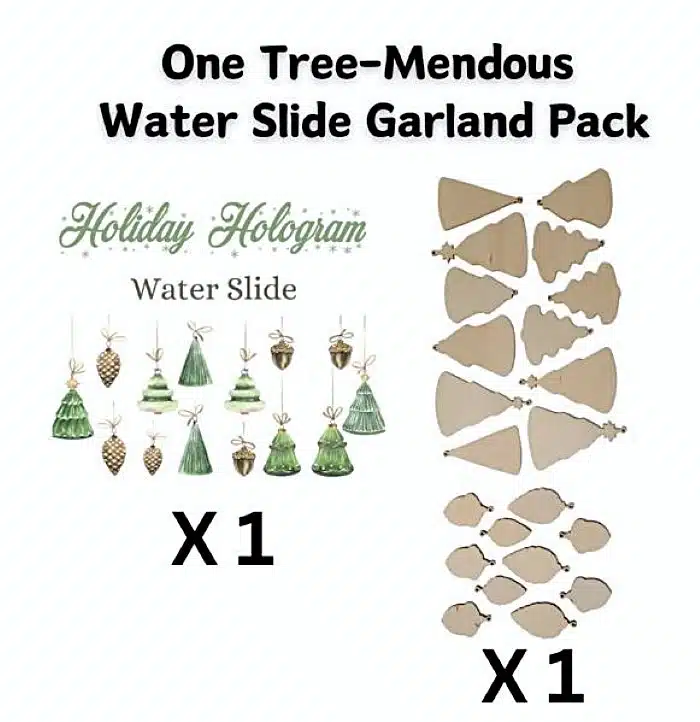
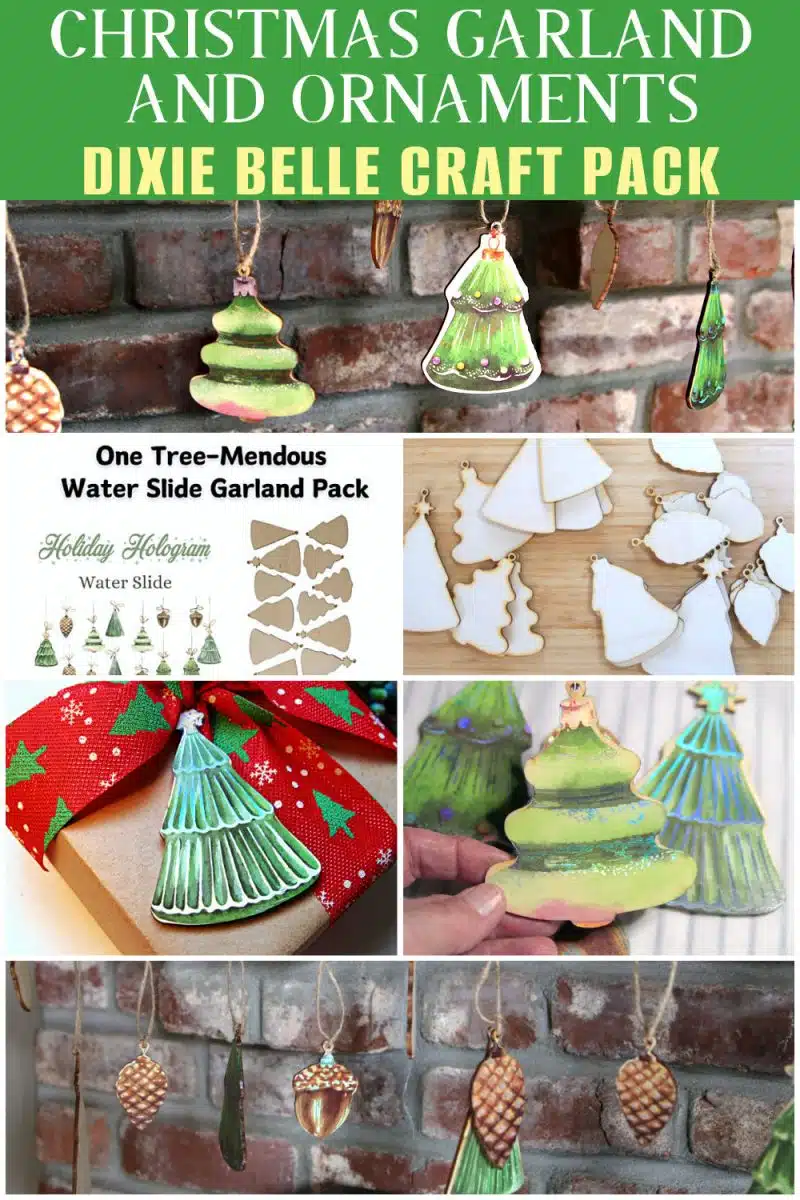
This is the Dixie Belle holiday-themed craft pack I used for my project. I really enjoyed creating this Tree-Mendous garland. Applying the holographic water slide transfers to the wood cutouts was much easier than I expected.
I was anxious when I started the project because the decor transfers I use on furniture projects can be very tedious. I also tried wet transfers years ago, and they were a pain. These were SUPER EASY.
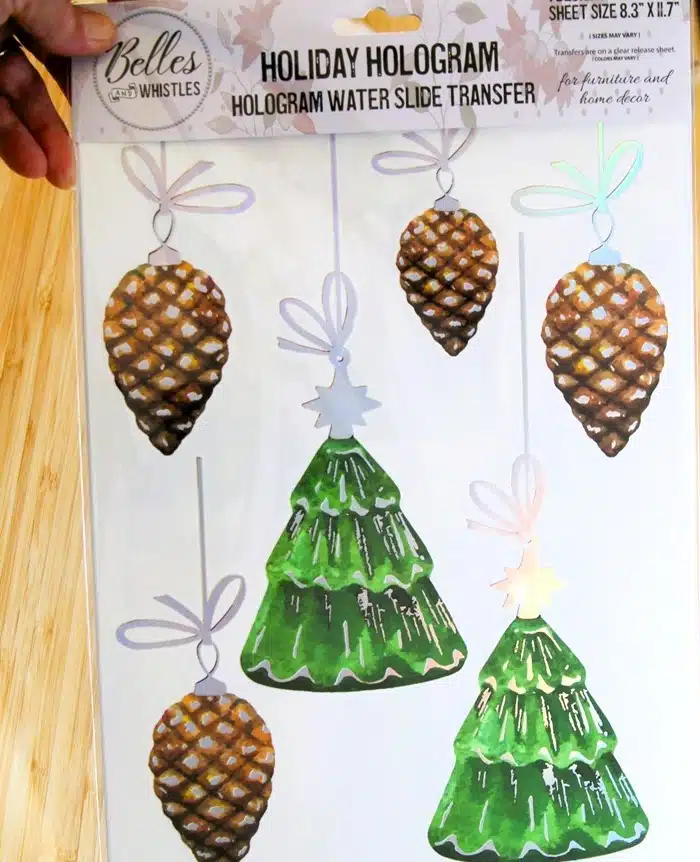
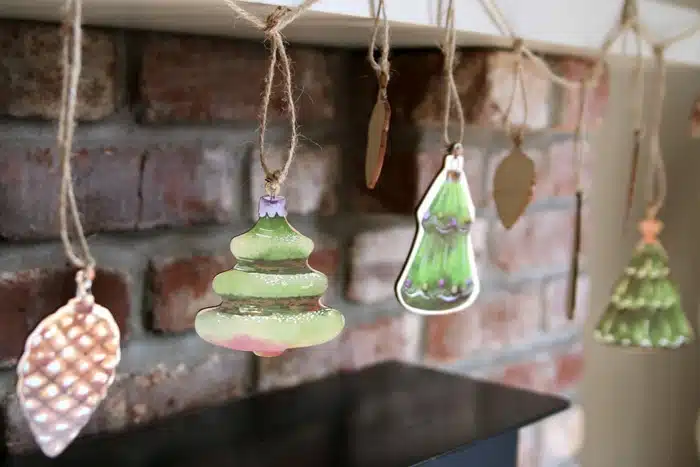
This is the pack of Hologram transfers. The colors are so vibrant, and when the light hits them just right, there are a rainbow of colors.
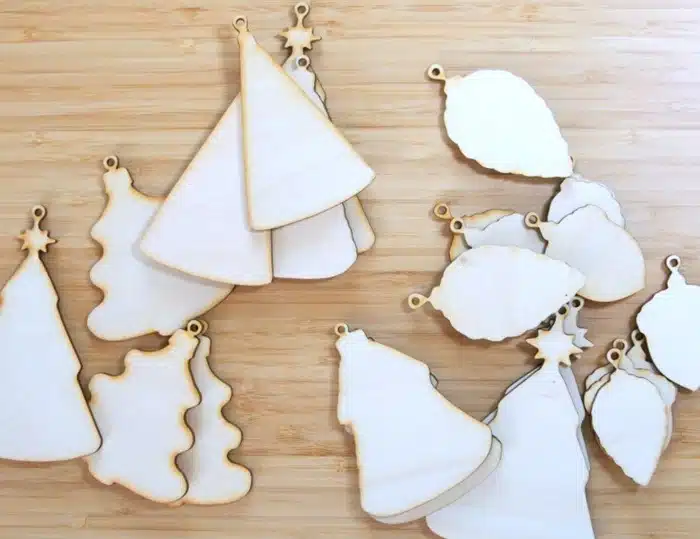
The craft package contains 22 wood cutouts in the shapes of trees, acorns, pinecones, and bells. It also includes instructions or a guide on how to have a crafting party with friends and family.
Maybe get together and make these after Thanksgiving dinner? The craft package on Dixie Belle is here: Holiday Hologram Craft Package.
How To Use Dixie Belle Hologram Water Transfers To Make A Christmas Garland
You can use the transfers to decorate anything from glass to furniture. In fact, because I was having so much fun, I applied the transfers to a couple of glass pieces. The shimmer and shine never stops—until you turn the light out!
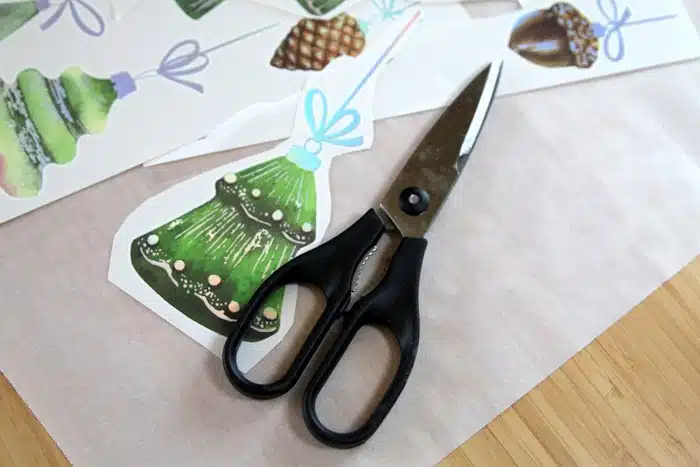
Step 1. Cut the transfers apart
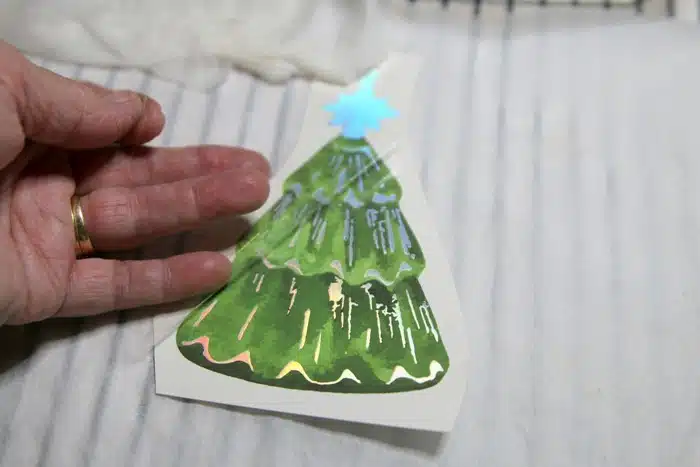
The transfers need to be cut from the sheet before being applied to the wood cutouts. You do not have to cut close to the transfers; just cut them with a white margin around them.
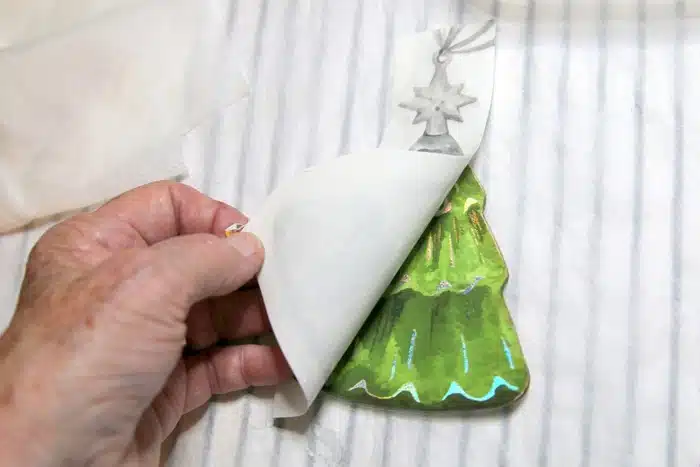
Step 2. Remove the clear vinyl film
There is a clear vinyl top sheet over the transfers and it can be easily peeled away. The bright colors are more obvious when the vinyl is removed.
Step 3. Place the transfer
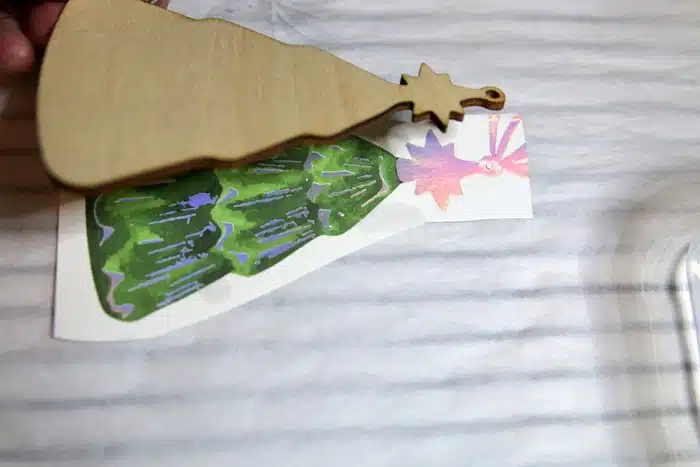
Next, lay the matching wood cutout over the top of the transfer with the color side of the transfer facing the cutout. Line the cutout as closely as possible to the outline of the transfers.
The transfers and the wood will not match up exactly. The color side of the transfer is a little tacky so press it to the wood.
Step 4. Wet the Dixie Belle transfer
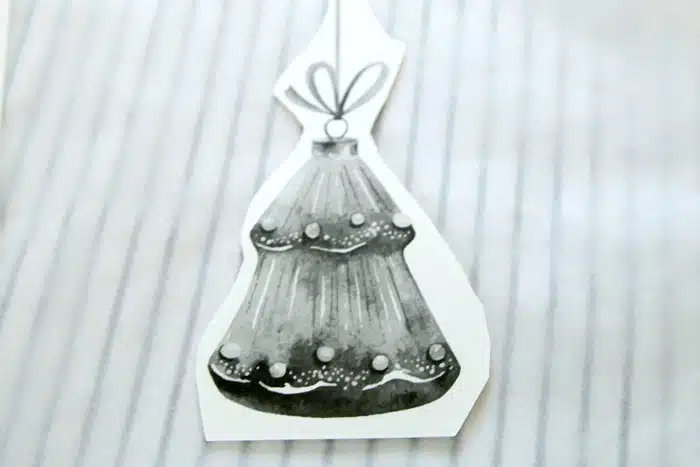
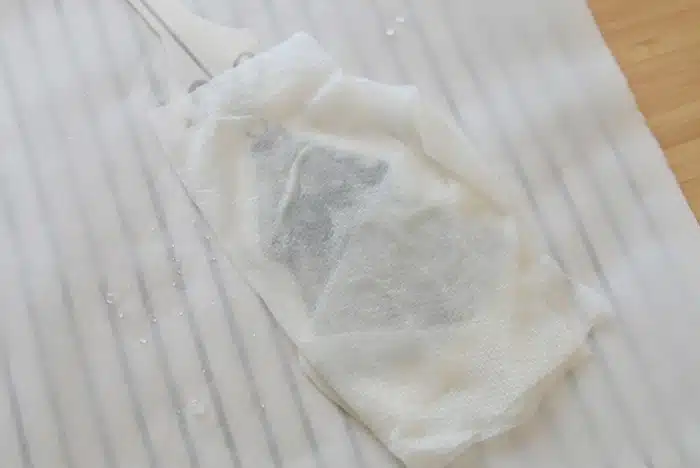
Lay the transfer and cutout with the backside or gray side facing up. Thoroughly wet the transfer with a paper towel or lint-free rag. Pat the water onto the transfer. Do not wipe over the transfer unless you hold it in place with your free hand because it could slide out of place.
Step 5. Wait for the Hologram transfer to do it’s thing
Lay your wet paper towel or rag over the transfer and let sit for a couple of minutes.
6. Peel the backing from the holographic transfer
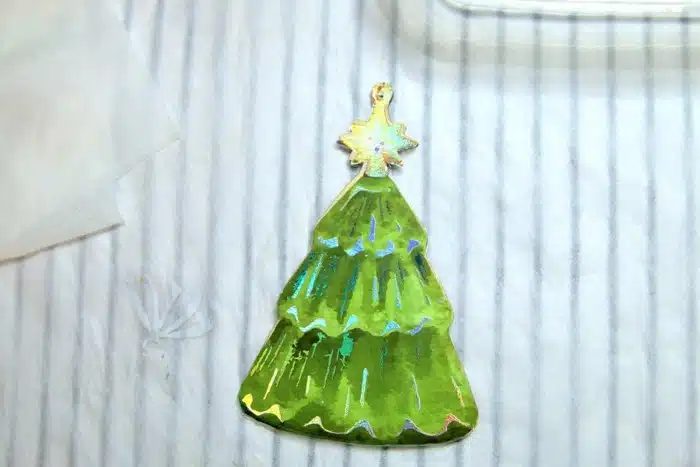
Gently lift the white transfer backing from the cutout, starting at one corner. While pulling the transfer up, check to see that it is adhered to the wood. If not, lay the transfer back in place and wet again. I didn’t have any problems with this step.
7. Wait for the transfer to dry
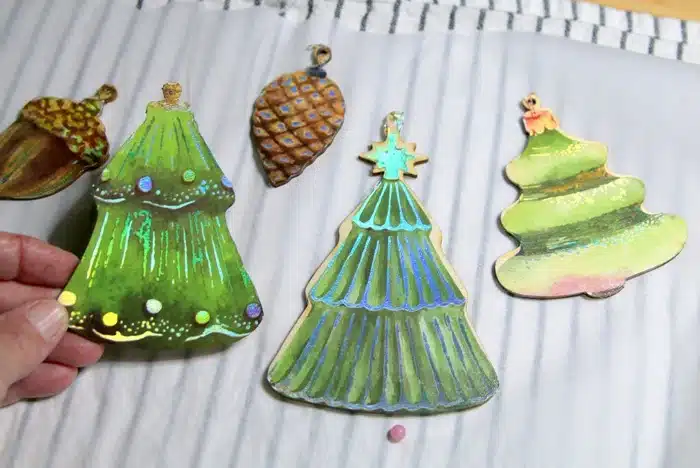
Lay the transfer out to dry. I let mine dry naturally but you can also use a hair dryer if you are impatient.
For my work area,, I laid out a dry dish cloth and then a piece of parchment paper over it. You might notice a tiny bead at the bottom of the photo.
I was going to embellish the transfers, but they were so shimmery and the embellishments would hide the holographic elements. So, I said no to the extras. Yall know that was hard for me.
8. Sting the garland
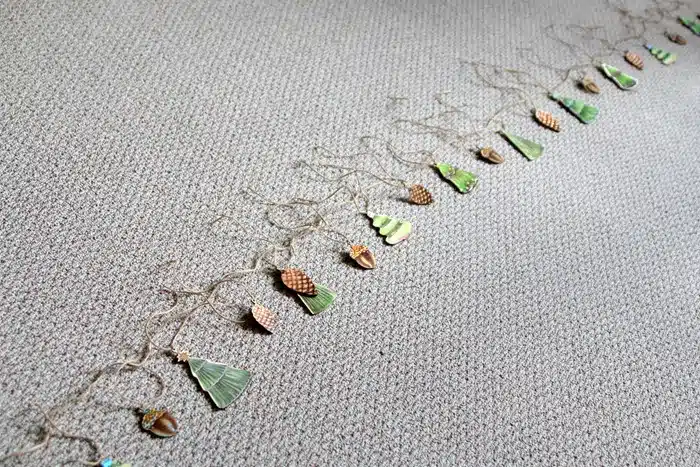
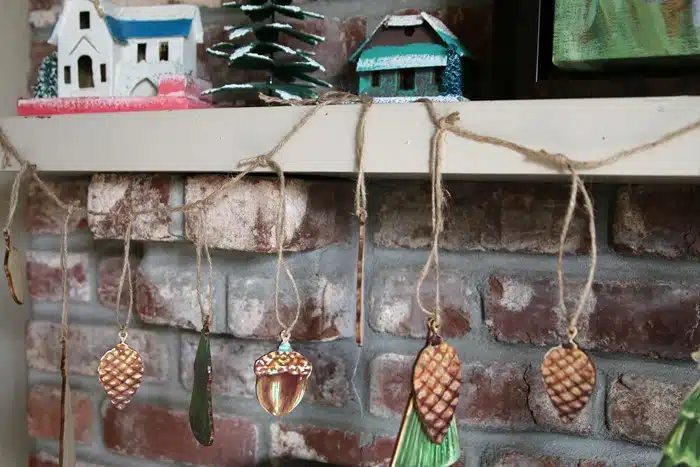
To string the garland, I first tied jute to each cutout. Then, I laid out a long length of heavier jute on the family room floor and tied each cutout to the jute. I tied them in such a way that I could slide them on the jute if they needed to be spaced differently.
9. Display your shimmery Christmas garland
The hard part might be deciding where or how to display the garland. I have a mantel, so that wasn’t a problem. Although, I thought about hanging it on a vintage mirror or even on my China hutch.
The day I took these photos, the sun was shining in the window and hitting some of the transfers just right.
Two of my favorite things – sparkle and Christmas.
10. Other uses for the craft transfers
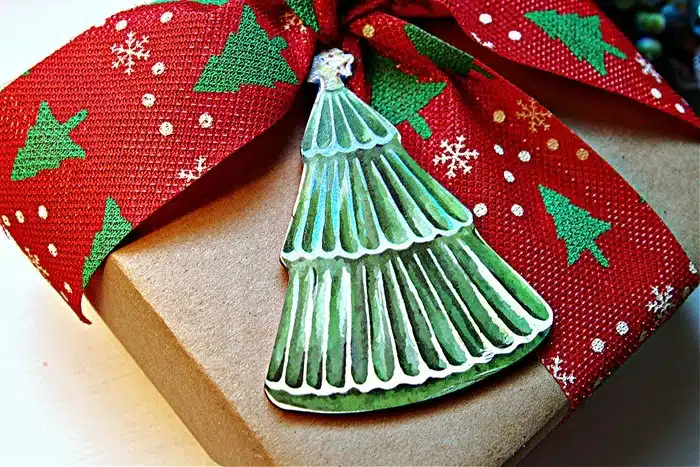
Instead of making a garland, you could use the cute little trees or any of the pieces for gift tags. I really like this idea. Use a fancy glitter pen to add the recipient’s name on the back.
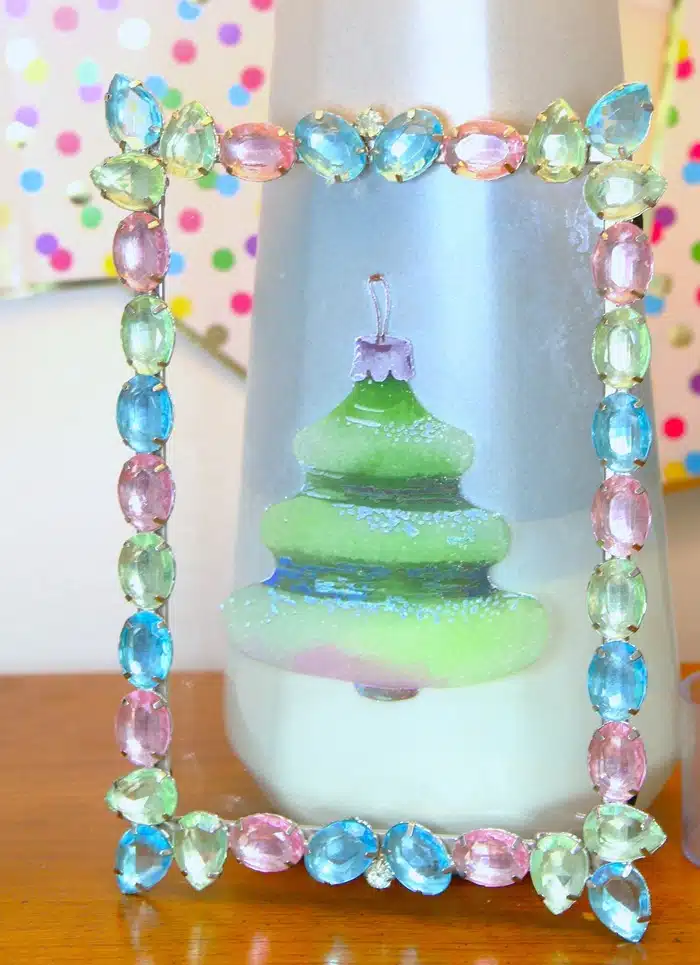
Or adhere the transfers to glass. The bell transfer was my favorite of them all. I had this cute photo frame in my stash, so I removed the backing and applied the bell transfer to the glass. I can’t get over how easy the transfers are to work with.
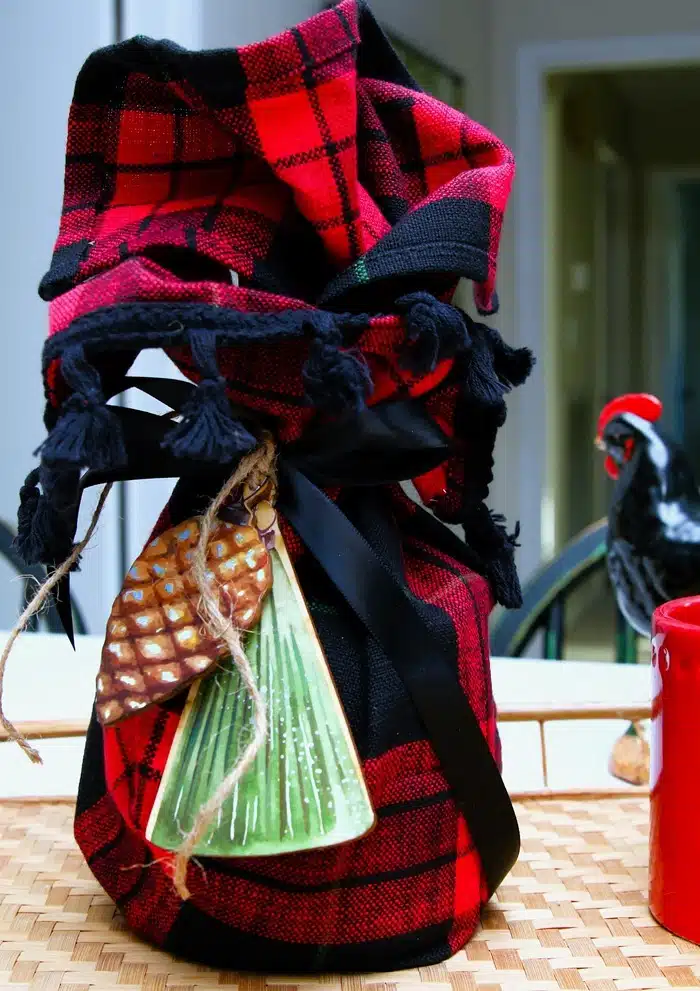
You can also decorate a hostess gift with the decorated wood pieces. Wrap a favorite beverage in a holiday dish towel, tie a ribbon around it, and add a pinecone and tree piece.
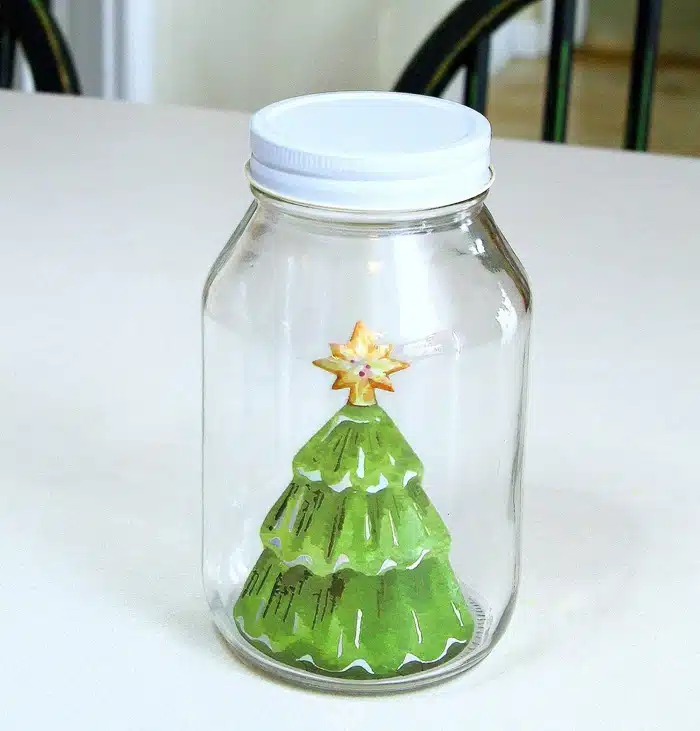
Decorate a candy jar with one of the transfers. Sorry, I could go on and on.
11. Tutorial Video – How to use Dixie Belle Hologram Transfers
This short video shows exactly how to do the transfers…
[adthrive-in-post-video-player video-id=”sjbQkFT9″ upload-date=”2024-11-04T19:25:17+00:00″ name=”Christmas Garland.m4v” description=”DIY Christmas Garland Made With Dixie Belle Craft Package” player-type=”default” override-embed=”default”]
Shimmery Christmas Garland Tutorial – Dixie Belle Craft Pack Project
Now it’s time to enter the giveaway. The winner will be randomly selected and announced on Tuesday, November 12th here on the blog. The winner has 48 hours to claim their Dixie Belle Giveaway before another winner is selected so be sure to check back. Also, bookmark this page because you can enter the giveaway once every day until the contest ends. Good luck everyone!!
If you have trouble with the Rafflecopter box you can enter the giveaway here.
WANT 5 MORE CHANCES TO WIN $200 WORTH OF DIXIE BELLE PRODUCTS?! Take the Christmas Project Tour by clicking the text links below the “before” makeovers photo collage….
Visit all 6 bloggers to see their makeovers and enter the giveaway:
Decoupage on Wood, Vintage Christmas Box – Salvaged Inspirations
Holiday Yard Sale Tote – Confessions of a Serial DIYer
DIY Paper Christmas Ornaments – Reinvented Delaware
Homemade Wooden Christmas Tree Sign – A Ray of Sunlight
Blue and White Christmas Ornaments – Living Large In A Small House
Christmas Garland – Petticoat Junktion (you are here)
Find the garland craft pack here… Dixie Belle holiday-themed craft pack
[ez-toc]
As always, thanks for being here, Kathy


Great ideas….may need to try some, thanks for sharing
I didn’t do anything to the backs but they can be painted easily. I left them unpainted so I could use them as gift tags and write the name and date on the back.
Yes it would. I forgot to mention that so I’m editing! The set actually comes with instructions on how to have a group crafting party!
That garland is beautiful Kathy! This would be a fun project to work on with a group of girlfriends!
Those are gorgeous! I’d like them on a table tree and decorating small wooden gift boxes. Would like them a big larger for garland, I think. What did you do the backs?
Those are really pretty! Probably more so in person. Thanks for showing how easy they are to use.
Pretty
Kathy, those holograms turned out awesome! It looks fairly easy to do – even for a novice.
I think they’d be great as gift tags or place cards.
Very nice. I am inspired to try the water slide transfers!
Oh my gosh! These are adorable! I would love to put them on my packages for a lovely finishing touch! Both sets are so cute.
Kathy – These are so fun! What a super easy holiday DIY. This would be a great project to do with kids in your life. I love that everything you need is in the kit. Very creative to use them as garland!
I love all the ideas for these decorations. Especially using them for tags on presents.
So fun, Kathy! I think my favorite purpose is as gift tags…love them!! XOXO
I’ve never tried or used a hologram transfer and now I want to! Love the festive shimmer! Pinned! XOXO
Pretty garland!