How To Make A Recycled Ruler Flag
As an Amazon Associate, I earn from qualifying purchases.
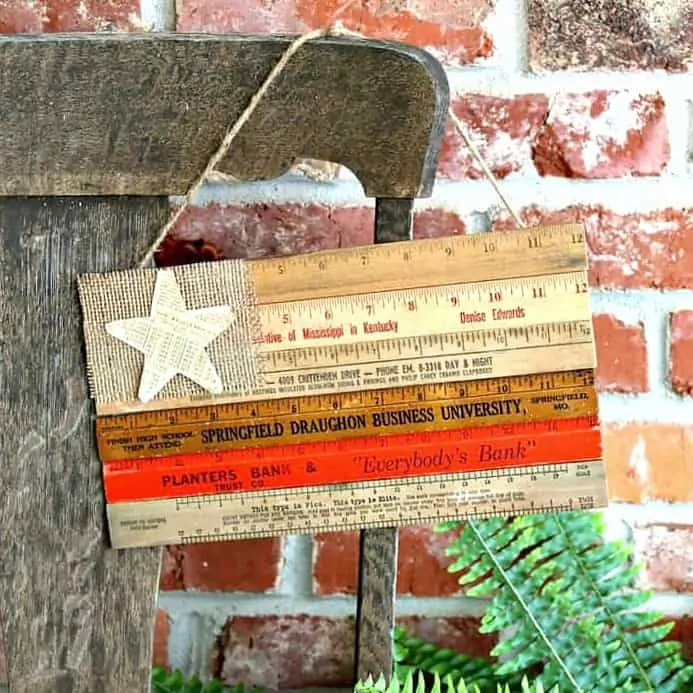
Make a Wooden Ruler Flag
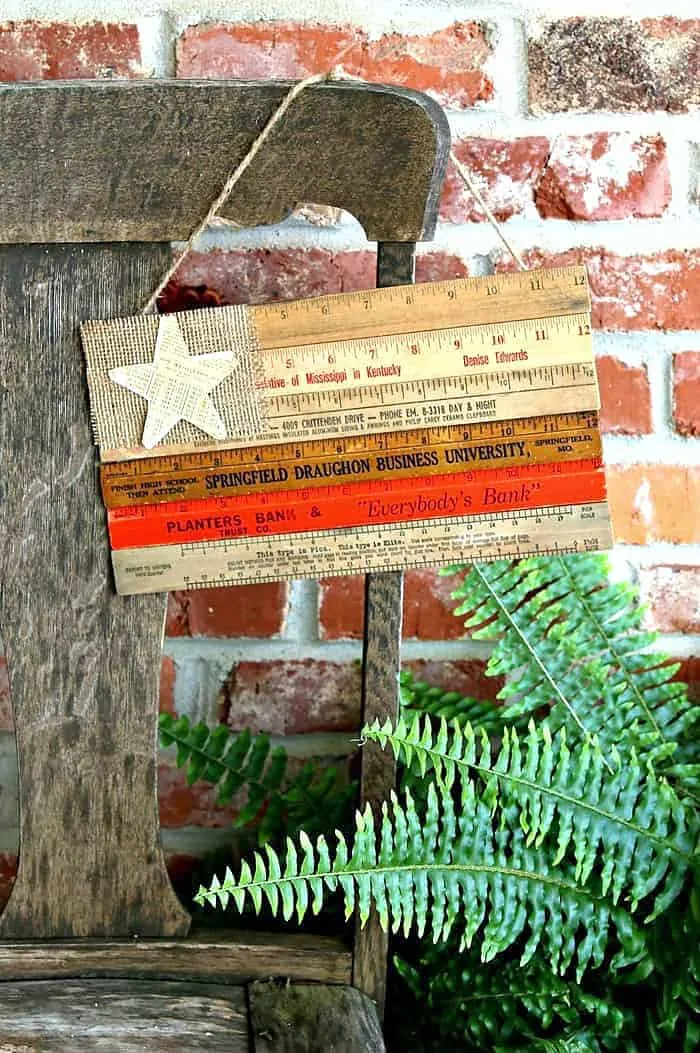
No special tools for this project. I put together the rustic wooden ruler flag using duct tape. The flag is easy to make and I can reuse the wood rulers in the future by just removing the duct tape if I decide on another ruler project. Which might happen at the end of Summer or after the Fourth of July.
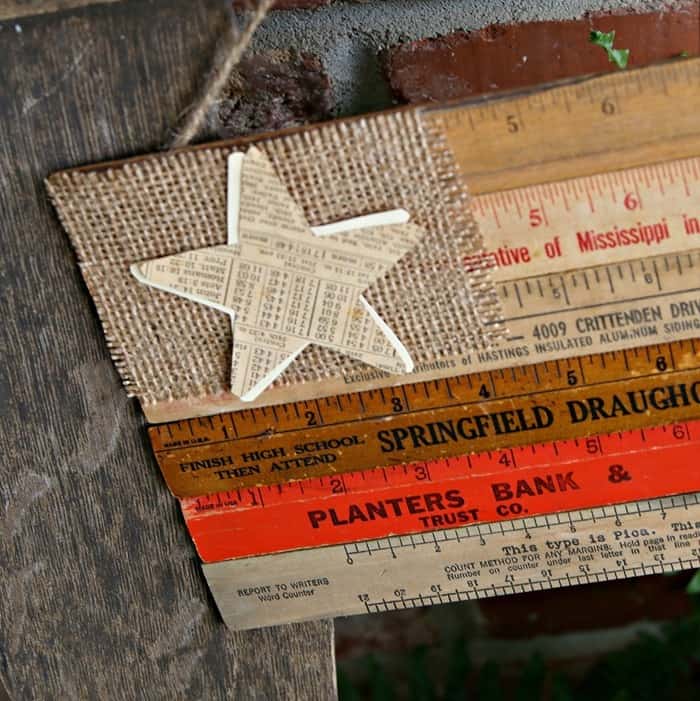
Rustic Wooden Ruler Flag
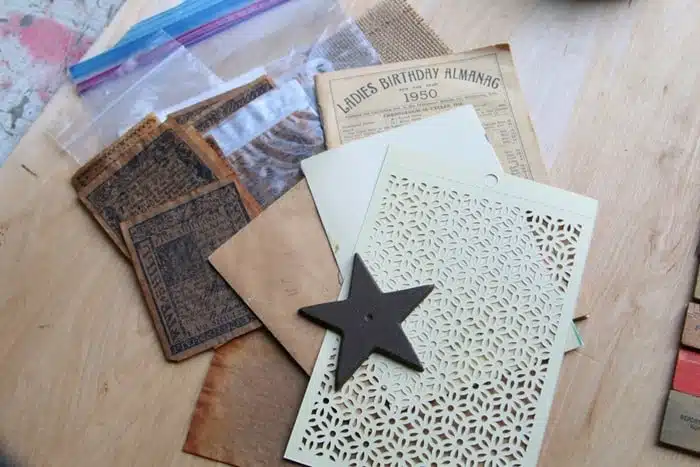
To keep with the rustic and natural look I used burlap for the star backdrop and aged paper for the star. I had another idea for the star but that didn’t work out.
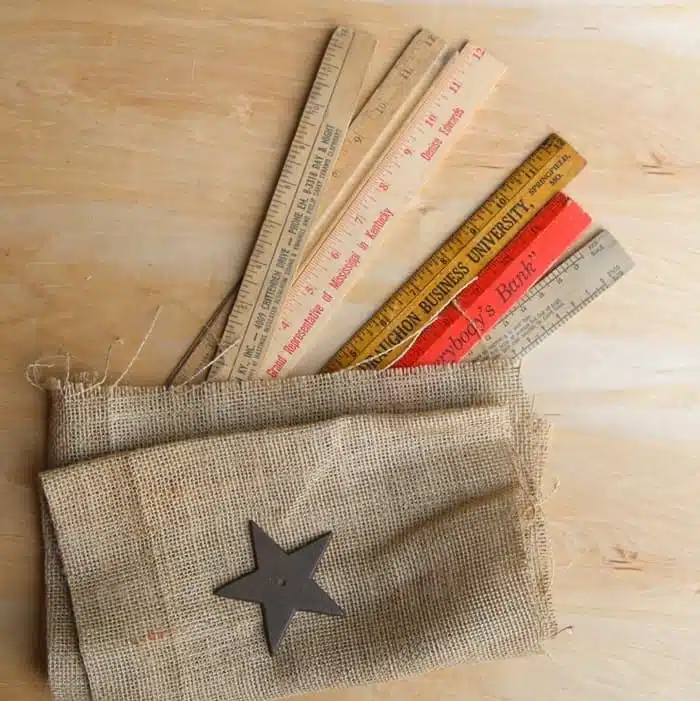
Supplies For Rustic Flag
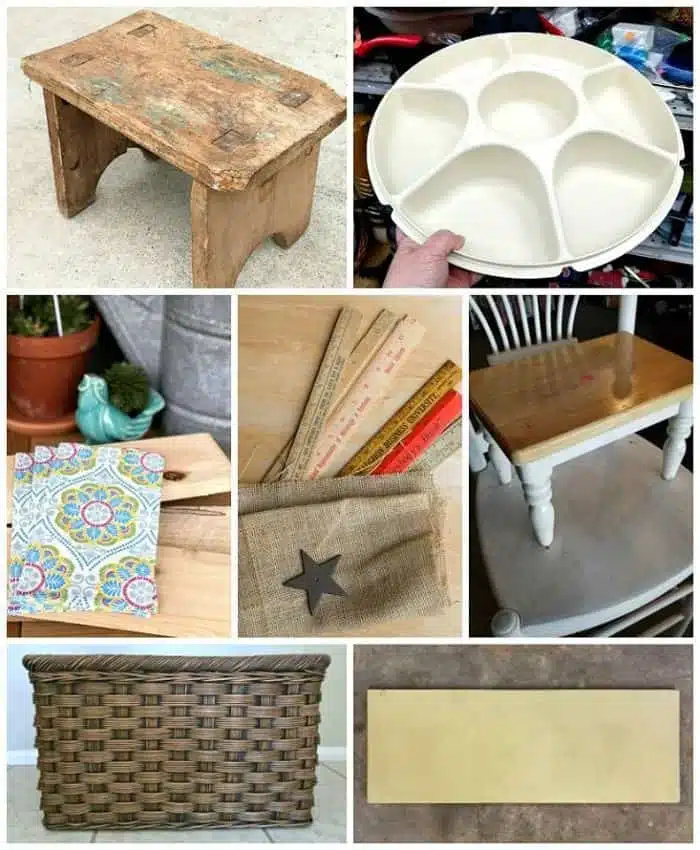
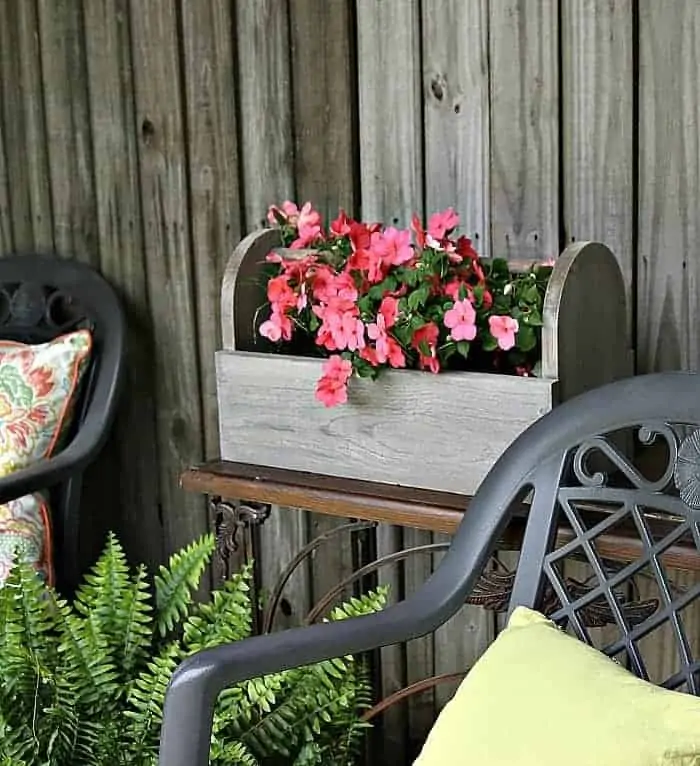
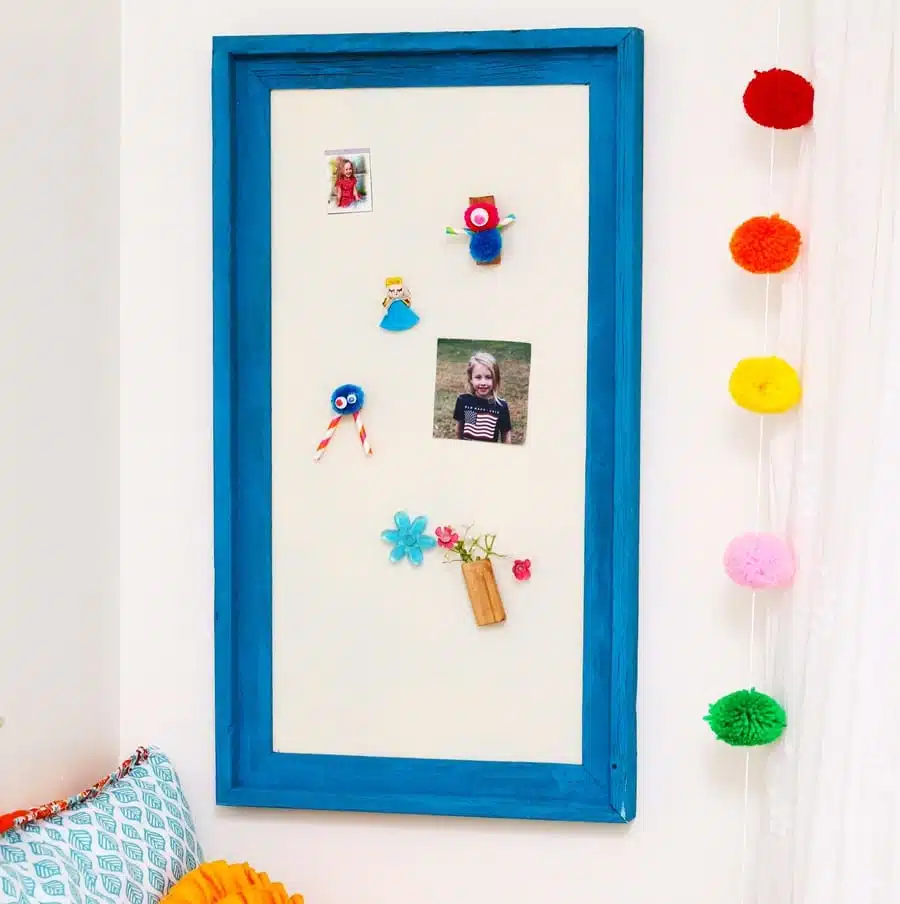
Today is Thrift Store Decor Day and my thrifty buddies have projects linked at the bottom of the post.
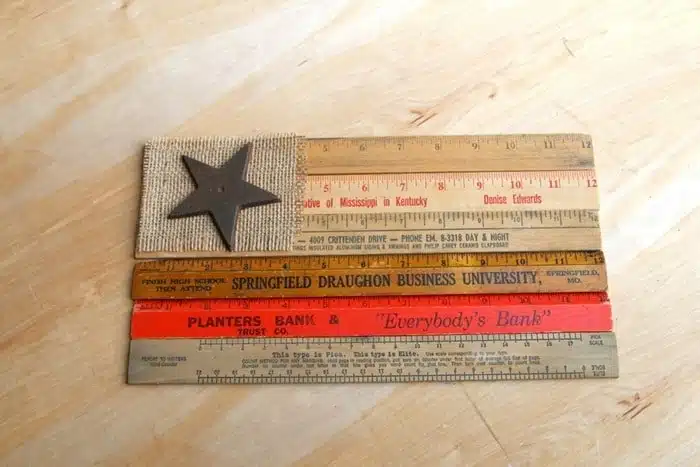
I collected the wood rulers over time. Picking them up whenever the price was right. One is from a local bank and one is from a college. They may not be old but they have character. I first laid the rulers out in the order that I thought looked best.
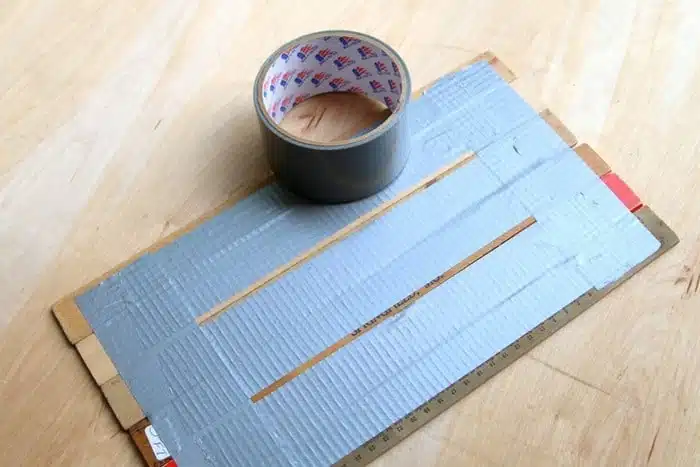
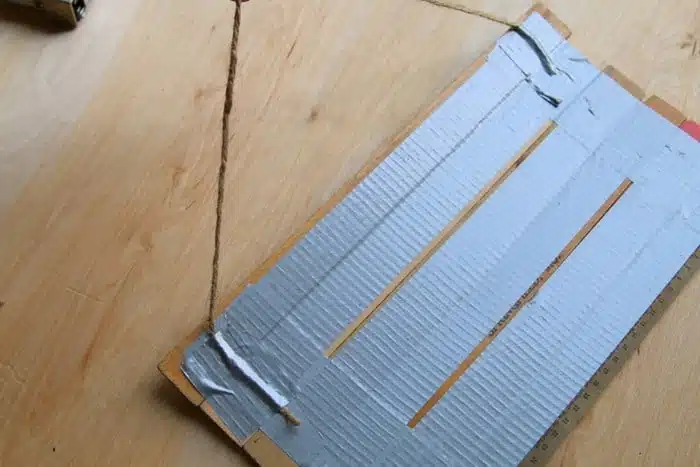
Then I flipped them over and duct taped them together. Easy huh. There were two reasons for the duct tape (or duck tape) . I couldn’t figure an easy way to attach the rulers to each other. I could staple the rulers together from the back side but they may not work too well. I could wire them together and leave a space between each of the rulers. Neither of these ideas appealed to me. The second reason I used duct tape is because I could reuse the rulers in the future if I wanted to.
I wasn’t sure how the duct tape idea was going to work. Would the rulers be too loose or fall off of the duct tape? No worries, worked perfectly. I come up with some genius ideas. Most of them come from my lazy side.
Another potential problem was the heavy iron star I pulled from my junk stash to add to the flag. It was heavy, too heavy to glue to the burlap for sure. I looked through my reclaimed paper supply for aged or aged looking paper. Then I traced the iron star onto the paper and ta-da, lightweight stars.
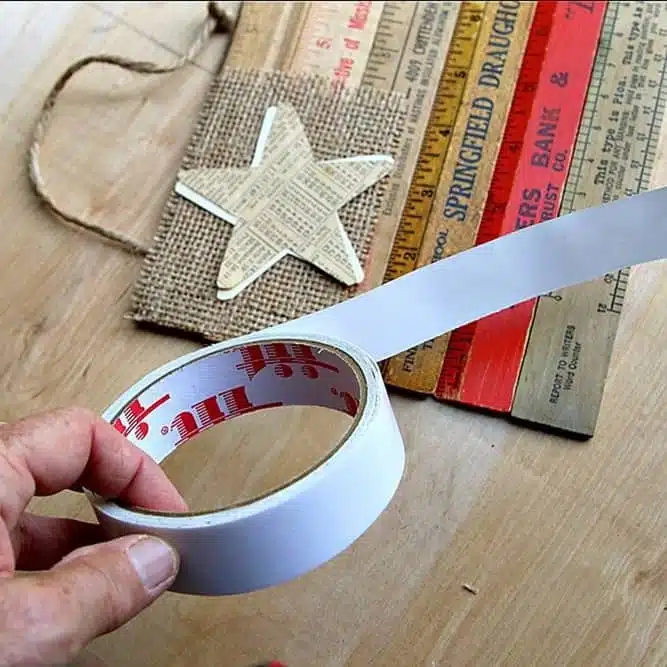
I say stars because I cut out two paper stars and stacked them. Again I used tape to adhere the burlap and the stars to the rulers. This time it is double sided clear tape. This tape is very, very, sticky. And it’s hard to grab the end and pull it off of the white backing but I got it done. Yes, I have all this stuff in my workshop. It sure comes in handy. I used the double sided clear tape to make the hanging tea towel calendar last month (here).
We still aren’t pulling those tools out. I used twine to hang the wooden ruler flag and I adhered the twine to the flag with duct tape. Nice. The flag is really lightweight and I don’t think I have to worry about the hanger coming loose.
I told you it was easy. The flag turned out much better than I expected. The neutral colors are a nice change to the typical red, white, and blue.
You don’t always need hand tools or power tools to make a diy project. See if you have something lying around the house you can use to make a flag. I bet you have duct tape on hand already.
Watch the video of me making a Farmhouse Style Rustic American Flag……
[adthrive-in-post-video-player video-id=”lEEASY9v” upload-date=”2018-06-29T02:54:40.000Z” name=”Make An Rustic Farmhouse Style American Flag ” description=”American Flag made from recycled wood painted and distressed.”]
Making An American Flag Wood Wall Decor
Click here to see my Rustic Iron Star Red, White, and Blue Flag I made a few years ago.
What project have you been working on? Leave a note and share the details then visit my friends for more thrifty inspiration. Click the pink text links below the photo collage to visit the other blogs.
Small Stool Makeover – My Repurposed Life
Striped Stool Makeover – Our Southern Home
Farmhouse Basket Makeover – My Uncommon Slice of Suburbia
DIY Go Jump In A Lake Sign – Refresh Restyle
Vintage Industrial Style Rotating Hardware Bin – Sadie Seasongoods
DIY Wall Mounted Coat Rack: Boho Style – House of Hawthornes
Wooden Ruler Flag – Petticoat Junktion (that’s me!)
Thanks for being here and have a great day, Kathy

Thanks Pam!
What a cute way to use such awesome old rulers! Stopped by from Tip Junkie.
This is so clever. Great idea!
This is so adorable and would be a great kid’s project, too!!! You are always so creative!
That turned out very cute! I always enjoy a no-tool project!
This is super cute! I have a bunch of old rulers from my grandparents!
I love “lazy”, many of my brilliant ideas have stemmed from the concept. So cute!