Iron Star Red White And Blue American Flag
As an Amazon Associate, I earn from qualifying purchases.
Make A Flag For The Holidays
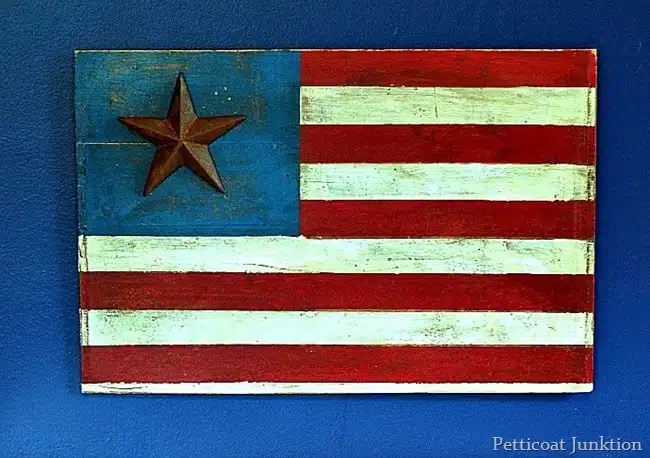
Make an iron star red white and blue American flag for the Fourth of July. I used a rusty iron star, red white and blue paints, and painter’s tape to make this rustic flag on a recycled drawer bottom.
It was easy! The iron star flag will be the star (pun intended) of your holiday decor. I made the stripes on my rustic American Flag the same width of the painters tape. No measuring. woohoo!
I hope I inspire you guys with my sometimes thrown together DIY projects. You need to know that everything doesn’t have to be measured and planned and thought out. Just start doing.
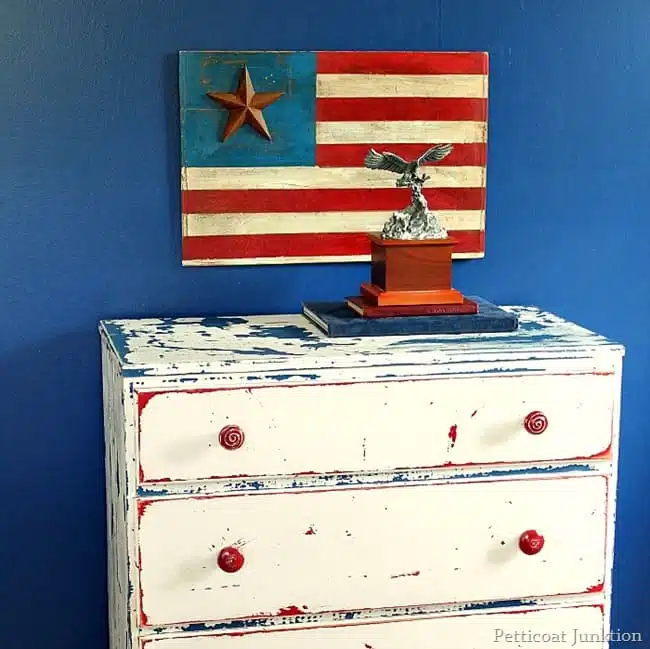
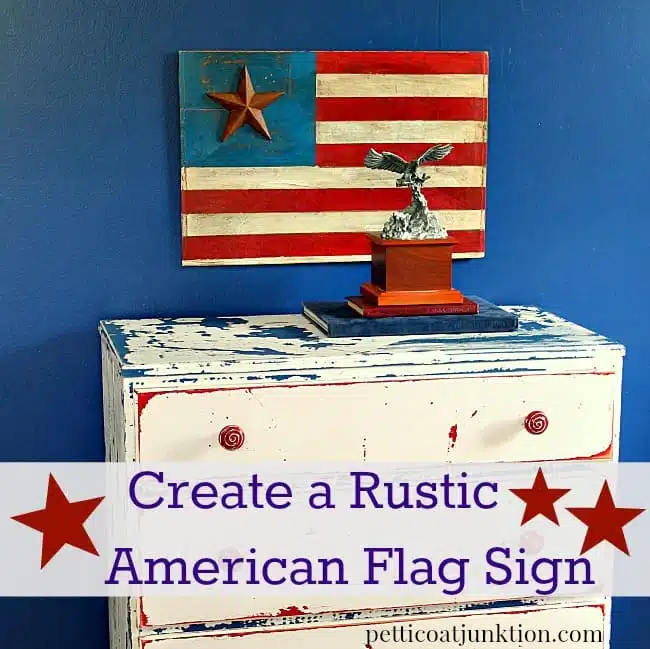
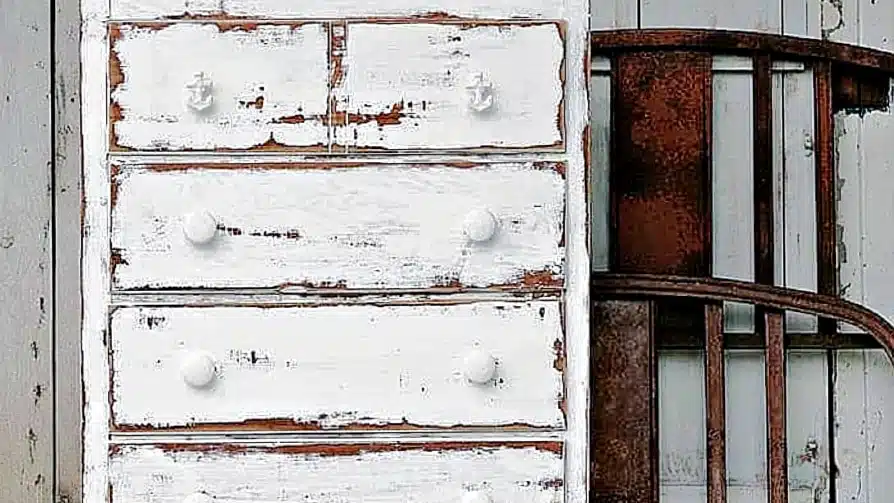
I painted the flag and hung it above my favorite red, white, and blue chest in what we call the grandsons room.
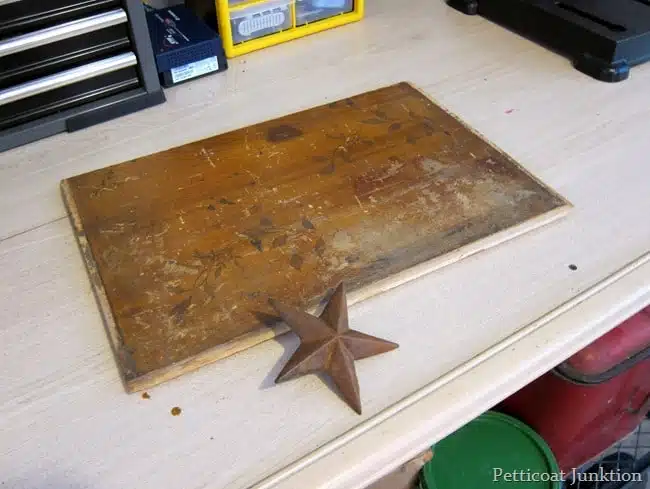
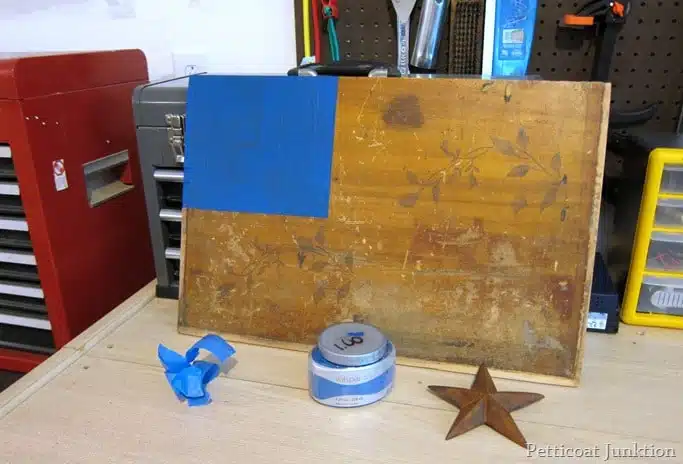
I knew the reclaimed drawer bottom would come in handy for something. You can see I practiced a little stenciling on the wood at some point a long time ago. The rustic star has been around for awhile. I ordered a bunch of these on EBay a few years ago.
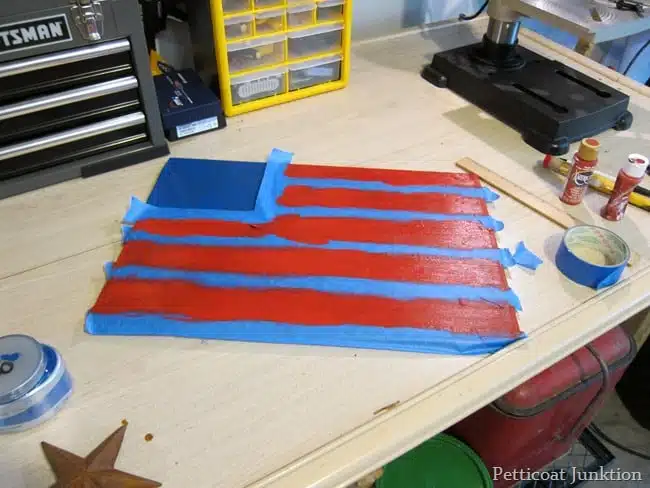
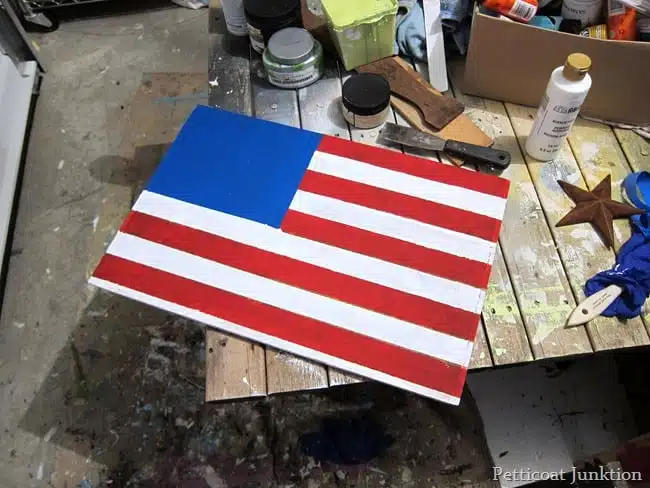
As I said, no measuring. I guesstimated the size of the blue block and taped it off. The blue paint is an awesome color. It was a $1 purchase at Lowes. It’s Valspar but I don’t know the color name. If you’re interested I can run out to the workshop and look on the jar. Just let me know. I love oops paint!!
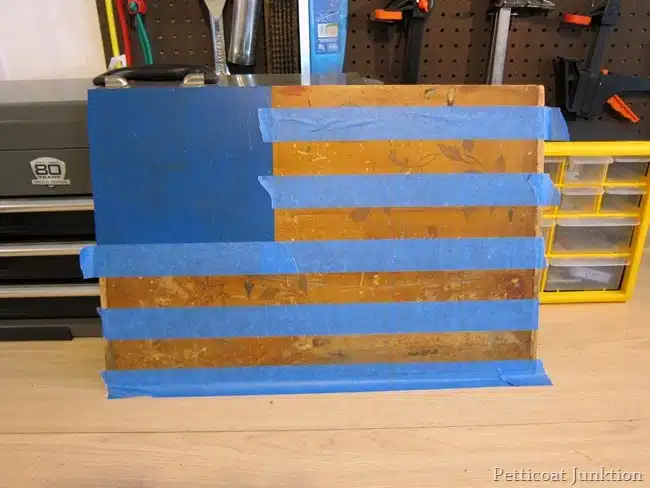
I was trying to decide what size to make the stripes and how to measure them whenever I had an ah-hah moment. The tape was 1½” wide so I just made the stripes that width!
The red paint is an acrylic.It’s hard to find the perfect color of red. I don’t like it to be too orange or too blue. I made my own red paint called Junktion Red and you can see it here….Junktion Red Special Paint Mix Formula
To paint the white stripes I just covered the red stripes with the blue painters tape…same width remember…and used white acrylic paint.
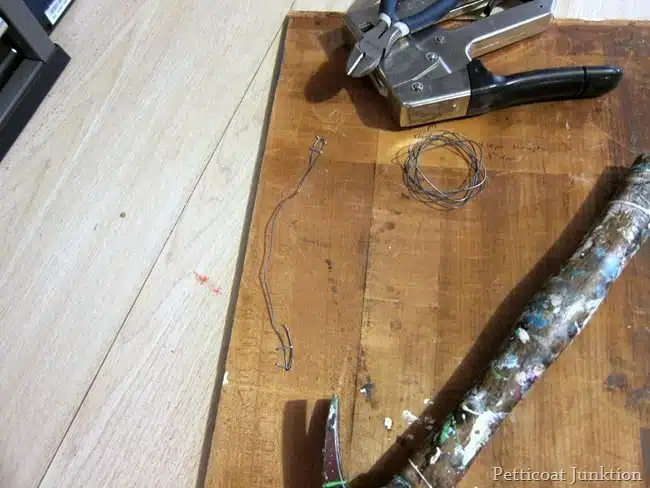
The hanger is a piece of wire just stapled on. The wood for the flag is really light so a lightweight hanger works perfectly.
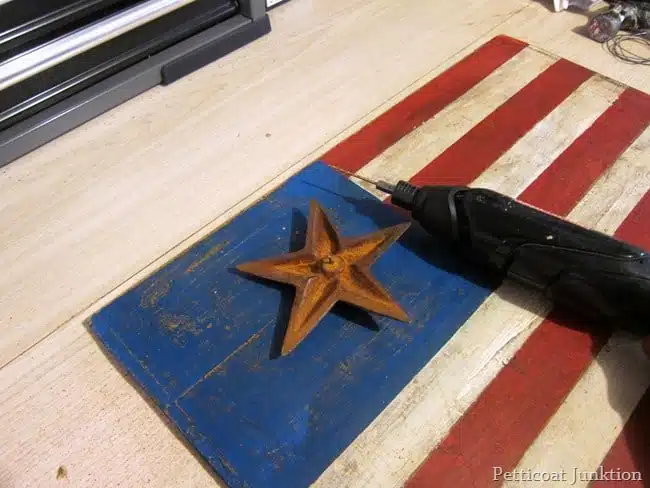
The iron star is one with a nail head. We had to cut the nail down because it was too long for the thickness of the board and I drilled a starter hole before nailing it in. Don’t want the wood to split.
For the finishing touches I distressed the flag and used a dark wax.
This Farmhouse Style Flag I made is totally different from this red white and blue one. See the video tutorial below…..
[adthrive-in-post-video-player video-id=”lEEASY9v” upload-date=”2018-06-29T02:54:40.000Z” name=”Make An Rustic Farmhouse Style American Flag ” description=”American Flag made from recycled wood painted and distressed.”]
Farmhouse Style Flag
Iron Star Red White And Blue American Flag
Find my favorite 15 Rustic American Flag Projects With Star Appeal here.
Maybe check out the red white and blue candle holders I made using fabric trim here…..A New Take On Red White And Blue Home Decor | Candle Holders
As always, thanks for being here, Kathy

Great idea and finished project as always. Making the width of the stripes the width of the painter’s tape was a time saving idea, but I wonder why you masked the piece off for the red stripes and for the white stripes. Would it have saved time to paint the entire board white, then mask off for the blue field and mask off for the red stripes? Not being critical, just curious…… Anyway you did it I love the outcome. Thanks for sharing your ideas. Always look forward to your posts.
Thanks for linking up to Tip Me Tuesday linky party. {knuckle bumps}
Did you know that I can “lend” your blog posts my Google page rank for better search engine traffic? {fabulous}
If you upload at least 2 images, 2 steps, and blog post URL into your Tip Junkie craft room, you’ll be in business!
{wink} ~ Laurie {a.k.a. the Tip Junkie}
Hi Dawn, I just used a sanding block on the coarsest side and distressed until I got the look I wanted!
Love it!!!! Could you please tell me how to distress the wood?
So rustic and pretty! I love it. 🙂
Oh I love this flag Kathy! The star is so cool and I love that you distressed it! Perfect!
I love it! That rusty looking star is perfect. Great idea to use the tape to measure the stripes. Well done! laurie
Love it, Kathy! It looks like it was made for that spot! 🙂
This is so adorable, I love the rustic star on it. Love how easy it was to make too, awesome job!!
Love your flag, it looks great with one star on blue field. Glad to hear your flag isn’t too heavy to hang on wall or any place it suits you. I used to have lots of those stars, got them in MT and KY.
Had to get rid of so many awesome things before we moved from KY to move to western CO where we live now, about 18 miles west of Grand Junction.
Your flag is a great size, not too big. Think I made mine too big, used an end off a pallet, added boards between existing boards. Took me while to get all the stripes right and the stars. Looked at a little flag I had for placement of the stars. Fun project tho. Will have it ready for July 4th. along with printing out several of free printables offered. Love to decorate front porch for holidays.
Hope you’re enjoying your summer so far. Happy days
Love love love your creativity, Kathy. VERY impressive! Happy July 4th.
Make it a great week 🙂
Thank you Amy, I love the rusty star!
Thanks Christy. Sometimes it’s nice just to sit down and put something simple together. Some of my projects can be a little time consuming and overwhelming. I’m sure you know how that is 😉
Jazmin, I don’t have the skills to paint freehand so that’s why I use stencils…..or stars! Glad you like it.
You pulled this together with such ease,like you’ve been making these for years! I love the rustic feel you gave the whole piece. Using the metal star instead of white stars makes it really unique. Love it!!
You never cease to amaze me!!!! I just love this idea…so simple with a wow factor! Great job! Buffered and pinned! ~Christy
I absolutely adore the rustic charm of your flag! I’m in love with the iron star. Every time I think about tackling a project like this I always shy away because I don’t have the patience or skill to hand-paint so many little stars!
please do!
ok; if you’d like, I can send you before and after pics?
Rust is always good. Thanks for the nice comment!
I will probably leave it there for a while but it may get a place of honor on the mantel for the 4th.
Wow, not sure Linda without seeing it. You may want to just wipe off all the peeling stuff and give it a good cleaning then use hemp oil to restore the finish that’s there.
That’s one of my favorite chest of drawers and it shows up in a lot of my photo displays!
Thanks Nancy, You know how sometimes in the middle of the night when you can’t sleep because your brain is going 90 miles an hour?….idea time..
Thanks Logan!
ooohhhh, what a great idea Chris….thinking maybe closer to July look for a new mantel display 😉
that really looks good with one of my favorite dressers of course it would look good on your mantle with the big rusty thingy and some of your painted jars also xx
Really a great project and tutorial….THANKS!
That is awesome Kathy!! I really love it! You are always so creative!!! 🙂
Nancy
I like that….very cheerful looking….I might need to make one too….thanks for the info…and love the chest of drawers too…
Kathy you have the coolest stuff in your stash! That iron star is the perfect touch. And using an old drawer bottom? Genius! I love your project. Thanks for joining the tour!
Thank you for sharing your tips and experiences. I have learned a great deal and now have a new hobby.
A question: I want to redo a real antique dresser that is already quite distressed just from age. It is oak with varnish/urethane peeling off. It seems sorta sacrilegious to paint it. What would you do?
Thanks for any input!
I love this, Kathy! You were smart to use the tape size and not have to worry about measuring. When that works out, it’s a good thing. I think I’d leave this hanging above your dresser all of the time. They look great together!
So darn cute, I love the rusty star it makes it just perfect.