DIY Camper Sign Painted Using A Crazy Technique I Made Up
As an Amazon Associate, I earn from qualifying purchases.
DIY Camper Sign
Do you guys like to experiment? Me too. I went out on a limb with the DIY camper sign. See, I was pulling out all my tools getting ready to stencil and I thought hey……what can I use besides stencil brushes to stencil. Because I’m crazy like that.
If you’ve been around here for a while you know I love to stencil. Some of you comment that you hate to stencil or it’s always a mess. I was the same way, until I learned the secret to stenciling. Now I stencil all of the time. I guess that’s why I wanted to try something a bit different. I’ll tell you what I did and if I would recommend this technique.

Woodsy DIY Camper Sign
Isn’t that little camper cute. The colors are so cheery. You know it is the travel/vacation/camping season. I don’t camp but I admire the cute camper art I see online and in the stores. That’s as close to camping as I want to get. Do you camp? Tent, Motorhome, Camper? Share you stories with me in the comments.

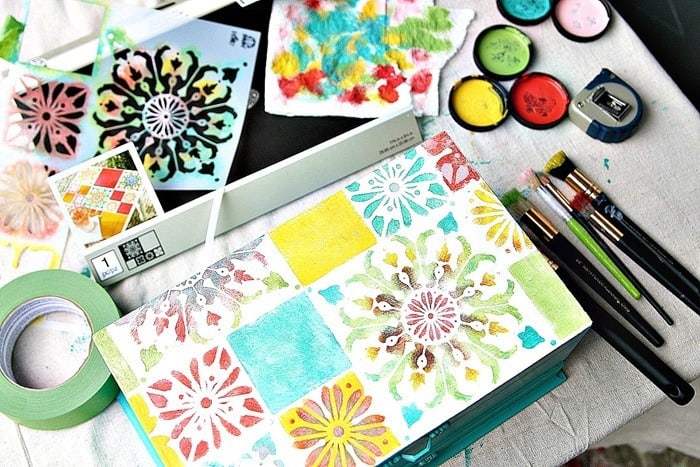
I started the sign with a blank wood sign you can find at just about any craft store. The camper stencil is from the FolkArt Value Pack Stencils, Woodland Design. These stencils are heavy duty paper and I use them over and over.
The stencil pack contains a ton of designs. In case you are wondering about the stencil pack photo there is a red sheet of paper behind the camper stencil….……for displaying the stencil.  Next I went through my stash of acrylic paints looking for tree, camper, and ground colors. This is where the experiment comes in. I cut small pieces of cloth from a lint free white sheet. That is my stenciling tool today…..cloth.

I placed the camper stencil on the wood sign board and taped it in place using painter’s tape. This is how the stenciling went….
How To Stencil Using A Cloth
1. Pour paint onto a paper plate.
2. Fold the small piece of sheet into a square or bunch it up in your hand.
3. Dab the cloth in the paint.
4. Dab the cloth on a paper towel to remove excess paint.
5. Start stenciling by dabbing the cloth on the stencil. Don’t swirl, pounce, or rub…just dab.
6. Load the cloth with more paint as needed.
7. Be sure and dab the paint in all the corners and edges of the stencil.
Okay, that’s the basics of the process. Now I’m going to walk you through the DIY camper sign project. I made a few boo boos but I took care of them. I also added small details that add to the overall design.
As you can see I chose red for the camper. I picked three varying shades of red to use on the camper. I alternated the colors dabbing them sometimes on top of each other, sometimes just in small areas. The three colors were not wildly different but different enough to give the red camper depth. One color would be too flat.

One of my boo boos was stenciling the entire camper red. I forgot about the tires and windows and the little extra details. No problem. I just dabbed black paint over the wheels and yellow paint over the windows and door. I didn’t worry about bits of red showing beneath the other colors…..it just added more depth.

There were two tree designs on the stencil and I used both of them. I placed the trees just willy nilly on the sign. Again, I used two colors of green for the trees. The little short tree trunks got one color of brown.
I always like to place a few of my stenciled objects part way off of the sign or off-center on whatever project I’m stenciling. We don’t want to be perfect around here……perfectly imperfect please.

The little tree on the edge of the sign got a wood star tree topper. Can you see the varying colors and layers of the tree? I don’t know why but I really like the dabbed paint look.

One last special added detail. I dipped the bristles of a toothbrush into metallic gold paint and stippled a bit of it onto a few of the trees. It’s always the small details that make a project.

For the road/ground/dirt I used the cloth to swirl and dab bits of brown, gray, and black to the bottom fourth (or so) of the sign.
I can see the camper in aqua or pink or pastel green or even two tone…..maybe pink and pastel green. The color choices are endless.

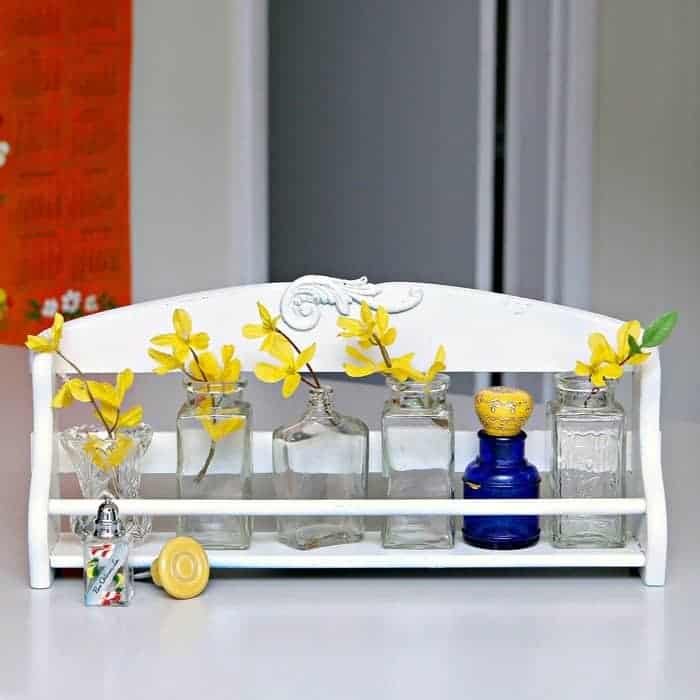
And that’s the story of my experimental stencil technique. I put the sign on the mantel and showcased it with things from my junk stash.
What do I have to say about this technique? It’s a little messy using the cloths. Not messy on the project, messy on your hands. Dabbing the paint gives a unique look you don’t get using a stencil brush. You can make the layers really dark by waiting for each layer to dry and adding more paint. This works great if you want to have really light areas and dark areas like with the trees.
I wouldn’t recommend using the cloth method with small really detailed stencils. It might be difficult to get the paint into all of the areas. It worked great on the camper because of the large areas to be stenciled.
So what do you guys think? Have I lost my mind? Do you like the stenciled DIY camper sign? You can find the stencil and paints (not the sign board) on the Petticoat Junktion Amazon Page here. It’s great that Amazon let me set up this page so I can always find my favorite products and you can too.
For regular stenciling how-tos check out these two stencil tutorials I posted earlier…..How To Stencil Like A Pro and Pink Flamingo Stencil Project with Video Tutorial.
As always, thanks for being here and have a great day, Kathy

Wow, thanks Laura for the comment. I think it’s great that you get to go to your 50th class reunion this year and also to see your son. Yep, I think sticking to stencil brushes is probably the best option. I’ll have to check out the green plastic handle ones at Hobby Lobby.
Kathy, to answer your first question, we camp one to two times a year, in a travel trailer only. And only go to places where they have full electrical and water/sewer hookup, so it is easier than dumping waste water. And my husband takes care of all hook ups, I don’t mess with any of that. We have two trips coming up, one to my 50 th class reunion and one to see my son in L.A.
Second question, do I stencil. Yep, at least two projects a week. I use the traditional stencil brushes and have learned how to off load the paint to a paper towel so that you get really clean edges. The blog Adirondack Girl at Heart, Diana, uses the dense foam makeup triangles and has success with those. I tried them, but liked my stencil brushes better. I like the green plastic handle ones that Hobby Lobby sells. I have bought two different sets of wood handled stencil brushes. But still prefer the green handle ones, they don’t lose bristles and have a cleaner finish
The dab, dab, cloth method is cute, but I would only use it for rustic pieces, too messy looking for my preference! But your project is cute, just not my style.
Adorable sign! thanks
Wow, I love that makeup sponge idea Stormee. Thanks!!
I have not stenciled successfully, although I would like to learn. I think it’s probably a matter of practicing and I haven’t done enough of that. I think your use of the little rag for applying the paint is interesting. And it certainly turned out fine. I love the little camper board. I like the other reader’s ideas, too, for using make-up sponges or other types of sponges for unique textures. I feel like I’m getting in the mood to try stenciling again!
Thanks for the inspiration!
Kathy, this is such a cute sign and the colors you used are just perfect!!
Clever and imaginative use of minimal detail to create the effect. Very nice for a child’s room.
Nice technique with the cloth. You can also use a makeup sponge, sea sponge or kitchen sponge to stencil with totally different looks. It’s fun to experiment with various “tools” to achieve new looks.
I love your posts – they inspire me!!!!