How To Wet Distress Paint
As an Amazon Associate, I earn from qualifying purchases.
This small table needed a makeover, and painting the table black was just the beginning. The fun part was wet distressing the paint.
Do you know why wet distressing is a great paint technique? One, it isn’t messy like sanding with sandpaper, and two, the original stained finish is preserved. Let me show you what I’m talking about.
How To Paint And Wet Distress Furniture
Black paint and this special distressing technique create a beautifully worn, aged finish on an old table. Paint and distress any piece of wood furniture using this tutorial.
The Project Table
")
I bought the side table at my favorite junk shop. I love the shop! The owner and his sisters are so nice, and the prices are more than reasonable. The table was only $5.
I’ve made a few videos at the shop, and I will post one of them here so you can get a look at the store.
")
As you can see the table needed a little help. I’m not a refinisher, too much work for me, so paint it is.
Supplies you will need for this project
Paint
Paintbrush
Lint free rags
Simple Green (or other household cleaner)
The Paint

Caviar is one of my favorite Dixie Belle Chalk Mineral Paint colors. It’s midnight black with a matte sheen and the color works with any decor.
")
I applied two coats of paint, waiting one hour between coats. This paint dries really fast.
A two-inch flat-tip brush is usually my paintbrush of choice, but lately, on smaller projects, I’ve been using small basecoating brushes by Folk Art. The bristles are made of a synthetic material called taklon, and the paint flows on smoothly with no brush marks.
")
Always brush your paint in the same direction as the wood grain. When working around raised details—such as this beaded trim—load just the tips of your brush with paint and gently press the paint into the grooves. “Mush” might not be the proper technical term, but that’s what you do!
Wet Distressing The Paint
")
Now that the table is completely covered with black paint, we will remove some of it. Doesn’t make sense? To those of us who love distressed paint, it does.
Why apply two coats of paint and cover the wood completely if we are going to remove it? Even when the plan is to distress furniture, it still requires a solid base coat of paint. If the paint is patchy or thin, your distressing can look uneven (not in a good way) instead of naturally worn.
")
To wet distress the paint, start with a lint-free rag and spray it with Simple Green or your preferred household cleaner. You want the rag to be more than damp but not saturated.
Lightly run the moistened rag over the area you intend to distress a couple of times.
This helps prepare the paint for removal. Apply pressure and rub the rag across the paint until it begins to wipe away.
The number of wipes over the area and the amount of pressure it takes to distress the paint to your desired look will vary.
The type of paint, the original surface material, and how long the paint has cured factor into the wet distressing process. Chalk paint that has cured for a day or two will require more pressure to remove than slick or laminated furniture painted with latex paint.
It took several passes with the rag and a great deal of pressure to distress the paint on the little table. I didn’t have time to distress the paint on the same day I painted it, so the paint had already started to cure.
What To Distress
Distress parts of the furniture that naturally wear over time. Think about the edges and corners of the piece, raised details and moldings, the areas surrounding knobs and handles, (along with the sides of drawers where they are pulled open). Also, be sure to distress the bottom and sides of the feet and legs.
My Favorite Dixie Belle Products:
Dixie Belle Boss
Scrubby Soap
The Belle Paint Brush
Acadia Silk Mineral Paint
Glacier Mineral Paint
Peacock Chalk Mineral Paint
Terra Seal Matte Finish
Drop Cloth Chalk Mineral Paint
Seal The Paint?

For this table makeover, I didn’t seal the paint. Dixie Belle Mineral Paint adheres well and doesn’t chip or flake easily. If the table were going to see a lot of wear, I would apply a coat of wax or light sealer.

The distressed areas showcase the original stain instead of raw wood, and the distressing appears more natural.

I would call this a moderate amount of distressing. It is up to you to decide how distressed the paint will be. Notice I distressed the detailed edges on the top portion of the legs, but did not distress the bottom half of the legs.

I’m taking the table to my booth today and pricing it low, $38. Hopefully, it will sell quickly. The JTS and I are getting too old and out of shape to handle large furniture, so I will mostly be working on small tables, nightstands, and compact dressers or chests.
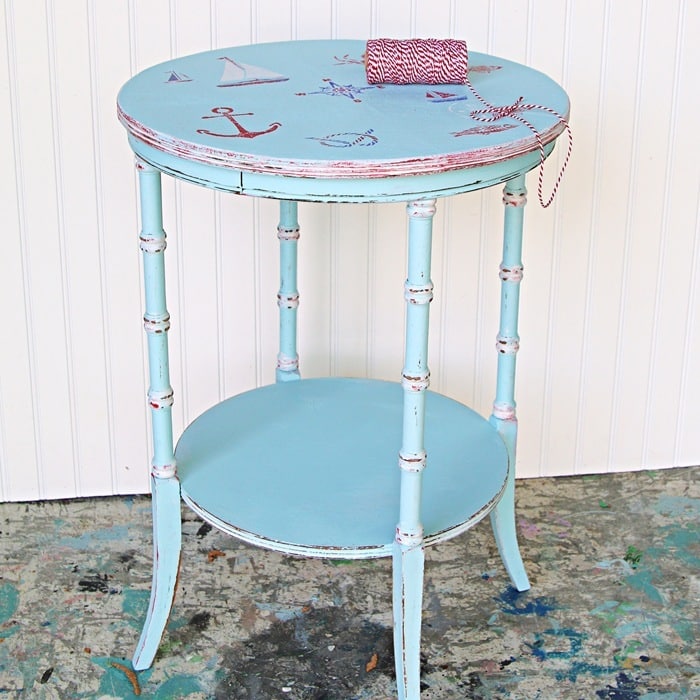
Speaking of small tables – this nautical-inspired table didn’t sell, so I repainted it. I get tired of doing “regular” makeovers, but really specific themed furniture doesn’t move very fast in the shop.

So…..black paint it is and no distressing for this table.

You have to admit, black furniture is pretty.

I painted the juice jar with Rustoleum Copper Metallic Spray Paint, and I got the white sunflower stems at Michaels on sale, of course.
Looks Great👍
How sweet! And good to know my tutorials are useful. Happy Thanksgiving
The tables look great! I learned about the wet distressing from your blog a few years ago & have used it on several pieces. We’re sending good thoughts for you and JTS. Happy Holidays!
Are you talking about sanding before painting the table? I did not sand and it isn’t necessary with this paint unless there are a lot of dings and rough places on the piece.
Thank you Ruth
It looks great!
Sending prayers to JT and you.
Very nice pics Kathy. You didn’t mention sanding – not necessary with his paint? Thanks!
Thank you. Hopefully he will heal fast and his eye will get better.
Thank you Kathy
Yes, we both need a lot of prayers! Thank you
Love the tables! Prayers for you and your husband. I know what it’s like to be a caretaker and you need just as many prayers…lol. Good luck to both of you!
Sending prayers for you and your family 🙏🙏🙏
Kathy, I’ve read you for years and just wanted to say I’m sorry to hear about your husband. I hope he has time to heal now.