How To Repair And Paint An Antique Picture Frame
As an Amazon Associate, I earn from qualifying purchases.
Hey everyone, welcome to Trashy Treasures Tuesday. For today’s project, I repaired an antique picture frame where the detailed wood appliqué had been damaged. It’s an easy fix, and I’ll show you how I did it.

But first, let me briefly tell you about Trashy Treasures Tuesday. My friends Christy (Confessions of a Serial DIYer), Denise (Salvaged Inspirations), and Nancy (Artsy Chicks Rule) share trash-to-treasure projects on the second Tuesday of every month.
They were nice enough to let me join them (after I kind-of invited myself)! You guys know how much I love upcycling old junk, so I’m ecstatic. Find all the projects for this month down below.
")
I’m super excited about this frame and decoupage project because it came out better than I expected. That doesn’t happen often. I found the frame at my favorite junk shop, but I don’t remember the price.
The glass in the frame is convex, or bubble-type. I consider it convex because it isn’t as rounded as some of the glass I see in these old frames. After researching, I found that the frame was probably made in the early 1900s.
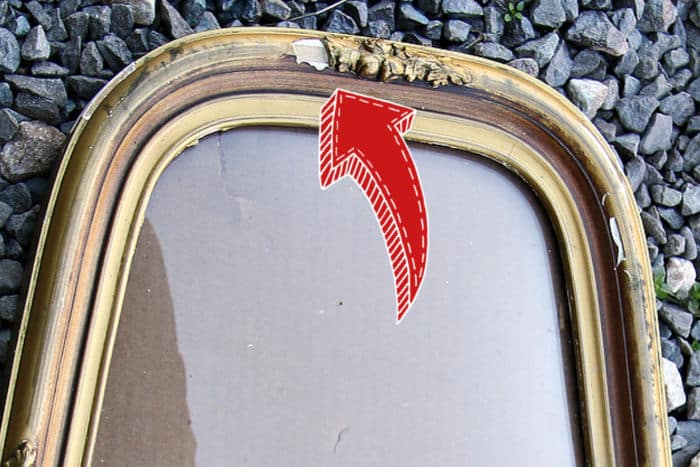
Take a look at the damaged wood applique in the photo above. It is at the bottom of the frame when the frame is hung vertically. This is the area I repaired.
And you can’t even tell the frame was damaged. I will show you how I made the repair, painted and gilded the frame, and decoupaged rice paper to the cardboard backing.
")
I’m sure there was a photograph in the frame at one time.
")
With the frame, there is the convex glass, an old piece of cardboard backing (I believe it’s original to the frame), and a newer cardboard backing.

To repair the damaged part of the frame, I used Gorilla Wood Filler. Now, you could use special tools to shape the putty (filler), or you could use your fingers as I did.
The putty is soft and pliable, and I did a few twists and turns, pushing and pulling it with my fingertips to shape it. I knew I couldn’t shape it to match perfectly.

Once the wood filler dried, I smoothed it by hand with sandpaper, shaping it as I went.
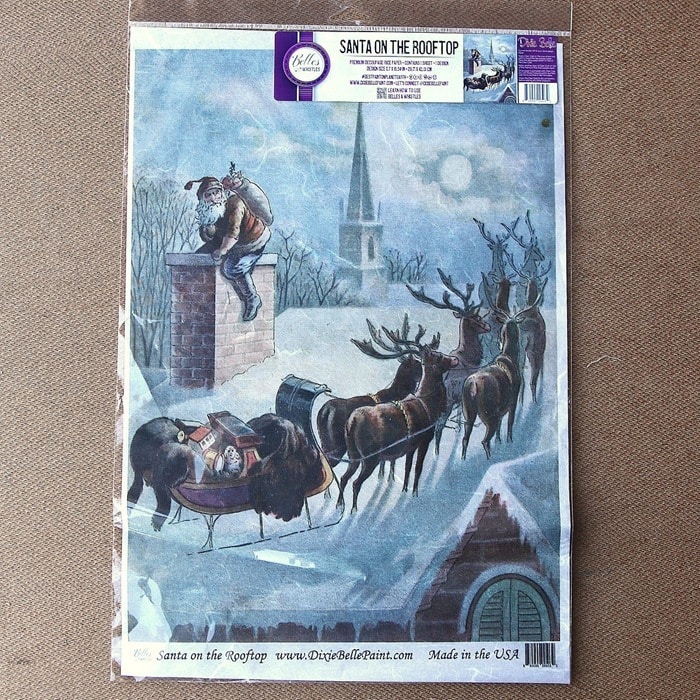
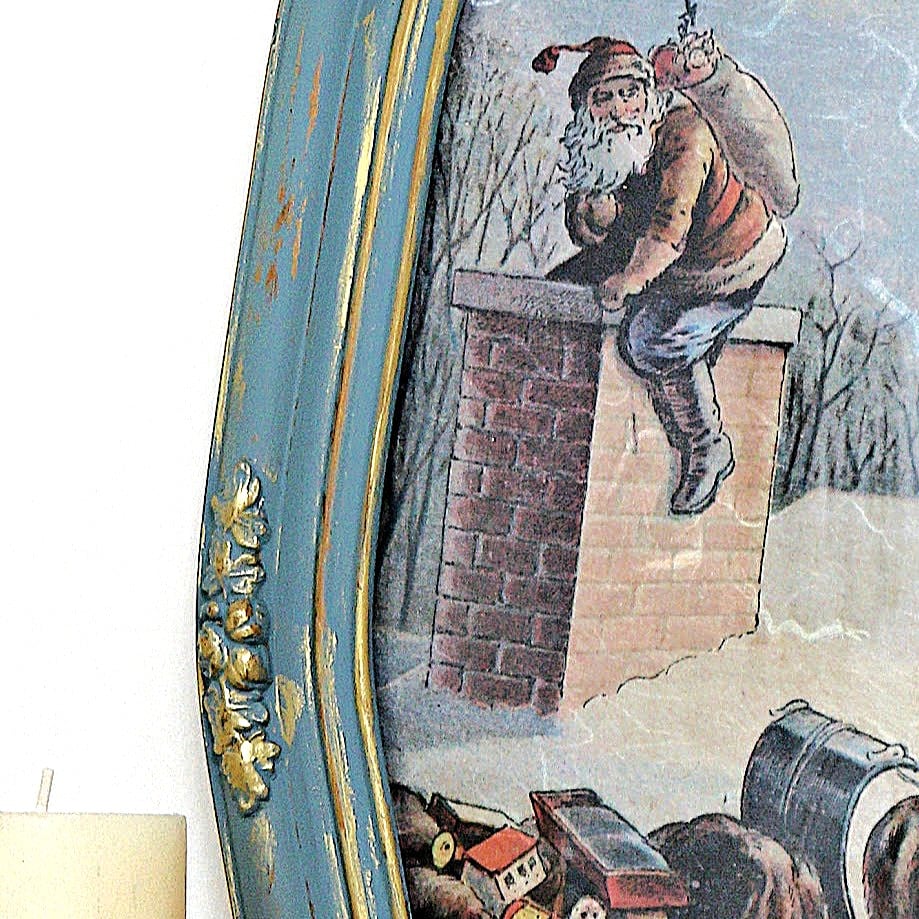
While the filler was drying and before I shaped it, I worked on something for the inside of the frame. The Santa On A Rooftop Decoupage Rice Paper has been in my stash of stuff for a year or two.
I decided it would look great in the frame if the frame were painted, and I had been trying to find something to put in the antique frame for months. Finally!

The cardboard backing was sturdy and firm, so I covered it with Terra Seal, which I find works better for the decoupage rice paper than Mod Podge.
")
You can see on the right side of my work area where I spilled some sealer. I’m always a hot mess. I brushed the Terra Seal on lightly.
")
And when applying the decoupage paper to the cardboard, decided I didn’t apply enough of the sealer. So I pulled the paper up and brushed on a thick layer of Terra Seal.

I smoothed all the wrinkles and left it to sit to dry. You can see the outline of the cardboard in the photo above.

While the paper dried, I mixed paints to create a soft blue to match the Santa scene. Seems I never have the color I need.
I mixed black, blue, white, and a bit of other paint colors to get a light blue. You can see my work in progress with the color samples going up the paint stick!
")
Mixing the paint colors is the fun part and painting is the easy part.

After painting the frame, I let the paint dry to the touch then went over it with a damp wipe to wet distress the paint in the raised areas.
")
The gold parts of the frame weren’t shiny enough for me, so I grabbed the gold gilding wax. I’m sorry the photo is blurry, and my lighting in several of the pictures isn’t the best.
I was working at the desk in our family room, and I can’t tell you how many cloudy, gloomy days we have had this month. Too many for me.

I have more control over the wax when I apply it with my fingertips.

I rubbed wax over the wood appliques, the raised details, and the edges of the frame. It’s better if the finish isn’t perfect.
Too many times, I hear my friends or shoppers at the store say they can’t do this or that. Perfection is overrated. No character.

The gilding wax needs to be lightly buffed with a lint-free rag once it is dry. Old sheets make the best rags.

Now back to my decoupage project. I tried cutting the rice paper around the edges of the cardboard, but I kept tearing it.

I used my friend Christy’s technique and grabbed my sandpaper.

I should just move on and not tell you this part, hoping you don’t notice. I thought I was centering the design perfectly but you can see how Santa and the church spire lean to the right, lol.

The last step before putting the frame and Santa print together is to protect Santa with a layer of Terra Seal.
")
I cleaned the glass thoroughly and secured everything in the frame with small nails.
My Favorite Dixie Belle Products:
Dixie Belle Website
Dixie Belle Boss
Scrubby Soap
The Belle Paint Brush
Gold Gilding Wax
Peacock Chalk Mineral Paint
Baroque Swirls – Water Slide Transfer
Terra Seal Matte Finish
Santa on the Rooftop Decoupage Paper
Are you ready to see what it looks like all put together?

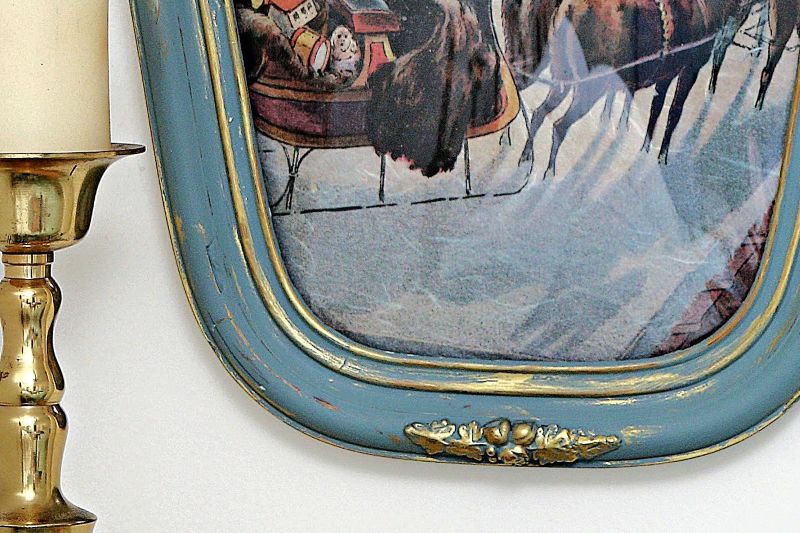
I love the whole vibe. I was going for “old world,” and I think I hit it. The deep, but muted colors of the paper and the ornate frame do it for me.
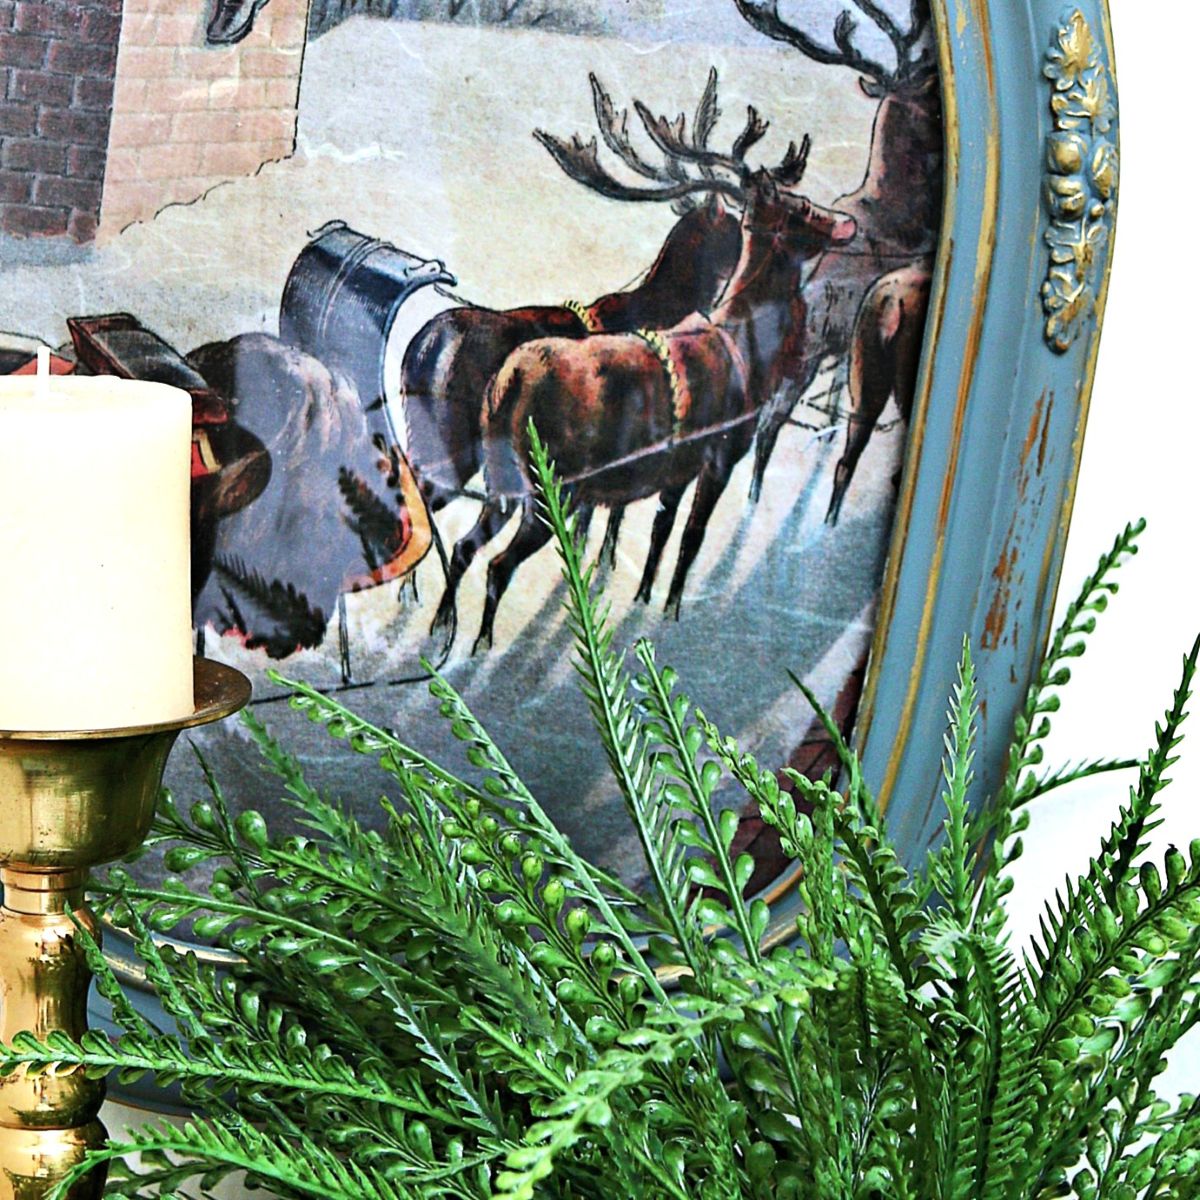
I didn’t use the greenery to cover the repaired area; it’s just the staging I decided on.

Because you can see the repaired area on the bottom of the frame in the photo above and the repair blends in with the applique.
The blue and gold color combo works for me.

Do you think the slanted spire looks too bad? Leave a note if you have time before heading out on the tour. Please take the tour so my friends won’t give me a hard time in my first month here.
The blogging world is huge, and we mostly know each other by our online presence. In this case, the four of us have hung out together at various blogging conferences. These 3 girls are some of the best!
Take the tour by clicking the links under the Trashy Treasures photo collage……

Trashy Treasures Tuesday:
Night Table Makeover – Confessions of a Serial DIY’er
DIY Holiday Decor With Thrifted Frames – Artsy Chicks Rule
DIY Hurricane Lamp Christmas Decor – Salvaged Inspirations
Antique Frame Makeover – Petticoat Junktion (you are here)

As always, thanks for being here, Kathy
Thank you! Merry Christmas
Thank you!
That is a really beautiful makeover!
Good Morning wishing your hubby a full recovery!!!!!!
MERRY CHRISTMAS and may your NEW YEAR BE HAPPY !!!
You made a beautiful shade of blue to go with the picture.
Honestly, if you hadn’t pointed it out,I probably wouldn’t have noticed the slightly off kikter church.
Hope your holiday season is peaceful.
Thank you!
You are right! I will be on the lookout for another picture or print
Thank you!
Thank you!
Thank you!
Thank you!
hahahaha, thanks!
Thank you!
Thank you!
Thank you!
Thank you! Merry Christmas
The framed Santa turned out perfect, Kathy! Good thing you show before & after as I never would’ve believed it could be so cute. Happy to hear hubby is doing better. Happy Holidays!
Love how the picture turned out. Beautiful!
So glad your husband is doing well. Prayers his vision will return!
So thrilled to have you join us, Kathy!! And I love this! The colors are gorgeous too! xoxo
Good to hear the positives for Mr. PJC – will continue to pray. I love, love what you did to make the frame live again. The picture looks good – all in the angle of the eye/camera. Very nostalgic!
I LOVE this piece, And I don’t mind the slanted spire and chimney. After all…I’m standing on a rooftop so everything looks kinda wonky. 😉
The repair looks great. I like the color combo too.
So glad your hubby is doing better☺️
I love the finished product and don’t think one notices the slant of the decoupaged print. We always are most critical of our own work because we’ve been so close to it. Glad to see you added to this monthly tour!
What a great vintage holiday vibe, love it, Kathy! We’re thrilled to have you as part of the TTT crew! Pinned! XOXO
I’m so glad to have you joining us, Kathy!! This color combo is so gorgeous and the repair you did is amazing! And I never even noticed the image was crooked until you pointed it out lol! XOXO
That frame is everything!! (Yeah, the crooked church bothers me a little 😬 sorry). I’d have to find a year-round picture to use so I could look at that frame daily. I love it. I thought you had been active in trashy treasure tuesdays in the past. Good to see you.
I don’t think it looks bad. I love the choices with paint, gilding and the rice paper. It does look old and you can’t really tell about the repair–only because you told us. May be true with the slanted spire as well. Glad you’ve joined for this. I like your daring choices and definitely your honesty. Nice job!