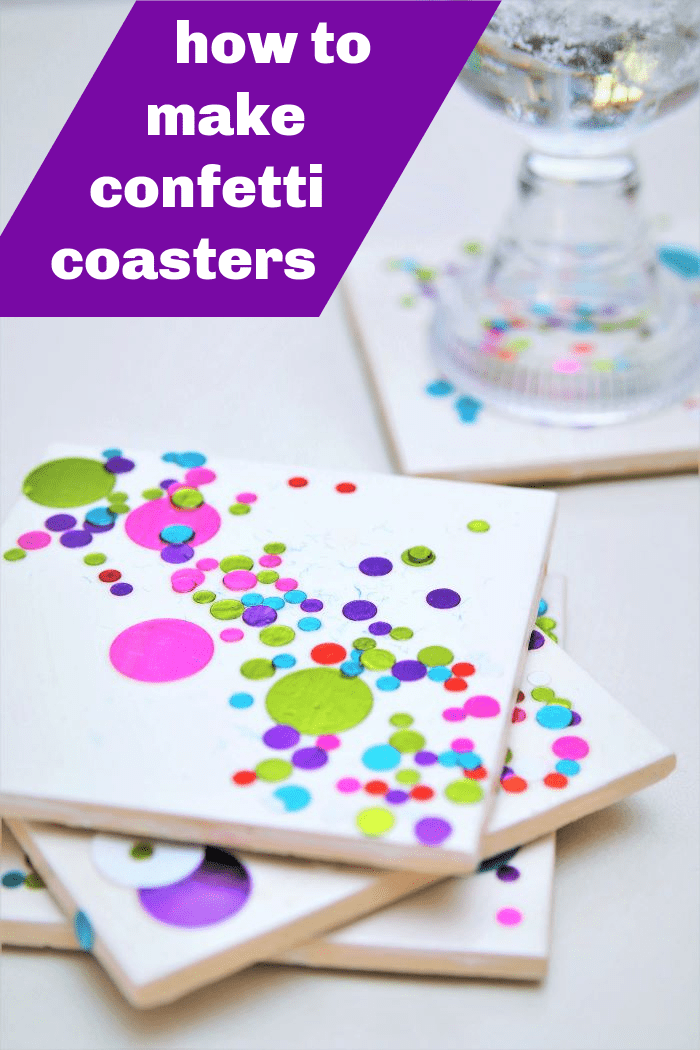
Make DIY Confetti Coasters Using White Tiles, Mod Podge, And Confetti
As an Amazon Associate, I earn from qualifying purchases.
Make DIY confetti coasters for your next party or just for everyday use. I use mine for everyday because they make me smile. The coasters are so pretty with the bold colorful confetti. You guys know I love to surround myself with color.

Confetti coasters are inexpensive to make and take no time at all, less than 30 minutes (allowing for drying time). And……..you just have to smile when you look at them.
These bright little dots have my name all over them. Bold colors are right up there with chocolate on my list of favorite things. This coaster idea can be customized with different confetti colors or special confetti with words, dates, etc. Think about anniversaries, weddings, birthdays, etc.

There is champagne glass confetti, animal shaped confetti, and some confetti I can’t describe on this family blog. Now, to get to the project details.
How To Make Confetti Tile Coasters

Supplies for the Coaster project:
Confetti from Hobby Lobby (50% off coupon)
4 Ceramic Tiles from the local home improvement store
Cork or sticky cushion pads
Mod Podge – Hard Coat and Gloss Formulas
Mod Podge Brush

There are so many Mod Podge formulas that I can’t keep up with them all. I really like the furniture gloss, and I use the matte finish Mod Podge too.

Step 1. Apply Hard Coat Mod Podge to the ceramic tile.
A Mod Podge brush is perfect for this step. I applied a pretty thick coat of Mod Podge to the tile. The short-bristled brush makes applying the Mod Podge super easy.
Step 2. Sprinkle confetti onto the tiles.

It was kind of hard to get the confetti out of the bag, so I poured it all into a box so I could pick up the little pieces.
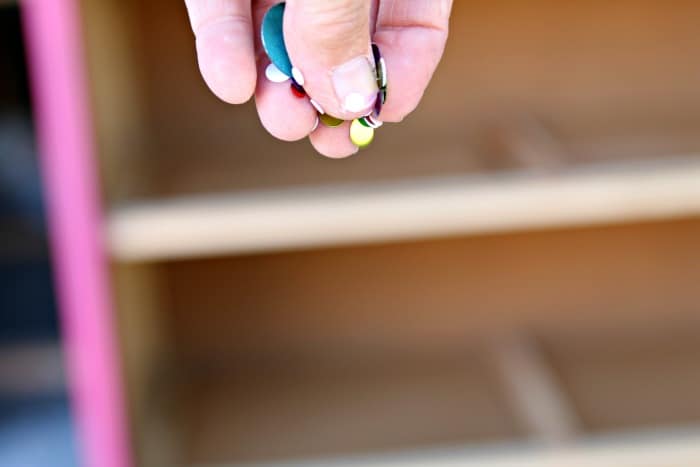
I got a handful of confetti and sprinkled it on the tiles all willy-nilly. I left some of the confetti in layers just as it fell, and some I spread out. The larger dots of confetti I laid on the coasters, and worked around them with the smaller dots.

The photo above shows that the tile on the left has a coat of Mod Podge applied over the confetti as a sealer. The one on the right doesn’t have Mod Podge brushed over the confetti yet.

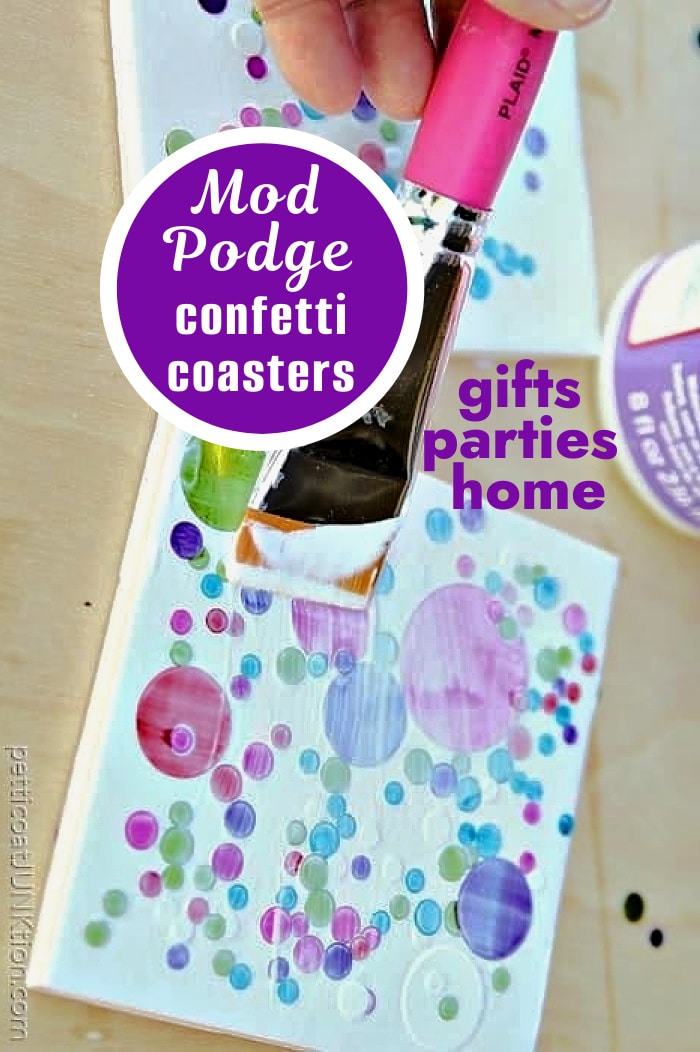
Step 3. Apply Hard Coat Mod Podge over the confetti.
Once the layer of confetti and Mod Podge is dry, coat the tile with several layers of Hard Coat Mod Podge allowing for drying time in between layers.

Step 4. Apply a layer of Gloss Mod Podge
You guys know I like the shiny stuff. I applied one layer of Gloss Mod Podge as the finishing touch because the Hard Coat Mod Podge isn’t really glossy. The confetti was shiny to start with, but a little extra shine is always nice.

Step 5. Add table protector pads
Now we need to add something to the bottom of the tiles to protect the table. I had a roll of cork in my stash, so I used it for the coaster pads. I cut a small square of cork for each corner and glued it on using regular glue. Pre-cut adhesive pads would work great too.

Look at all that sparkle and shine. I would use these at my New Year’s Eve party. The guests would uh and ah over them. Brings a big smile to my face. This little set is a gift for a friend. These are so pretty, you don’t even have to wrap them. Just stack them and tie a bow around them.

Now I need to make a set for me but I ran out of tiles.
I love the confetti so much I used it on a piece of furniture here……You’ll Never Believe What I Did With Confetti.
These coasters make great gifts, and they won’t break the bank either. Your friends would love a set of confetti coasters, trust me. Have a great day, and thanks for being here. Kathy
Awesome! Thanks
I’m so excited to use this little craft idea at a women’s retreat I am leading later this month! I’m always looking for quality affordable crafts that anyone can do. This is perfect!
Happy New Year
Thank you for ALL of your posts for 2021. Very creative ideas and projects. I can’t wait for 2022. Happy New Year.
Those are just darling! I love them. Pinned.
Love these coasters! It’s such a fun project for New Years. I hope you’ll stop by to share them at The Crafty Corner link party on my blog. Pinning!
The table protector pads are a great idea. I’d like to give a couple of sets of these colorful coasters as hostess gifts. Merry Christmas!
These are so cute! I’ve made coasters with photos and napkins before, but I really like this idea as well. I’ll have to keep it in mind. It would make a fun Birthday gift too.
Kathy, those are so pretty and cheerful! I love that you can use any color tile too, although white looks great with the little dots, which remind me of Tiddly Winks. It looks like an easy project. I would be delighted to receive a set of these as a gift, so I’m sure the recipient of yours will be pleased.
Thanks Susie!
This is a fav “Kathy” project. Love the clean, fresh look for Spring. Love your photos! What a great project! ~~Homerun~~ XOX Susie from The Chelsea Project
Thank you Shirley. You know I love the bright colors!
I love them Kathy!!!…yes.. great gifts and a great guest gift for your New Year’s guests too!
Not really. Some of the pieces might move a bit but the Mod Podge does a good job of holding them in place. Put a layer of Mod Podge on the tiles before putting the confetti on.
I love your confetti coasters, but was wondering does they confetti not move when you apply the mode podge? Thanks.
I’m not sure Andy. I bought them at Hobby Lobby.
Hi there. Love tge coasters. Wondering, is the confetti foil?
you are awesome and have awesome ideas
you always have such great ideas, thanks
Love your colorful coasters, Kathy and how awesome would they be on New Year’s Eve! Pining and sharing 🙂
Love them can hardly wait to make a set with my grand daughter. Thanks
These are gorgeous and so much fun! You know I love all the shiny things too!! I would totally use a set {or two or three} of these in my house!