Furniture Makeover: Change Drawer Pulls | Paint | Decoupage With Fabric
As an Amazon Associate, I earn from qualifying purchases.
This is a complete furniture makeover including a change of drawer pulls from old to new and how to do that, painting the furniture, and then how to decoupage with fabric! It’s easier than you think. Changing the drawer pulls or knobs as part of a furniture makeover will give the furniture a whole new look. And of course fabric choices for decoupage on the furniture is endless. So let’s get to work.

I did it all on this nightstand from changing the drawer pulls, to paint, to decoupage. I share the whole makeover from beginning to end in this tutorial.
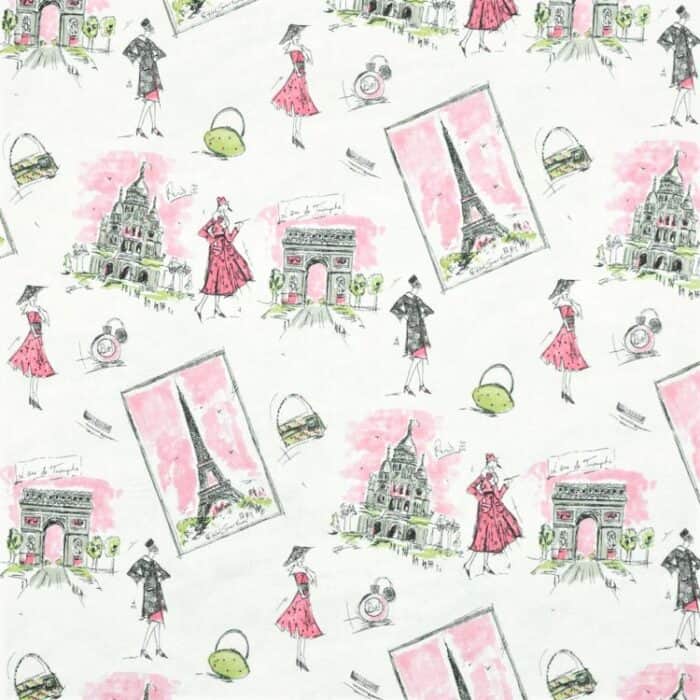
I was inspired by this pretty fabric I spotted at a local store a while back. I loved the colors and the design of the fabric. The name of the fabric is Tres Chic Black/ Pink and it’s by Waverly.
I thought about putting the fabric on the drawers or the top but decided at the last minute that it would work best on the sides. That was my vision anyway.

This is the before of the nightstand. Cute shape but the nightstand had issues and those outdated drawer pulls had to go.
 You can see the stained top has a lot of damage to it. That really isn’t a problem with a paint makeover because a little sanding with a power sander or sandpaper by hand will even out the roughness of the finish.

And man was the nightstand dirty. I sanded the loose finish from the top of the nightstand then grabbed the shop vac

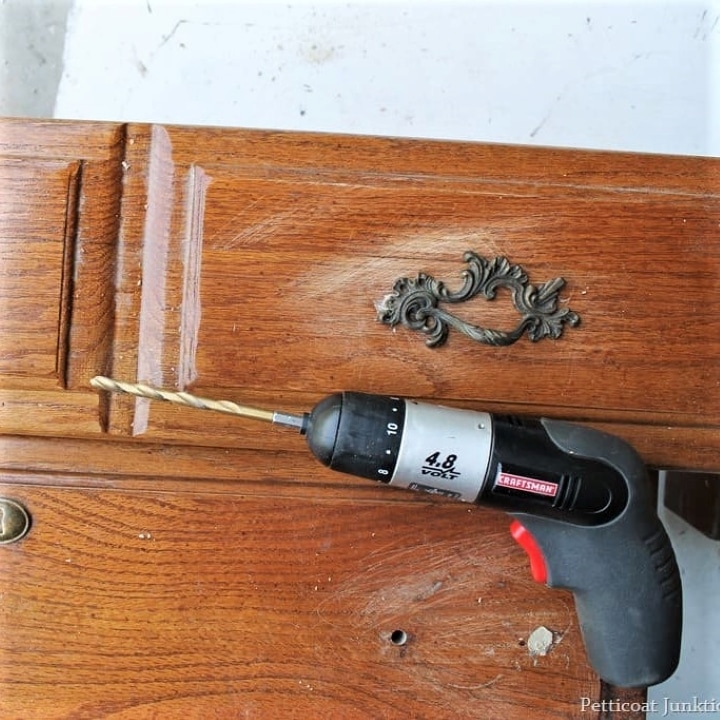
The first order of business was to drill new holes for the drawer knobs and fill the old pull holes with putty. I wanted the nightstand to have a modern up to date look so I decided to change the hardware style.
A big wood knob

The template has different sets of holes for different size drawer pulls and the screw holes are measured center-to-center. The center-to-center of any drawer pull is the distance between the center of one screw hole to the center of the other.
The template

I used my power drill to make a new hole for the knob. The drill is one of my favorite power tools.

Then I filled the old holes with Elmer’s Wood Filler

Now for the secret of the paint. I primed the nightstand and I liked the look of the primer so much I just went with that. I was going to paint the piece pink but thought that might be overkill with the pink girly fabric. The primer is one of my favorite brands….Glidden. I always have the primer tinted at Home Depot to a gray color. Gray works great under any top coat. I like it much better than white primer.

Moving on to the decoupage part of the post. I cut the “Tres Chic” fabric

I laid the fabric face down on plastic sheeting and covered it liberally with Mod-Podge using a foam brush.

I turned the nightstand on it’s side so I would be working on horizontal surface and applied the Mod Podge coated fabric. I rubbed the fabric from the center out with a soft cloth to remove all the bubbles….well…almost all.

Before the fabric was completely dry I trimmed off the excess with a razor. It might have been better to wait until it dried but I was afraid the overlap would adhere to the paint and pull it off.

When the fabric was dry I brushed on two coats of the Mod-Podge as a sealer. It dries clear so no worries! Did you know Mod-Podge can be used to seal any number of things? Seal paint, varnish, paper, etc.

Now for the “new” knobs. I found a couple of unfinished wood knobs in my stash and simply painted them with black satin spray paint. And that was it! The old drawer pull holes are completely covered up with filler and wood and the new knobs give the nightstand a modern look.

The gray primer has a flat finish and I like it! What about you? Are you surprised that the nightstand looks totally different? It’s my favorite thing to do….make a piece of furniture unrecognizable from it’s original look!

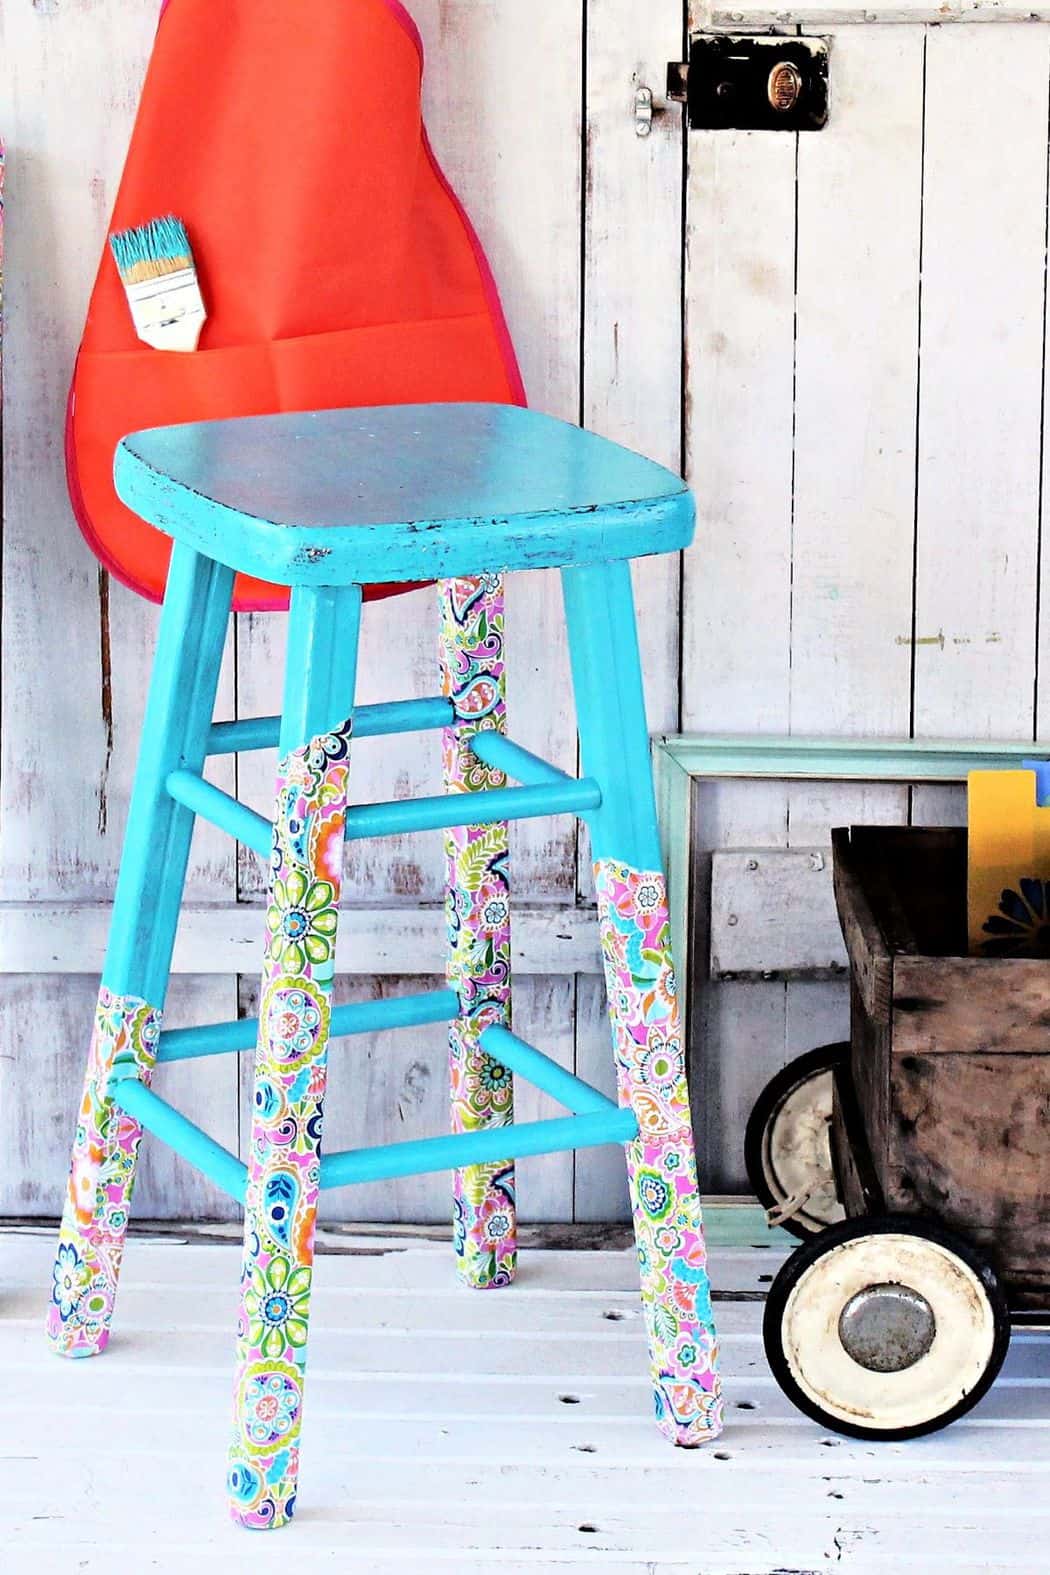
Have you decoupaged anything? I like using paper to decoupage too. It works great if it’s not too thin, then it’s a bear. Voice of experience. One time I decoupaged gift wrap on bar stool legs. You can see it here…Paper Decoupage For Furniture. That’s it for today. Thanks for being here and see you tomorrow, Kathy

Actually it was latex primer tinted gray but you can use a good brand of latex paint. Will work great on furniture.
Hey was the paint latex ? I am also planning to use the same technique but my furniture is latex painte. Please help
I’m a little late with my response…sorry. This is so cute. Love the fabric touch. Your tips are so helpful too. I like the in-between emails too. They’re so helpful. Happy Thanksgiving.
So cute, and you’re right — the primer color was perfect. Such a nice finish, too.
Thanks Bobby! Have a great week.
I don’t know why your Mod Podge wouldn’t dry, even in Florida. Make sure you do your project indoors or bring it indoors to dry where the humidity is low. Thanks for reading the blog and your sweet comment!
I love your site and helpful tips. I live in Florida and when I used modpodge on anything it never dried. I stopped using it!!! Have they altered the formula keep this from happening. I thank you for any suggestions.
From an older student and teacher, loretta
Absolutely Beautiful ❤…I do love the gray..
Excellent step by step instructions and a perfect new piece of furniture!
It looks really good. The fabric is perfect..
Wow, something so simple, yet looks sooooo good.
Some useful tips in this for me, thank you Kathy. I would never have thought of putting fabric just on the sides but it works really well.