Try This Whitewash Technique Over Painted Wood Furniture
As an Amazon Associate, I earn from qualifying purchases.
Painted wood furniture is still popular and this whitewash technique is a great way to give your painted furniture a modern look. And guess what? You can use normal latex water-based paint to whitewash anything!
You might ask what is whitewash? To put it in regular language, whitewash is white or off-white paint thinned with water and rubbed over dark or darker-than-white paint color. Once dark paint is whitewashed it has a white semi-transparent finish.
My project today is a vintage cedar chest with that old-style yellowish-stained wood. It definitely needed an update so it got a paint job. Today is also Furniture Fixer Upper and you know what that means.
")
I purchased the cedar chest at an online auction for $66. Some antique furniture has a classic style and finish that never goes out of date. Not so with this Waterfall piece which was popular in the 1930s and 1940s. As you can see it is very outdated.

The first thing I did before painting the cedar chest was to remove the original lock. This cedar chest was manufactured by Lane and you can order replacement locks for the chests. The old locks could not be opened from the inside and were a safety hazard.

There was also a bit of damage to the inside tray and I glued the joint together using wood glue and my crazy way of holding the wood pieces together while the glue dried.

The green felt bottom was originally attached to the tray and I worked and worked to put it back together with no luck. So guess what? I’ll leave the inside as is and the buyer can decide what to do about the tray.

Next, I had to choose a paint color. My first choice was black but after thinking about it a bit I decided on turquoise. Well, the past few cedar chests I’ve painted have been turquoise.
So, now I’m thinking gray, a nice soft gray. I pulled out all the gray paint colors I had on hand and selected the color above. It’s a mixture of leftover paints from past projects.

I love gray paint because the coverage over any color and any stained wood is great. Take a look at the photo above and you can see what I mean.
")
I did apply two coats of gray paint because there is always a spot or two on the corners or crevices that I miss the first go-round.

Since cedar chests make great coffee tables I always paint the backside of the chests. I have to admit the backside of this chest doesn’t look that great. Some pieces have a more finished look on the back.
Now it’s time for the whitewash technique. It’s s good idea to let the paint cure overnight or longer before applying the whitewash. If the paint is not completely cured it may come off when the wet whitewash is wiped on.

I will walk you through the whitewash process but the video tutorial is a great way to watch me doing the actual technique to this cedar chest. For this project, I wanted a very light whitewashed look so I added just a bit of off-white latex paint to water in a paper cup. The whitewash was super thin.
I applied a bit of it to the top of the cedar chest and decided to add a bit more paint to the whitewash. The wash was still thin but it was just right. I would say the mix was probably 6 parts water to 1 part paint.

The best way to apply the whitewash is with a lint-free rag. Dip the rag in the wash just wetting a small piece of the rag. Then run the rag over a small area of the furniture rubbing it back and forth until the wash has the appearance you are looking for.
You may need to flip the rag to a dry spot and rub off some of the wash if it is too heavy or just continue spreading the wash to a larger area which will tend to lessen the amount of whitewash in that area.

There was one spot where I wiped on the whitewash and the gray paint came off. This happens if the paint isn’t cured well. I waited overnight and this is the only area that wiped off. All I did was touch up the paint, waited for it to dry well, then whitewashed the small re-painted area.

After the complete piece is whitewashed and the wash has had time to dry then brush off-white paint onto the details. Use uncut paint not watered-down paint for this process. Any lines, curlicues, indented areas, missing veneer areas, etc. will look great accented with the off-white paint.

The only thing left to do was find a keyhole or escutcheon in my stash of stuff. I found one and decided to leave it as is instead of painting it. I nailed the keyhole over the hole where I removed the lock. Of course, this isn’t a working keyhole but it looks good. You notice I very lightly brushed the off-white paint around the keyhole.

The whitewash process may sound time-consuming but I completed the whitewashing and the painting of the details in less than an hour.

You can see where I brushed the off-white paint around the edges of the chest and in the joint between the lip and lid of the chest.

The whitewash is not perfectly even or symmetrical which is how it should be, perfectly imperfect is the look you are going for.

The keyhole looks small on the large cedar chest but that’s how it should be.

One last look at the scalloped bottom board and the little dings and dents where the whitewash settled in!
Tips for achieving the perfect whitewash finish:
Paint a small piece of wood and practice the whitewash technique.
Wait at least 24 hours for the paint to cure before whitewashing furniture.
Always use off-white latex paint for the whitewash.
Apply the whitewash and work in small areas at a time.
Always wipe with the direction of the wood grain (no circles please).
Don’t over-wipe or you will begin to wipe all the whitewash from the paint. You can see when this starts to happen.
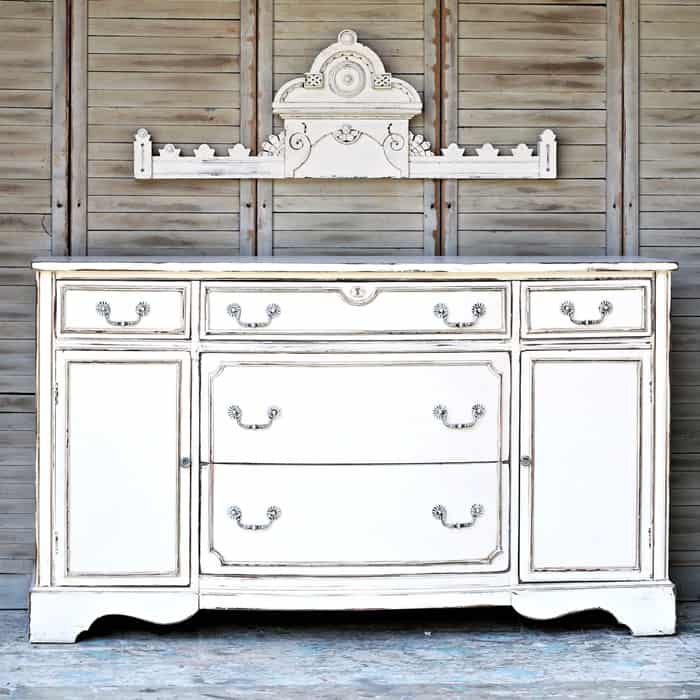
If you liked this makeover see how I whitewashed a vintage sideboard here….. Whitewashed Painted Furniture Makeover

 pin this project for later!
Now it’s time to take the Furniture Fixer Upper Tour. Just click the text links below the “before” makeover photo collage….

Furniture Fixer Upper Tour
White Painted Desk With Transfer – Confessions of a Serial DIY’er
How To Sand Spindles – Salvaged Inspirations
How to Stencil Bone Inlay Furniture – Girl In The Garage
Whitewash Technique for Painted Furniture- Petticoat Junktion (you are here)
Leave a note if you have time. I love reading your comments. Thanks for being here, Kathy (kathy@petticoatjunktion.com)
It turned out really well, Kathy. Question: Did you consider using a clear wax over the paint? Just for durability? If not, what dictates whether you do that or not with a painted piece?
It went from dated to fresh and pretty. It’s such a nice piece now.
$66 is a good deal and I love what you did with the whitewash Kathy! 🙂 Pinned!
You really are the queen of chests lol! Love the outcome and happy to see your comment box is back! XOXO
Kathy,
The cedar chest is so beautiful now.