Lane Cedar Chest Paint Makeover | Missing Veneer? Have No Fear!
As an Amazon Associate, I earn from qualifying purchases.
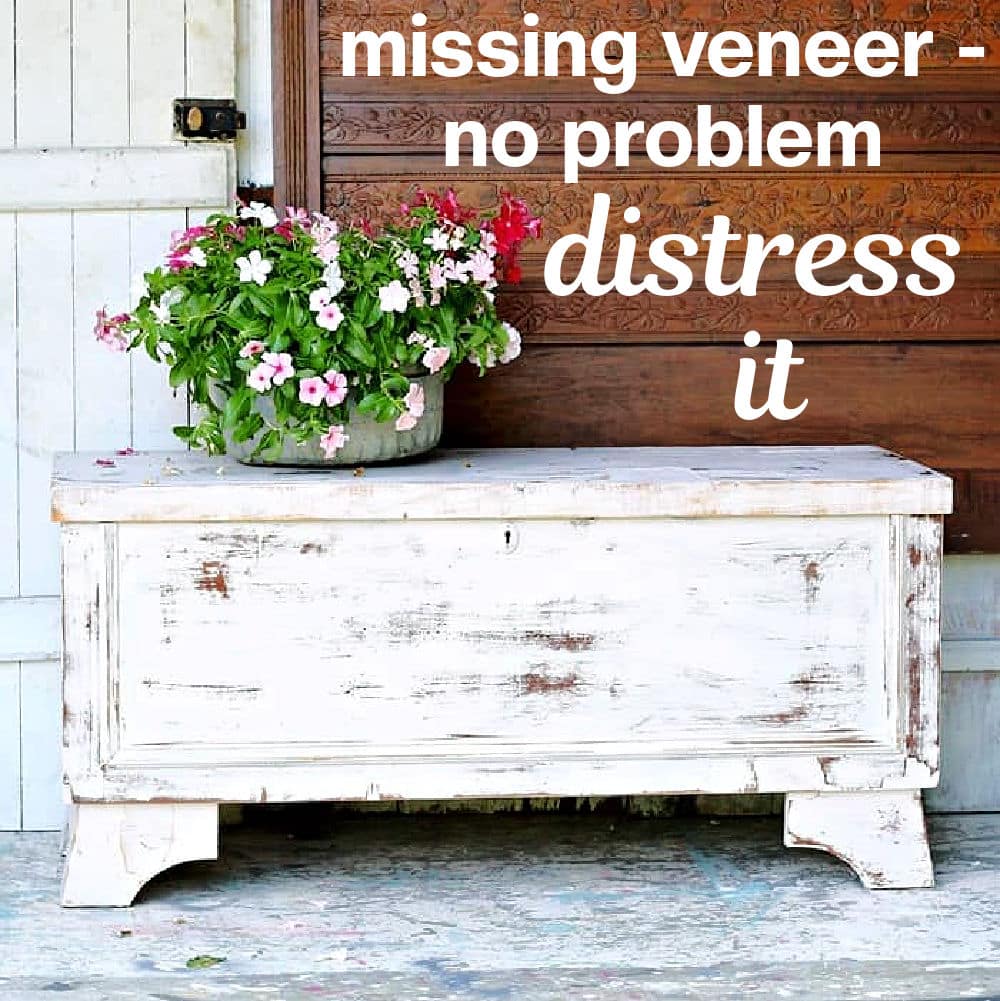
This Lane cedar chest paint makeover features heavily distressed paint, and I would love to hear your opinion on the makeover. Do you have a cedar chest? Just about everyone I know has at least one.
I have one that the JTS bought me years ago, and I haven’t painted it, but I have recovered the padded seat several times. The original fabric cover is still in place under the new fabrics so I haven’t made any permanent changes yet. I may paint my cedar chest one of these days if it’s okay with the hubby.

You can never go wrong with white or off-white paint right? I painted the cedar chest with my custom mix paint I used on the master bedroom furniture.

This is the Lane cedar chest before the makeover. It was a mess. The veneer was missing in several places, loose in others. This cedar chest had a bottom drawer. It was a mess too.
")
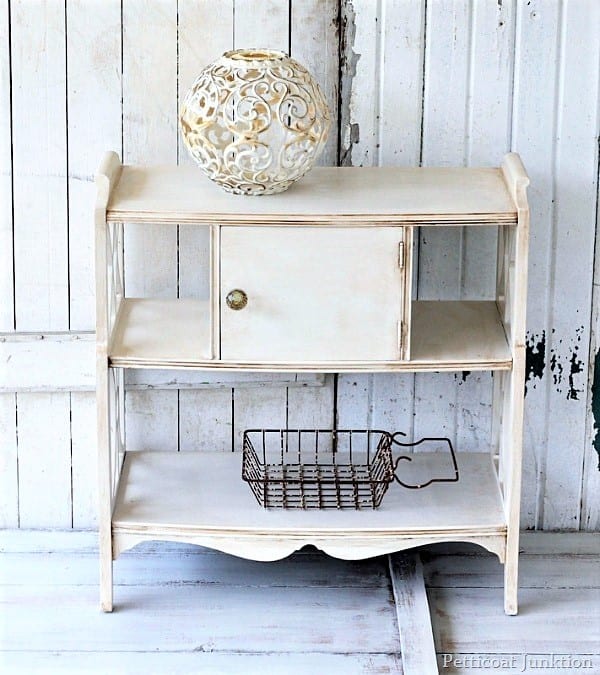
Lane Cedar Chest Paint Makeover
When I buy furniture and the veneer is in bad shape I usually turn that issue into a win-win by painting then heavily distressing the furniture. The rough surface makes for s great distressed paint look.

The cedar chest might have been a mess outside but the inside was in almost perfect condition. It just needed a bit of cleaning.

The bottom of the drawer was rippled and loose so I decided to do away with the drawer. I like the look of the cedar chest without the drawer anyway.

I removed the two wood drawer slides on the bottom of the chest.

Then I peeled off the loose veneer using a putty knife and removed the locking mechanism from the front of the chest.
This is a safety alert from Lane…..Since many of our cedar chest products have withstood the test of time and have been in homes for decades, there have been cases where children have climbed inside chests with old style latching mechanisms and locked themselves in, and there have been incidences of suffocation inside chests. As a result of this important and urgent safety concern, Lane has launched numerous successful programs since 1987, all concentrating on lock replacement. However, based on our best records, there are still an estimated 6 million chests owned by consumers that may require the new lock upgrade. Please click here for more information

Lane will send you a replacement lock that doesn’t automatically lock when the chest is closed. I decided to go another route.

The paint can lid above shows the formula for my special custom mix paint. If you would like to try my custom mix I would suggest getting a small sample made up first just to be sure you like the color. Your computer screen or phone may not be accurate when it comes to colors. I know mine isn’t.

I brushed on one coat of paint and that was enough since I was distressing the paint heavily anyway. No need to take more time and more paint when I’m just going to sand the heck out of the chest.

You can tell by looking at the top of the chest that it was a mess. I thing I forgot to mention price. I paid $30 for the cedar chest.

For the heavy sanding/distressing I pulled out the Ryobi power sander. You can distress furniture in no time flat with a power sander. This one is battery operated so no cord to deal with which is even better.

To add a bit of color to the raw wood and protect the finish I applied a single coat of Howard’s Wax, neutral color.

To cover the hole where I removed the lock I added a simple escutcheon. The brass was a bit too shiny but a coat of paint took care of that.

All Done! This look isn’t for everyone but it’s perfect for some! I like distressed paint and in this case it was either remove all of the veneer which could take days or work with what was there. I’ve mentioned numerous times that I’m lazy. True.
There are a lot of ways to distress paint like the baby wipe technique I used here or the wet distress technique I used here.

When I used the power sander I ran it all over the chest not just the edges and details like I normally do. With the amount of missing veneer and rough areas it just made sense to “go to town” on the distressing.

The headboard behind the cedar chest is an auction buy. The boards are split in a few places but I love the carved details . I may take the headboard apart and use the boards on a project. There is also a foot board that has the same issues as the headboard.

The wood on the lip of the lid where the paint was sanded off is really light because the veneer was missing and you are looking raw unfinished wood.

So……that’s the story of the beat up cedar chest. What do you guys think of the distressing? You can always be honest with me.
If you don’t like the makeover you can say so just be polite in your critique. As always thanks for spending part of your day with me. I know you have other things to do, Kathy


I love it 😍. I’m doing mine currently. Can’t wait to distress it.
Oh, loose veneer…..drives us all crazy! Great job – Thank you for sharing at Party In Your PJ’s.
Love it!!!!
Hi Kathy,
The heavy distressing is a look that not everyone can embrace. However, there is a place for it and I think this chest definitely calls for it. I like it. I do agree however that a piece of trim would look good between the front legs, but I would go with a simple 1″ . The chest wouldn’t work with overly ornate decoration.
All in all a nice job!
Wow! That is a fantastic idea and it looks fabulous too! Pinned
I am not too fond of heavy distressing but this chest seems to call for it. Instead of replacing the drawer, maybe you could add a board with a little embellishment on the bottom between the legs. I like the overall look for a rustic home.
I would have left the drawer too. Seems like to he feet look too big & clunky without the drawer.
I think I would have left the drawer..was a unique feature…otherwise I loved it!
I’m not a huge fan of the super distressed look. I would have removed the veneer but I’m an overachiever LOL
Love it! Awesome job. Thanks so much for sharing all your knowledge and experience!!
I’m sure that some people really love the look of highly distressed paint but it just isn’t my cup of tea. Although I can see your point with that much of the veneer missing it would probably not be worth the time to remove all the veneer. If this piece goes in your shop you need to make a profit – not a loss so this was the best solution for the cedar chest.
I love the chest and I will be trying the paint. I never thought of using baby wipes for distressing. LOVE IT!