No Distressing: Furniture With Layered Paint
As an Amazon Associate, I earn from qualifying purchases.
Depending on the piece of furniture, two paint colors can be layered without distressing the paint.
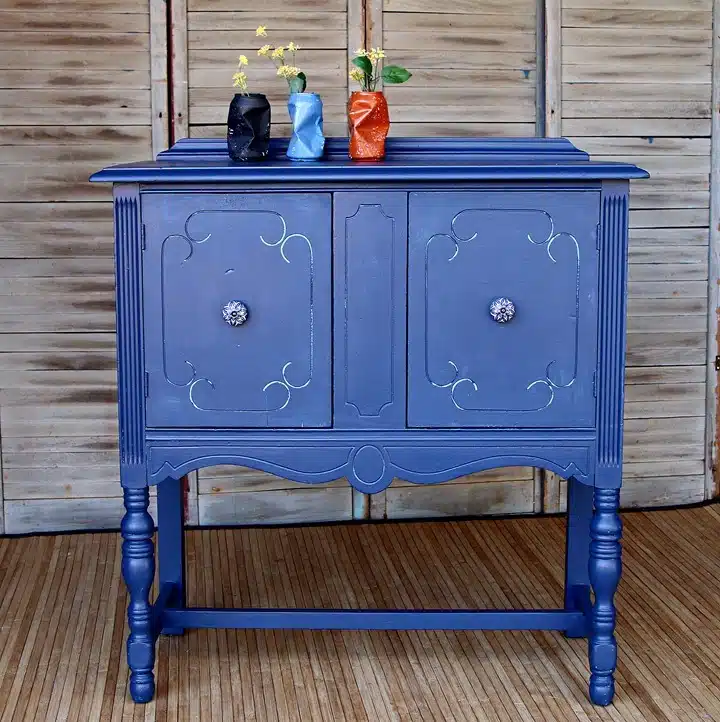
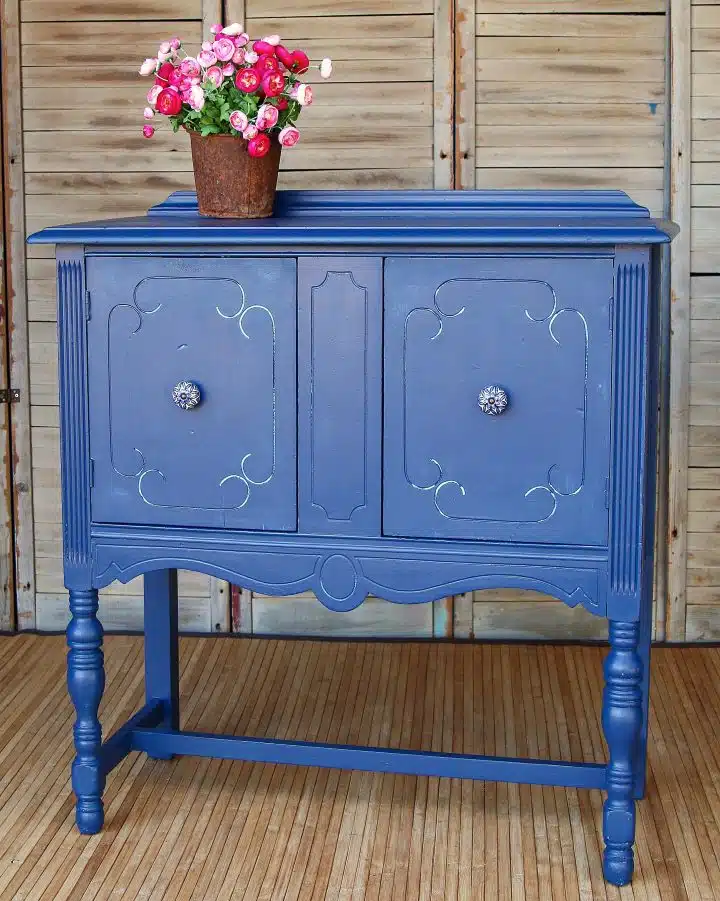
As often happens, the painting process for this small sideboard took several twists and turns. The makeover involved extra time and extra paint, but the finished look was worth it.
Today is Furniture Fixer Upper Day, and if you’ve been here before, you know what that means. If you’re new to Petticoat Junktion and the Furniture Fixer Uppers, enjoy……..
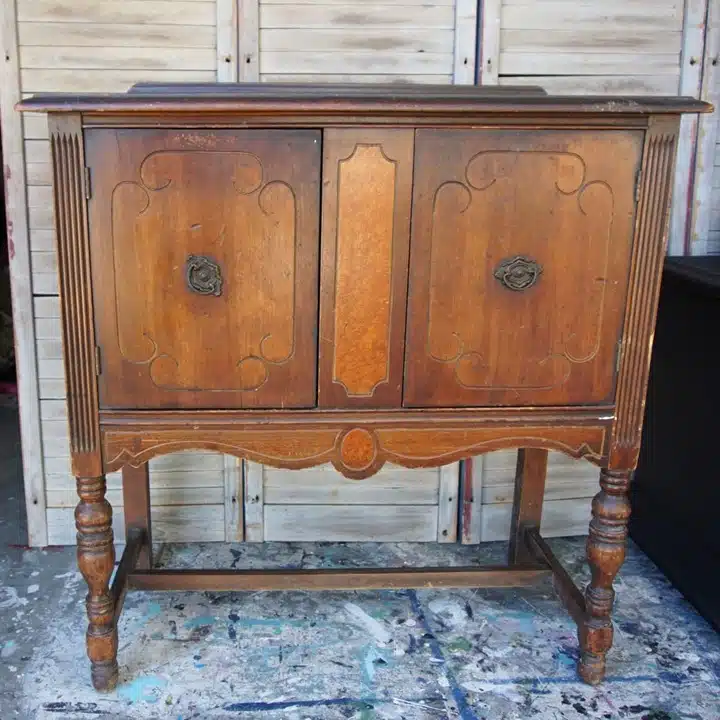
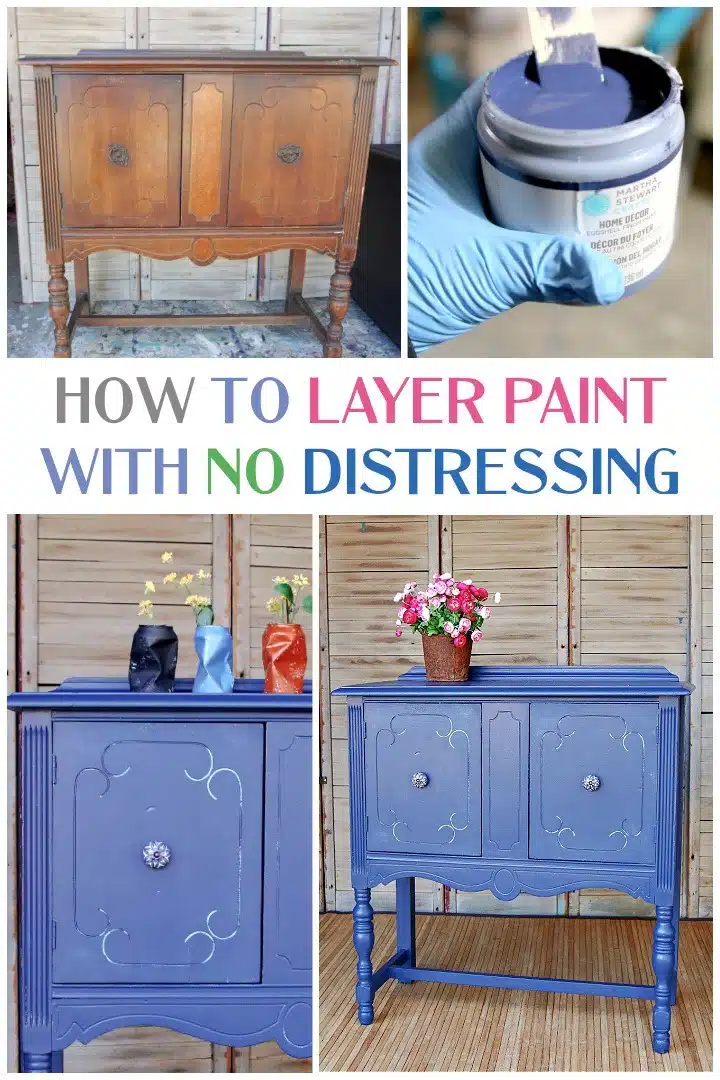
I bought the small sideboard/buffet from a local online auction for $55- not a bad price. Structurally, it was in good shape, but the top had small dings and dents, and the finish was worn in several places.
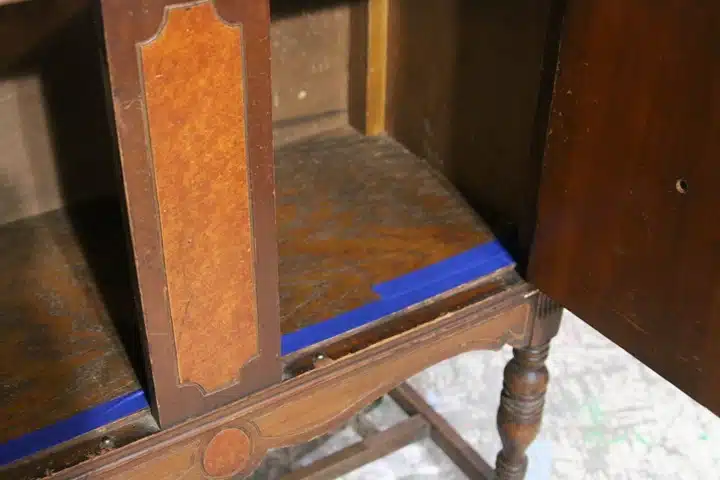
So, I decided to paint the sideboard instead of refreshing the finish. I applied painter’s tape to the inside front edge to keep from making a mess since I didn’t want to paint the inside of the cabinet.
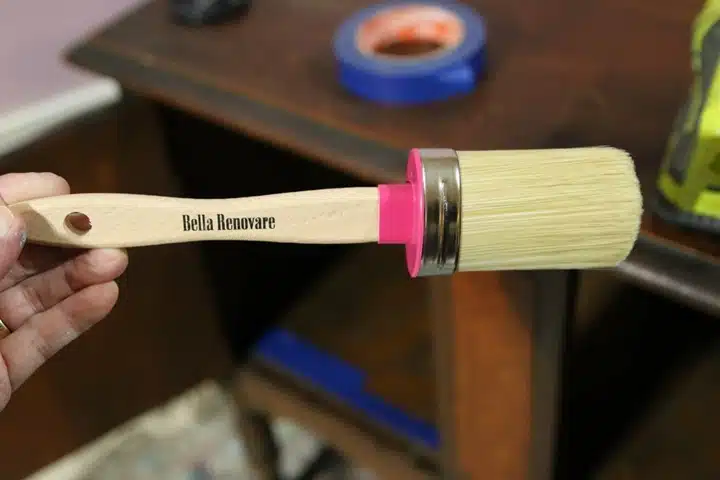
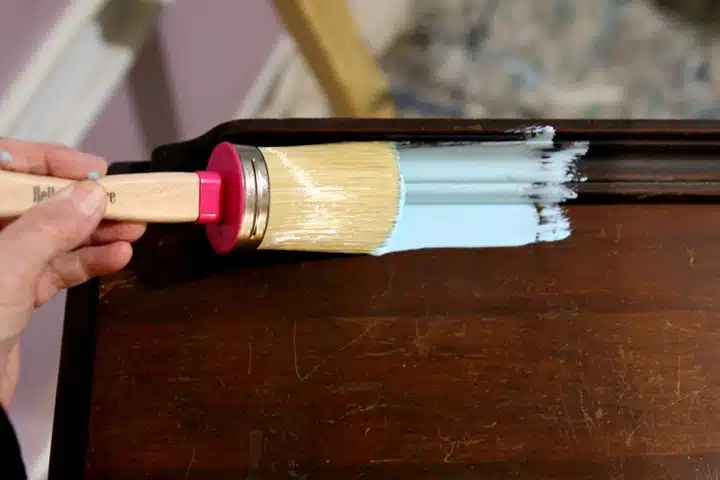
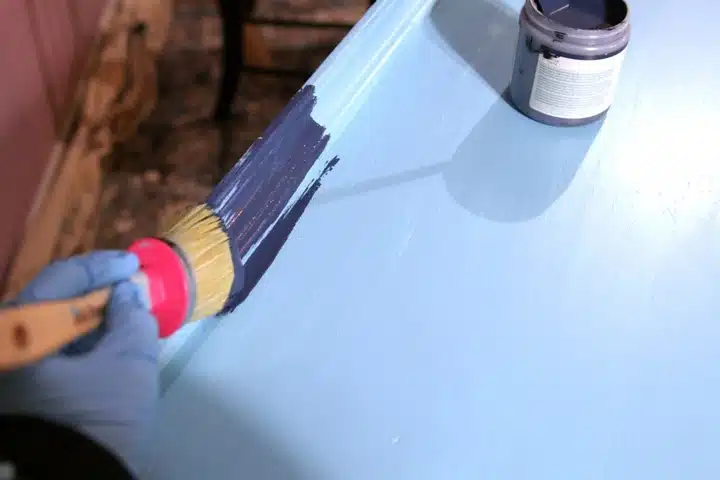
And one of my friends gave me this new paint brush. Stay tuned for my opinion of the brush.
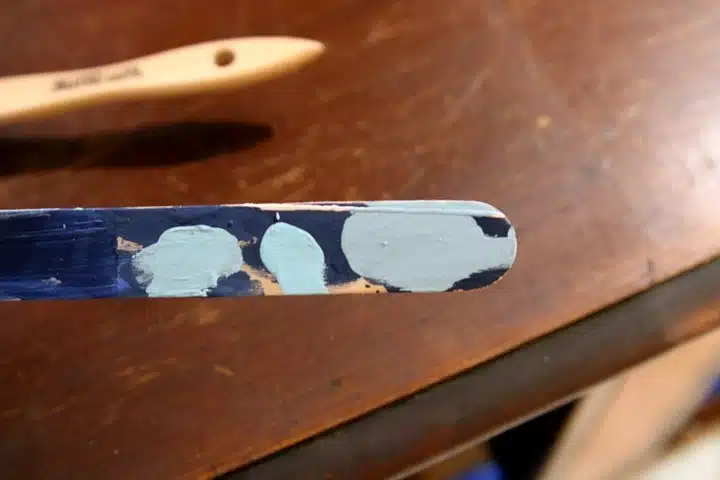
Turquoise furniture sells well in my booth at the shop, but I didn’t have a pretty color in stock. So, as I often do, I started mixing paints together. The paint swatch on the right side of the paint stick was too dull, with hints of gray, and the one on the left side was too muted.
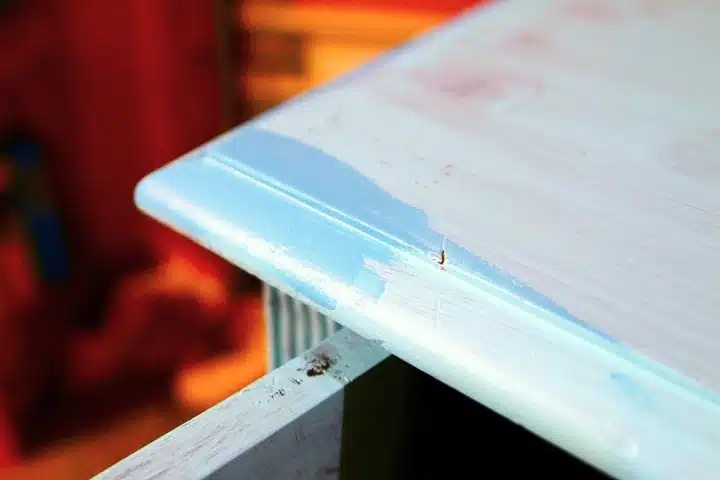
I mixed colors until I got the result in the middle and I started painting the piece with that color.
It looks pretty, doesn’t it? But the color was too light and too in your face.
I mixed more colors together and came up with the darker blue.
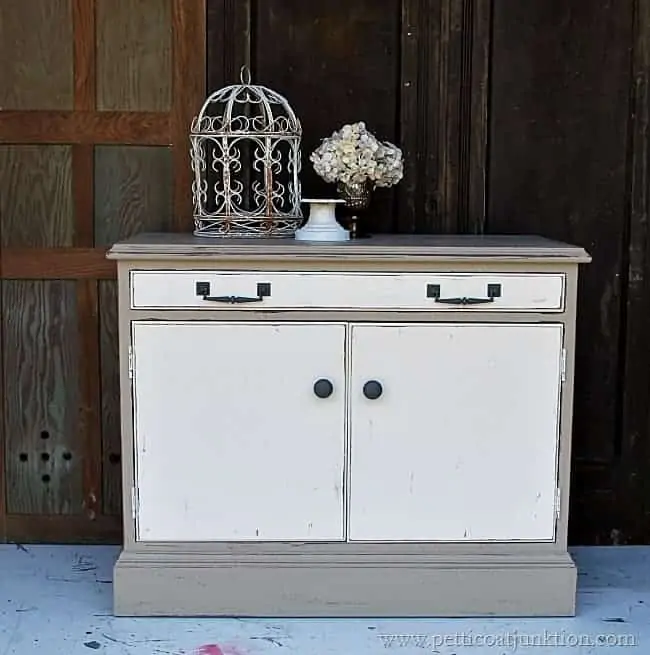
I brushed on a coat of the darker blue, but I still didn’t like it. So, I started whitewashing the blue paint and brushing white paint on the trim. No go.
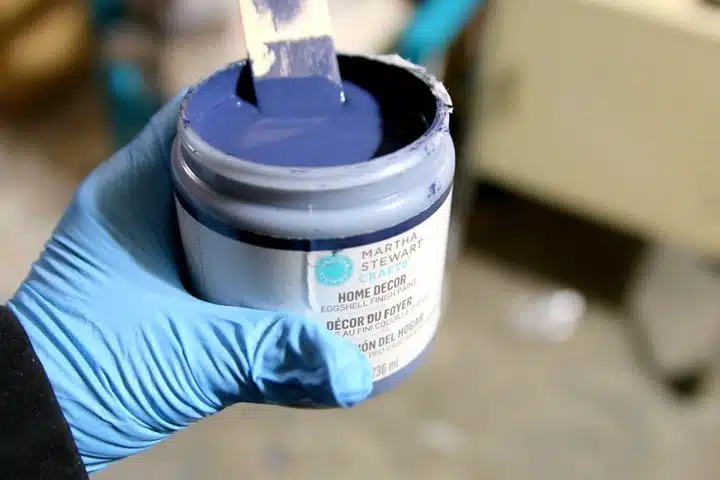
Searching my paint shelf for more paints I found this jar of Martha Stewart Home Decor paint that had never been opened.
The paint is several years old, and they don’t make it anymore. Since it was old, I stirred the paint well and added a little water because it was thick.
Then I started painting again. The color is called “Ink,” and it dried a little lighter than when it was wet. Usually, the opposite happens.
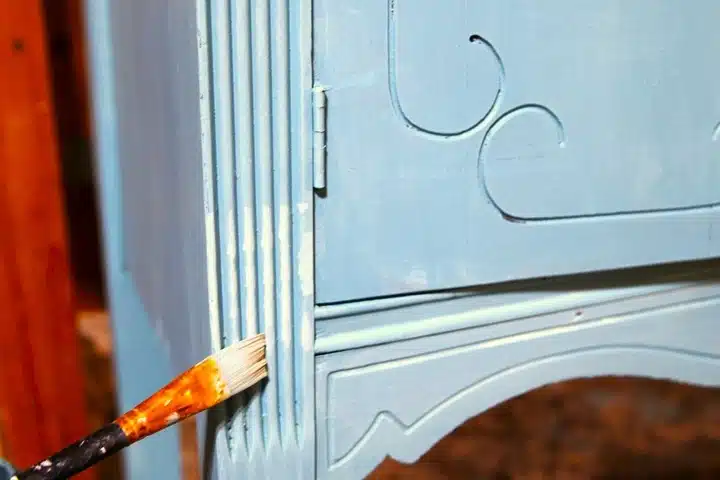
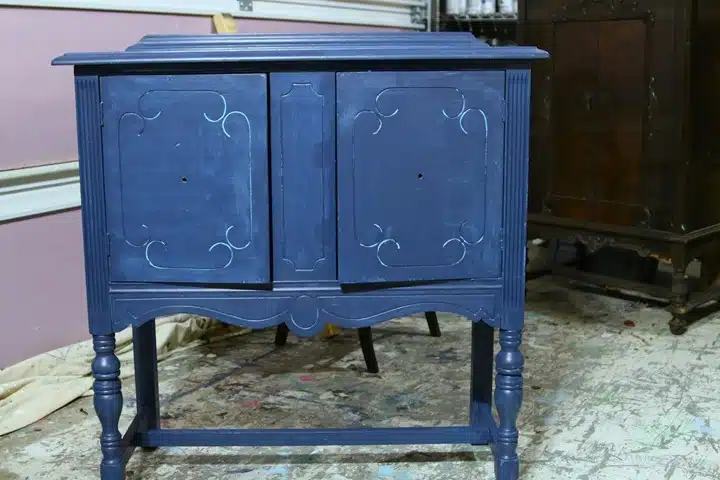
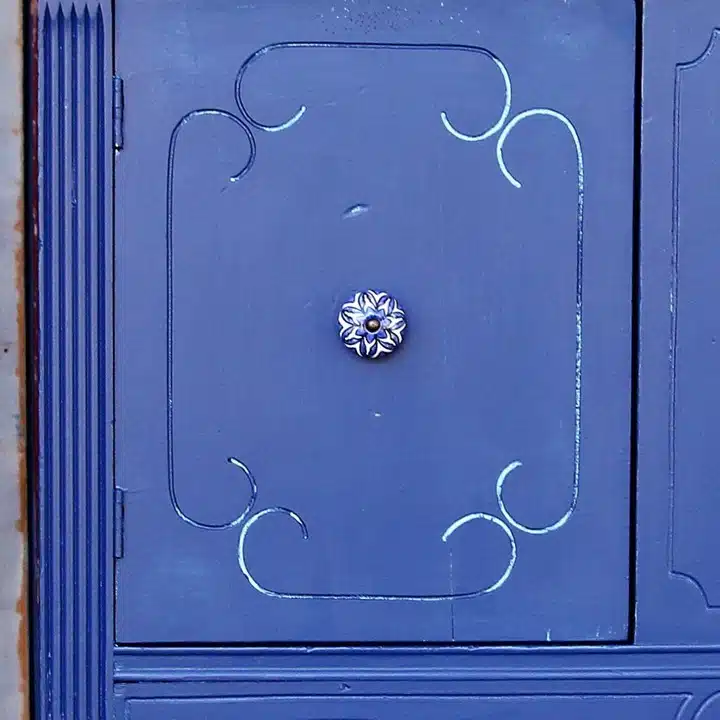
The front of the sideboard had all those carved curlicue details and I just glossed over them with the dark blue paint so a bit of the light turquoise paint would still show. In the photo above the paint is still drying. That is why there are light and dark areas.
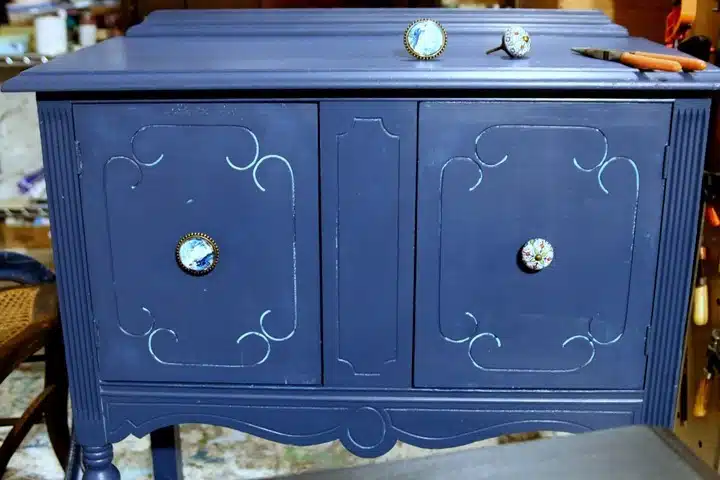
I really liked how the paint turned out but I was having a problem with the knobs. I went through my stash and couldn’t find a thing I that looked good. The knob on the left was on a side table I painted last month.
The table was still in the shop, so I removed the pulls and put them on this piece. I thought I liked them but the next day I changed my mind. I went to Hobby Lobby and bought the knob on the right. I couldn’t decide about that one either.
Next, I found two large brass pulls in my junk cabinet and spray painted them bright gold. I didn’t like those either. I bet you thought I never had any issues when painting furniture. Not true.
I went to Hobby Lobby again and brought these knobs home. Finally, ones that worked.
I like the knobs, what about you? And what about the light turquoise and dark blue layered paint?
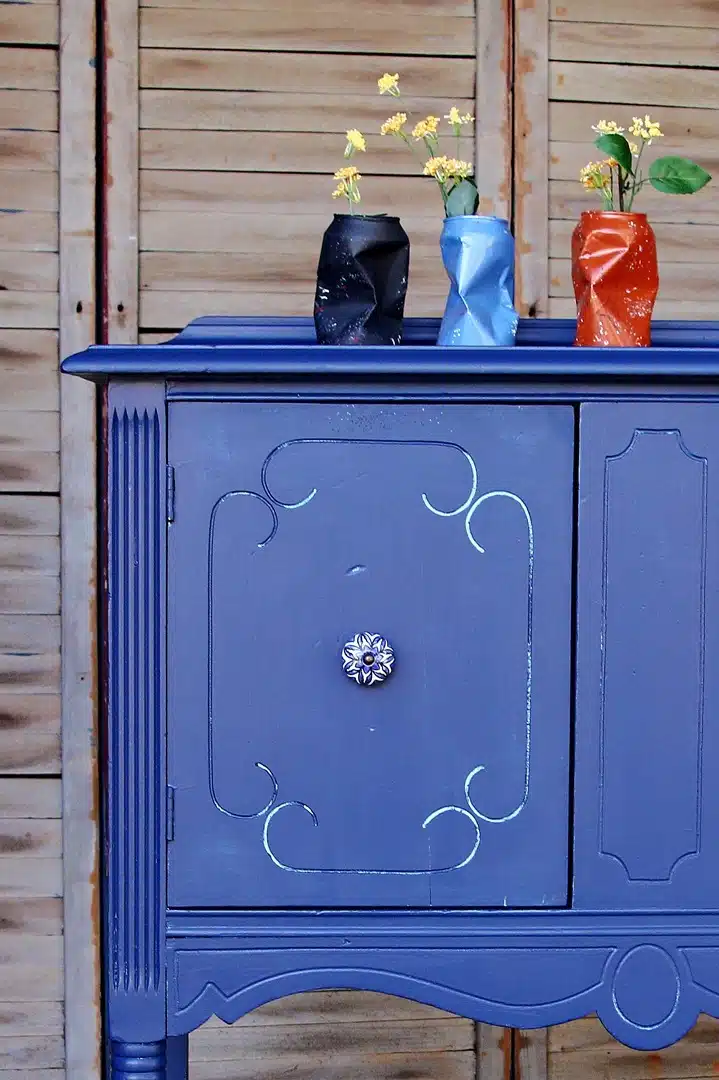
I guess I could have been extra careful and left all of the curved details turquoise. I tend to like perfectly imperfect things.
I had a hard time with the photos. At first, the weather was too cold for me to open the workshop door and take pictures. Natural light is always best for photography. Then when it warmed up a bit it was still cloudy and gray.
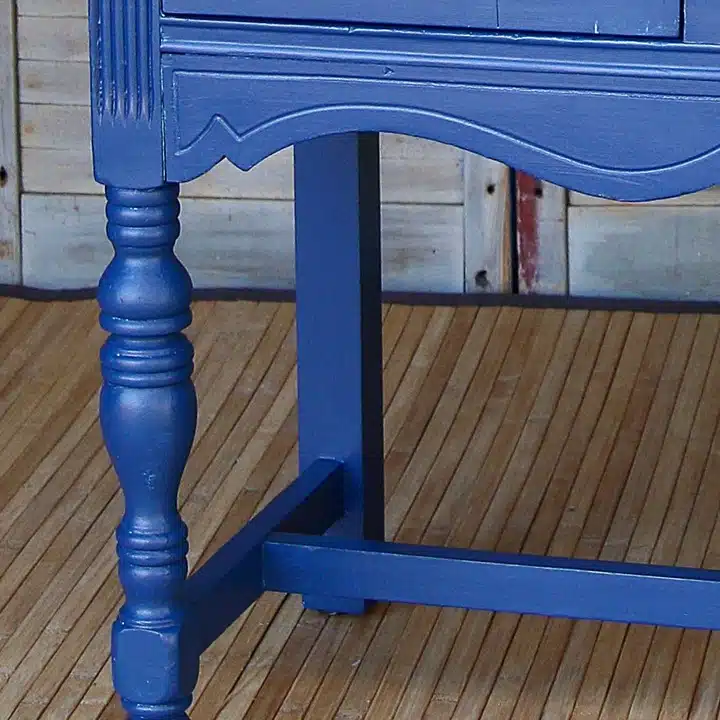
But it all worked out. How about those legs. Do you think I should have left some of the turquoise paint peeking through?
I almost forgot to tell you about the paint brush. I love it! The brush did not lose any bristles at all. Usually, the first time or two I use a paint brush, several bristles fall out and stick in the paint. Not this time. I would recommend the Bella Renovare paint brush.
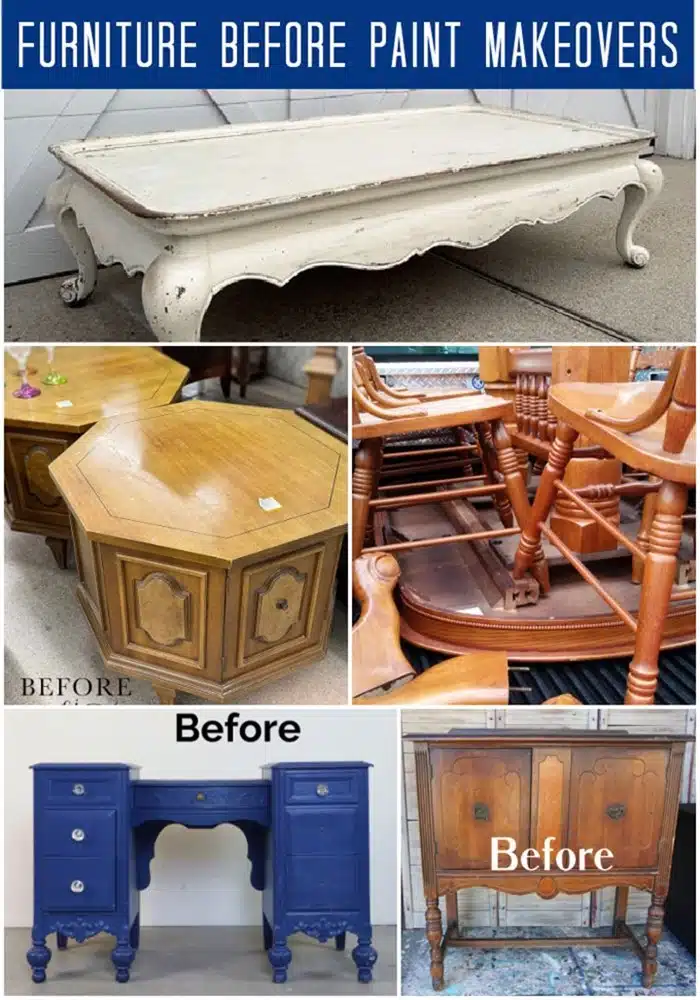
Now it’s time for the Furniture Fixer Upper Tour. Just click the text links below the “before makeovers” photo collage.
Furniture Fixer Upper Tour:
Update A French Provincial Coffee Table With A Transfer – Confessions of a Serial DIY’er
Thrift Store Painted Octagon Tables – Salvaged Inspirations
Double Pedestal Oak Table And Chairs – My Repurposed Life
Vanity Turned Into Nightstands – A Ray Of Sunlight
Sideboard With Layered Paint – Petticoat Junktion (you are here)
If you have the time, leave a note before taking off, and thanks for being here, Kathy

How fun! I love the color you chose! And $55?? What a steal!
Well, I do like the color and the knobs, but it still looks “unfinished” to me.
Love the final look, Kathy! I can totally empathize with all the changes…happens to me all the time lol! I need to check out those online auctions! XOXO
Kathy,
You’re braver than me! If I mix paint colors, I’m always afraid I’ll run out before the job is complete. 🙂
I do like the hint of turquoise on the curlicue; the knobs you finally settled on are my favs.
Pinned!
gail
Would love to be able to get that paint colour. Absolutely beautiful. The knobs are perfect (I have some very similar to those) and it made me feel better knowing experienced DIY’ers have issues as well. Thank you
I like it! Such an interesting piece and the knobs are perfect.
I’m in love with this layered blue Kathy. And the knobs are perfect! XOXO