Best Tips For Selecting And Painting Furniture
As an Amazon Associate, I earn from qualifying purchases.
I compiled this guide on selecting and painting furniture just for you. I know you want to paint furniture because you tell me you do, and I know you’re scared because you told me that too.
I will guide you through your first furniture painting project, providing the advice you need to get started and complete the job successfully. However, this post isn’t just for beginners; it’s also for professionals. There is always something to learn.

Taking the first step is always the hardest, but it will be worth it. For my first furniture project, I set up in my living room to paint. It worked.
When we moved to Florida, I painted on the tiny balcony of our two-bedroom apartment. That worked, too. I’ve painted furniture outside in extreme heat, cold, and places you wouldn’t believe. Let’s get started….
How To Select Your Furniture Paint Project
I know you’re thinking you already have your project piece. But you might want to rethink that.

Furniture With Simple Lines
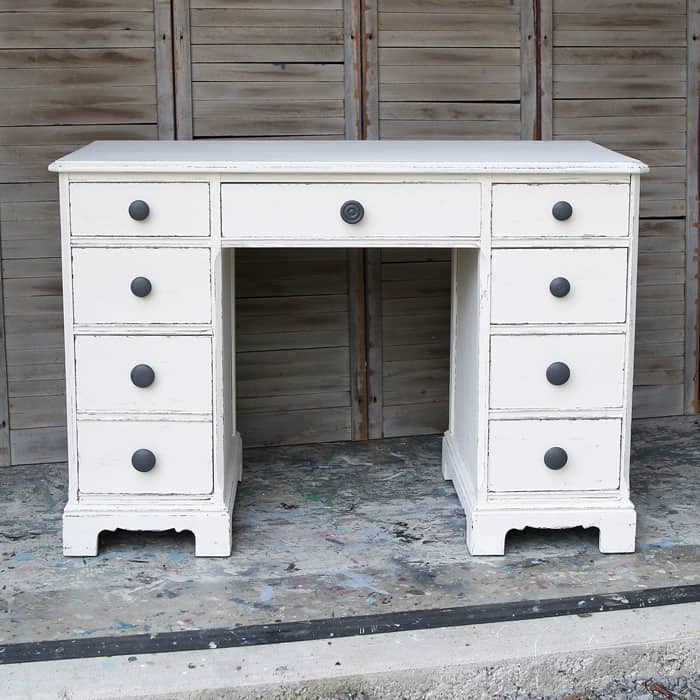
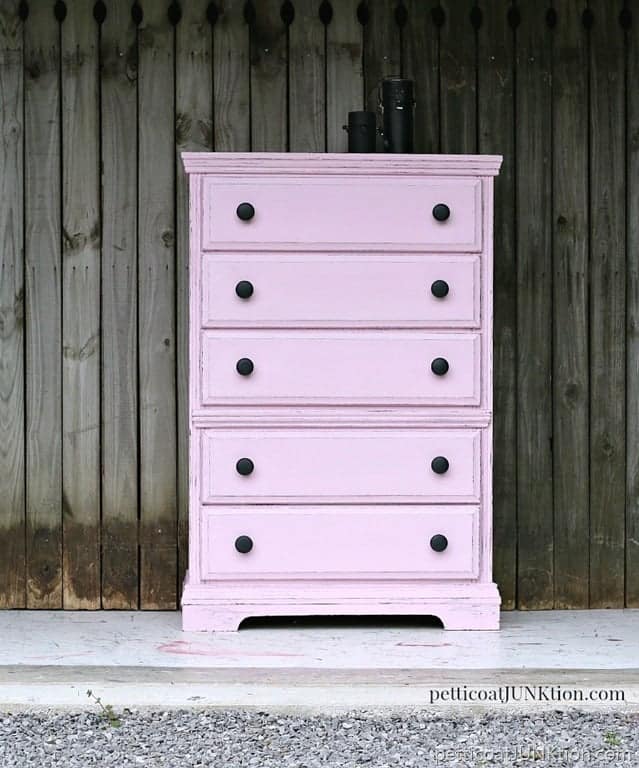
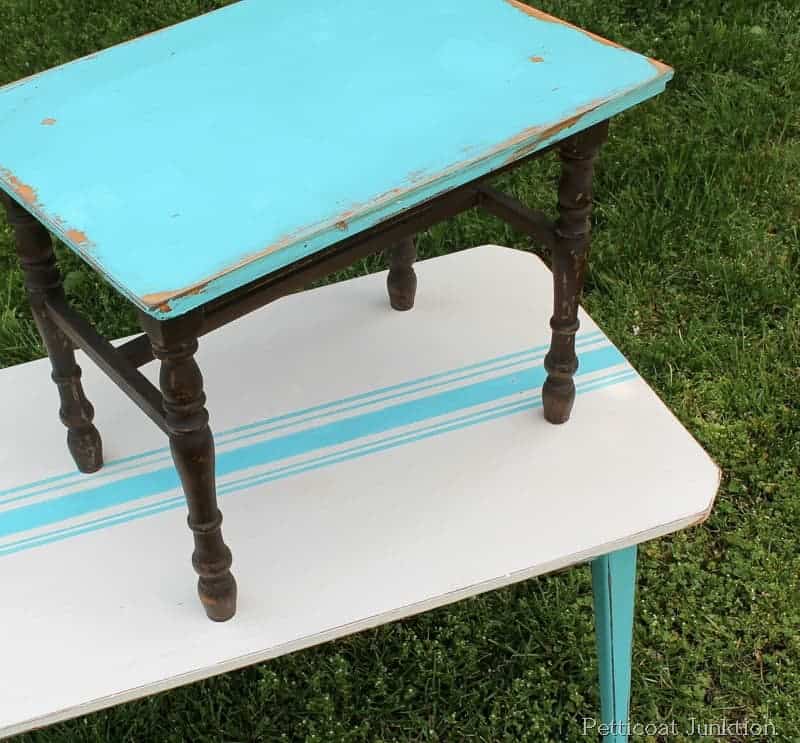
For your first painting project, start with a simple piece of furniture. Good candidates are nightstands with straight lines, small chests of drawers with minimal details, and tables where you only paint the tabletop or the drawer fronts.
The photo above shows an example of furniture that is easy to paint. You also shouldn’t start with a piece that requires repairs. We’re just talking about a basic paint project.
Solid Construction
Inspect the drawer joints, furniture cabinet, and drawer slides for signs of wear. Furniture repairs can be time-consuming and costly, so it’s best to stick with well-made furniture in good condition.
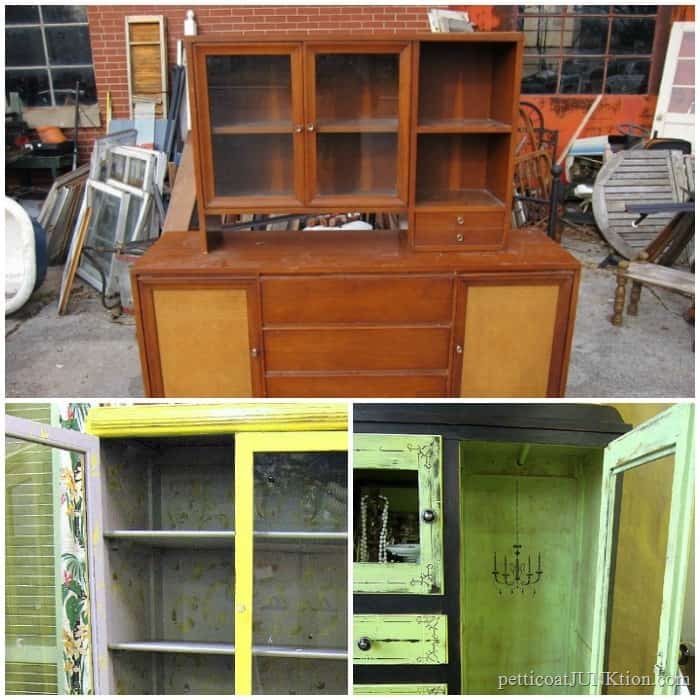
Furniture With Shelves And Cabinet Doors
Avoid bookcases, china cabinets, wardrobes, and anything with numerous shelves or an interior space that needs painting.
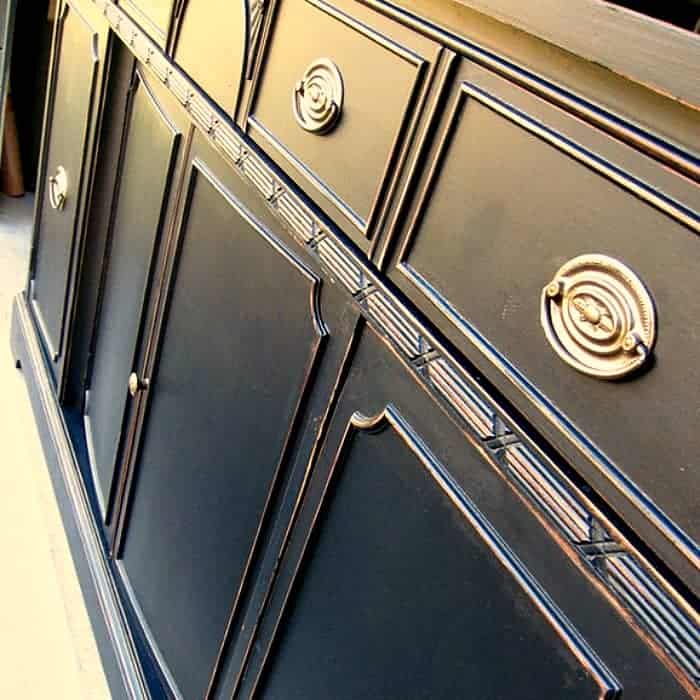
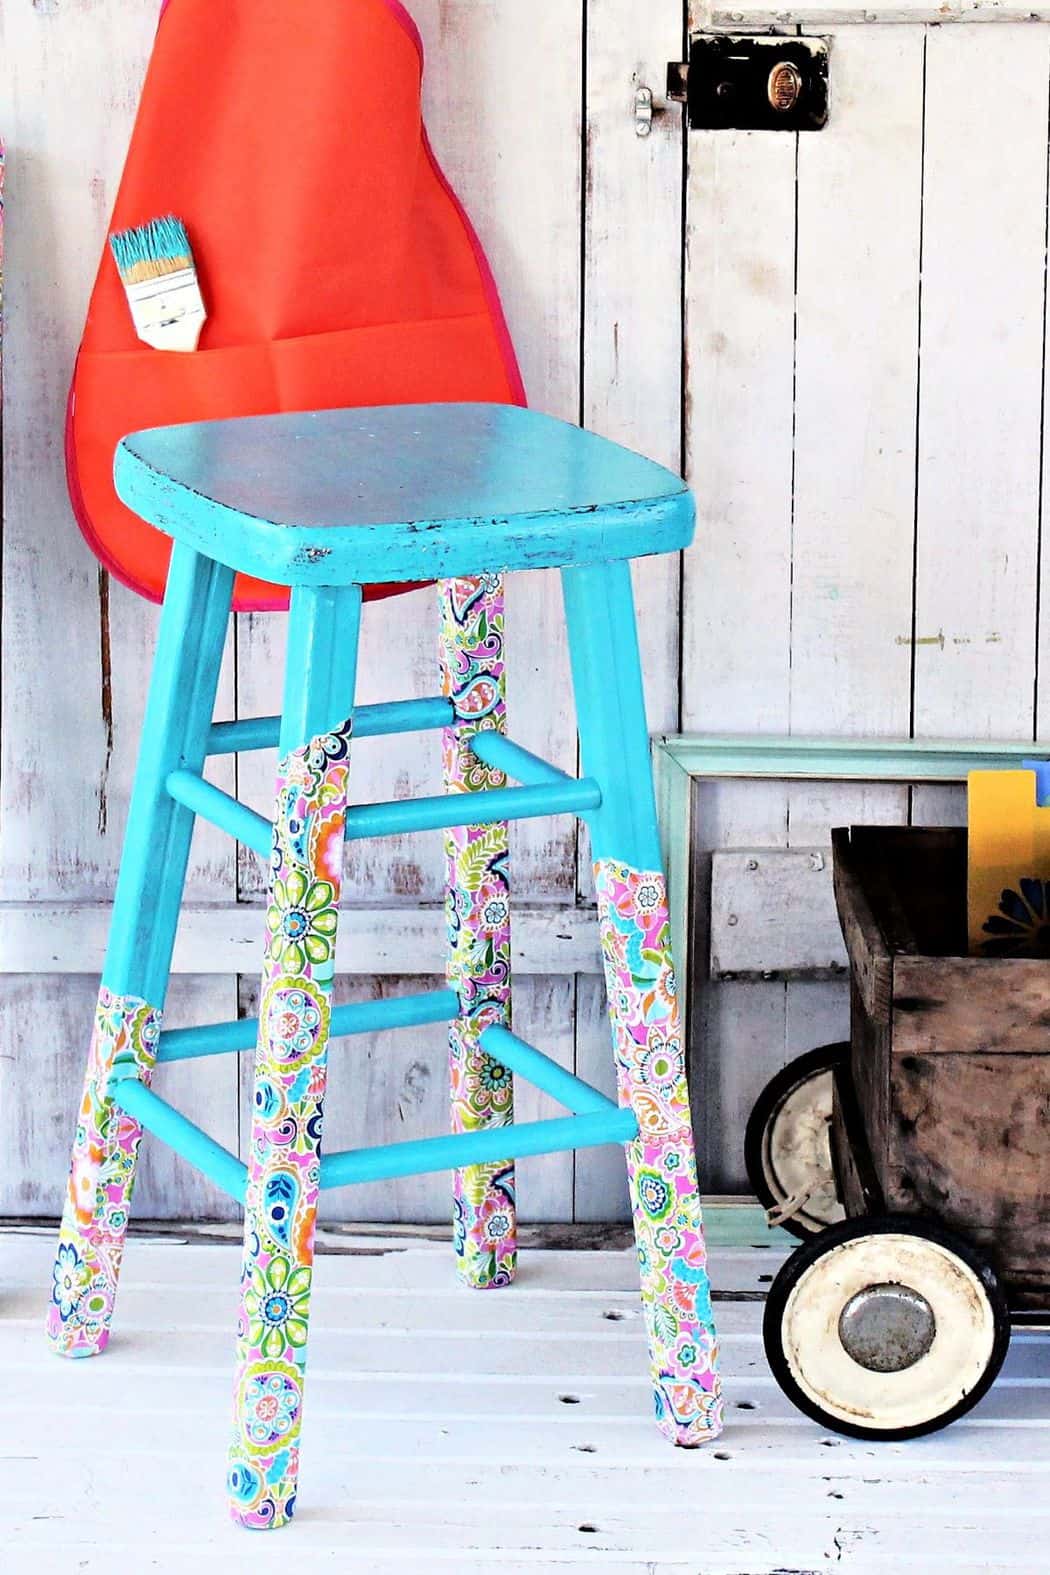
The shelves on China cabinets and bookcases must be painted top and bottom. And look at all those corners! Whew. It’s especially challenging when trying to paint wood furniture evenly.
You may have noticed that, as a rule, I usually don’t paint bookcases or China cabinets. It’s just not worth the time and energy. The photos above are all old projects. Once you paint a small piece or two, you will be ready to tackle your china cabinet or bookcase.
How To Select The Right Paint
You have probably heard of chalk paint, chalky finish paint, milk paint, and mineral paint — all types of specialty furniture paints. Those are fine.
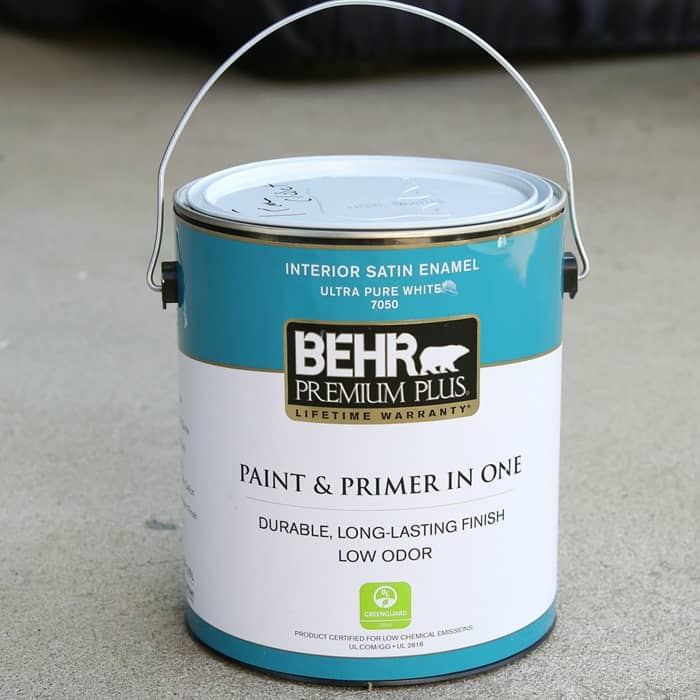
But you don’t have to use those paints. Latex paint works great on furniture. Don’t let anyone tell you it doesn’t. I paint with all types and brands of paint, but I usually use good old latex paint.
I recommend latex because it can be purchased anywhere and is available in any color. {read my post on latex paint here} Seriously, buy a good quality latex paint, and it will be just fine.
Select The Paint Color
I suggest starting with a neutral color because it covers any stain or furniture finish well. Neutral colors are anything from black to white, to gray, to browns…in various shades. A neutral color works with just about any color palette.
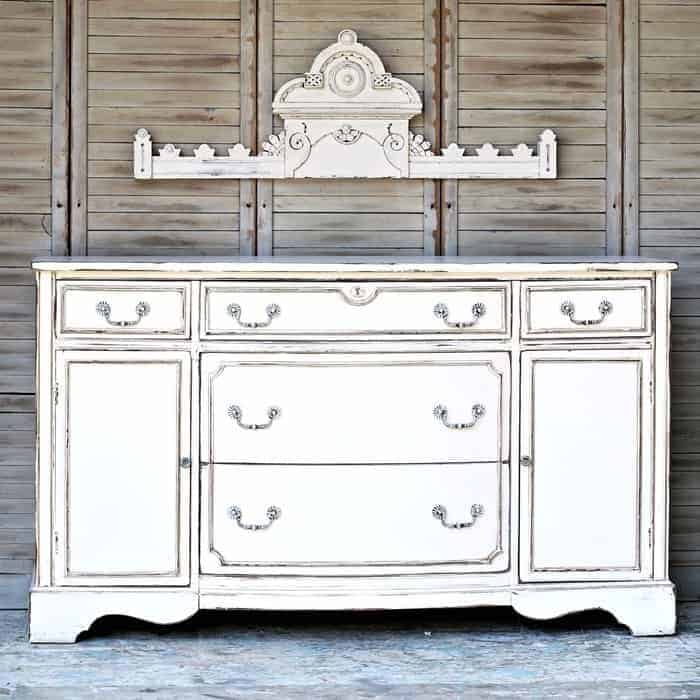
Pinks, reds, and yellows usually require three coats of paint or more. At least, that’s what I’ve found to be true. Avoid bold colors for your first project.
What About The Paint Sheen?
Let’s talk paint sheen. Flat paint is low sheen and doesn’t reflect light, so it hides imperfections, but it is the most difficult to clean. Matte is low luster and easy to clean. It also hides imperfections.
I’ve never had trouble cleaning flat or matte paint, and I like the flat look. Flat or matte paint will show the fewest brush marks.
Eggshell has a soft, velvety sheen, and satin has just a little more shine. I suggest painting with flat, matte, eggshell, or satin for your projects.. Semi-gloss and gloss paints are harder to work with and will show brush marks.
Prime Furniture Before Painting?
Most latex paint brands do not require a primer, but I recommend using one. It will cover any splotches or uneven areas of the furniture finish and give you a good solid color base for your top coat.
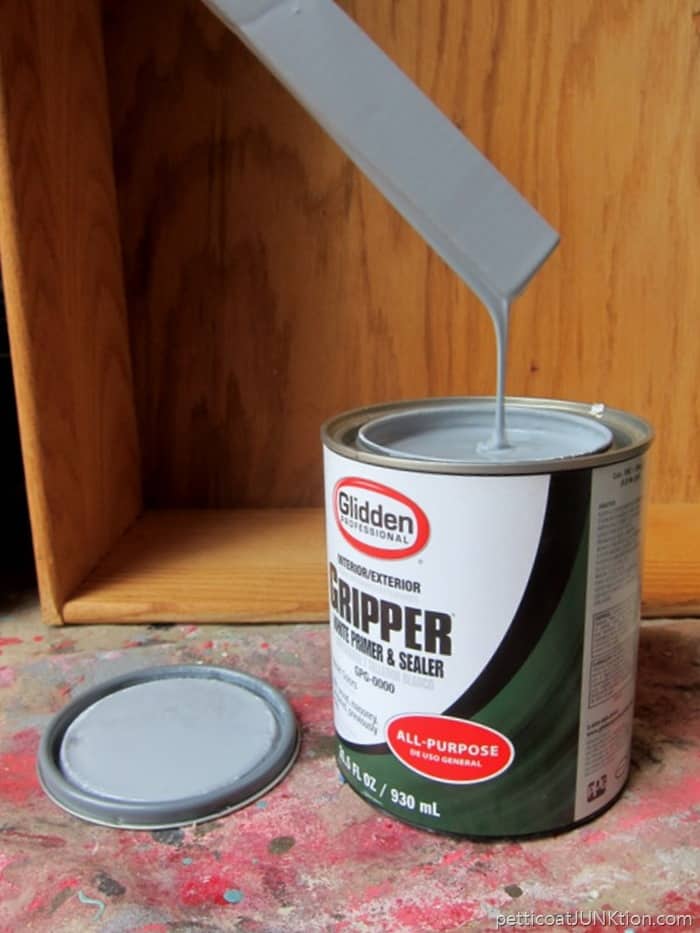
Have the primer tinted gray. White primer is great…if you use white paint as a top coat. Gray is easily covered with any top coat of any color.
Just ask the tech at the paint counter to tint it gray; there is no certain shade. They may tell you there is no room in the can, but they can spoon out a bit of the primer in order to add the gray tint.
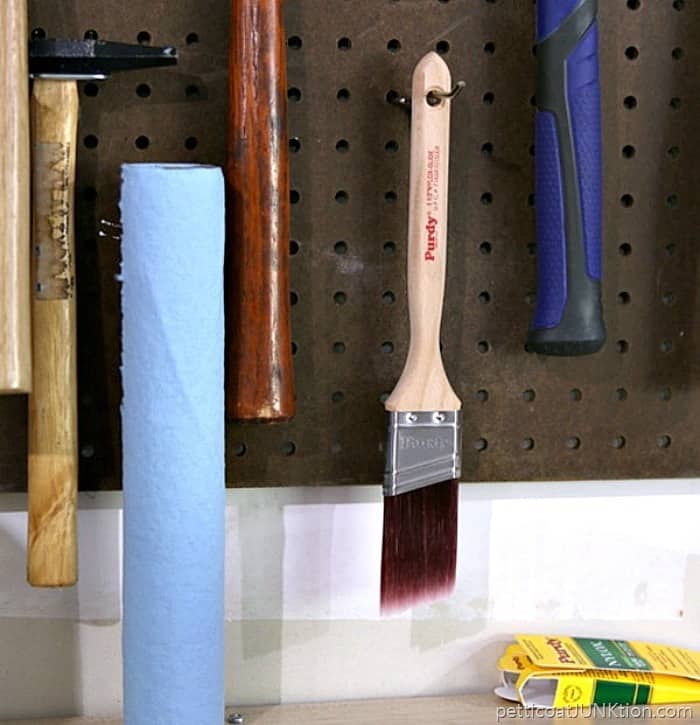
About The Paintbrush Or Paint Roller
Why buy quality paint and primer if you skimp on the paintbrush? There are several good paintbrush brands: Purdy, Kilz, and Wooster, just to name a few. The 1½ or 2-inch brushes are good for most projects, and I also like a sash brush for corners or edges.
Paint rollers can be used for furniture. The small 4-inch or 6-inch foam rollers work best. Buy the dense foam rollers, not the soft ones.
Supplies For Painting Furniture
Supplies and tools to have on hand before starting a furniture paint project include sandpaper, a screwdriver, gloves, painter’s tape, plastic wrap, a drop cloth, and a general cleaning solution or plain soap and water.
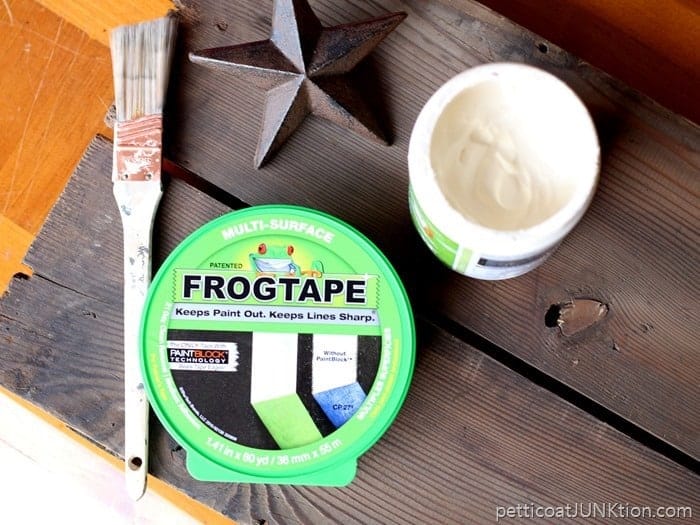
You can get by on most projects without power tools or expensive products. Remember, you want to start with a furniture project where you don’t need to make repairs.
Prep Before Painting Furniture
Clean your furniture with soap and water or a cleaning solution. Remove any drawer pulls and store them in a plastic bag along with the screws.
Set the furniture on the drop cloth and remove the drawers.
Apply painter’s tape on areas where needed, including taping over the hardware screw holes on the inside of the drawer to keep paint from leaking into the drawer.
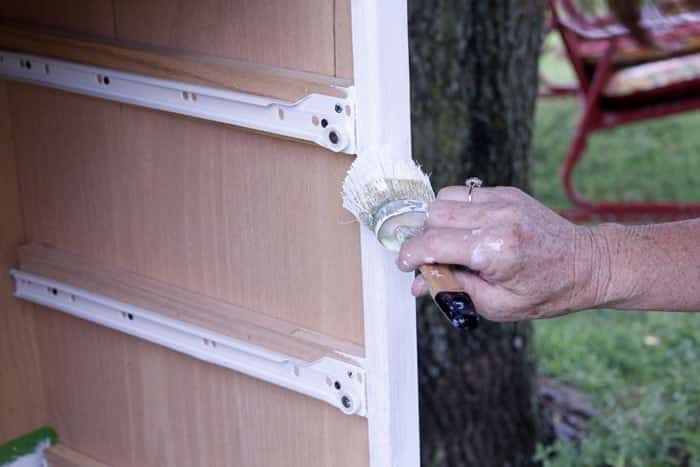
Apply the Primer
Shake or stir the primer to mix well if the primer has been sitting a while before use. Dip the lower half of the brush into the primer to load the brush.
Paint the sides, front, and top in that order, then paint the drawer fronts. One coat of primer will do the trick. Wash the paintbrush well with soap and water.
Paint Furniture
Once the primer is dry, apply the paint using the same process as you did with the primer. Pull the brush easily across the surface.
Apply thin even coats without overloading the paintbrush with paint. If the bristles spread out or splay, you are applying too much pressure.
Apply the paint with the grain of the wood, making long strokes. Be careful not to puddle paint in corners and edges.
Please do not go over the same area repeatedly, as it will pull off the paint or gum up. More than likely, you will see some brush marks. Don’t go crazy. They will hardly be noticeable when the piece is finished and in its spot in the house.
In between coats of paint, wrap the paintbrush tightly in plastic wrap or slip your used gloves over the brush, wrapping it securely. Allow the first coat of paint to dry, then apply a second coat.
How Long Does It Take The Paint To Dry?
The first coat of latex paint typically dries within a couple of hours, depending on the environmental conditions. Wait until the first coat is completely dry before applying the second coat.
The first coat may cover well, but I always apply a second coat unless I’m heavily distressing the paint finish.
Depending on the environment, the second coat of paint usually dries within 1-2 hours. If you are painting indoors and the temperature and humidity are controlled, the paint will dry faster than in an outdoor environment with high humidity.
Finish Touches
It’s time to put the knobs or pulls back on the drawers and the drawers back in the nightstand or chest. You may decide to change the pulls or spray paint the original ones. Either way works unless the holes for the new hardware don’t match up with the new one…and that’s another blog post entirely.
What About Sealing The Furniture?
Latex paint doesn’t require sealing unless the furniture will see heavy use. You should apply a polyacrylic sealer to dining tables and anything that could get damp. Latex paint takes a few weeks to cure completely. Still, you should be able to use the furniture within a few days without worrying about damaging the paint.
Once you paint your furniture, if you want to move on to the easiest paint technique, watch my video on how to distress furniture….
Examples Of Easy Paint Projects
Below are basic paint projects you may want to view for information or inspiration.
Click here……The Blond Table.
Click here …….Cedar Chest Makeover: Trendy Two Tone Paint And Stain Finish
FAQs About Painting Old Furniture
Q: How do I prepare old furniture for painting?
A: I like to start by lightly sanding the surface with fine-grit sandpaper. This helps rough things up so the paint has something to grab onto and properly adhere to. It also gets rid of any loose flakes, giving you a clean slate!
Q: What is the best paint type for painting old furniture?
A: After experimenting over the years, I found chalk-finish type paint or latex paint works best. These are made to grab onto surfaces and give excellent adhesion with little prep work. Bonus—the soft matte or velvety satin finishes bring out gorgeous character!
Q: How many coats of paint should I apply to old furniture?
A: My rule of thumb is two complete coats—first, a good base coat to unify everything, then a second coat in case I missed any corners, details, or small areas, the first go around. Multiple layers also help the true colors shine.
Q: Do I need to apply a clear coat after painting old furniture?
A: Maybe! It depends on the furniture. Adding a layer or two of clear coat sealant is essential for pieces that will see a lot of use or wear and tear, preventing ugly scratches, scuffs, and stains, and water marks.
Q: How long should I let the paint dry before applying a second coat?
A: Patience pays off big time! I mostly follow the paint drying guidelines—usually 24 hours minimum between coats for proper adhesion. But if the area where I am painting is low humidity and I’m working with chalky or latex paint, I can sometimes apply a second layer after a couple of hours.
Q: Can I use oil-based paint on old furniture?
A: Yes! The paint is extremely durable and makes surfaces surprisingly easy to clean. The curing time is longer with oil-based paints and remember that clean-up afterwards is more difficult than with latex paints. Oil-based paints require mineral spirits or similar products for cleaning paintbrushes, etc.
Q: What is the difference between chalk-type paint and latex paint?
A: Chalk paint requires little prep work, meaning no sanding before painting. Many chalk paints require a sealer to protect the furniture surface. But now you can find good brands of latex paint that include a primer and a sealer in the mix. To me latex paint is a winner for furniture painting.
Q: How can I transform old furniture with paint?
A: The right prep work, paint type, and application techniques let you reimagine tired flea market furniture finds. For more tips on painting furniture, read this article….12 Furniture Makeover Techniques Anyone Can Do
Once you paint your furniture if you want to move on to the easiest paint technique watch my video on how to distress furniture….
Click here……The Blond Table.
Click here……..Red Cedar Chest.


Hi Kathy, I’ve been AWOL for a while but I’m catching up. This guide is wonderful. I’ve painted before but it’s always great to have a review. I’m always confused when it comes to sandpaper. When to use what number. As always, your work is beautiful and so practical and I agree with the Latex. Two steps and you’re done! Take care. Stay warm.
I’ve had that problem a few times but not often. Try wiping a bit of Vaseline on the back side of the drawer where it hits the body of the dresser or chest. This should keep it from sticking and pulling off the paint.
Yes, most chalk paints don’t need priming. I would be sure and check what type of sealer to use on the particular brand of chalk paint you use.
Thanks Mickie
Really enjoyed this info.
Thankyou.
Very informative article. Thanks for the step by step instructions. I have an oak dining room table and chairs that I would like to make it look more coastal/beachy. I’ve never used chalk paint but I’ve read that you can put chalk paint over it without any sanding/prep to give it a whitewashed look. Any thoughts on this?
Every time I have painted a piece with drawers, I have the same problem. No matter how long I allow the drawers to dry before putting them back into the piece, the backs of the drawer fronts stick to the frame of the piece, pulling off some of the paint. What am I doing wrong? This is with latex paint.