Rice Paper Decoupage on Painted Furniture
As an Amazon Associate, I earn from qualifying purchases.
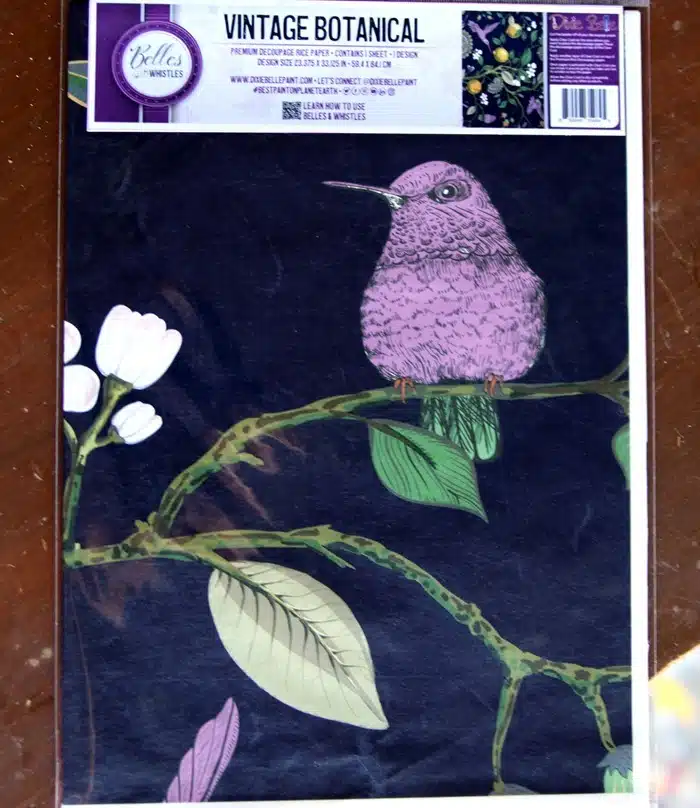
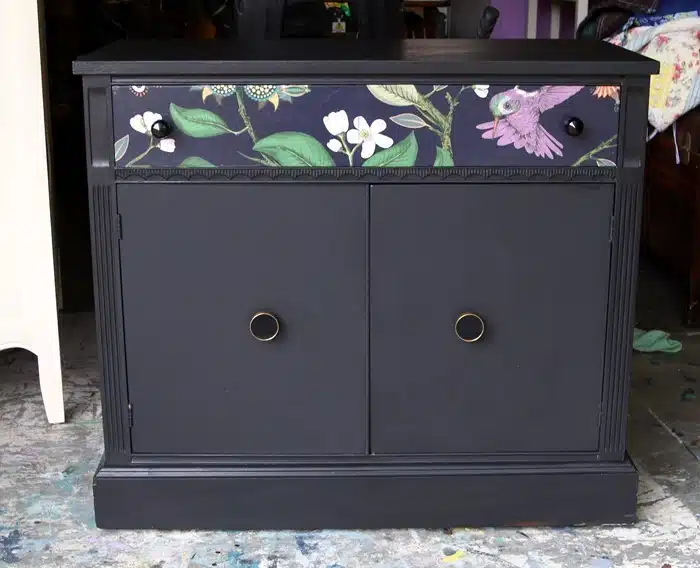
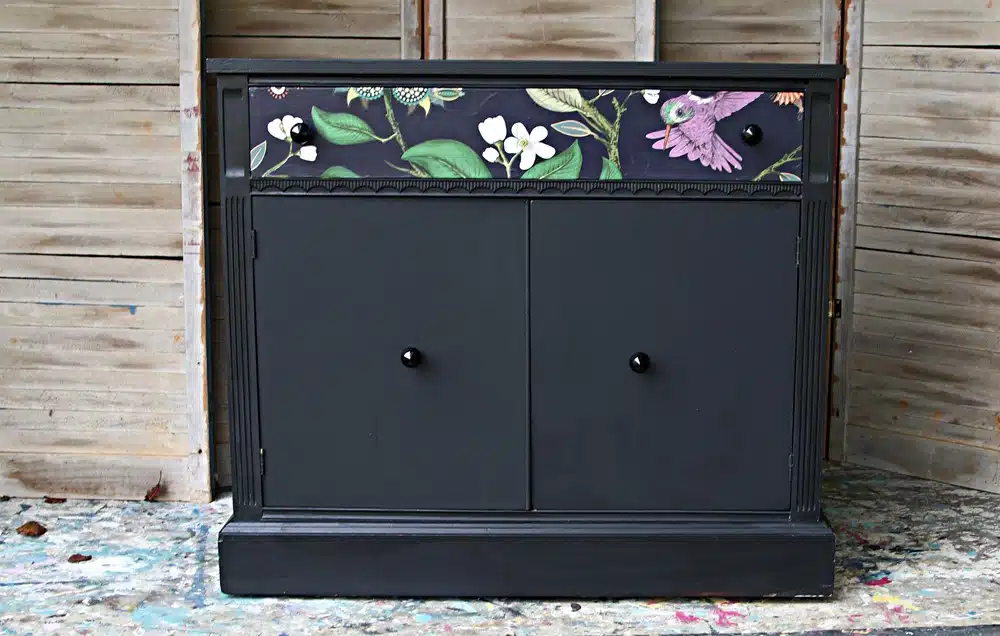
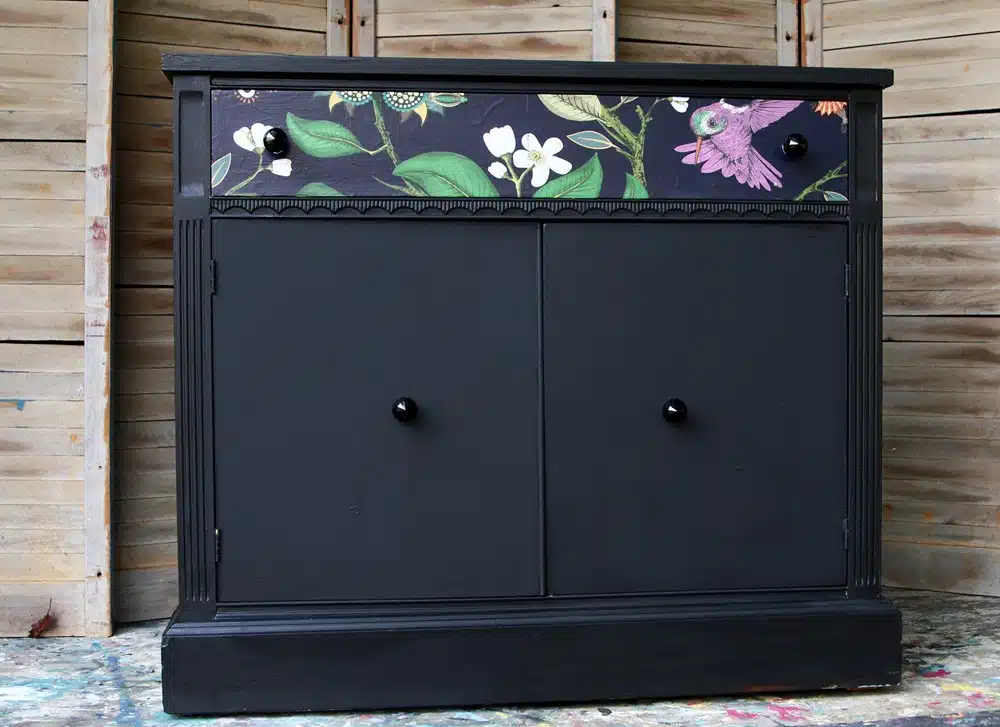
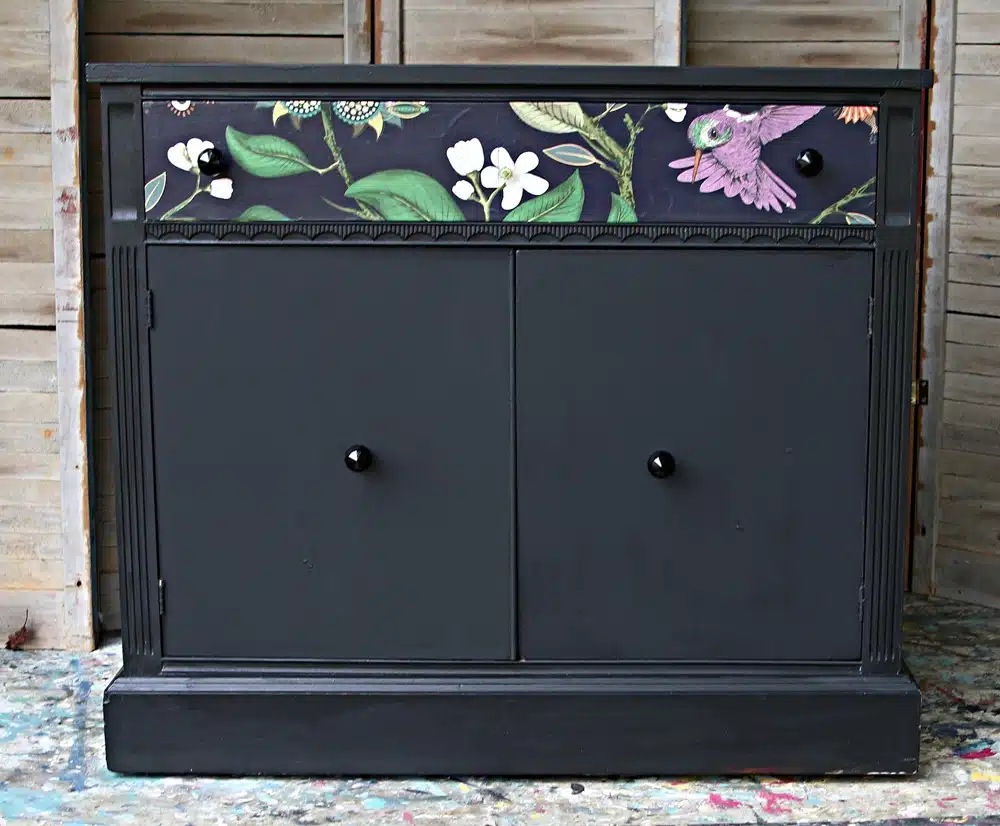
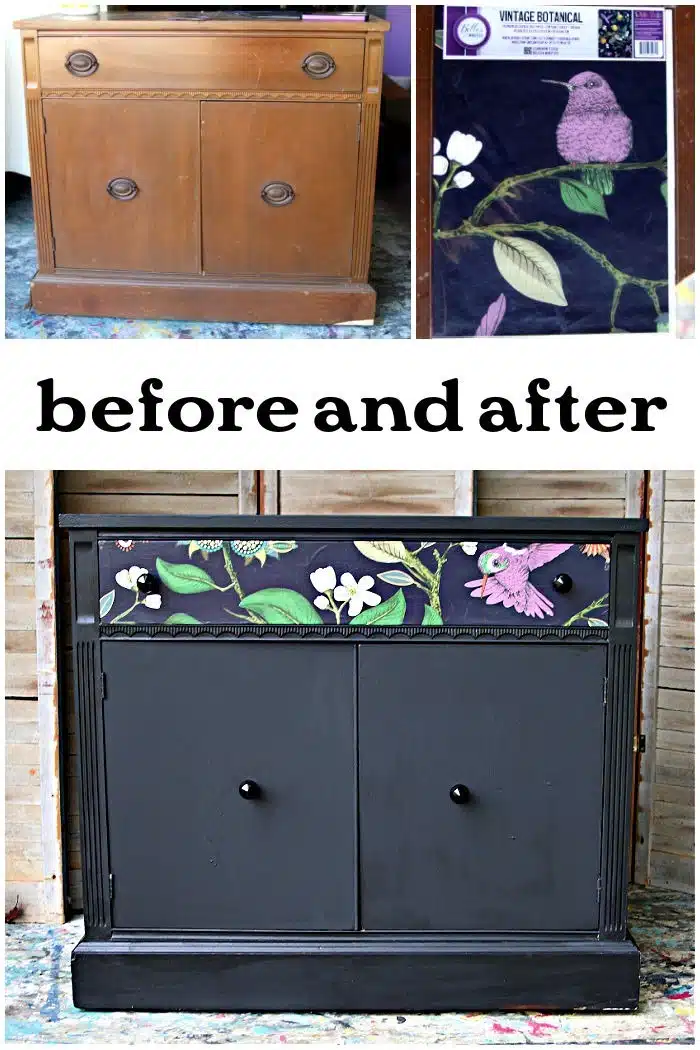
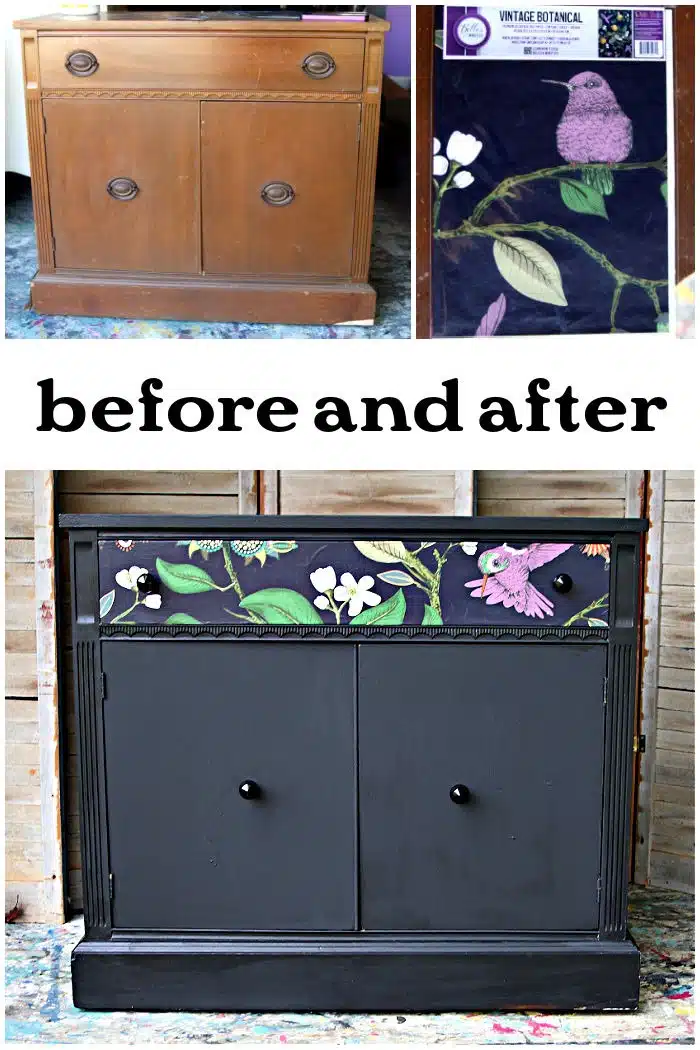
I decoupaged beautiful rice paper onto black furniture and the bold design pops against the black. The rice paper design is called Vintage Botanical by Belles and Whistles from Dixie Belle. To adhere the paper to the furniture, I used clear sealer instead of Mod Podge.
Today is the Furniture Fixer Upper Tour, and we have 5 great furniture makeovers. I hope these makeovers inspire you to paint something. It doesn’t have to be furniture.
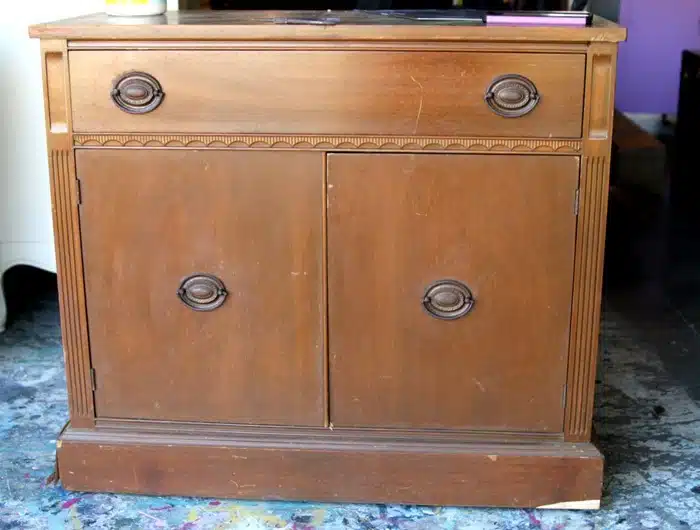
I purchased this piece from an online auction for only $5. What would you call this style? Maybe it is a foyer piece or the smallest of buffets.
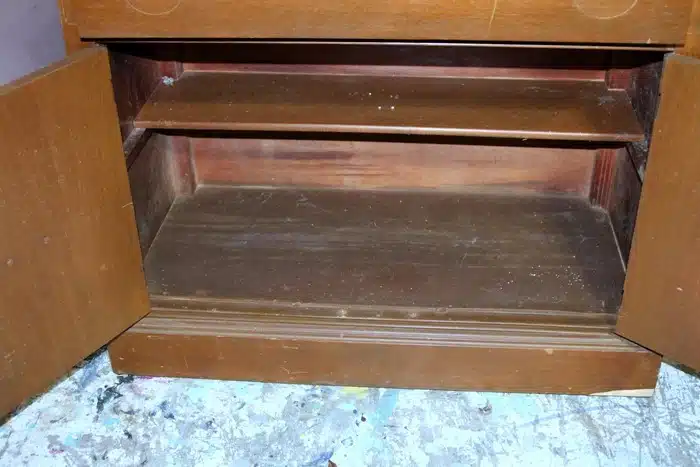
It was solid inside and just needed cleaning.
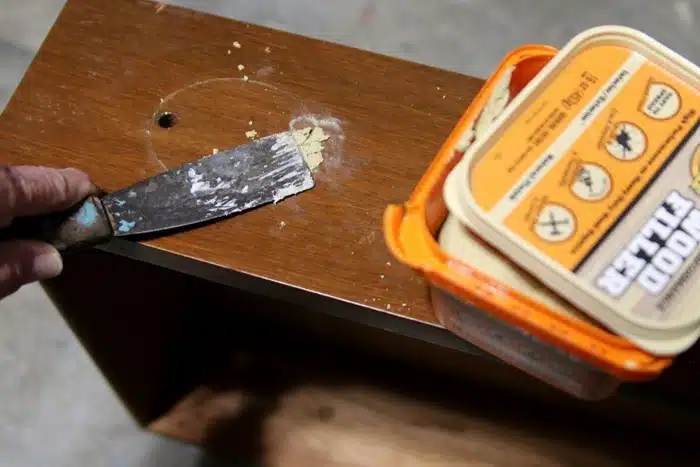
My plan to modernize the piece called for new knobs. That meant I had to fill one screw hole with wood filler on all four drawer pull placements because there were two screw holes each for the original pulls.
It’s much easier to fill one screw hole and use the other one for the new knob instead of filling both holes and drilling one for the new knob.
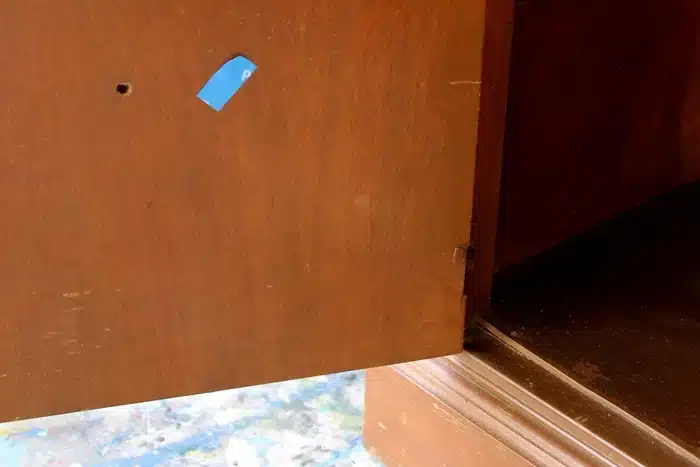
I placed a piece of painter’s tape on the backside of the screw hole, so I would have a “stop” place for the wood filler instead of just stuffing it in the hole and it falling out the backside.
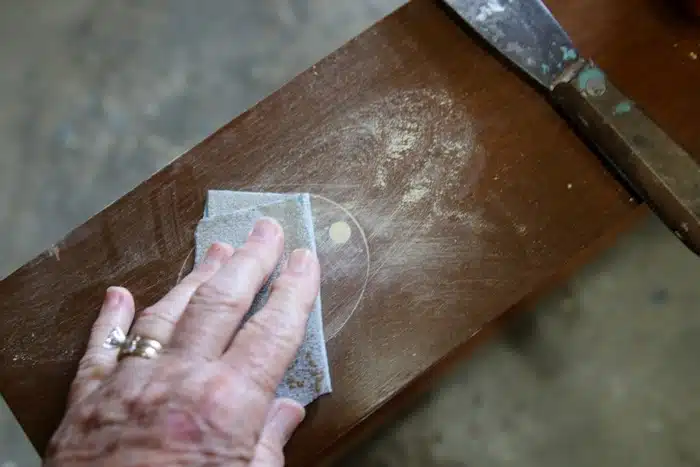
I let the wood filler dry overnight, then sanded it flush with the surface of the drawer and the cabinet doors.
The rice paper design I selected for the decoupage project had a black background, and I thought painting the furniture black would make the other colors in the design shine.
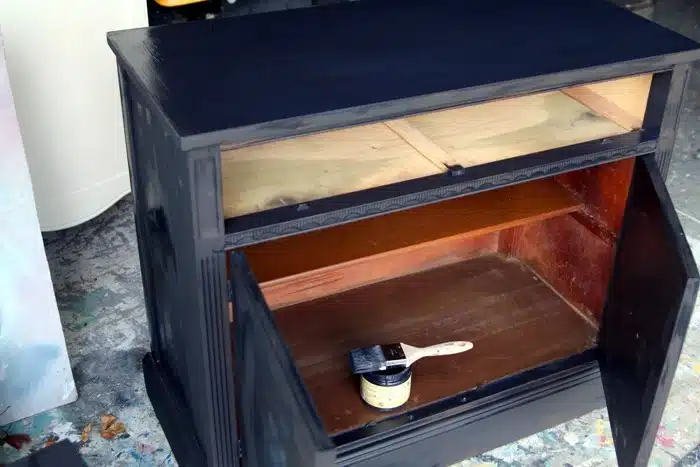
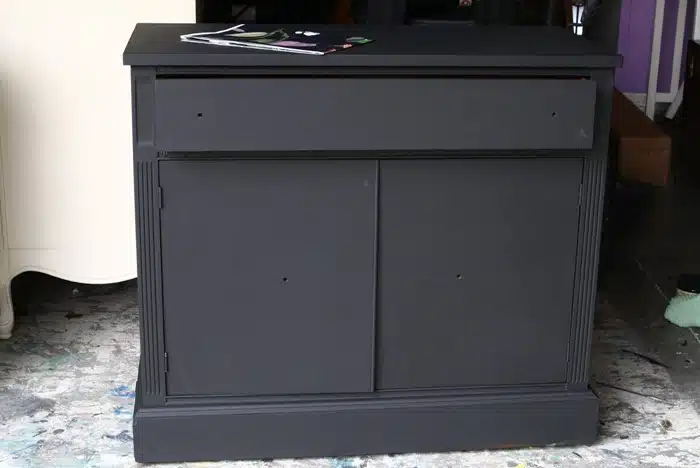
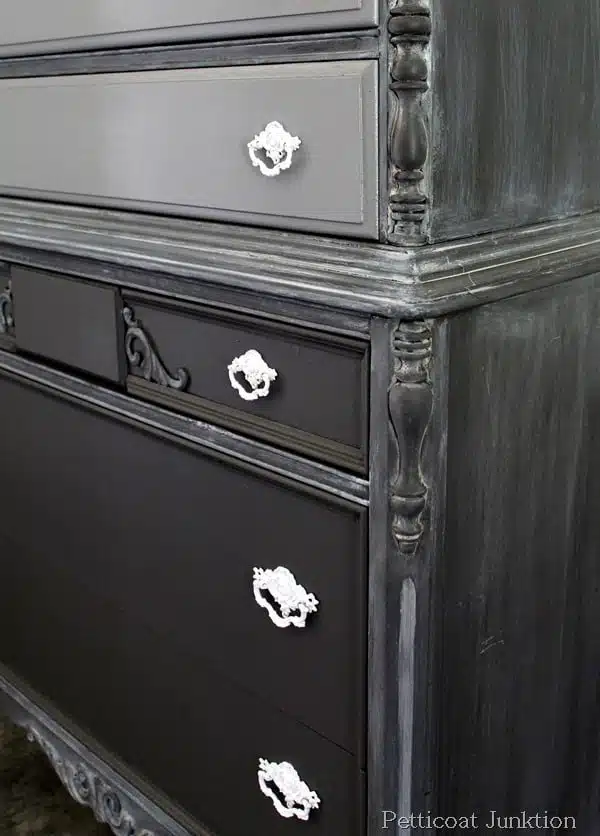
I brushed on two coats of Dixie Belle Chalk Mineral Paint (find the paint on Amazon here), color Caviar except for the drawer which received only one coat of paint.
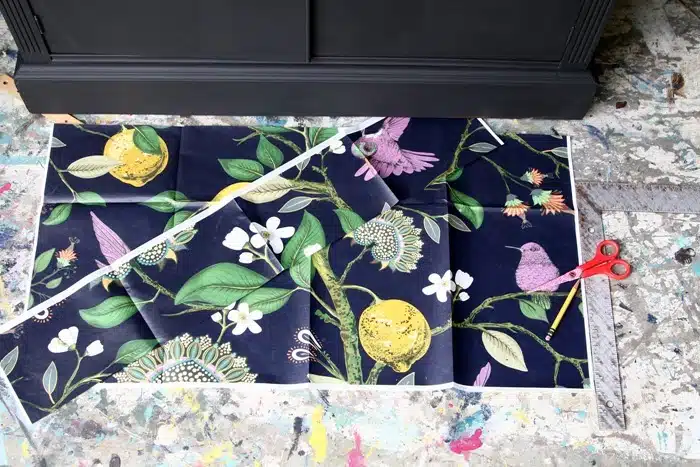
This is the beautiful decoupage rice paper and the plan was to cover the drawer front with the paper. I thought about using the paper on the two cabinet doors but thought that might be overkill.
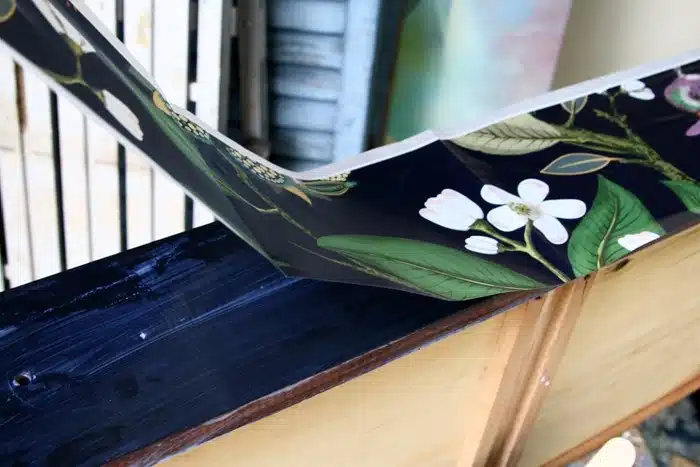
I measured the drawer front, and then cut the rice paper a little larger so I could bend the excess over the drawer edges.
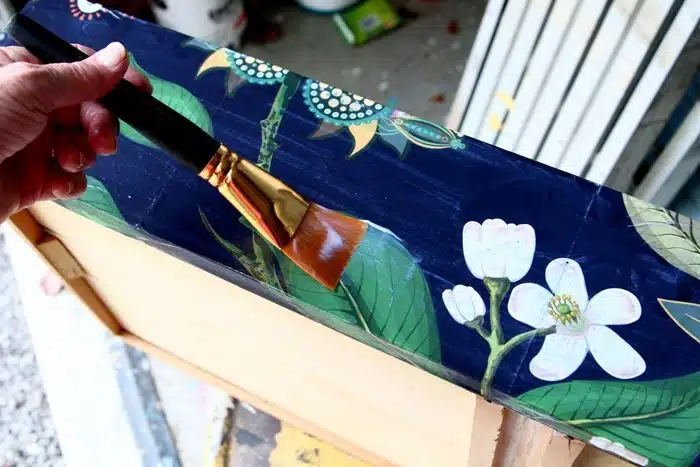
As I mentioned earlier, I used Dixie Belle Clear sealer to decoupage the paper. First, I brushed a coat of sealer on the drawer front, not being stingy with the sealer. Then I laid the rice paper over the drawer, working from one end to the other and smoothing the bubbles out of the paper as I went.
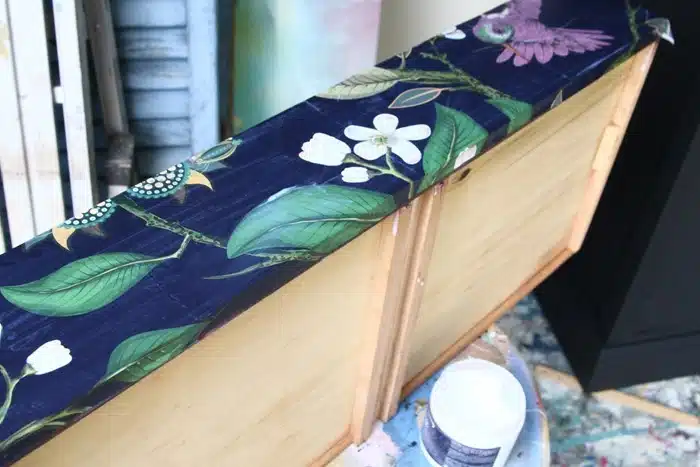
As soon as I applied the paper to the drawer front I bushed a coat of sealer over the top. The sealer is white but dries clear.
I let the decoupage dry overnight and then trimmed the excess paper from the edges and the sides.
The next order of business was deciding on the new knobs. I have a large stash of new knobs and old knobs and I try not to buy more if I don’t have to. I found black, green, and pink glass knobs that matched the colors in the paper.
For the cabinet doors I found the round black knobs with the gold rims and thought that would add some needed color.
But when I put the knobs on the cabinet doors I didn’t like them.
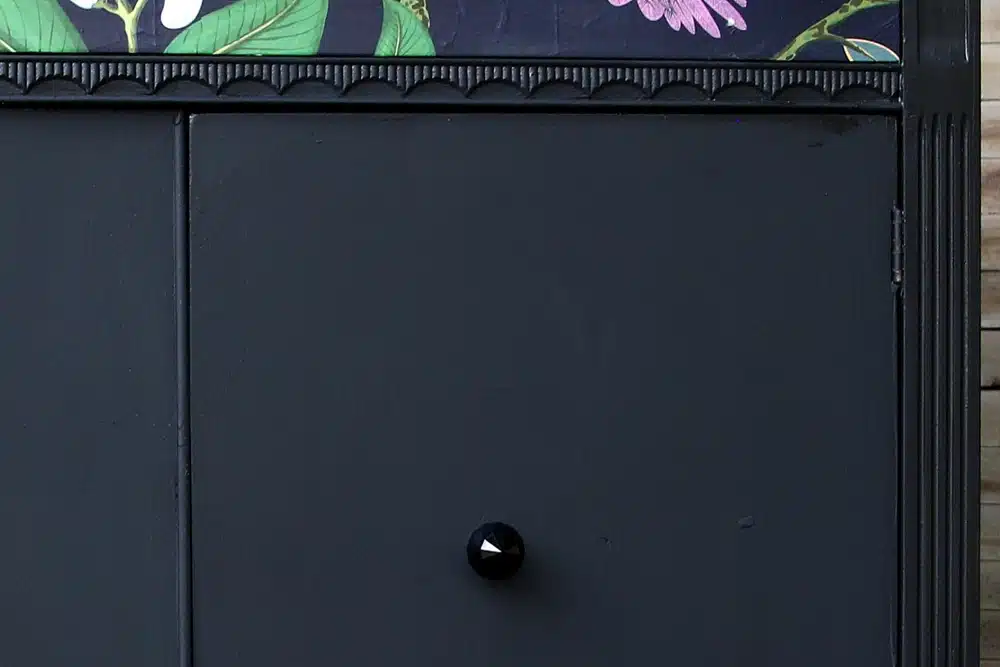
So I went black glass knobs on the drawer and the cabinet doors. Using the green or pink glass knobs would have detracted from the design.
The black knobs are shiny but that seems to work. They might look a little small on the cabinet doors but the overall look seems to work.
I brushed a coat of the Dixie Belle Clear Satin Sealer over the whole piece of furniture. I’m still not sure what to call it.
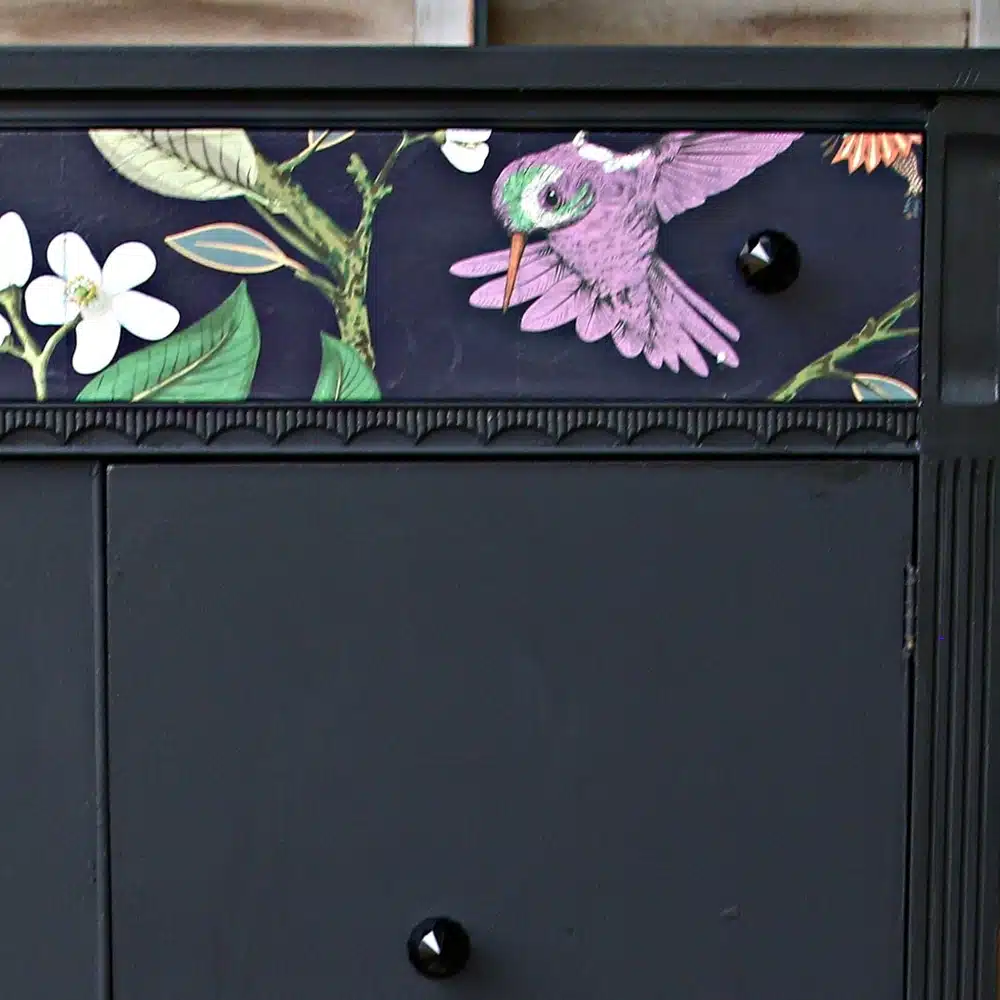
That wood detail below the drawer is so pretty. You guys can see I resisted distressing the paint. Soooo not like me.
When cutting the Vintage Botanical Rice Paper, I selected the part of the design with pretty elements, like the purplish pink bird and the white flowers.
It worked out well because I cut it straight from the top of the paper. I have a lot of decoupage rice paper left to use on another piece.
Dixie Belle Website
Dixie Belle Boss
Scrubby Soap
Chalk Mineral Paint
Dixie Belle Clear Satin
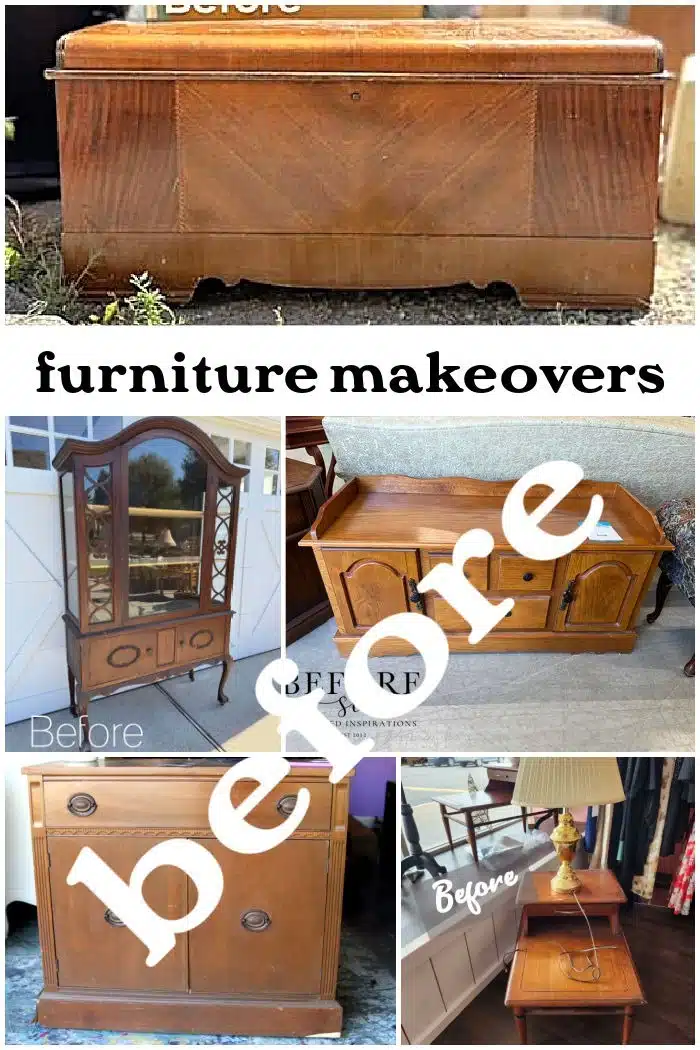
I’m very happy with the results. What do you think? Leave a note if you have time before heading out on the Furniture Fixer Upper Tour. Take the tour by clicking the text links below the “before makeovers” photo collage….
Furniture Fixer Upper Tour –
Black Painted Antique China Cabinet – Confessions of a Serial DIY’er
Smokey Mountains Painted Cedar Chest – Salvaged Inspirations
MCM Step Table Makeover – My Repurposed Life
Waterfall Cedar Chest Makeover– A Ray Of Sunlight
Rice Paper Decoupage On Painted Furniture- Petticoat Junktion (you are here)
As always, thanks for being here, Kathy



Kathy
Just doing the drawing makes all the engraved details of the cabinet really stand out. Great job matching the paper to the cabinet color also! It is also great that you didn’t “overdue” applying that paper, more on the cabinet would have been too much. Great Job Kathy
It’s nice, but I like your original knob choice better. Think the lower half needs bigger ones.
GORGEOUS!!!
Wow, that turned out beautifully!
I would call this a buffet. I did one several years ago that was similar to this. At this moment, I can’t even tell you what color I used. 🙂
I like small pieces like this and I love what you did with it. Personally, in the pics, I liked the first knobs for the doors.
Great job Kathy.
Pinned, and will be sharing on FB
gail
It’s fun to switch things up and for this piece, the non-distressing looks AWESOME! What a fun and classic piece Kathy! Pinned XOXO
I always called my inherited piece (exactly like this one) a linen press. That’s what my mother-in-law told me it was. And it was originally her mother’s so the piece was quite old.
I love what you did with it! The new look is so cute.
Caviar is such a.pretty black.
I LOVE this paper, Kathy! I’ve always wanted to use it on something but never have. It really gave this simple piece some character! XOXO
I like it very much. I think you could also add the rice paper along the trim piece at the bottom and around the edges if that trim continues along the sides. It would work to ground the piece and give it another notch of pizazz,
Love this piece, it looks amazing. x