12 Furniture Makeover Techniques Anyone Can Do
As an Amazon Associate, I earn from qualifying purchases.
These furniture makeover tutorials are meant to inspire everyone, from beginning DIYers to seasoned paint pros. There is always something new to learn or a better way to do just about anything.
I share antiquing techniques, stenciling, decoupage, prep instructions, metallic paint projects, distressing techniques, chalk finish details, and techniques I think up on my own. Some are a bit crazy but that’s how I roll.
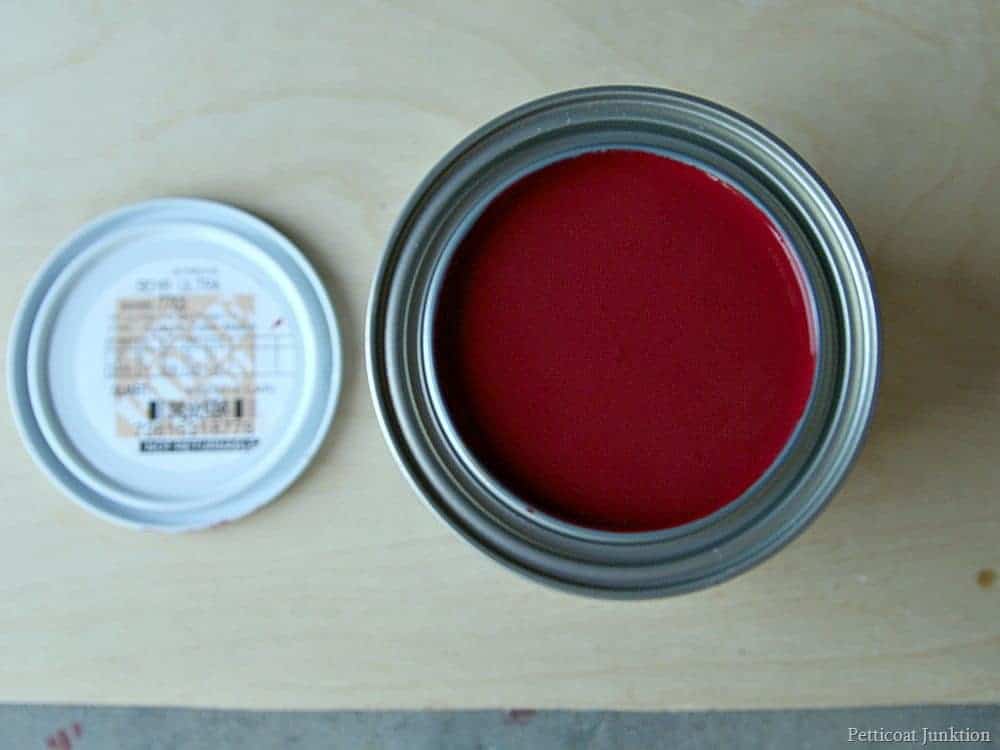
Paint Furniture With Metallic Paint

This metallic paint is water-based and goes on smoothly. No matter the brand of metallic paint this tutorial will get you through your project plus, as a bonus, you can learn how to antique or age the metallic paint….. Tutorial On Martha Stewart Metallic Paint For Furniture
Stencil Furniture

The secret to stenciling is using a very dry, hardly wet stencil brush. Dip your brush in the paint then wipe almost all of it off on a paper towel. Then you stencil. You can also add depth to any stencil using two, three, or more colors with a one-layer stencil. I’m good at that. Nothing like patting yourself on the back is there. See my best stenciling tips here…..Learn How To Stencil Like A Pro
Distress Painted Furniture Using Vaseline

This is my number one post/tutorial every year. I can’t understand why because the photos are horrendous. I painted the cedar chest in 2013 and the special Vaseline distressing technique still rules today. You can read my all-time number one tutorial here. Paint Technique for Cherry Red and Turquoise Distressed Cedar Chest
Decoupage Fabric To Furniture

Not only did I decoupage the nightstand with pretty fabric, I filled the original drawer pull holes and traded out the pulls for knobs. The nightstand was transformed. I prefer using fabric over paper as decoupage material because paper tears easily and the bubbles are harder to get out. Find this decoupage project here….Furniture Makeover: Change Drawer Pulls | Paint | Decoupage With Fabric
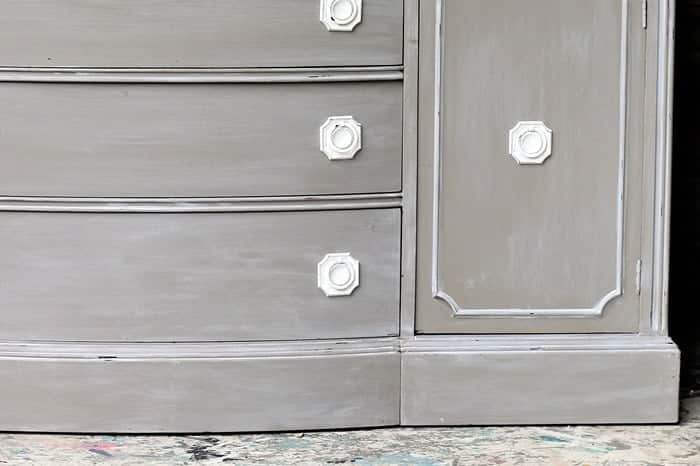
Age Or Antique Painted Furniture

The antique look for painted furniture is still in. I love this look too. I have more than one technique to age paint, but this one uses Caromal Colours Toner. The process is super easy. See the full tutorial here…Tutorial-How To Antique Painted Furniture
Prep Furniture Before Painting

Every piece of furniture is different, and sometimes you don’t realize what needs doing until you start the makeover process. This post shows a few issues you may have, such as loose veneer.. Tutorial on How To Prep Furniture For Painting
Cover A Chair Seat

If I’ve said this once, I’ve said it 100 times… “A chair makeover where you paint the wood frame and recover the chair seat is the easiest furniture project you can do that will make the biggest impact”……or words to that effect. If you’re ready to give a simple chair makeover a try, click here for more details ….How To Cover A Chair Seat
Use A Bottle Brush To Age Furniture
 I was challenged to do a makeover that
Oh my gosh. This project was such fun and I made up the technique myself. The antique cedar chest was a mess. I repainted the chest and used a baby bottle brush and kitchen sponge to age the paint. More details here…..Cedar Chest Makeover.
Use Milk Paint

I wrote a post with tips and suggestions on how best to use the milk paint and what kind of results you can expect when using the paint on different furniture finishes. Give milk paint a try but read my tips here first….Miss Mustard Seed Milk Paint Projects and Painting Tips
Prep And Paint Furniture

This is the complete guide to furniture makeovers with me walking you through a makeover from beginning to end….10 Steps to Prepping and Painting Furniture
Whitewash Painted Furniture

Whitewashing paint is one of my favorite things and you can find the tutorial here….Whitewashed Painted Furniture Makeover
I hope these tutorials help you when you get ready to tackle a furniture project. Don’t forget to pin this project and/or bookmark it for future reference. As always, thanks for being here, and have a great day, Kathy
Wow, Kathy! That is an awesome list. It’s great to have all that info in one post. I’m not sure where to start. What would you recommend as a starting project for someone–like me–who hasn’t done any significant furniture painting in years. And I mean YEARS! Like, in my thirties before my first child was born I painted second hand furniture for her nursery. I am now 74! So, I feel totally out of practice, but I’m eager to get going.
Marcia, If it’s a chair or table I usually turn them upside down and start there, then turn them over and paint the top. If it’s a chest of drawers I’ll paint the sides, front, then the top. I always remove all hardware from the drawers and I usually paint the drawers last.
Hi Kathy,
I recently discovered you while researching chalk paints.I LOVE the style of your furniture and am diving in with both feet. A question for you: when you paint your furniture, is there any order in which you paint? Do you start at the top and work your way down; or do the tops/fronts last (or first)?
Your milk paint photos have me eager to try that now! Thanks for all your tutorials.
Marcia