Yes You Can Paint Furniture With Latex Paint | No Sanding Or Priming
As an Amazon Associate, I earn from qualifying purchases.
Paint furniture with latex paint without priming or sanding the wood first. Latex paint covers and adheres well to wood furniture.
I get asked this question all the time. Can you paint furniture with latex paint? Yes, you can. In fact, I recommend it. Latex paint or water-based paint has undergone significant improvements over the years.
Most name-brand paints include primer in the mix. I don’t sand my furniture before painting, either, unless the piece is really rough.

I receive emails regularly about using latex paint on furniture, sanding before painting, priming, and other related topics. Unless furniture has really rough areas or is covered with permanent marker, fingernail polish, or something else that paint cannot cover, then I don’t sand or prime before painting.
One of the corners on the cedar chest was chewed up, so I built it up using wood putty. I sanded the putty smooth once it dried, but other than that, I did not sand the cedar chest before painting.
By the way, today is Furniture Fixer Upper Day, and you guys are in for a treat—tour links at the end of the post.

The photo above shows the damaged area on the edge that I filled in with wood putty.

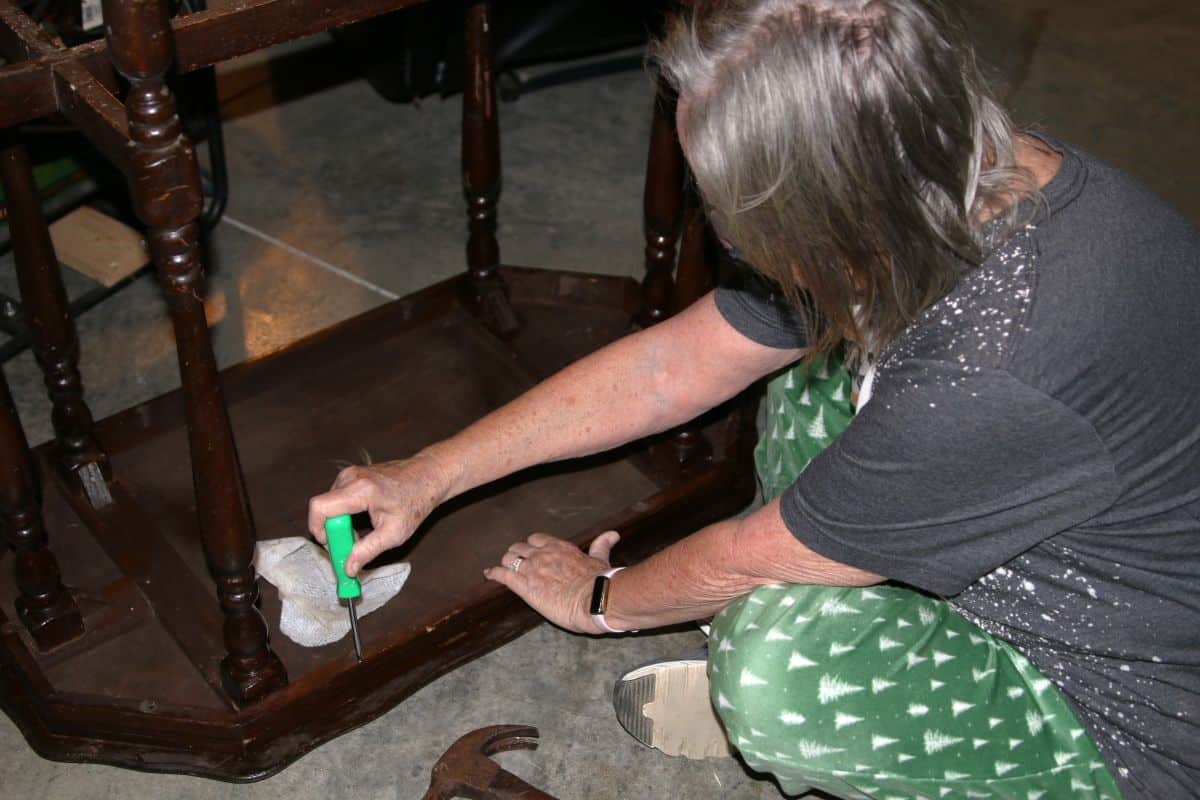
I bought the cedar chest at my favorite junk shop, and it was in reasonably good shape, almost perfect inside. The chest is the Cavalier brand, and I paid $40 for it. Someone had already removed the lock. We cannot sell cedar chests with the locks in place because it is a safety issue.

I needed to cover the big hole where the lock was located, and I started going through my hardware stash. The photo above shows some of the stash from the blue cabinet, which is full of pulls, knobs, and other hardware.

I pulled out a few pieces to try as replacements for the lock.

There were two screw holes where the lock was removed, but of course, those did not work for the pieces I selected for the chest.

I added this round decorative piece, and the little lip on the chest lid made it possible to close the lid completely, even though the round piece was a little large for the space.

Next, I added a knob to the center of the round brass piece, and the two were perfect together. I’m a happy camper.
Sometimes I have to spend hours searching for pieces and parts. I found these parts right away in my search, and it took less than 10 minutes to put them on the chest.

How to Paint Furniture with Latex Paint
I decided to paint the chest blue, but none of the paint colors on my shelf spoke to me. I gathered a few cans of various shades of blue and started mixing paint.
The photo above shows the deep, rich blue, almost navy color I created. I try to use leftover latex paint from our home projects. Budget-friendly. You can also use already mixed paint instead of mixing your own.

I applied one coat of paint to the chest, and this is how it looked. The color was a bit dark for my liking, so I went back to mixing paint.

I added more light blue to the mix, and you can see how much lighter it is than the original color. But the paint will dry darker.

The photo above shows the color after the paint dried, and the paint on the stick is wet. Definitely darker when it dries.

And this is what the painted cedar chest looks like. I love the color! If you’ve been here for a while, you know I mix my own paint colors a lot of the time.
If I really like the color, I take the paint stick to Home Depot and have a quart of the custom paint color mixed, so I have more paint and also the paint formula.

Did you see my recycled aluminum can vases from last week? These are knock-offs of expensive vases on West Elm. You can find the project here…How To Upcycle Aluminum Cans Into Vases

Can you believe I didn’t distress those beautiful details on the footboard? I may do some more work on the cedar chest.

If I do, I will share the changes with you. I definitely think I should distress the round brass piece.

I worked on the chest again! See the new look…. How To Apply Re-Design By Prima Rub On Floral Transfers To Furniture

Have you used latex paint to paint furniture? I would like to hear about it if you have. You can find all my reasons for using latex paint here… Paint Furniture With Latex Paint: 13 Really Good Reasons.
For a lighter look on the cedar chest, I may whitewash it, as I did in this video tutorial….
P. S. I received a comment about the tiered tray I listed in my newsletter. I should have linked to the tray with the round handle instead of the heart-shaped handle. My mistake. Same tray but different handle. I have the round handle top. Find it here on Amazon.
If you have time before heading out on the tour, please leave a comment about the makeover. Just click the text links below the “before” furniture makeovers photo collage to take the Furniture Fixer Upper Tour….

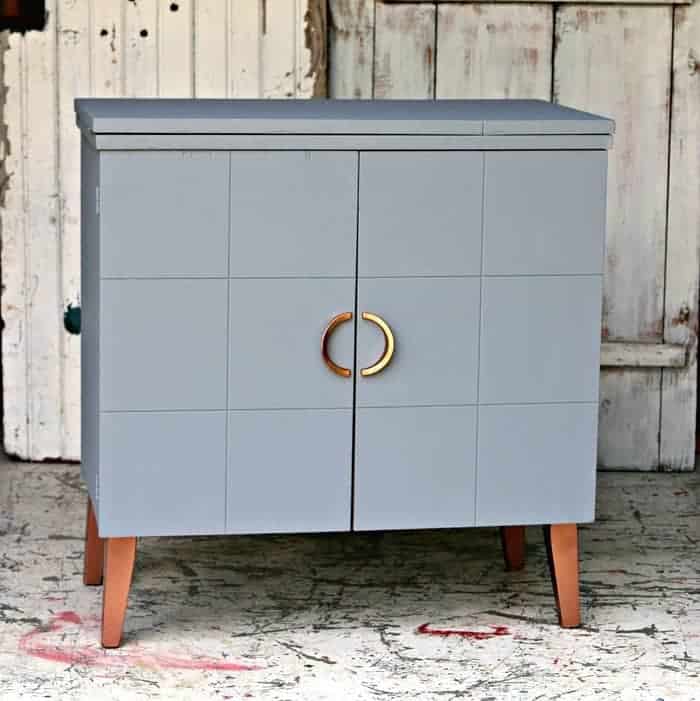
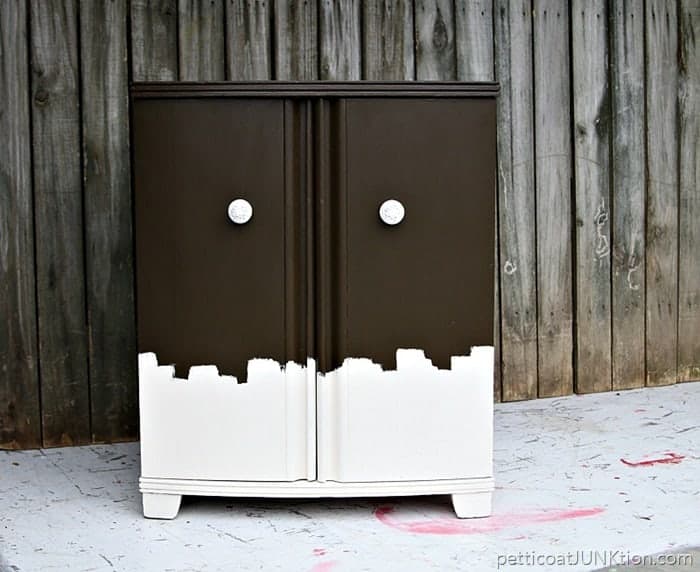
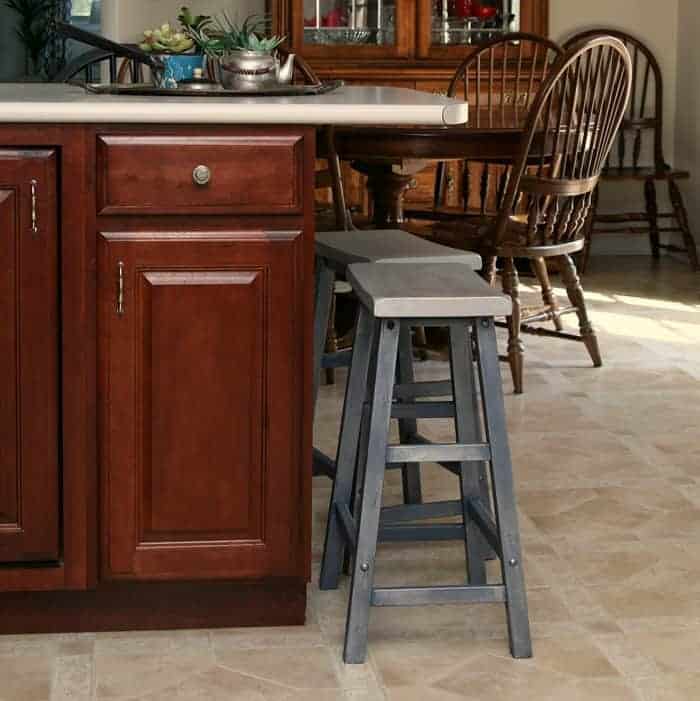
Furniture Fixer Upper Tour
Magnolia Dresser Makeover – Confessions of a Serial DIY’er
Bathroom Cabinet Makeover – Salvaged Inspirations
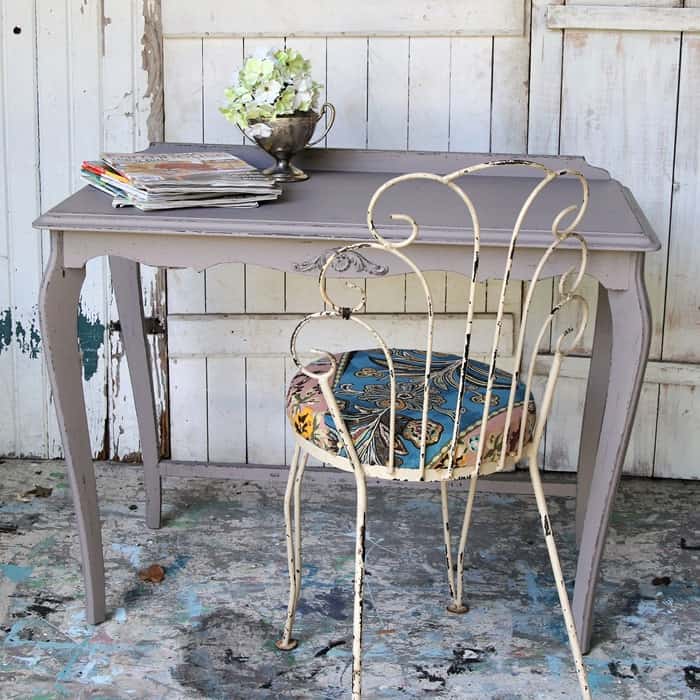
Solid Wood Counter Stools – My Repurposed Life
How To Repaint A Dresser – Girl In The Garage
Latex Painted Cedar Chest – Petticoat Junktion (you are here)
As always, thanks for being here, Kathy
Dear Petticoat Junktion,
I recently came across your blog post titled “Paint Furniture with Latex Paint – No Sanding!” and wanted to express my appreciation for the informative and practical content you’ve shared. Your article offers a valuable guide on painting furniture with latex paint without the need for sanding, which can be a time-consuming and labor-intensive process. I wanted to take a moment to acknowledge the value of this content and share my thoughts.
Your blog post provides step-by-step instructions and tips for achieving a successful paint finish on furniture using latex paint without sanding. The detailed explanations and accompanying photographs make it easy for readers to follow along and replicate the process in their own projects. This resource is particularly helpful for DIY enthusiasts who want to transform their furniture with minimal effort.
I appreciate how you explain the benefits and limitations of using latex paint without sanding. By addressing common concerns and providing practical solutions, you empower readers to make informed decisions and achieve satisfactory results. The inclusion of alternative techniques, such as using a deglosser or primer, further expands the options available to readers.
Furthermore, your emphasis on proper surface preparation, such as cleaning and ensuring a smooth base, sets the foundation for a successful paint job. This attention to detail helps readers understand the importance of surface preparation in achieving a professional-looking finish.
I would suggest considering the inclusion of additional information or resources on choosing the right type of latex paint for furniture projects. Discussing different finishes, such as matte, satin, or semi-gloss, and their suitability for various furniture styles and usage can help readers make informed choices. Providing guidance on selecting the appropriate paint colors or finishes for different design aesthetics could also be beneficial.
Additionally, sharing examples or case studies of furniture transformations using the no-sanding technique could inspire and motivate readers. Before-and-after photos or testimonials from readers who have successfully used this method would add a personal touch and demonstrate the effectiveness of the approach.
Moreover, addressing potential challenges or troubleshooting tips in the painting process could enhance the usefulness of the article. For instance, discussing how to handle bleed-through or how to ensure a smooth and durable finish can help readers overcome common hurdles they may encounter during their projects.
Overall, your blog post on painting furniture with latex paint without sanding provides readers with a valuable resource for DIY furniture makeovers. By sharing your expertise and practical tips, you empower readers to transform their furniture with confidence and achieve impressive results.
Thank you for sharing this informative article. I found it both educational and inspiring, and I’m sure many others will benefit from the knowledge and guidance you’ve provided.
I LOVE this color Kathy! Great update! xo
Kathy, love the chest. I love love the first blue, but I am a sucker for navy blue. I really like the finished chest as well. As usual a great project!
Hi Kathy,
Painting with latex has been my go-to for so many years. When you are young and starting out it is the only way to go. I don’t know how many old and beat-up pieces of furniture have passed under my mighty brush but it has been a whole lot! Back then it was poor-folk white; Now it is tres-chic! I too love your blue!
Marietta
thank you Denise
Sounds like a great idea!
I love the blue chest! And, you give me ideas. I have an old cedar chest similar to your’s that a friend’s mom gave me about 40 years ago. My daughter had it for awhile and it was a bit scratched up, so I got out the white paint. It looks ok, I’ve never been crazy about it. I have a quart of a deep blue green that has never been opened. I may add some white paint to lighten it up a bit and try a coat or two on my cedar chest.
I love the custom blue and how you covered the hole… beautiful! And those WestElm knock-off vases… too cute!!!! XOXO
Your fixer upper hope chest is timely for me! I have one in the works that has the base coat. The lock information is timely because I never gave it a thought to remove it for safety reasons. It doesn’t have a key so I will be removing it! I liked your original paint mix best. Nevertheless this turned out beautifully.
What a beautiful color, Kathy! And I love your solution for covering the old lock! XOXO
Kathy,
I can’t believe you didn’t stencil something on this cedar chest. I, of course LOVE the color, blue is my favorite color!
I saw a cedar chest while thrifting yesterday and immediately thought of you. However, the price was too steep for me. ($30) I wouldn’t be able to recoup my money on it. So, I bought a .99 cent plant stand and a $4 plastic mirror.
Pinned!
gail