Painting A Dining Table And Chairs With Latex Paint
As an Amazon Associate, I earn from qualifying purchases.
How to use custom mix latex paint for painting a dining table and chairs and then re-cover the fabric chair seats for a whole new look.
Hey Guys! The table for this paint makeover came from my favorite junk shop and the four chairs were an auction buy. The dining table is small because at one time he had folding leaves on two sides but those are gone now. The table is square and a nice size if you have a small kitchen or dining area.
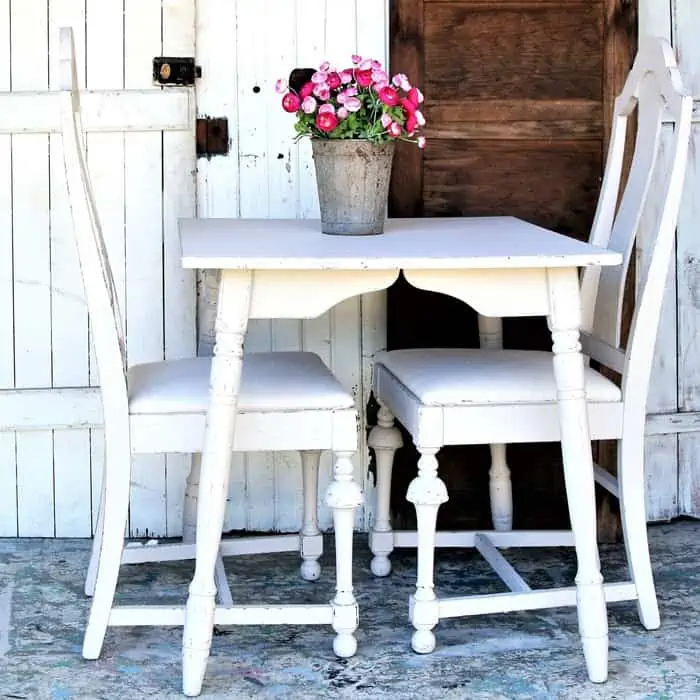
I used my favorite fabric for the seat covers……drop cloth. You have to admit the white paint and drop cloth seats give the table and chairs a fresh clean look. I have a lot of in-process photos for you of the painting and the seat re-cover steps. I also made a video showing how I faux-distressed the tabletop and the chairs.
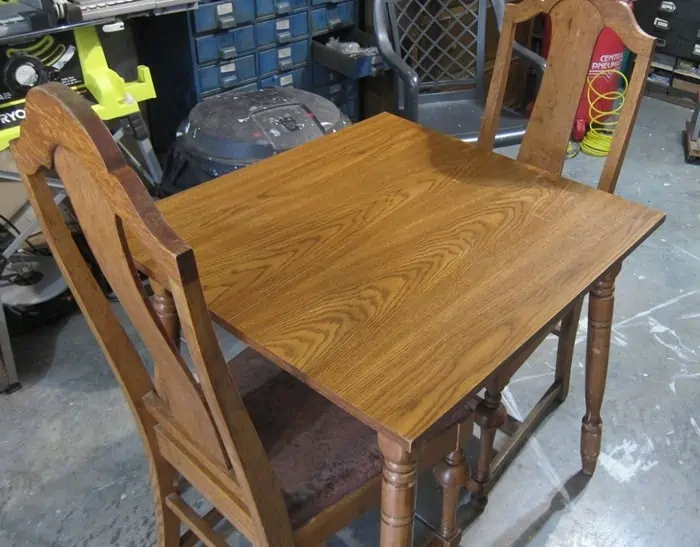
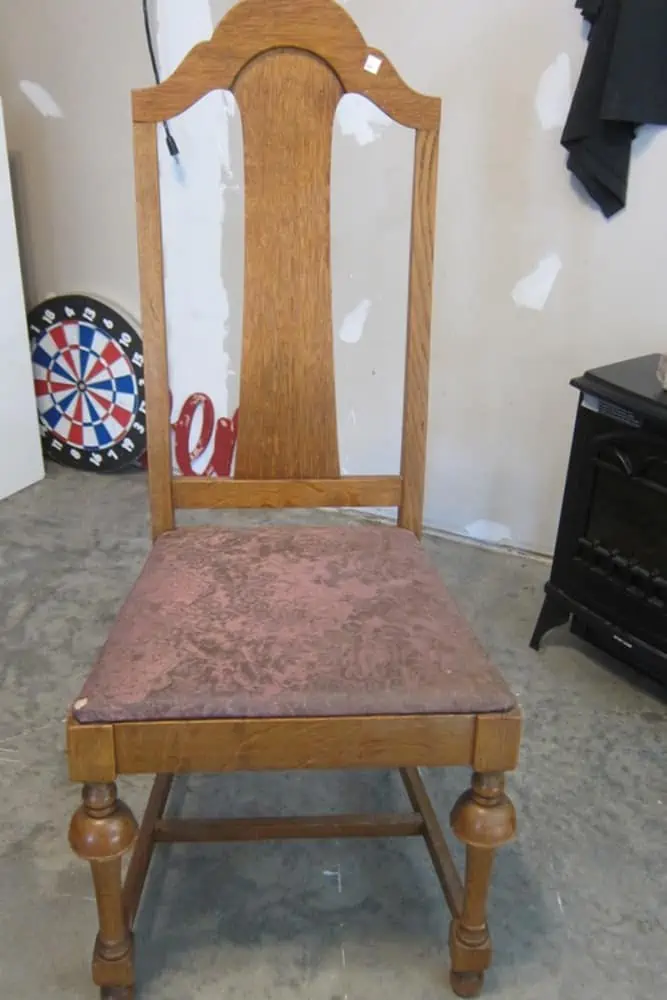
This is how the table and chairs looked before the makeover. There are a total of four chairs and I intend to price the table with the option of two chairs or four chairs when I take the set to the booth and tag it.
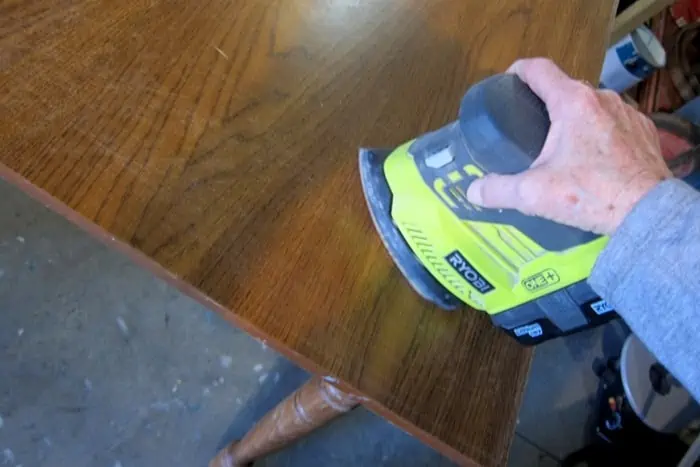
For this makeover, I used my sander to rough up the table top just a bit. I don’t know if that helps the paint adhere or not. I really only ran the sander over the top 2 or 3 times.
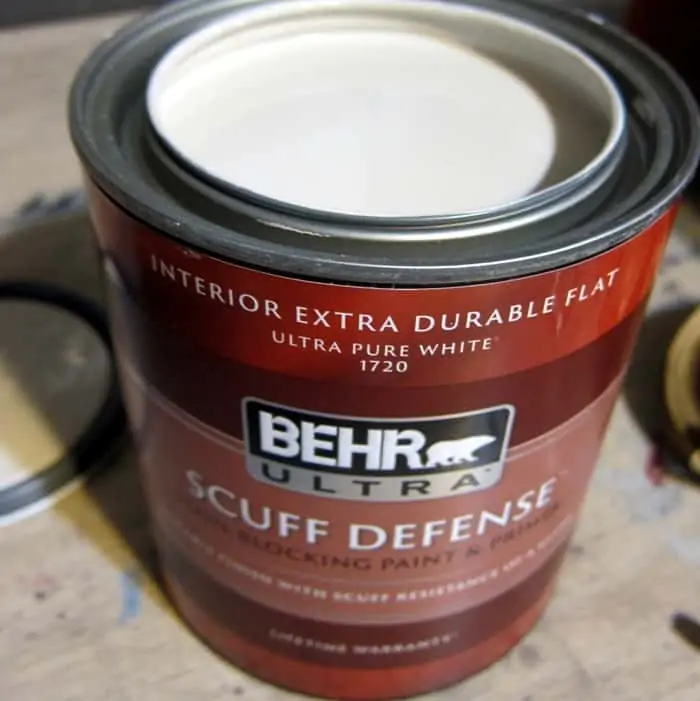
Neutral-colored furniture always sells better in my booth so I choose the custom mix paint I used on the buffet last week for this project.
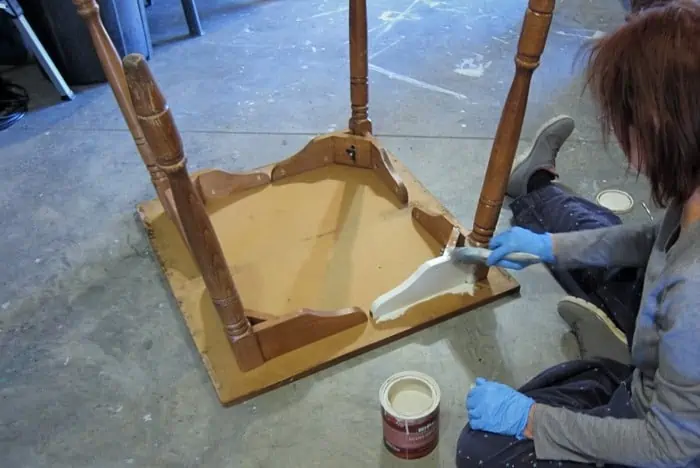
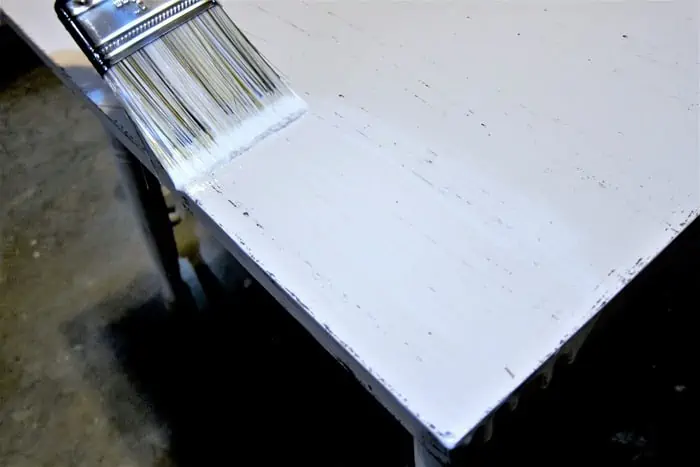
The JTS came down to the shop about the time I started painting the table and I asked him to snap a photo of me and the table. I always start painting a table just like this…..the table is turned upside down and me sitting on the floor. Once I paint the legs with the table upside down I set the table upright and put a second coat of paint on the legs. It’s so much easier to cover all the nooks and crannies this way.
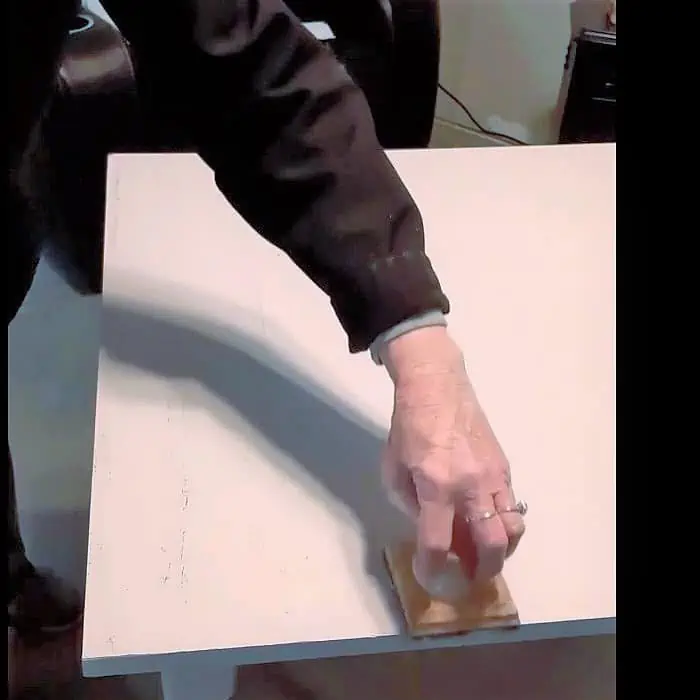
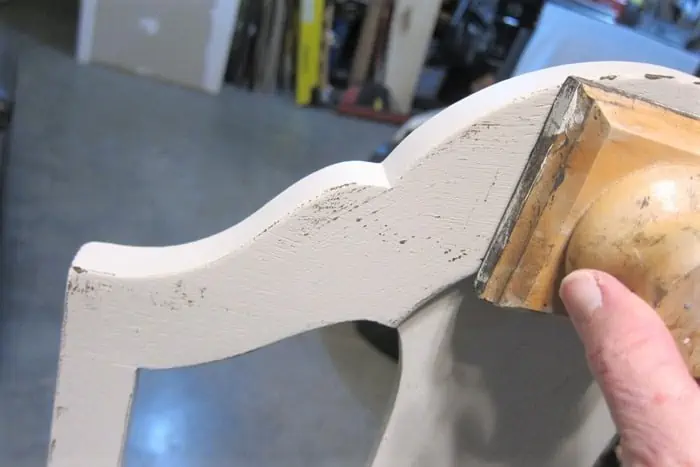
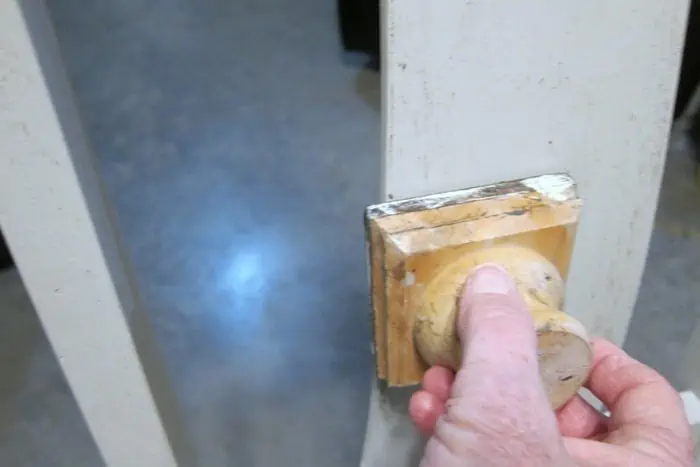
I applied two coats of paint to the table and then used a layering block to add some faux distressing to the tabletop. The photo above shows the block. This is a snapshot from the video and they never look very good. You can watch the video and see the whole process. The video is in the post after more of the project photos.
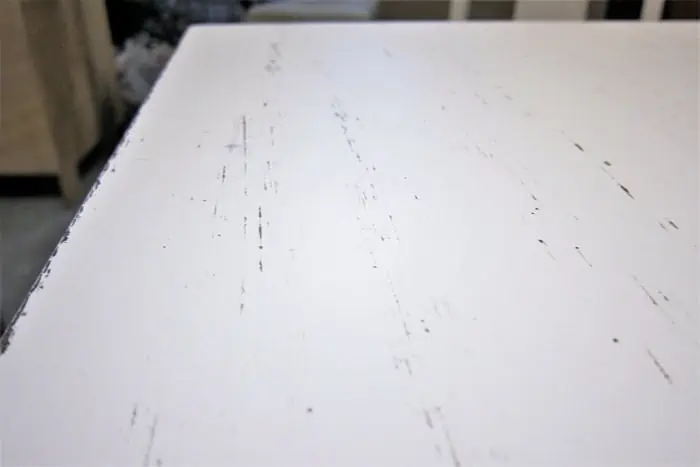
This is what the top looks like after the faux distressing with dark, dark, brown paint.
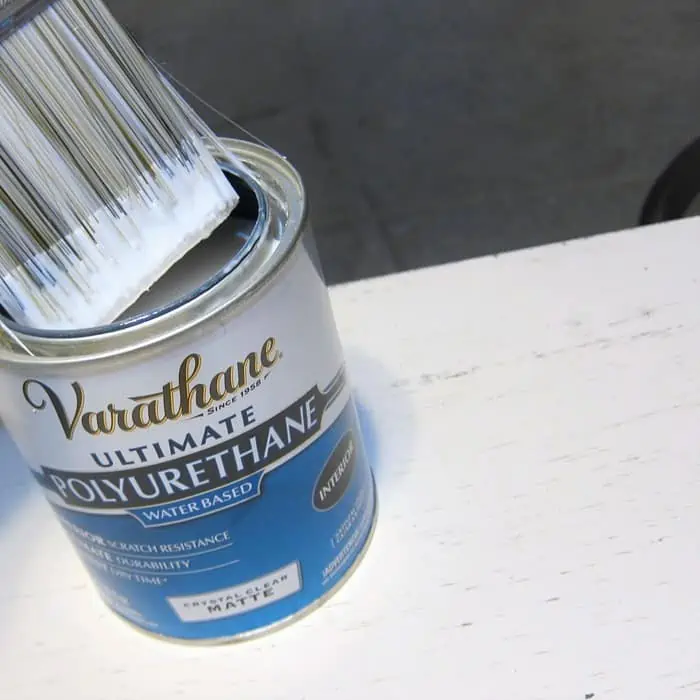
I always seal the painted dining room table tops. Varathane is my favorite Polyurethane sealer. It’s water-based and for this project, I chose the matte finish.
The Varathane is milky white when wet but dries crystal clear. I applied three coats of sealer. The table top feels so smooth once the Varathane is dry.
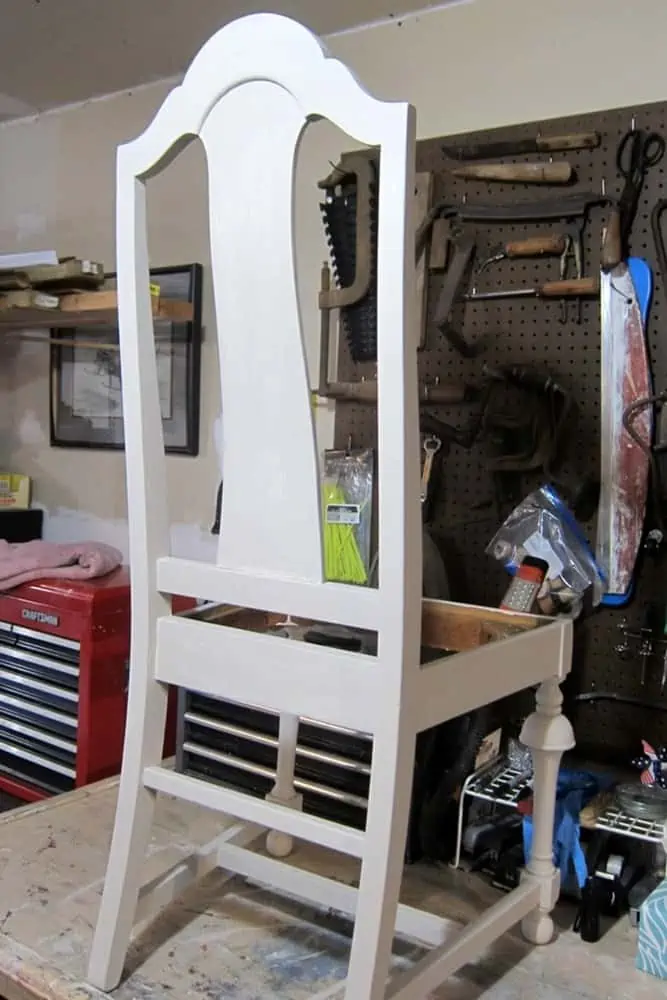
I believe the chairs are made out of oak. All four chairs were in great shape. I didn’t have to make any repairs but as you can tell the chairs definitely needed an update.
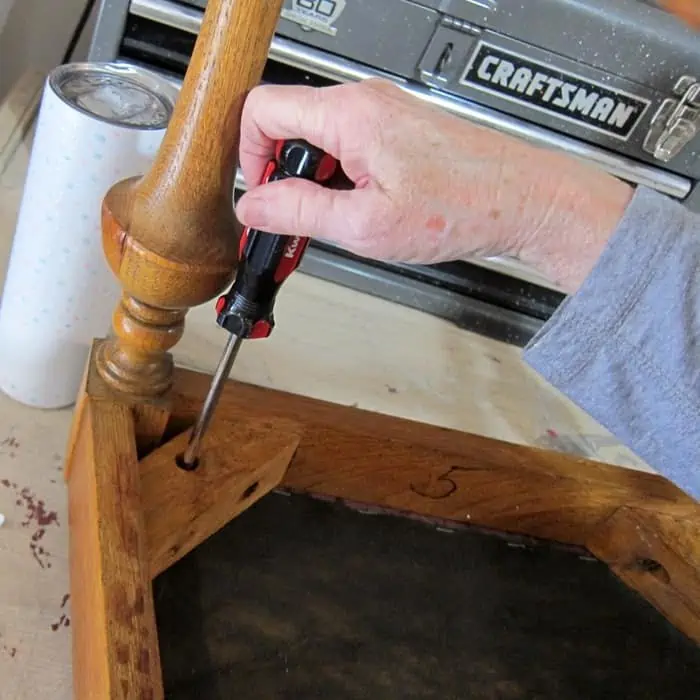
It’s really easy to recover chair seats like these. First, you remove the four screws holding the seat to the frame by turning the chair upside down and using a power drill or a regular old screwdriver.
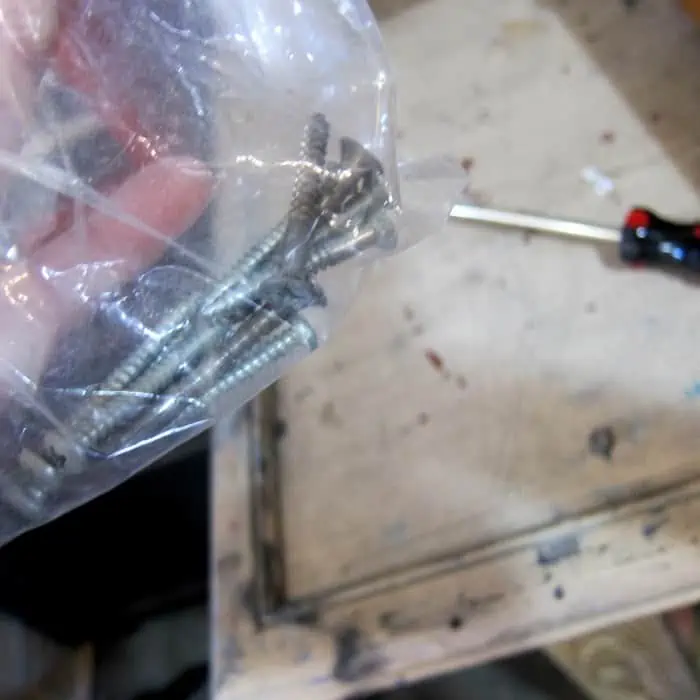
I’ve learned the hard way to corral all the screws in a plastic bag or they tend to disappear.
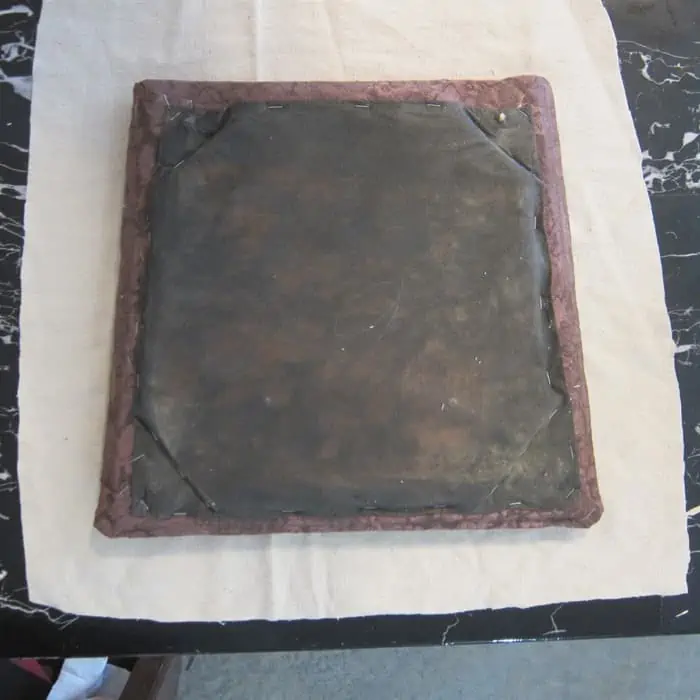
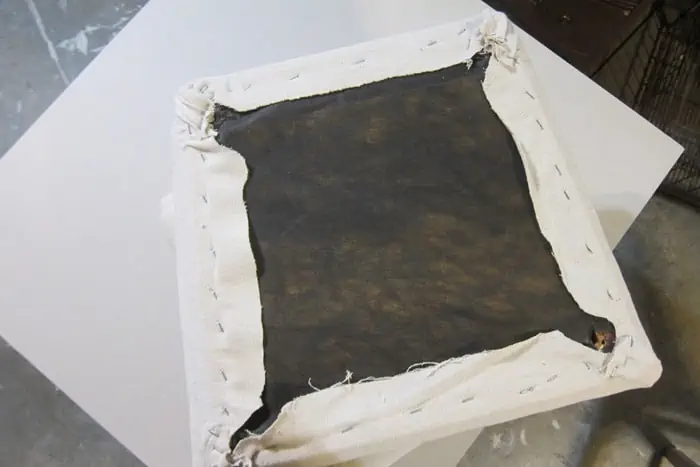
Before using a drop cloth to cover the seats I wash them to remove the odor and soften them up. Next, I lay the seat upside down on the drop cloth and cut enough fabric to turn the edges up over the bottom side of the seat to staple the fabric in place.
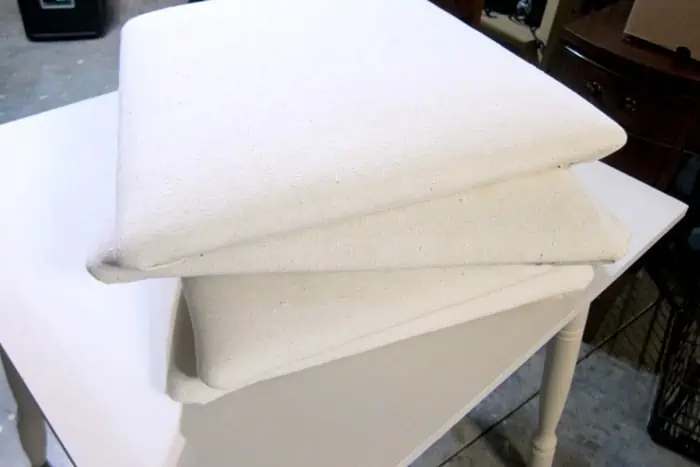
This is how the bottom of the seat looks after being re-covered. I have a full tutorial with video in this post….How To Paint An Oak Table And Re-Cover Chair Seats With A Drop Cloth
Don’t those seats look so nice and neat!! See why I like drop-cloth-covered seats so much?
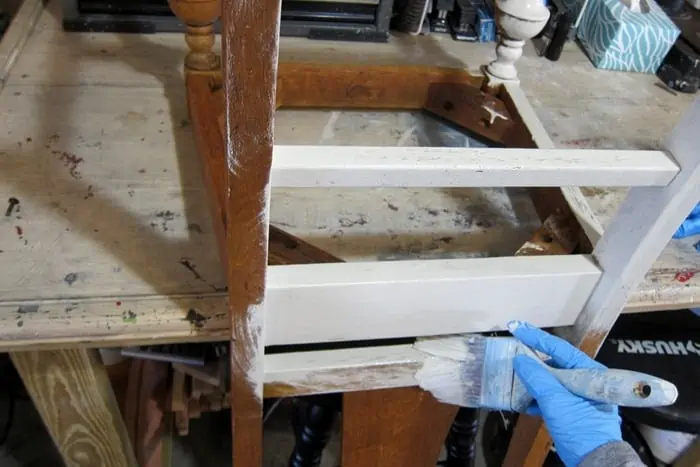
I turn the chairs upside down on a table to start the painting process. I paint the bottom of the chair this way.
Then I turn the chair upright at eye level and finish painting the bottom of the chair.
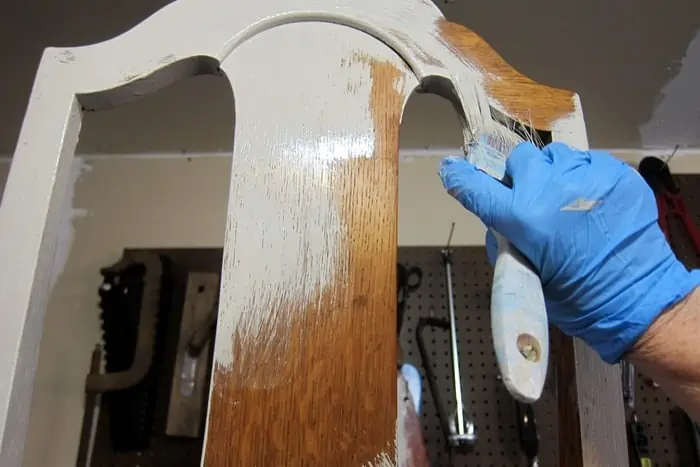
I also partially paint the top of the chair with it sitting on the table. It’s much easier to see the underside areas of the chair. Then I finish the chair up with it sitting on the floor. I applied two coats of paint to the chairs.
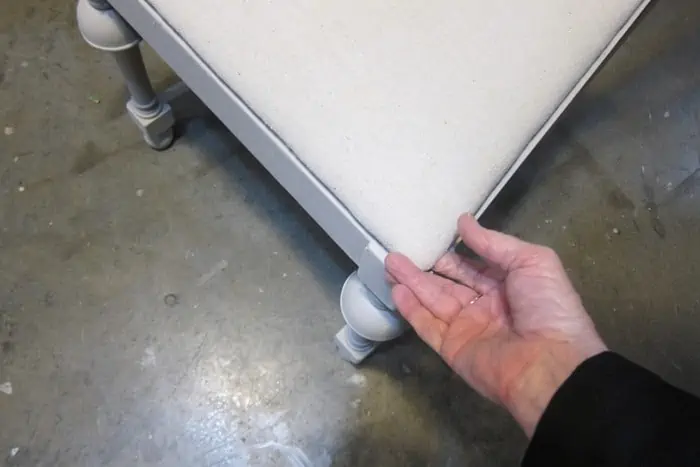
I screwed the seats back to the frames once the paint was dry. I do this by sitting the chair seat upside down on the table and then placing the chair frame in place over the seat and then screw I it all back together. Next, I set the chair on the floor and pull on each seat corner to be sure the seat is securely attached.
I did a great job on those seats if I do say so myself.
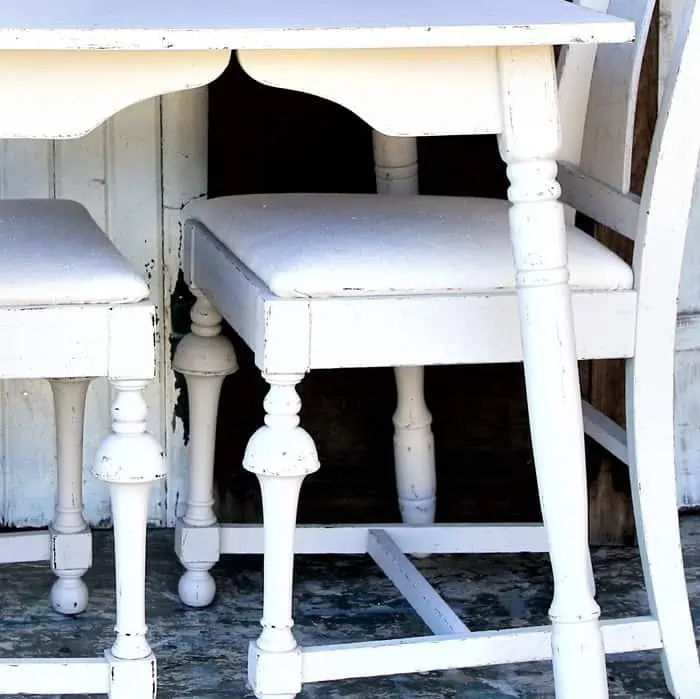
I faux distressed the chairs just like I did the table. I ran the block over the edges and then some areas of the body of the chair. I know it’s hard to tell what the faux distressing really looks like in these small photos.
I will tell you that when I took the furniture to the shop yesterday Sarah thought the table and chairs were “real” distressed! I mentioned using the layering block and she had to look at the table and chairs again and still thought the distressing was real…..with sandpaper and the real wood showing underneath the paint.
The video below shows the layering block process including how I brush paint onto the block for the distressing…..
[adthrive-in-post-video-player video-id=”cCM4UkOs” upload-date=”2022-02-08T01:46:30.000Z” name=”How To Faux Distress Painted Furniture” description=”Faux distress paint with a layering block.” player-type=”default” override-embed=”default”]
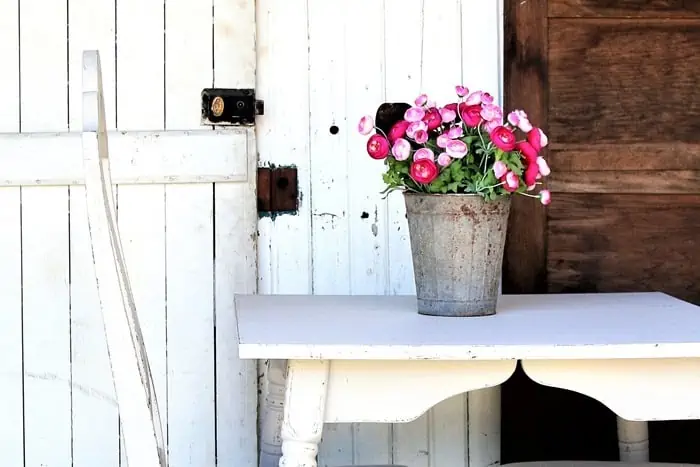
If you read my blog post yesterday on the copper-painted bucket then you’ve seen these flowers. I love artificial flowers and I’m always sticking them in a different containers in my displays.
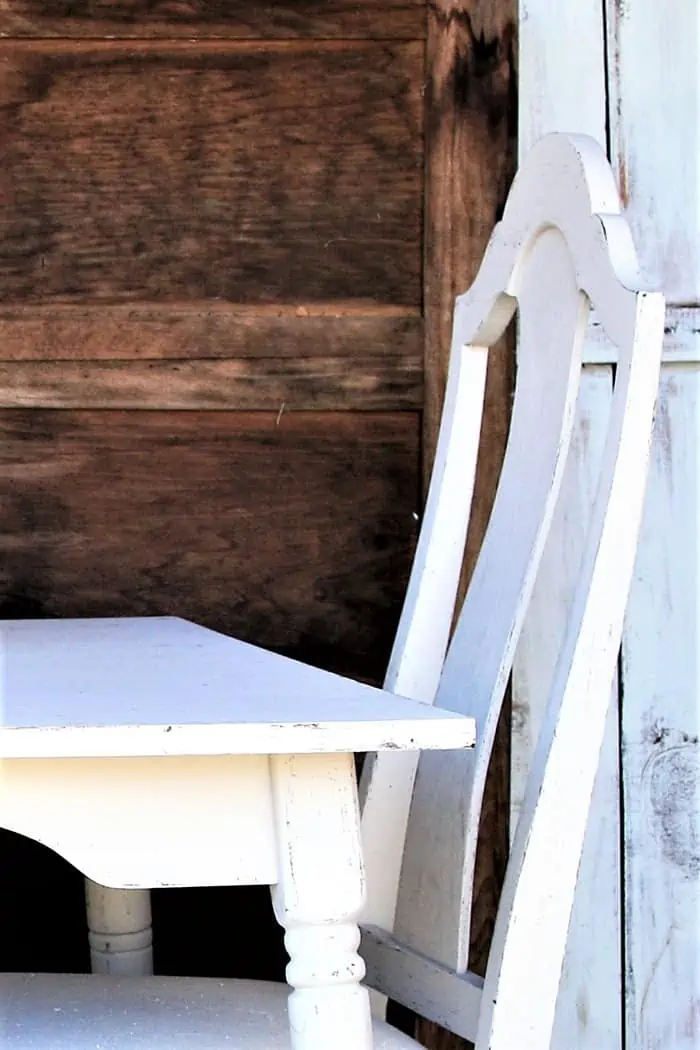
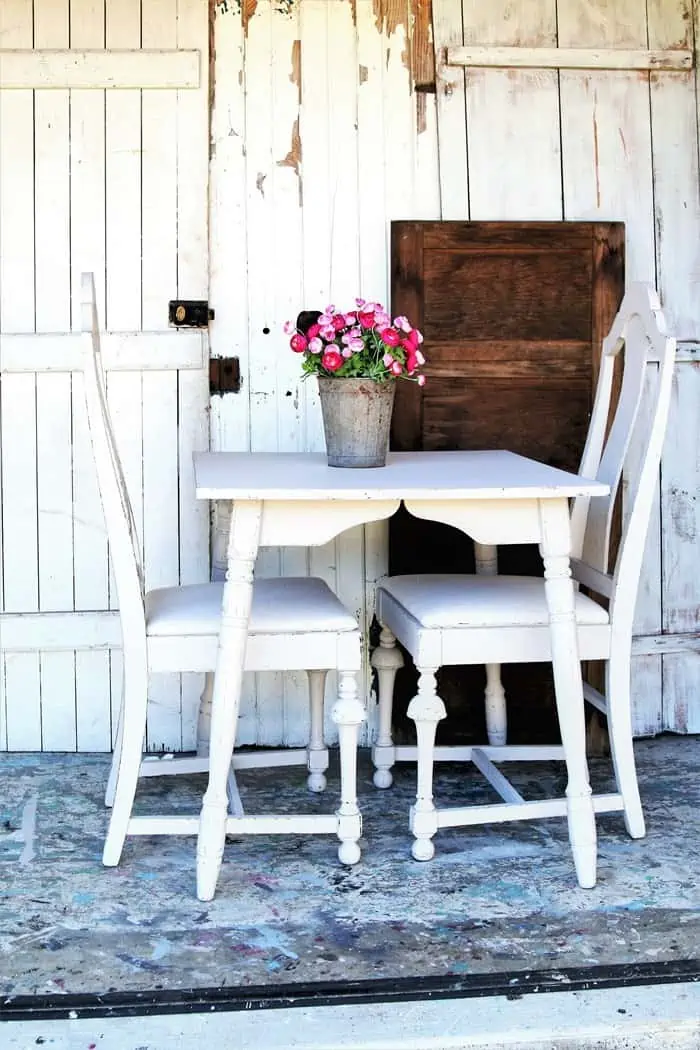
You can see the faux distressing on the legs and apron of the table and on the edges and body of the chair. It’s just very light and not too over the top.
The table is smallish for sure and it looks great with just two chairs.
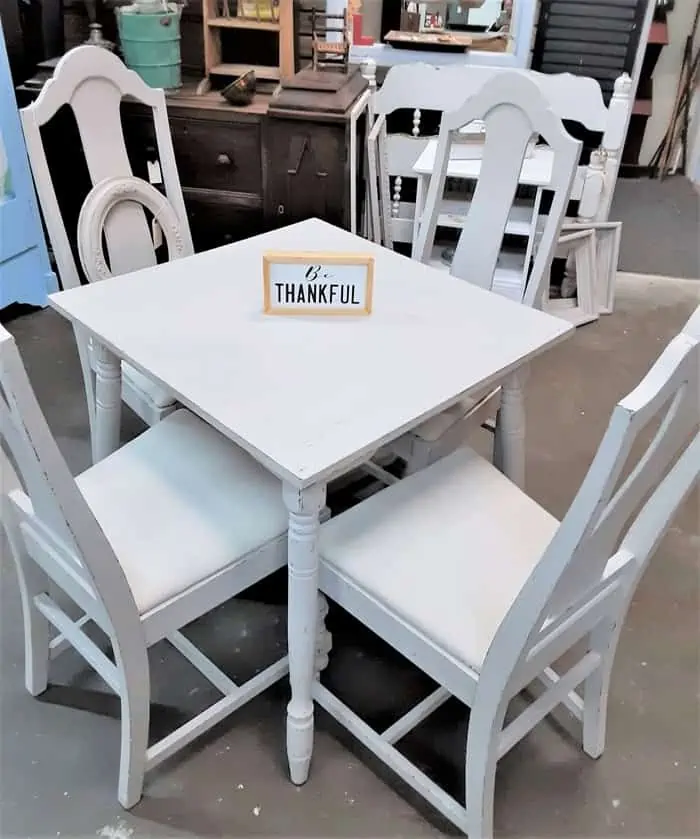
Here it is sitting in my booth at the shop with four chairs. That works too.
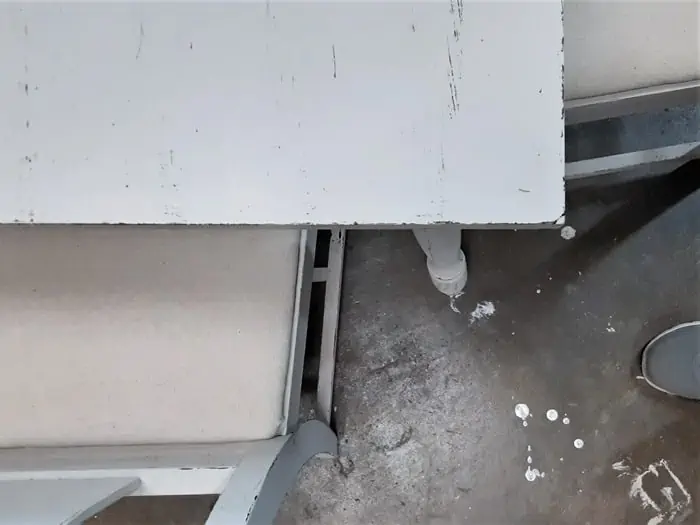
You can see the faux distressing on the tabletop……and the toe of my shoe…..in the photo above.
Well, that’s it. What do you think? Leave a note if you have time and thanks for being here, Kathy

Thanks! and just the table
I LOVE this set and the distressing is awesome! Did you poly the chairs also or just the table? Thanks.
Get going girl! Time’s a wastin’
Well, Kathy, you make it all look so easy! I have yet to paint a piece of furniture, although I keep planning to! I think this little table and chairs turned out really cute. Someone is going to have just the right place for the set and be thrilled to find it. Thanks for the tutorial; maybe it will encourage me to get started on a couple of small pieces that I have.
I’m not a fan of the faux distressing …I might like it more seeing it in person… Appreciate u sharing ur technique… I always enjoy your emails..