How To Apply Re-Design By Prima Rub On Floral Transfers To Furniture
As an Amazon Associate, I earn from qualifying purchases.
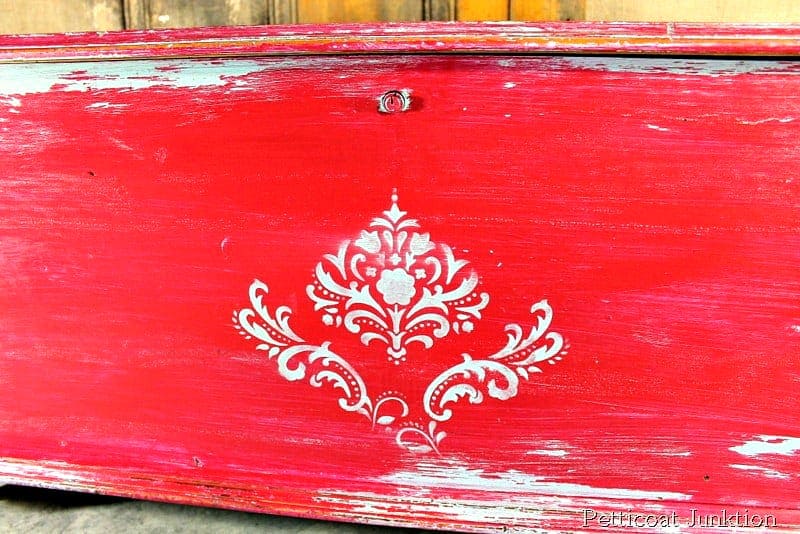
Rub on floral transfers are a great way to spice up painted furniture. The cedar chest I painted last month needed a little spice, and the re-design by prima floral polish transfer is just what it needed. I made a short 30-second video of the transfer process for you!

You might remember the cedar chest from the Furniture Fixer Upper tour in April. I painted the cedar chest blue and didn’t distress the paint or use any special technique on the chest. Now it’s Furniture Fixer Upper Day again, and I’m fixin’ up the cedar chest.

The Floral Polish transfer design is right up my alley. I love the bold colors. The pretty flowers remind me of folk art designs.
")
There are three sheets of transfers in the re-design by prima package.
")
I cut some of the designs apart, getting ready to apply them to the chest. The transfer tool included in the package is used to rub the transfers onto your surface of choice.

To apply the designs, first remove the transfers from the white paper backing. The transfers are just sitting on the paper, not adhered to it.

Then lay the design face up on the project surface, use the transfer tool, and rub very firmly over the transfer.

Next, pull the clear sheet away from the transfer. The design will transfer to the surface or, in this case, the cedar chest. Sometimes areas of the transfer will still adhere to the clear sheeting. Lay the transfer back down and firmly rub over the area again.
")
The hardest part of the process for me was deciding on the design. There were a lot of pieces, and I cut some of the larger designs apart to get the look I was going for.

I decided not to apply the design across the whole width of the cedar chest. Might be overkill.

Since the floral design was kind of folk art looking and old school, the next thing I did was distress the chest to “age” it using a battery-powered sander.

To distress the transfers, I used a sanding block and just gently rubbed over the design.
")
The last step in the process was to apply a coat of dark wax to the whole cedar chest. The wax darkens the raw wood caused by the distressing or sanding. The wax also darkens the blue paint where there is a whitish hazy look caused by sanding the paint.

The left part of the photo above shows where the wax has been applied over the raw wood. The right side of the photo shows the light raw wood not yet coated with wax.

And that’s it. The cedar chest definitely looks different after the addition of the transfers, the distressed paint, and the dark wax application.

The flowers are so colorful even after being lightly distressed.

Do you guys think I should have carried the design completely across the bottom of the chest? Have you ever used rub on transfers?

I promised you a video! The video shows how to apply the transfer. It is short and sweet…..
How to apply rub on transfers
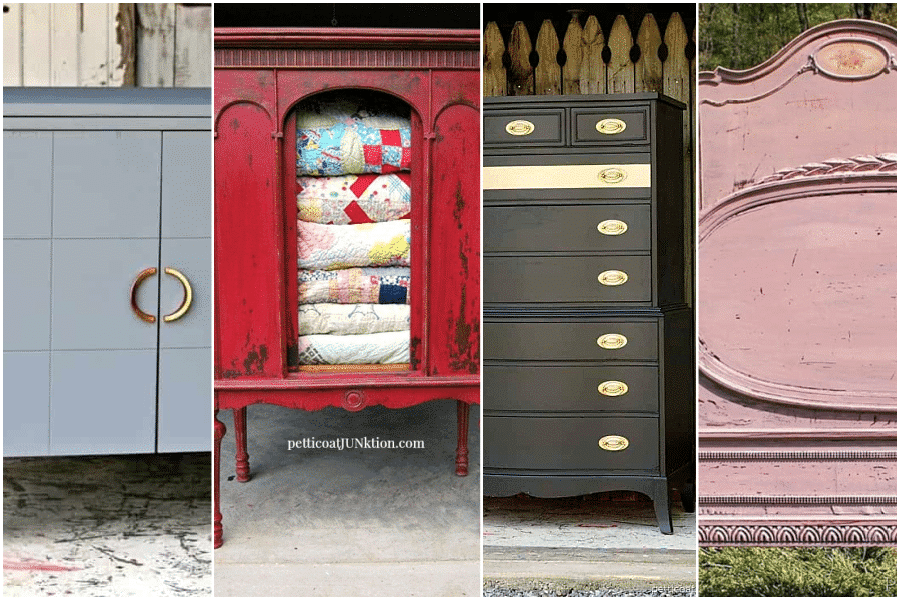
Now it’s time to take the Furniture Fixer Upper Tour. Just click the text links below the “before” makeovers photo collage……

Furniture Fixer Upper Tour
80’s Sofa Table Makeover – Confessions of a Serial DIY’er
How To Paint Vinyl Furniture – Salvaged Inspirations
Broyhill Coffee Table Roadside Rescue – My Repurposed Life
Painting Bookshelves – Girl In The Garage
Rub On Transfer Furniture Project – Petticoat Junktion (you are here)

Leave a note if you have time, and thanks for being here, Kathy


I love it – and that transfer, wow! I think it would’ve used it all the way across – go big or go home haha. It’s a gorgeous piece, Kathy!
Nope-the transfer is perfect!
It is beautiful and love what you did.
This transfer was such a sweet addition to this beautiful chest! It goes with it perfectly! XOXO
thank you
thank you
Hi Kathy! That was the perfect transfer for this chest. I have been wanting to use this transfer, now I am on the search for something to use it on
You notice mine are small, lol! With the large ones I just try to have plenty of room to work in and lay them out gently and if need be lay something light on the edged to keep it flat until I get ready to apply it.
This is just beautiful! I seem to have trouble with transfers sticking to each other, mostly in working with the large ones. I’ve messed up so many, and they’re expensive!. Any tips?
I love the Polish Florals because I’m Polish🇵🇱😆… the color and design look amazing on the blue chest. Pinned! XOXO
Kathy,
The chest is just so beautiful! I think the amount of transfer is the perfect touch. Very nice!
Perfect. The colors are beautiful.