How To Paint Cane Back Chairs And Cover Seats With Drop Cloths
As an Amazon Associate, I earn from qualifying purchases.
You can paint cane back chairs. In fact I would highly recommend they be painted. You have to be careful painting the cane so you don’t get paint gunked up in the holes but it’s not a hard job.
I just barely got this project ready for the post today. I worked until late last night editing photos, editing the video, and writing the post. I think I got all of the important info here. The cane back chairs look great and the painted table looked great but not now. I have to repaint the table top. Story to follow!! Plus today is Furniture Fixer Upper day and you know what that means.

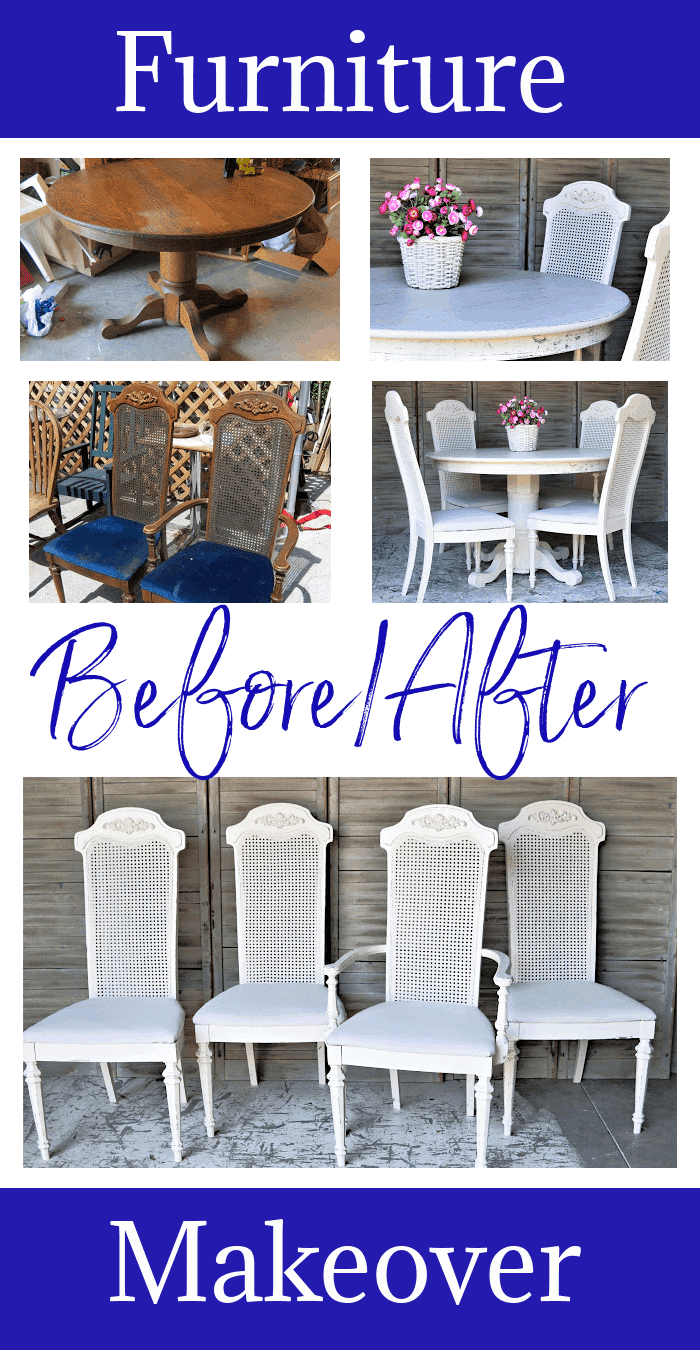
These vintage cane back chairs are my favorite chairs to paint. I bought the table and chairs at different times and put them together as a set and it all works together.
")
I got the big round oak table at an auction. The price was $30. That’s a great deal. I don’t know why most bidders passed on it but doesn’t matter, just good for me.

The chairs came from the junk shop I always talk about. I got a set of four, one arm chair and 3 side chairs for $25 or $35. I can’t remember the exact price. Even at $35 the table and chair set was less than $70.

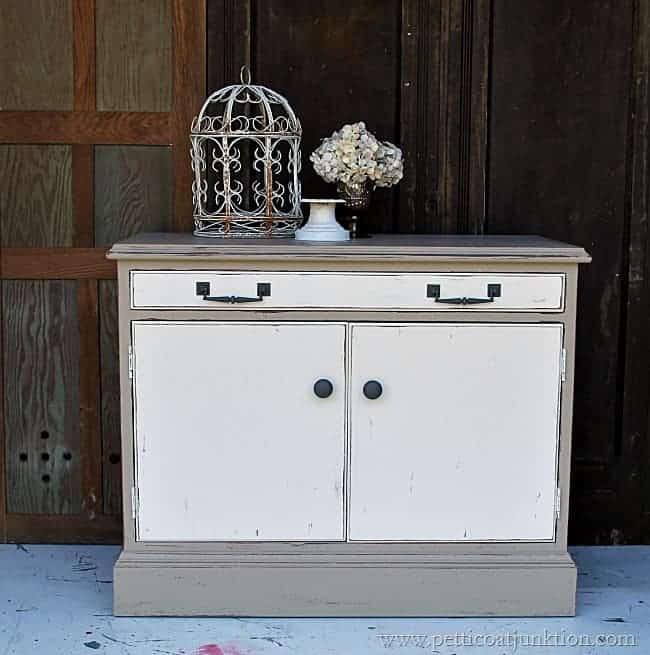
I painted the table with Beyond Paint, color Off-White (or Bone). The photo above shows the table with one coat of paint. I applied two coats and that covered the oak really well.
")
Once the paint was dry, I used my handy dandy layering block to faux distress the tabletop. The color I used is Beyond Paint, Pewter. This gives you the finish that is so popular in furniture stores now. You could also use dark brown or even dark navy blue (like I did here by mistake) instead of dark gray.
")
The process is really simple. Just brush a light coat of paint on the layering block then run the block across the surface of the table or whatever you are faux distressing. I made a video of this part and also faux distressing on the chairs and you can see it below….
How To Faux Distress Cane Back Chairs And Tables With Paint

Here you get a look at how the gray paint looks on the table. The layering block works by depositing the paint on the uneven surfaces of the table. We all know that furniture is not perfectly flat and even. If you think you have nice smooth perfectly flat surfaces on your furniture then try using a layering block on the surface and see what happens.

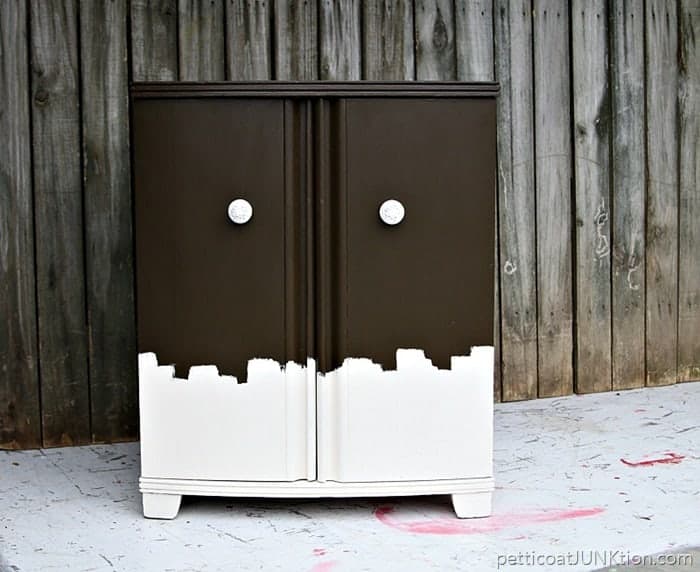
Moving on to painting the chairs now. For these chairs I usually spray a light coat of spray paint over the cane and the curvy details, corners, and hard to get to places with spray paint. Since my project paint was off-white, I was going to spray paint the chairs with my favorite Rust-Oleum Heirloom Satin White Spray Paint but I was out. I went to the store to get more and they were out too. I came home with white spray paint.

I spray painted two of the chairs one day and the next day I went to a different store and bought the other spray paint. The chair in the photo above has a coat of white paint and I am brushing on the Off-White Beyond Paint. The cane is easy to paint but you must use light coats of paint and apply several coats. If you try to brush on a heavy coat of paint, it will set in all the holes and not look good. You still want the cane to be open and airy looking.
I use almost a dry brush like when stenciling. Dip your paint brush about an inch into the paint and wipe off the brush on the edge of the can or jar when you pull it out. Then lay the paint bristles almost flat against the cane to paint it. This will prevent blobs of paint from filling the holes.

While the chairs were drying I covered the chair seats with drop cloths. I have a tutorial on this process from an earlier post and I stuck it in this post too. You can see it below……
How To Re-Cover Chair Seats With A Drop Cloth

The chairs don’t even look the same. So much better. I used the layering block with dark gray paint on the scrollwork at the top back of the chairs and on all of the edges, front, back, legs, and all. You can see this in the video where I did the table earlier in the post.

The table and chair set is just dreamy. The cane and then the faux distressing with gray paint makes the white paint finish anything but dull.

I used the layering block on the table legs/feet and pedestal.

Here you can see how the gray paint shows off the legs. No need to worry about the distressing being perfect and matchy-matchy. That is not a good look. It also is almost impossible to do on pieces like these. It only took me about 30 minutes to do the faux distressing on all four chairs.

Remember I said there was a problem with the table top? It’s always best to apply several coats of sealer to any surface that will see a lot of use like…..tables.
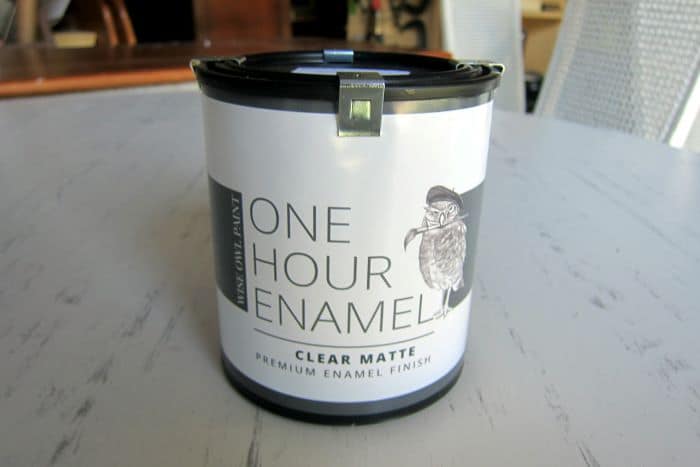
I was out of the sealer I normally use, General Finishes Flat. Sara at the shop where I have my booth recommended the Wise Owl sealer and I could buy it at the shop so that’s what I used on the table top.
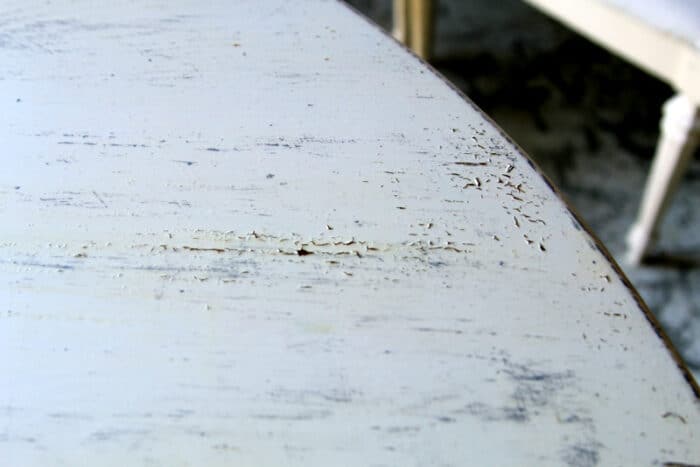
I brushed on three coats of sealer waiting for each coat to dry thoroughly before applying the next coat. I found the paint peeling off and the yellow areas the next afternoon. The table had been sealed about 20 hours before that. I don’t know why this happened. I painted the table and then was in Arkansas for several days.
I applied the sealer when we got home from our trip so the paint was definitely dry. I’ve heard good things about Wise Owl so maybe this is just a fluke. Now I will be sanding this mess off and repainting the top. I will find the General Finishes Flat sealer to go over the top.

If you look closely you can see the yellowed parts of the table top but the worst of the peeled paint is on the far side of the table so you can’t see that. I didn’t have time to repaint the table before posting the project with my Furniture Fixer Upper teammates today. Can’t miss that!
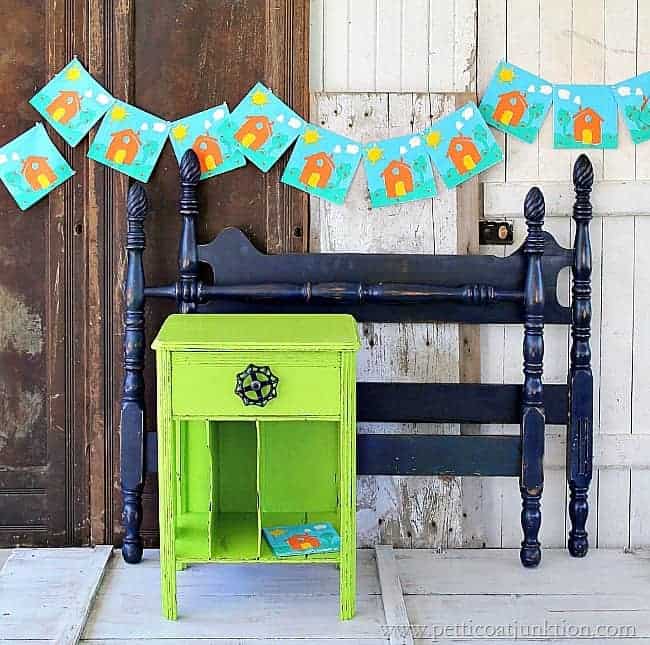
Be sure and watch the video tutorials and leave a note about the table and chairs if you have time. Take the Furniture Fixer Upper Tour by clicking the orange text links below the “before” makeovers photo collage………
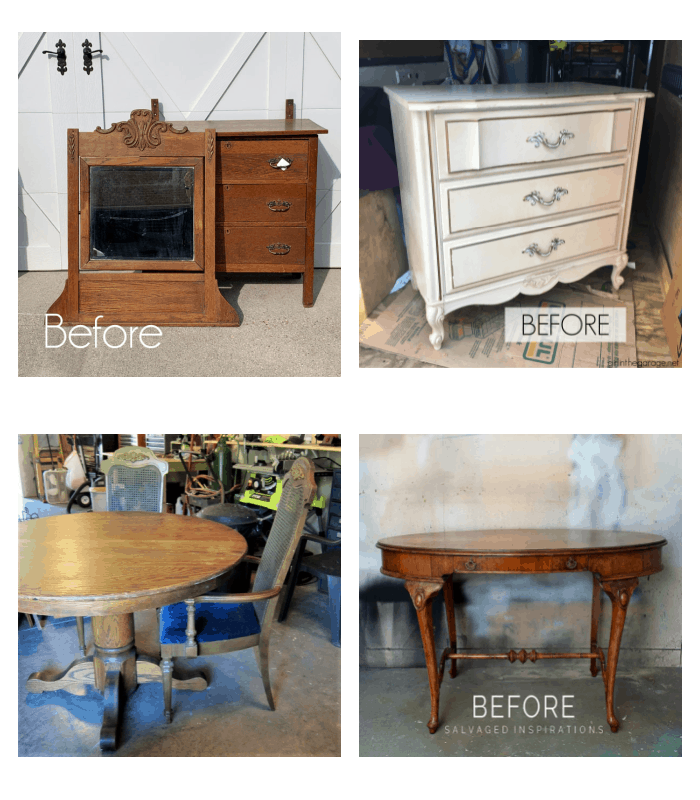
Coastal Dresser Makeover – Confessions of a Serial DIYer
Vintage Hallway Table Before And After – Salvaged Inspiration
How To Paint Laminate Furniture With Chalk Paint – Girl In The Garage
How To Paint Cane Back Chairs – Petticoat Junktion (you are here)
Pin This Project For Later! As always thanks for being here and have a great day, Kathy
Great work ? n
Kathy, this set turned out amazing! You really did give it a brand new life. xo
Looks great!
I love that block
Thanks Olivia
The dark grey paint on top of white is awesome…..I’ll try and remember this colour for faux distressing projects. As usual, you’ve knocked it out of the park. Thanks, Kathy!
I love how this set turned out, Kathy! Bummer about the sealer though. And the layering block is one of my favorite painting tools! XOXO
This “set” turned out amazing and I was glued to your video on how you used the paint block to distress. So much easier than distress sanding! And sorry about the table top… booo. I’ve heard good things about Wise Owl as well and it sucks when you have to go in and re-do part of a project… I’ve had my fair share, believe me! Pinned! XOXO
Love the chairs!! Great job!