How To Paint And Distress A Sewing Machine Cabinet
As an Amazon Associate, I earn from qualifying purchases.
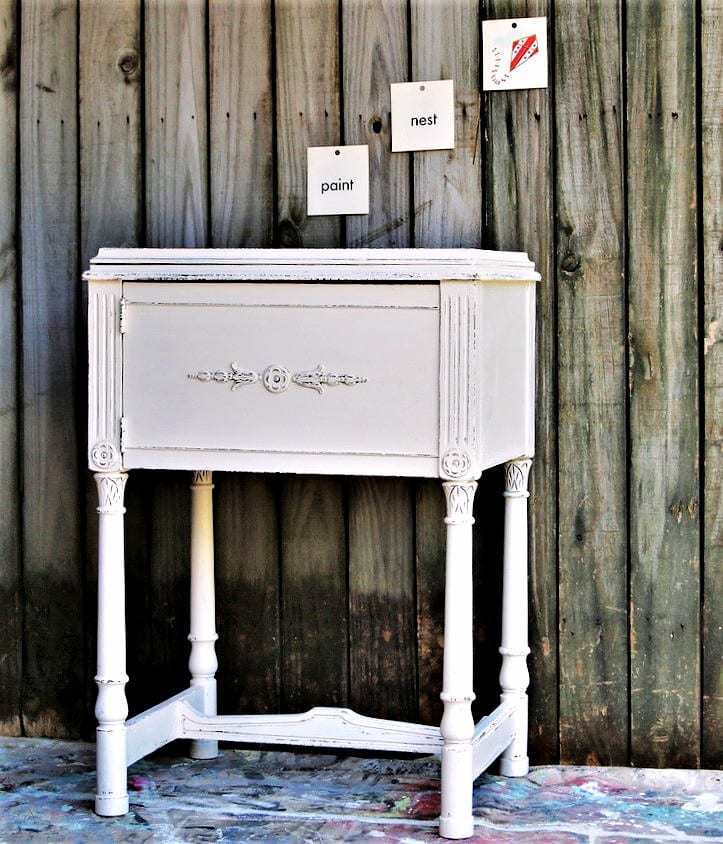
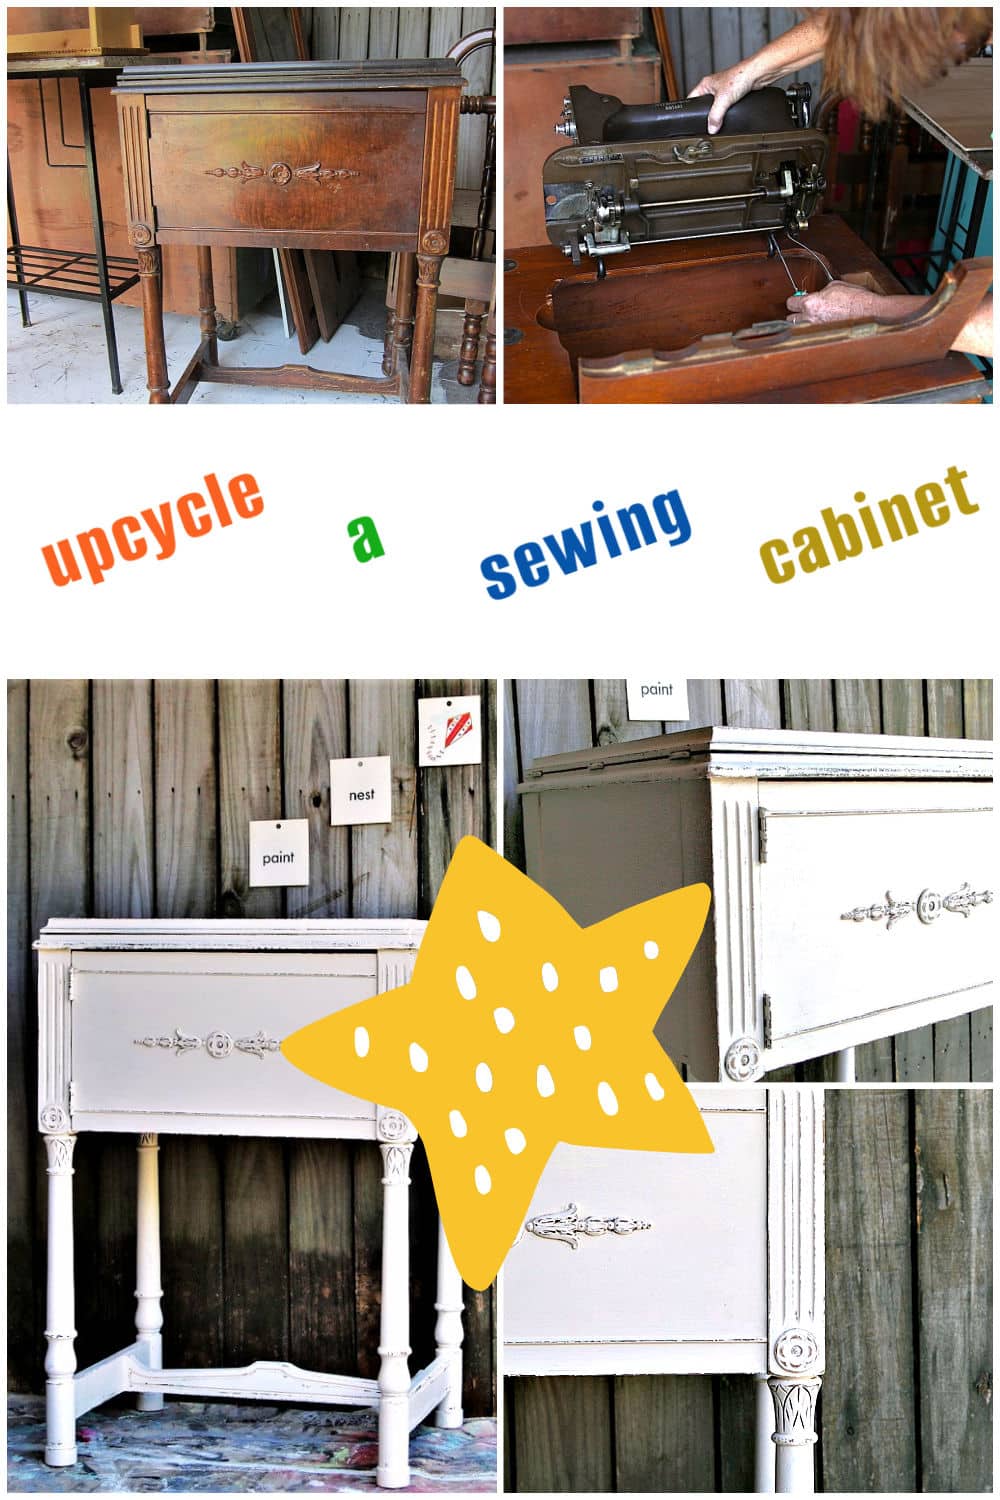
It is easy to paint a vintage sewing machine cabinet white and then distress the paint. This has been a three-day project, though it could have been completed in one day.
When hunting for a sewing cabinet to repurpose, don’t just look at the wood finish—look at the drawers and the internal storage.
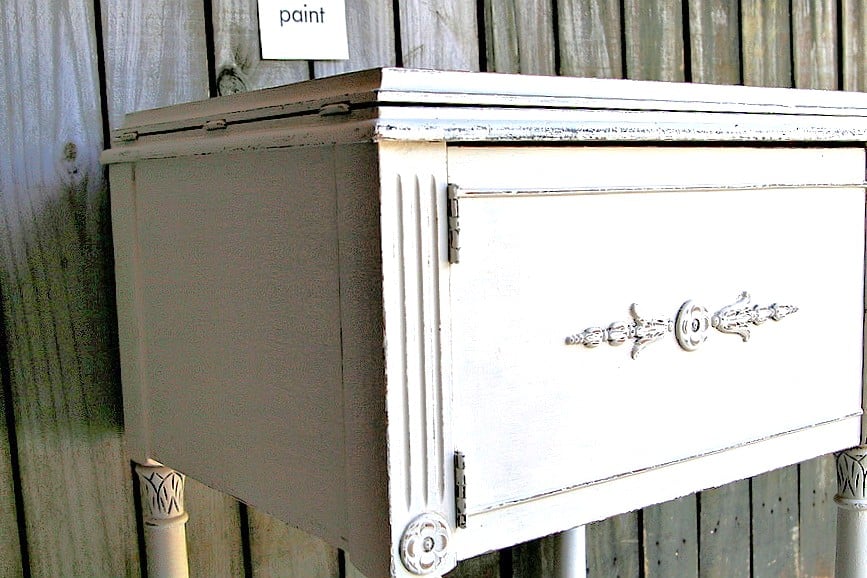
I repurposed one sewing cabinet with a cute flip-out storage area at the front that looked like a drawer. So unique and the perfect place to store pencils, pens, and small note pads.
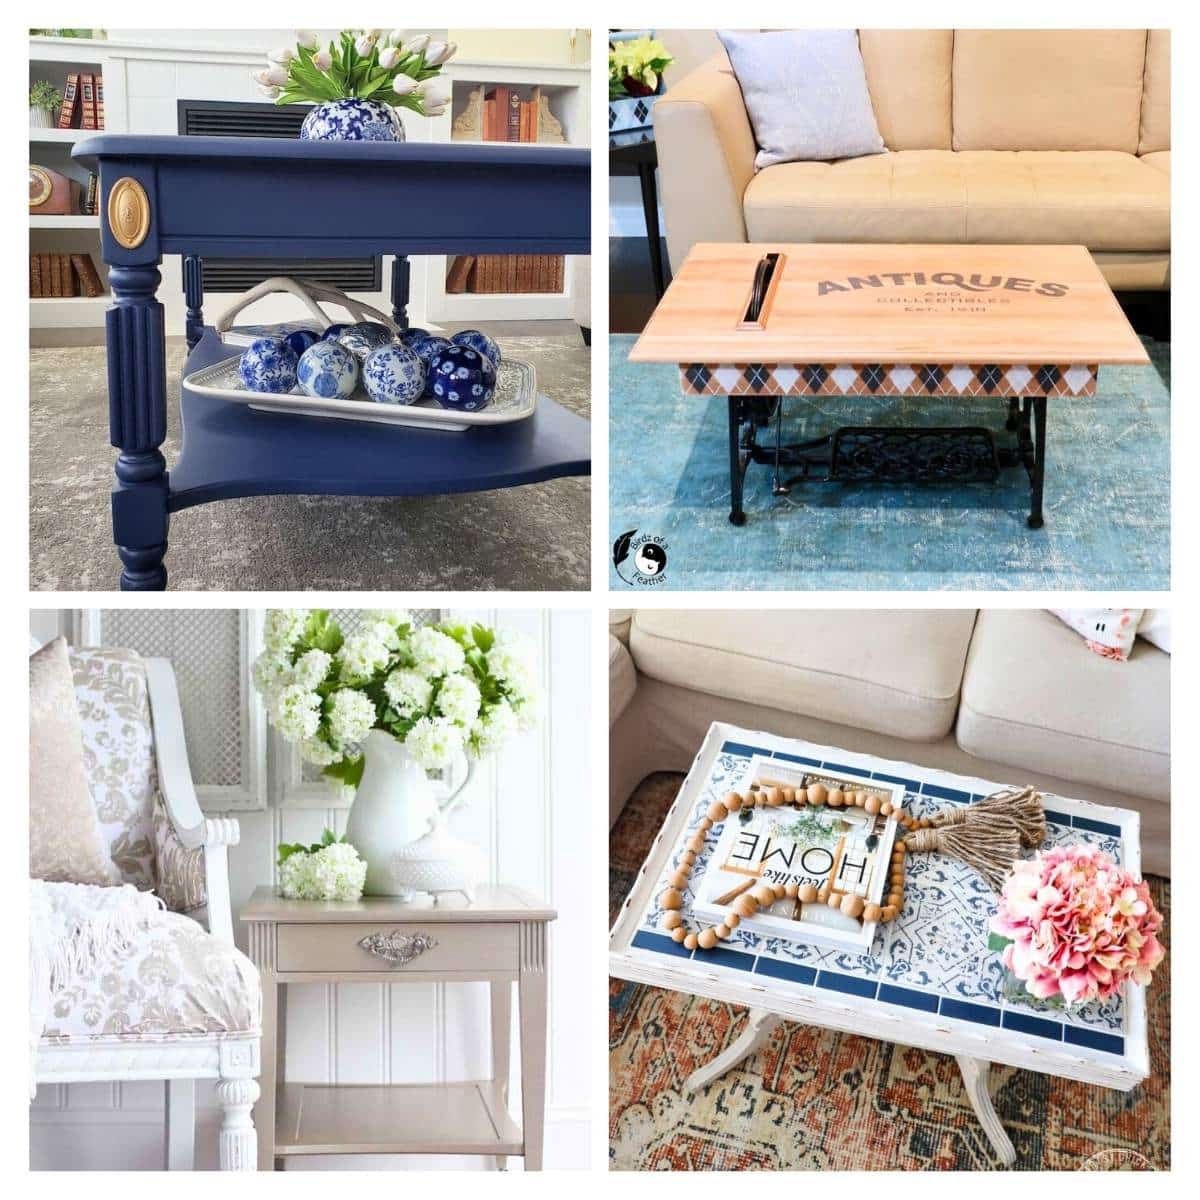
Ideas For Your Repurposed Sewing Machine Cabinet
Entryway:
Use it as a mail drop-off with a vintage bowl for keys.
Bedside Table:
The fold-out top is perfect for someone who likes to keep a lamp, a stack of books, and a cup of tea nearby.
Hidden Bar:
Since some of these cabinets have deep wells where the machine sat, they can be repurposed to hold bottles or bar accessories that you can “hide” by closing the lid.
Side Table:
Place the painted cabinet next to your sofa or recliner to hold your magazines, lamps, tissues, remotes, etc.
Painting A Sewing Machine Cabinet
This sewing machine cabinet still housed the sewing machine, and I removed it on day one. On day two, I painted the cabinet, and on day three, I distressed the paint.
Supplies List:
-
Beyond Paint (Off-White): A three-in-one paint that includes primer and sealer, eliminating the need for sanding or waxing.
-
Paintbrushes: For applying the paint, especially for detailed areas like curvy legs.
-
150-Grit Sandpaper: Use small strips for hand-distressing the edges and high-traffic spots.
-
Tools for Machine Removal: Depending on your cabinet, you may need a screwdriver or pliers to remove the vintage sewing machine and its hardware.
-
Cleaning Supplies: To prep the surface and wipe away dust after distressing.
-
Drop Cloth or Tarp: To protect your workspace floor.
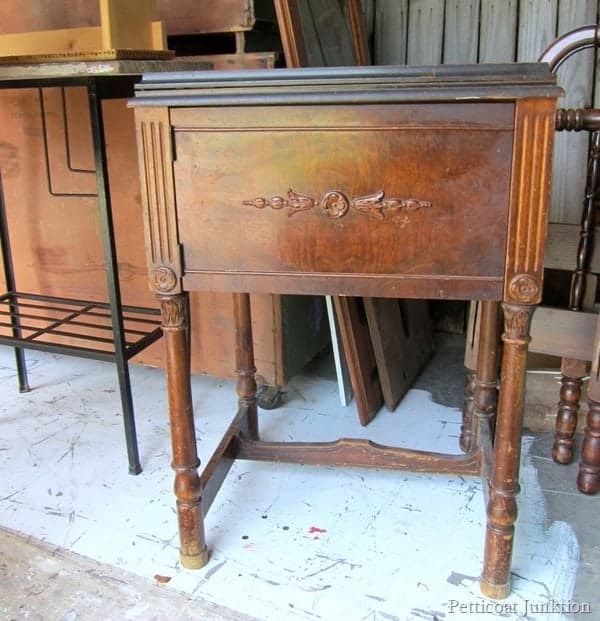
Day 1: Remove the Sewing Machine

The sewing machine on this cabinet was not hard to remove at all. Some of the machines have a lot of hardware attached to the cabinet. Not this one. You can see how I removed the machine here…. How To Remove A Sewing Machine From The Cabinet And Prep For Painting
Day 2: Paint the Cabinet
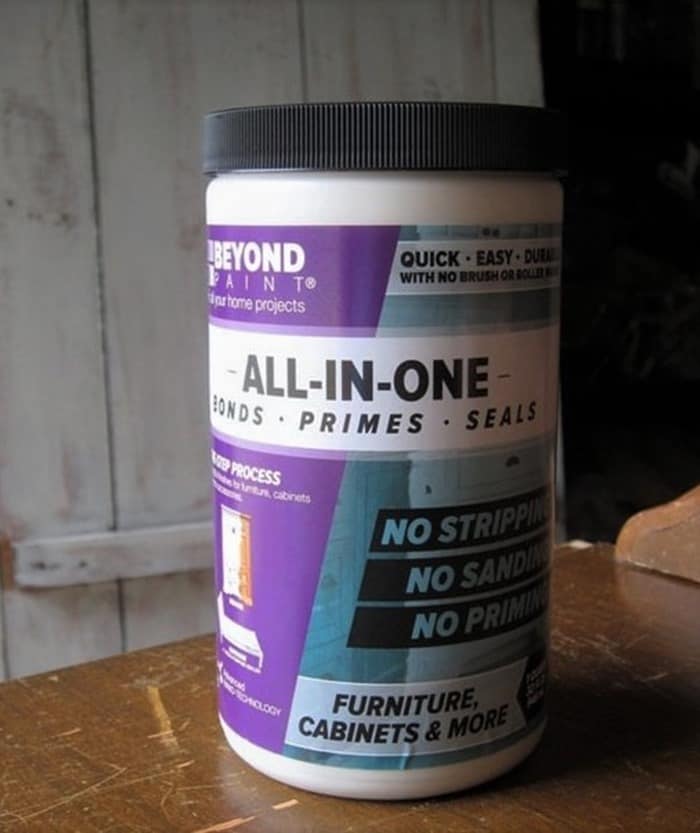
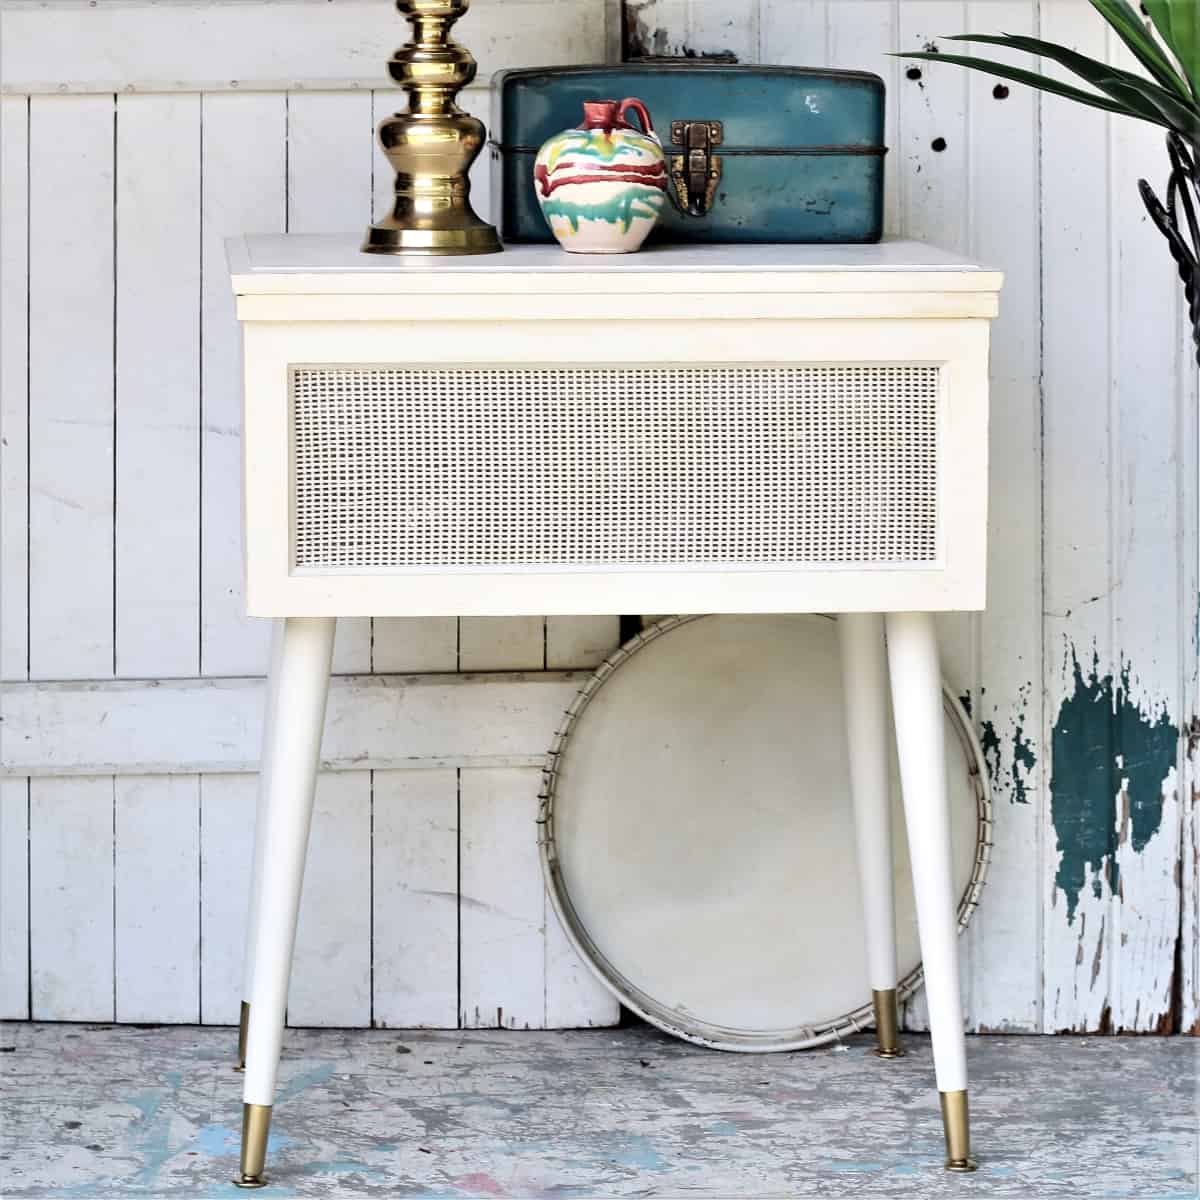
The paint I chose for the project is Beyond Paint, color off-white. This paint is a three-in-one, meaning it includes a primer and a sealer. No need to sand the furniture before painting or wax it afterward!

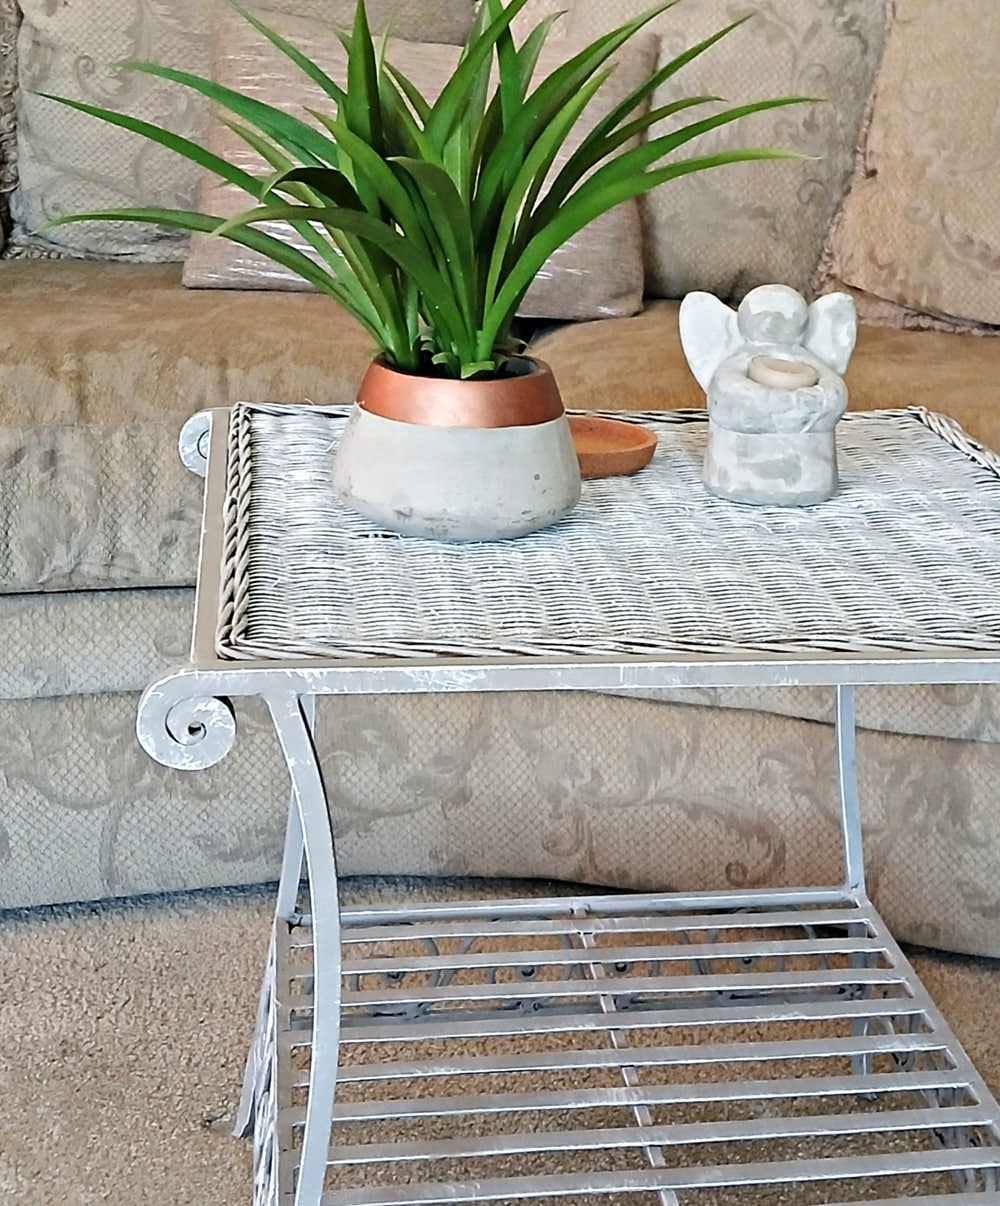
When painting small tables with legs or dining room chairs, I always turn them over and work on the bottom first. That way, I don’t miss any underneath areas, especially on those curvy legs.
I lightly brushed the details on the tops of the legs with three coats of paint. That means I didn’t push the paint into the leg cutouts. Leaving the natural finish in those crevices is a nice contrast to the white paint. The rest of the table took two coats of paint.

Day Three: Distress the Paint
I distressed the table by hand. Choosing to distress by hand is about control. An electric sander can sometimes be too harsh, taking off more paint than I intend and creating a ‘manufactured store-bought’ distressed look. I always go for a unique one-of-a-kind finish.
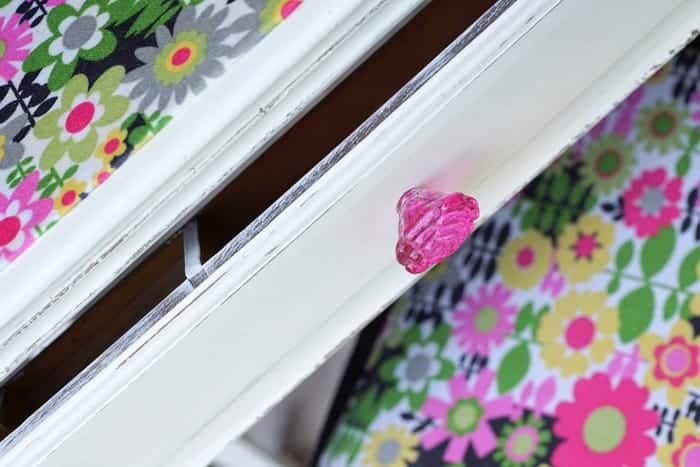
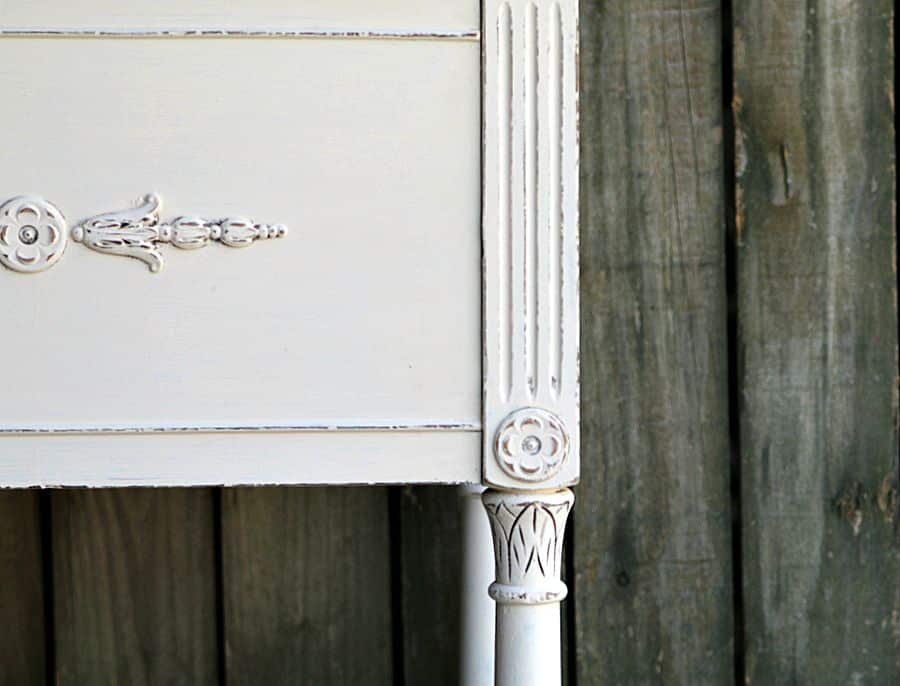
By using small strips of 150-grit sandpaper, I was able to give the table a soft, time-worn look. I concentrated on high-traffic spots—the corners of the top and the edges of the legs—where the distressing really tells a story.
You should distress the areas of furniture that would wear normally over time. The edges of the cabinet and the grooved areas on the legs, flower details, etc., are examples of what should be distressed.
When I mentioned not mushing paint into the cutout details on the tops of the legs that is not distressing as such but adds to the aged look.
Read my tips and tricks for distressing furniture here… What You Should Know About Distressing Painted Furniture And Home Decor
The beauty of the sewing cabinet is in the details and the distressing adds depth and character to the painted finish.
Do you have an old sewing machine? How about painting it? Does this tutorial help you?
Thanks for being here, Kathy
This post was sponsored by Advil