Your Guide For Distressing Painted Furniture And Home Decor
As an Amazon Associate, I earn from qualifying purchases.
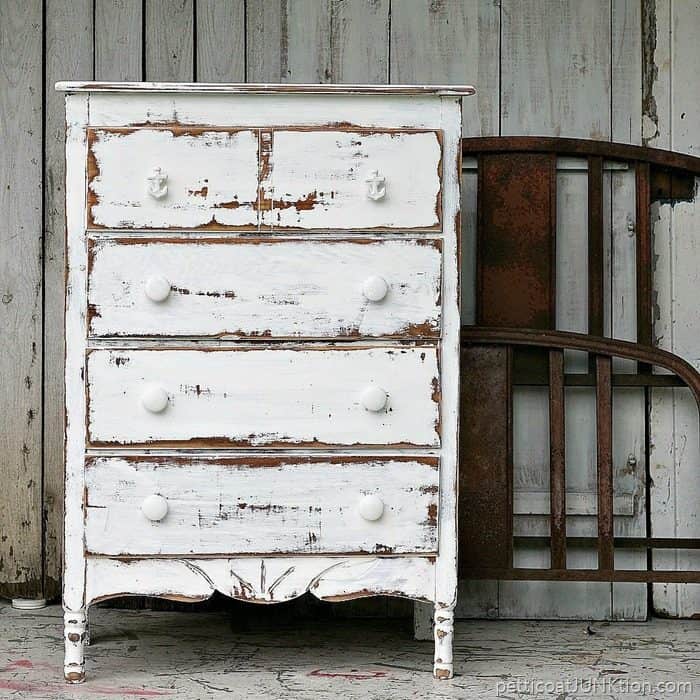
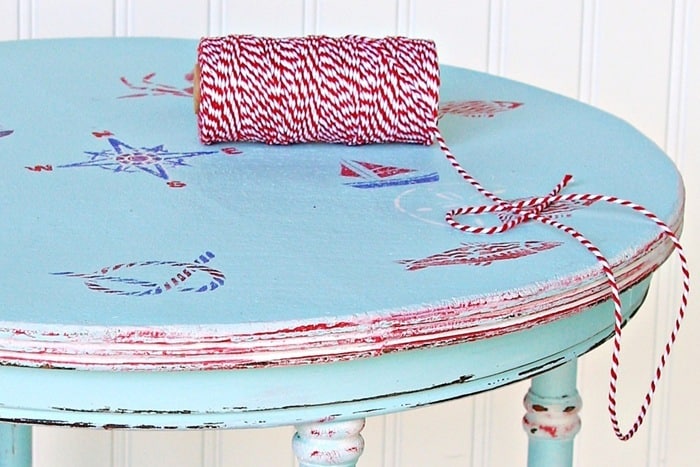
Distressing painted furniture and home decor accessories is quick and easy. You can distress any paint, and there are many techniques for doing so. I’ve learned a few tricks for this popular technique to make furniture and decor look old and worn, and I’m sharing the need-to-know information for distressing paint!
What To Know About Distressing Furniture And Home Decor

I don’t pretend to know everything about the subject, but I’ve learned a few things after working on hundreds of paint projects.
The information I’m sharing, I learned mostly through trial and error, making mistakes, and figuring out how to correct them. Below is a list of things you should know about distressing paint.
1. The Type Of Paint Makes A Difference
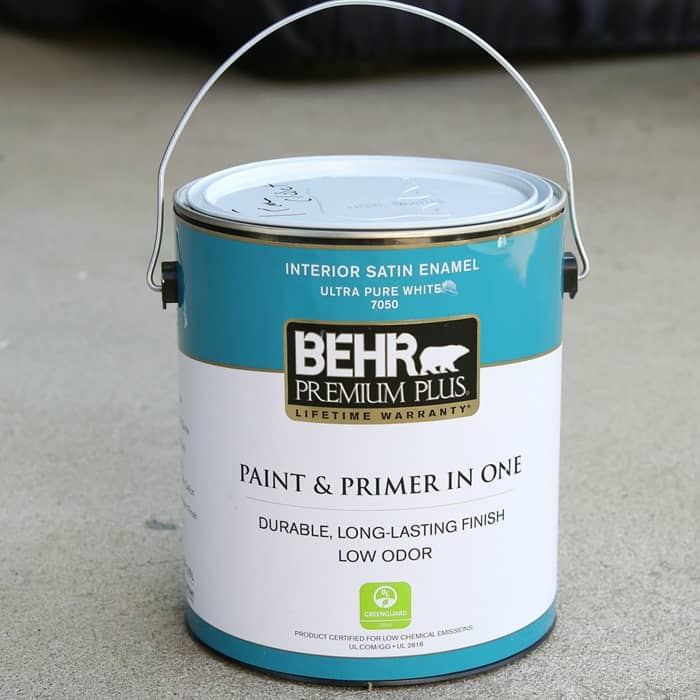
Paint type makes a big difference when distressing paint. Most brands of latex paint will sand off easily….even the type with paint and primer in one. And sometimes, latex paint will peel off when you sand it.
FolkArt Home Decor Chalk Finish Paint, Chalk-type paints, Caromal Colours Paint, Beyond Paint, Dixie Belle Paint, C\chalk-type finishes, and other specialty furniture paints adhere to furniture really well. These paints also distress really well, but removing the paint takes a little more elbow grease.
Wet distressing is an effective technique for removing difficult-to-remove paint. Just wet a lint-free rag with your favorite household cleaner, run it over the painted area a few times to slightly dampen the paint, wait a minute, then distress the paint.
There is a difference between peeled paint and distressed paint. I don’t know for sure, but I think the paint peels because of the brand of latex paint or not having enough drying time before sanding. Those are my best guesses.
2. Distressing Spray Paint
![]()
Spray paint is easy to distress because its layer is very thin. I use a higher-grit sandpaper to distress spray-painted items. More info on the grit size of sandpaper is coming up.
3. Furniture Composition Matters

Some types of furniture just can’t be distressed. Furniture made from particle board, MDF, and similar products made with a mix of wood fibers, water, and wax should not be distressed. Once you sand through the paint and the top coat on this type of furniture, it is like paper and turns into bulging, bumpy areas or particles that flake off like sawdust.
If you do have MDF or fake wood furniture, I have a great technique for making the paint look distressed. You can find that post here…How To Give Painted MDF Furniture A Distressed Look.
4. Plastic Furniture

Certain finishes, such as laminated table tops, cannot be distressed. Furniture made in the 80’s and a few other periods have drawer fronts made of plastic. These cannot be distressed, either.
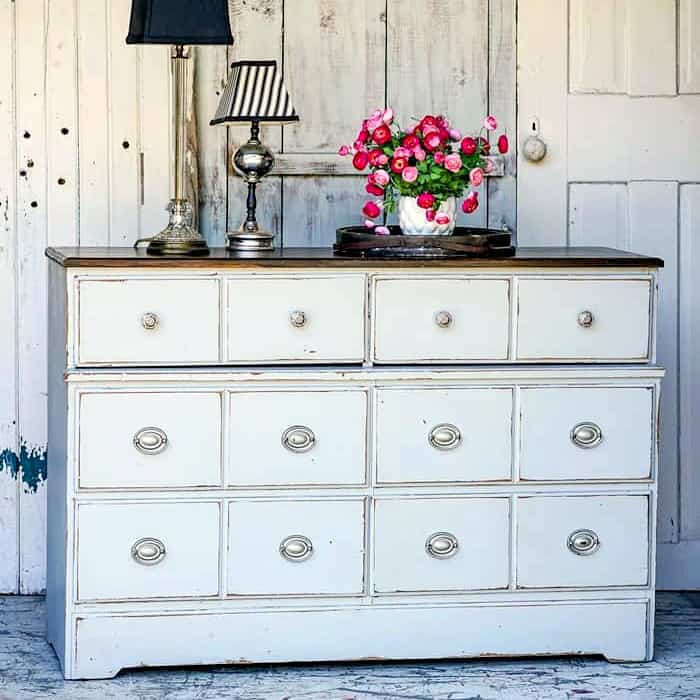
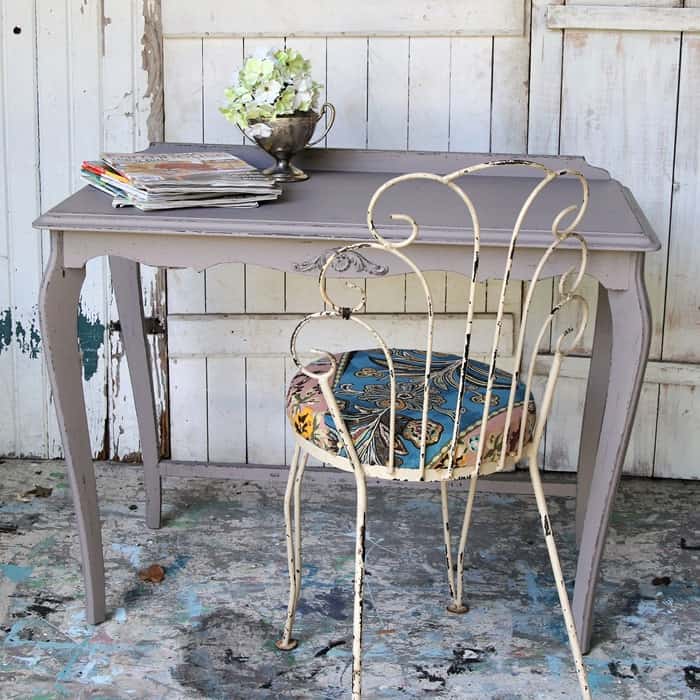
5. Distressing Real Wood Furniture

Real wood is the only product that can be distressed properly. Distressing painted wood gives it another dimension and adds character to the furniture piece.
6. Sandpaper Grit Size Is Important
Sandpaper is rated according to the grit or coarseness of the particles used to make the paper, and it is available in grit sizes from P12 to P6000.
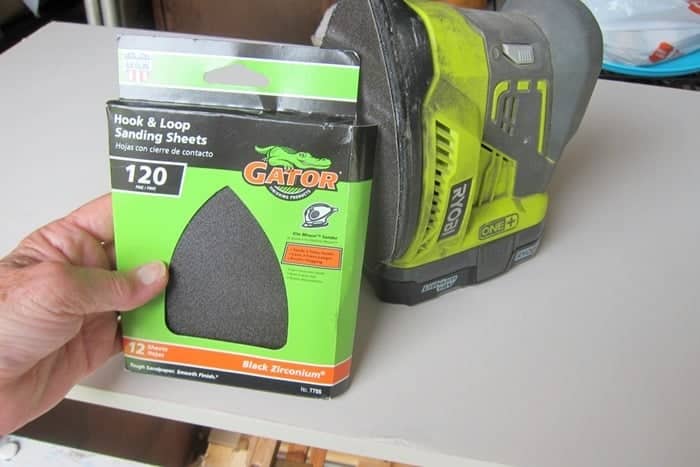
The smaller the number, the coarser the grit. For distressing my DIY projects, I use a grit range between 60 and 220. Sixty-grit is very coarse, and I use it to remove well-adhered paint. A good standard for my furniture projects is 100 grit.
7. Fancy Flexible Sandpaper
I also love 3 M’s flexible sandpaper, especially for distressing paint by hand. I fold the sandpaper so there are 2 or 3 layers in order to grip it better. You can fold the other sandpaper, but it will eventually fall apart when you use it.

8. Paint Dry Time
Freshly painted projects will usually distress easily. Removing the paint will be much harder if a piece has been painted for months or years. For paint that is hard to remove, I dampen it with a wet rag and sometimes spray the piece with Simple Green.
It all depends on how hard it is to distress the paint. After wiping the paint with a damp rag, let it sit for a few minutes, then distress it with sandpaper.
9. Distress The Details

Distressing stripes, stenciled designs, etc. is a great idea. Do not distress the painted furniture until you have finished adding the design details.
10. Electric Sander Or Distress By Hand
Distressing paint with an electric sander or by hand is a matter of preference. You have more control over the distressing when sanding by hand. Sanding by hand is exactly how it sounds. You use a piece of sandpaper or a sanding block, and you distress the paint by hand. If you are working on a large piece, then take your time and take breaks.
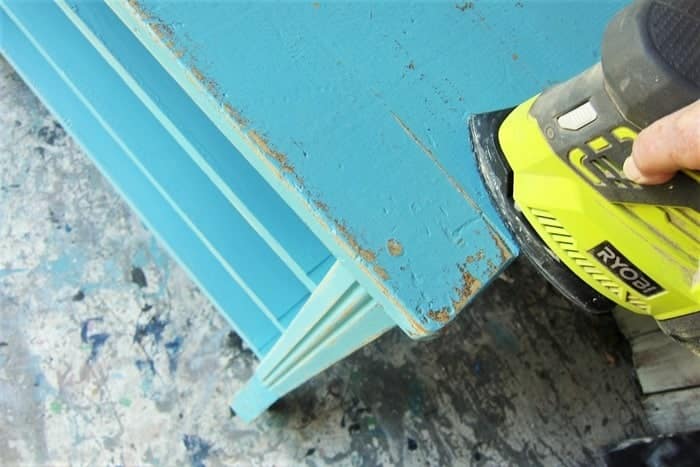
11. The Power Sander
The power sander will remove a lot of paint in a very short amount of time. If the power sander is a monster and the speed is really fast, you will get ugly sanding marks. The vibration of the sander can cause ugly squiggly designs.
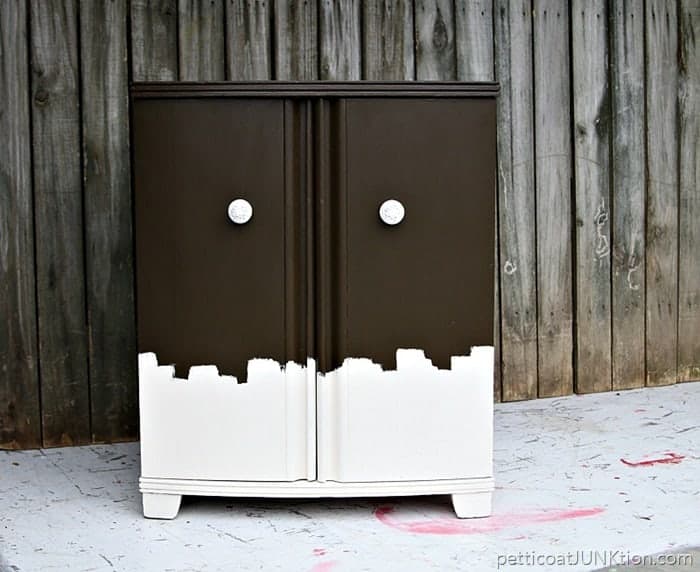
12. Distressing Mistakes

The horrible distress job in the photo above exemplifies how not to distress paint. Yes, this is one of my very first projects. To keep the sander from making crazy patterns in the paint, you need to use firm, smooth movements when sanding. If I’m distressing paint with a sander, it means I have a large piece to distress, and I want to remove a lot of paint. I use the sander for moderate and heavy distressing.
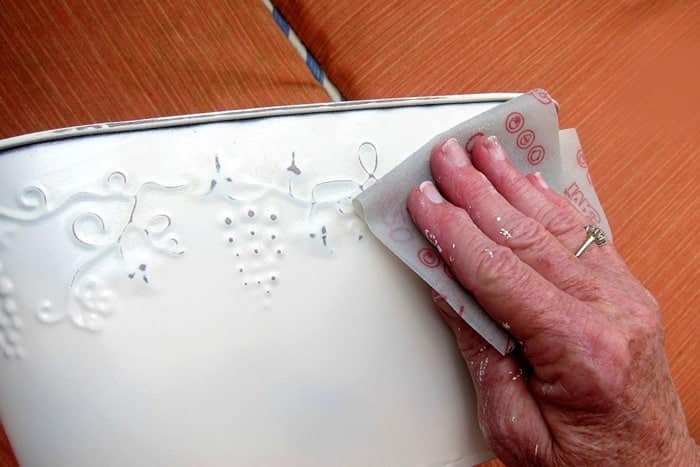
13. Wet Distressing Method
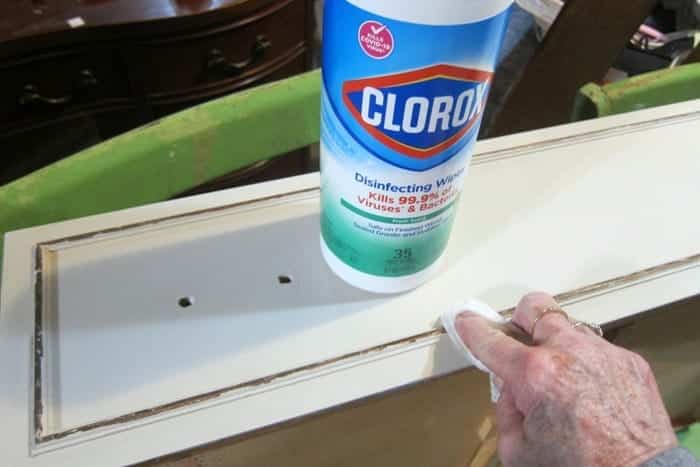
There are several options for distressing paint if you don’t want to use a sander and deal with the mess. You can distress paint using baby wipes, Clorox Wipes, household cleaners, and probably more things I haven’t tried.
The secret to the wet distress method is to distress the paint just after it has dried. If you wait too long, removing the paint takes much more elbow grease. The plus to the wet distress method is there is no mess, no sandy stuff floating around or accumulating on the floor.
14. Save Time- Paint And Distress Multiple Pieces In One Sitting

To save time, gather several small pieces and brush paint or spray paint them the same color. Then, distress the paint when dry. This saves so much time. Work smarter, not harder.
15. Faux Distressing Paint Finish
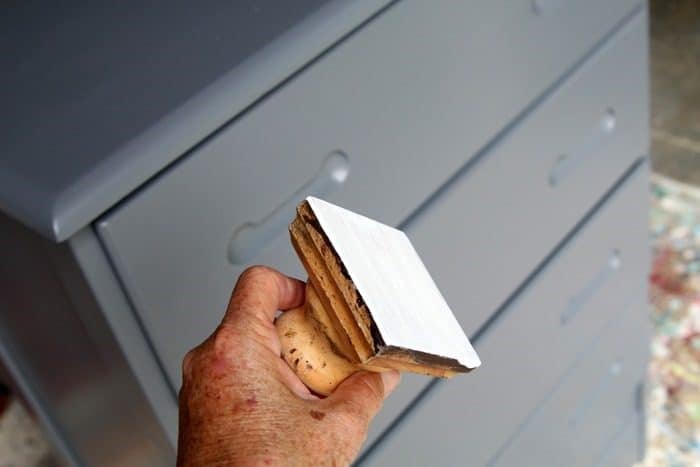
I talked about wood furniture being the only good candidate for distressing. A faux distressing technique using a layering block is an alternative to real distressing.
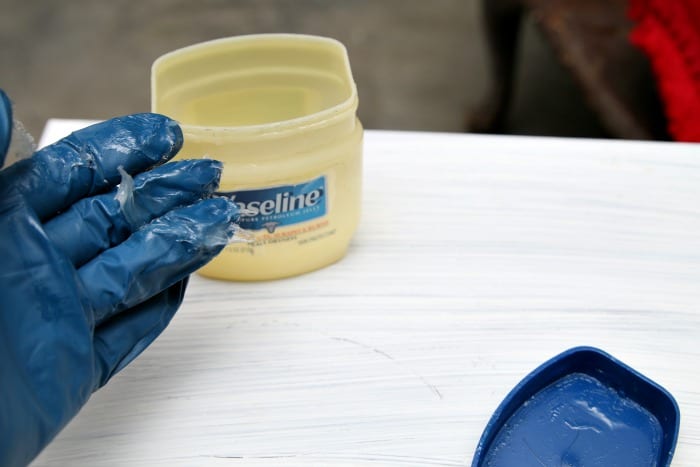
The layering block is used to apply a thin line of contrasting paint to the painted piece, giving a two-toned finish. To see this technique, click here….Layering Block Distressing Technique. Sometimes, sanding will leave a hazy look on the paint. Applying a thin layer of wax should cover it up. Also, if the wood has a raw look, the wax will darken it slightly and give it a more natural finish. My favorite budget wax is Howard’s.

Do you guys have any tips on distressing painted furniture or the products you prefer? Please share! As I mentioned, these are tips I’ve picked up over the years, I still have a lot to learn. There is a list of tools and products I like to use for distressed paint projects at the end of the post.
Questions?

You guys know I call myself the Queen of Distressing. There’s a reason for that. Distressing paint is my favorite furniture makeover technique. You can distress anything that’s been painted, including lamps, photo frames, wall and window trim, furniture, and more. Please email me if you have questions.
I hope you guys have a great day, and thanks for being here. See you tomorrow. Kathy
You’re welcome!
Thank you so much Kathy. Great explications. Love from Marseille in 🇫🇷 France
Yvette
Great post, Kathy! Very clear and helpful. Thanks for the info.