How To Distress Paint Using A Layering Block: Pink Painted Dresser or Chest of Drawers
As an Amazon Associate, I earn from qualifying purchases.
The easiest way to distress furniture without the mess is to use a layering block and layer paint over paint instead of sanding paint away.
I promised you guys a tutorial on the “ pink chest with an edge “ featured in a post last week. Well, today is the day. You might be surprised by how I “distressed” the paint to get the black details.
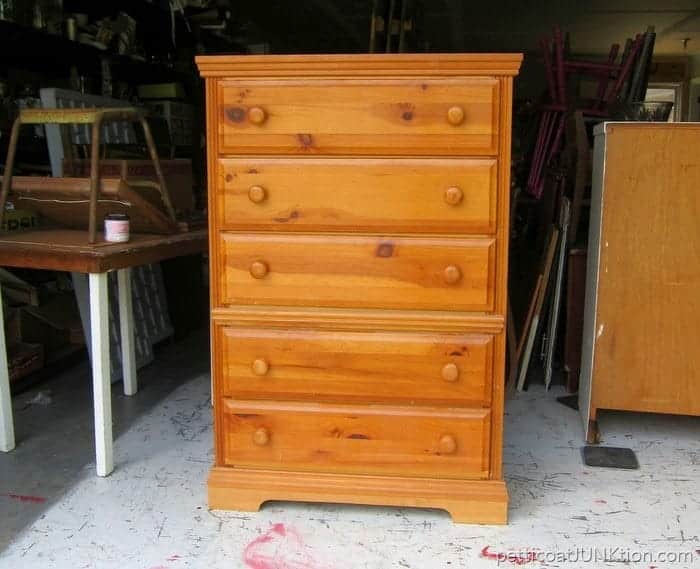
A look at the chest before I began painting. The chest was a freebie from one of our neighbors. I have the best neighbors.

As you can see, the runners were a complete disaster. Since the original runners were made of wood, the JTS (hubby, aka Junktion Technical Specialist) was able to copy them and make new runners. He’s the greatest.

There were a couple of runners that were salvageable but the others are brand spanking new.

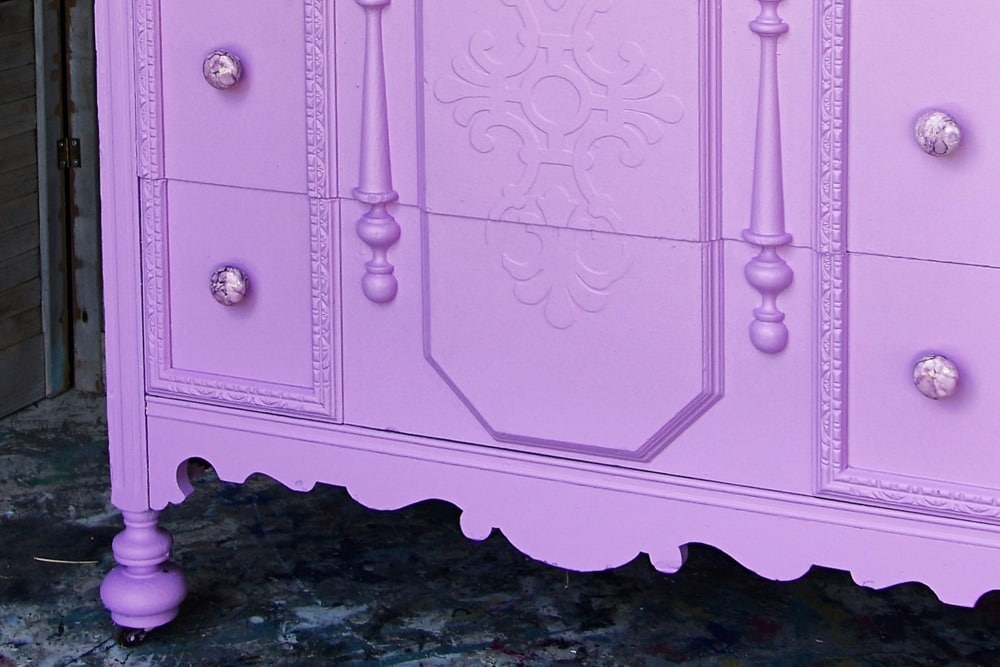
The paint is Ceramcoat by Delta and the color is Cameo Rose. The paint is chalky, and coverage was great. That one small jar did the job.

I painted the original wooden knobs with Raven-colored Ceramcoat.

Now for the fun part. I used the FolkArt Home Decor Layering Block (find the block here) to do the “distressing”. The paint on this piece is not really distressed. The black paint is applied over the pink paint using the layering block.

I turned the block so I could see the bottom and used a sponge brush to apply a very thin coat of black paint to the block.

Then I ran the layering block all over the edges of the dresser, hitting all the pretty details. I brushed more paint on the layering block as needed. I cannot tell you how easy this technique is!
I’ve had the layering block for a few months and really didn’t think I would use it to get the “distressed” look. I was skeptical about how well it would work.
When I was at Plaid Crafts headquarters a couple of weeks ago, I had a chance to see the process in action. I have to tell you that even looking closely at the paint, it’s hard to tell that the black is sitting on top of the pink paint.

It really looks like the pink paint was distressed, and the black paint is underneath the pink. The whole layering block process took no time at all, and no messy stuff from sanding.

I will definitely use the layering block in the future. Probably a lot. I was so excited while using the layering block… I kept talking to myself because I just had to tell someone about the block….and no one else was there.
I have a large number of furniture tutorials. Please take a look at my favorite painted furniture techniques.

The last time I used the layering block I made a video! You can see it below…..
I finished the chest with Ceramcoat clear wax applied using a soft, lint-free cloth. Can you tell from the photos that the paint is not distressed? I made a video using the layering block and a bottle brush to distress and antique furniture. See the project here…..How To Paint Problem Furniture.

No, it’s the very same piece. The colors look different because of different lighting and cameras. My husband had to make all new runners. You can see the ridges cut into the front sides of the piece by the drawers and you can also tell by looking at the small plastic pieces inside the drawer spaces on the wood in the front. Also the curved bottom of the piece. I can see where you got confused. When I first looked at the photo I thought it was a different piece too!! Thanks for commenting on it so I could clear it up.
The picture of the broken runners is clearly a different dresser. Still a good idea,but why fudge the photo?
Where did you get the creams coat products?
Really looks genuinely distressed! Thanks for sharing!
Thanks for the layering block info . I usually use my finger!!!
Very cool… many times there is a wild color under the paint so you don’t want to distress and take the chance of that color coming through… I love this idea 🙂
Love the color — my daughter would claim this for her room! Thanks for sharing at Merry Monday! 🙂
Amazing! Even looking closely I can not tell it isn’t black peaking through the pink. This is my favorite thing I’ve learned this year! Always learning. I’m ordering the block today. And the pink dresser is sooooo much better than the plain old wood.
Love it! Where did you buy your layering block?
Tami
I have two words Kathy, Holy Crap!!! This is so being added to my workshop arsenal. You’d never know that dresser isn’t distressed!
Wow, Love this, I can’t wait to try it!
It’s a FolkArt product so wherever they carry the brand should have it. Also there is a link in the post above to the product on Amazon. It’s the pink writing that says layering block.
You’re welcome Marcia!
Ok, I love that layering block already. No worrying about going too far with the sandpaper! Gotta get me one of those…rhanks!
I love it. I’m ordering one!
This looks awesome. Where do you purchase the layering block and we have several wood runners that need repair. How did the JTS make these
Great to know! Love this post.
Very cool tool! I thought you first painted the chest black. What a time saver. Thank you for sharing 🙂
That is really cool. I didn’t not notice until you told how you did it. I like it.
Looks distressed to me. Fabulous short cut tool. Thanks for sharing this tip.
So that’s how you did that nice, subtle distressing! Cheater! Just kidding! It looks great! And, it’s a good tool to know about.