How To Paint Cheap Furniture And Distress The Paint Too
As an Amazon Associate, I earn from qualifying purchases.
You can paint cheap furniture and make it look aged or distressed or what ever you want. You know the furniture I’m talking about. That piece of furniture that may be wood or may not be wood or may be wood covered with something that’s not wood. We all know you can’t distress that stuff. It gets puffy or it just turns into sawdust.

The tools I used in this makeover are not your ordinary diy tools. You might be surprised.

The chest of drawers started out like this. The piece was a mess. I bought it at an online auction and let me tell you. The photos were a little deceiving. Or maybe I just didn’t look close enough.

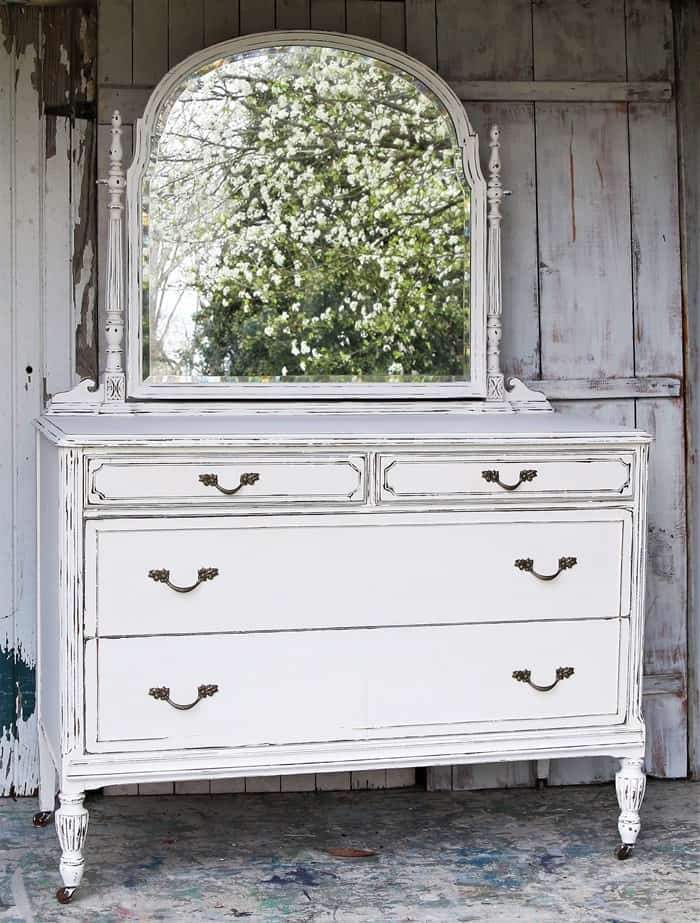
Now the chest of drawers has a whole new happy look. I’m going to walk you through the entire makeover and I also made a video of the whole process. I’m a visual learner and I love video tutorials.

The drawers of the chest were lined with contact paper. It peeled right off. Sometimes it doesn’t

A couple of the drawers needed repairs.

The JTS pulled out the table saw, nail gun, and clamps and set to work.
You can see where the faux painted finish was cracking in places and actually looked kind of like some kind of paper. Distressing this piece was out of the question and there were a ton of imperfections so the “fake” distressing was the way to go.
I also wanted to replace the hardware with more modern pieces. When I took off the first drawer pull I noticed the extra hole. The hardware was not the original hardware. I searched my drawer pull stash and couldn’t come up with anything else that would work without drilling more holes….and filling the existing ones. So I stuck with what was there.

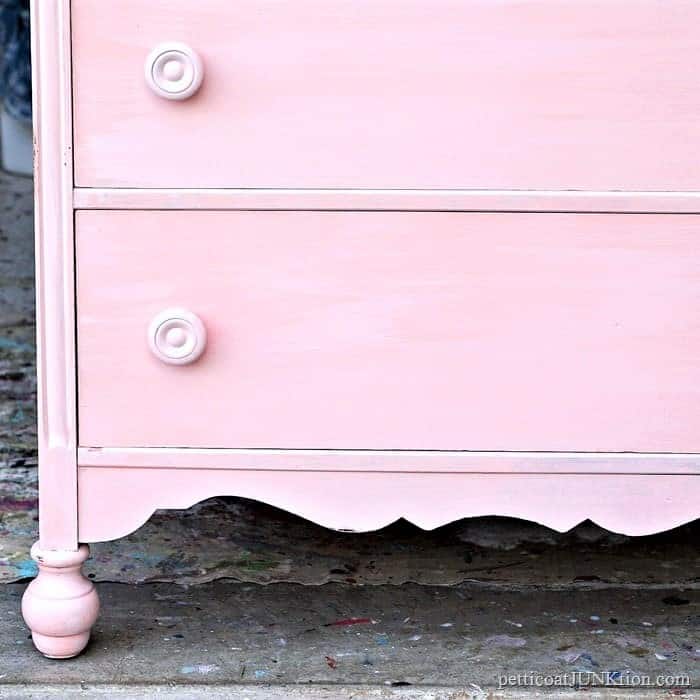
The paint I chose for this project is FolkArt Chalk finish in Parisian Grey. The grey is very, very, light.

See how light the gray is. I laid the white rag on the chest so you could see the contrast. When I look at the chest it looks white until I put something white close to it.

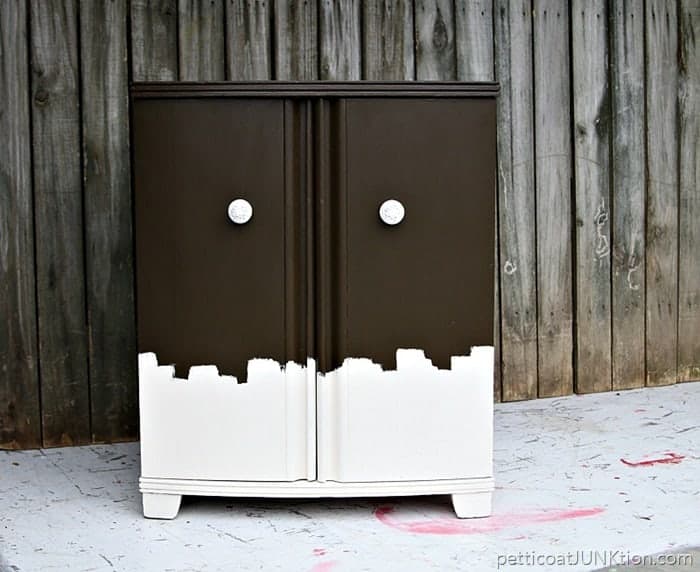
Next comes the fun part. You can watch me do these steps on the video below and it’s much better than looking at still photos. I first pour my acrylic paint onto a paper plate. I combined FolkArt burnt sienna and black for the faux antiquing/distressing.
The tools for the technique are the layering block and a baby bottle brush. I thought of the bottle brush technique all by myself. Dab the brush bristles into the paint then wipe most of it off on a paper towel. Then you just touch the painted piece with the bristles in random areas. Looks like flaked off paint areas or worm holes.
For the layering block I wipe a bit of paint on the flat surface and run the block over the edges of the chest and drawer fronts. The video below shows the technique….

I painted the hardware with Rustoleum Gloss Spray Paint, color Cambridge Stone. The color is taupe, or that’s what I’m calling it. It’s not gray and it’s not brown. I was going to paint the pulls gray but I decided on a bit more contrast.
Amazon links to the products used in this project:
Rustoleum Spray Paint, Cambridge Stone
FolkArt Layering Block
FolkArt Chalk Finish
You can read my affiliate disclosure here.

And that was it. Unless you walk up to the chest and look closely you can’t tell the distressing is fake.

The chest of drawers is small and perfect for a kids room.

The cambridge stone color on the hardware is pretty. I like it a lot.
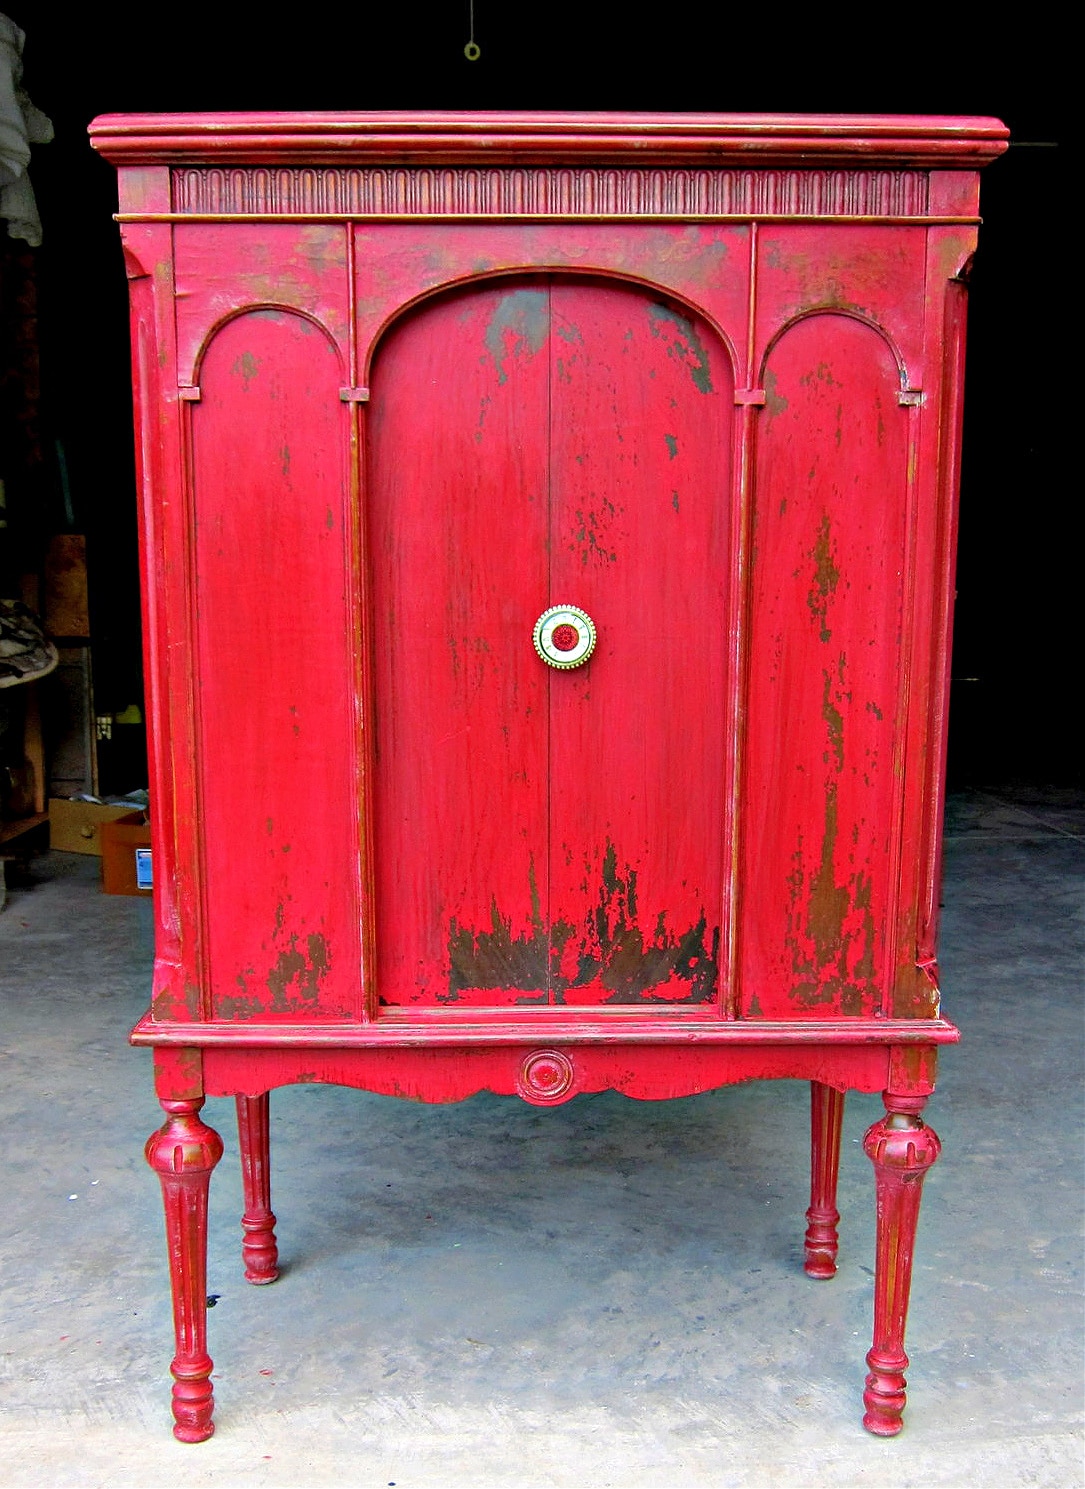
I also used this technique on the awesomely cool antique cedar chest you can see by clicking here.
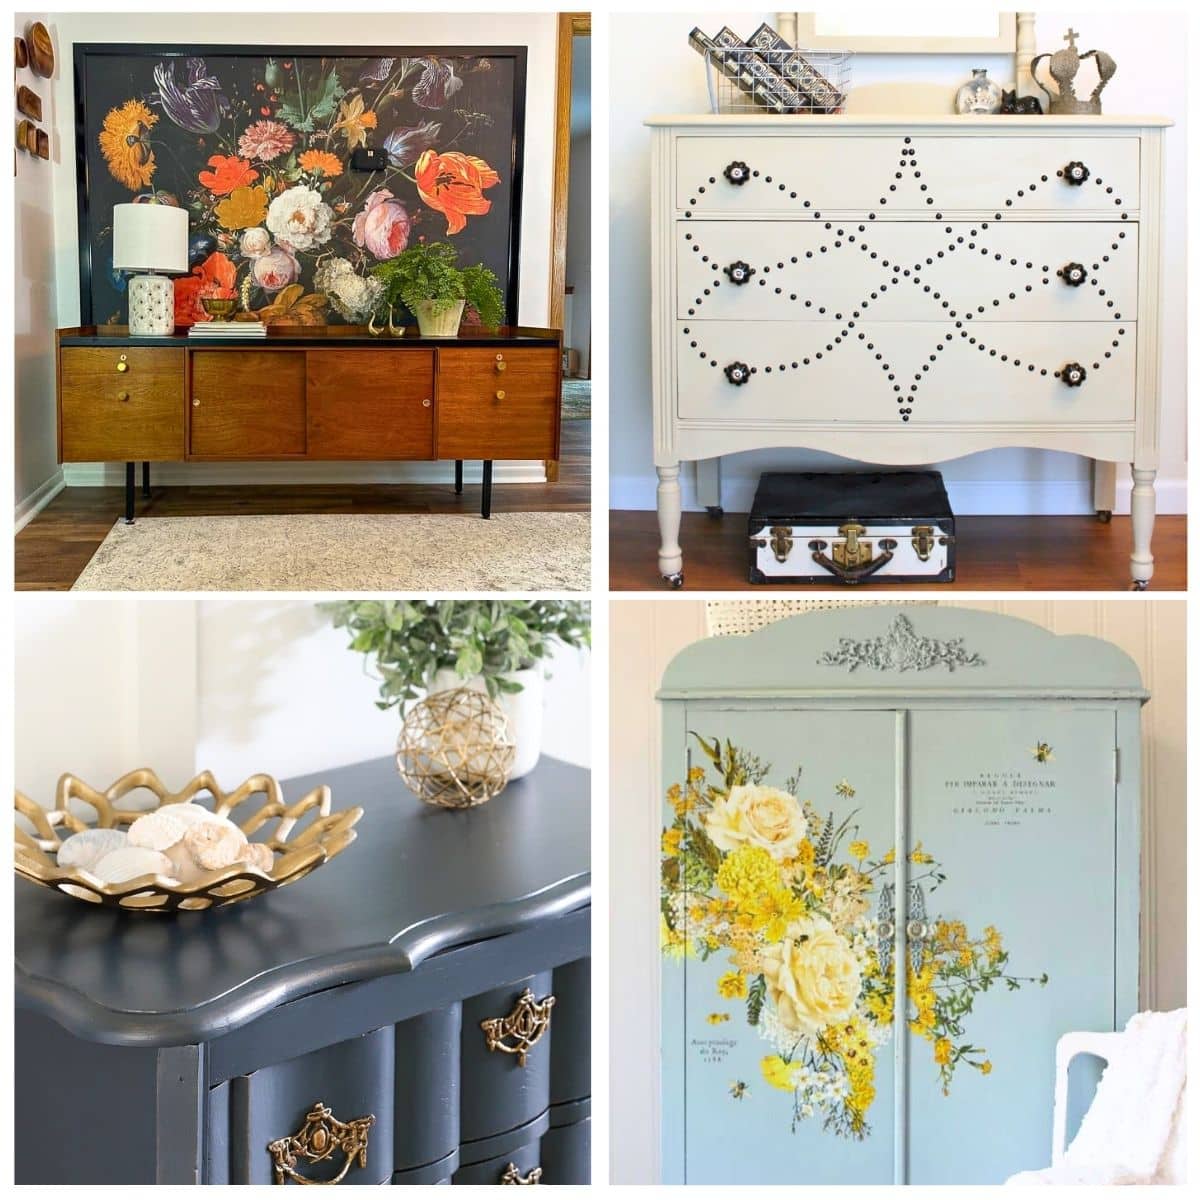
Time to visit my awesomely talented friends and see what they’ve been working on. Just click the pink text links below the “before” photo!

Confessions of a Serial Diyer
Girl In The Garage
Just The Woods
Prodigal Pieces
Petticoat Junktion (you are here)
awesome
Love the look Kathy! Great job:)
The piece came out beautiful. Using a bottle brush was innovative and the effect it gave to the piece is really nice!
It really does look like you distressed this piece, Kathy. I MUST try this technique sometime. The bottle brush idea is genius! Pinned 🙂
Kathy, what a great process for “distressing” on a piece that’s like your chest. It really does look like real distressing. Thanks for the tutorial! Never hurts to have another item to put in your bag of tricks, does it?
Thank you Michelle. I always try to be straight up on everything I share. I bet you piece was beautiful. I remember you being inspired by the sewing cabinet I painted gray with copper hardware.
Thank you Barbara! You are so sweet. I didn’t do anything to the finish except make sure it was clean. I painted right over it. The finish wasn’t actually cracked to where it was coming off. It had just cracked and looked like a layer of paper over the dark paint underneath.
I may have missed it, but what did you do with the cracking paper finish on the drawers? I love your experimentation with different techniques. You are my go-to blog for painting tips.
That’s my favorite color for chalk paint–paired it with copper for our fall event and it all sold!! Your tips are always spot on thanks for all you do for us,,
Ok, you honestly tricked me with this one! Who knew you could fake “distress” like that? So cool, Kathy!
You are so right…this little cutie looks so authentically distressed! I just love it now! I used that technique on a yellow dresser a while back so the yellow wouldn’t show through. 🙂
Looks great Kathy! I will definitely be using your technique. Thank you for sharing!!
what? I never wouldve thought! Love the new look!
Wow! What a hot mess it was, Kathy, and you revived it beautifully. Gotta love contact paper! hahaha…