How To Replace Furniture Hardware | Knobs | Pulls | And Paint Old Furniture
As an Amazon Associate, I earn from qualifying purchases.
In this article, we will replace furniture hardware knobs and pulls where the center-to-center measurement of the old hardware differs from the new hardware.
To put that in regular language….you can’t screw the new knobs to the furniture because the screw holes are not the right distance apart. I will show you how to take care of that problem.
I totally transformed this furniture piece, and old nightstand, and it is unrecognizable from the original. You can take this tutorial and use the information to replace drawer pulls on any piece of furniture or cabinet and then paint your project!

Anyone can learn how to replace old furniture hardware with new; it’s not that hard. You do need a drill, and if you don’t have one already, you can buy a cheap one for less than $25.
How To Replace Furniture Hardware Knobs And Pulls

Why Replace The Pulls And Knobs?
Furniture knobs are a really, really important part of any furniture makeover. The style of the knobs will dictate the feel of the finished furniture project.
Take the nightstand in the photo above. The details and the furniture pulls scream country and outdated. You will be amazed when you see this piece painted with the new hardware because it will be unrecognizable from the picture above.
Step 1. Select the new furniture knobs.
I went through my hardware stash looking for replacement pulls and came up with these beauties. I was going for a feminine French Provincial look, and these were perfect.
Most of you don’t have a hardware stash, but you can buy new hardware at Hobby Lobby and home improvement stores or order from online sites.

The major problem you run into when replacing hardware is finding some with the correct screw hole width to fit what’s there. I think the correct term is “measuring on center,” or “center-to-center measurement,” or something similar. The most common hardware size is 3” on center…but most antique hardware is not a standard size.
The drawer pulls I selected for this makeover were smaller in the on center than the original so I had to putty up one of the screw holes for each hardware piece and drill one new hole for each piece—no need to drill two new holes usually. Try to use one of the original holes.
Step 2. Remove the old hardware
Use a handheld screwdriver or a battery-powered drill or screwdriver to remove the old drawer pulls. You will need either a Phillips head or flat tip bit or screwdriver. Usually, the screws are easy to remove, but if they have rusted or been set for a while, you may need to spray the head with a bit of WD40 to loosen it up.
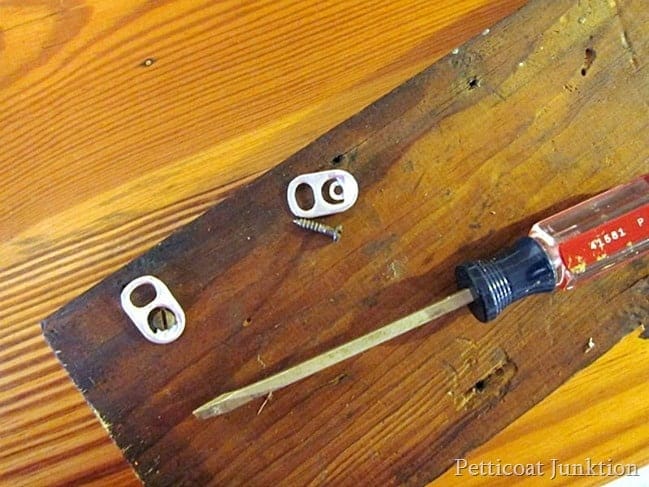
Step 3. Fill screw holes with wood putty.
As I just mentioned, use one of the original holes so you don’t have to fill two holes and drill two new holes for each pull. You just need to decide which hole to fill. The end result is two holes closer together than the originals.
As you can see here…I filled the wrong hole on one side. Oh well, I did catch my mistake so I just knocked the filler out and filled the correct hole. I make all kinds of screw-ups ya’ll never find out about.

I used Elmer’s wood filler to fill the unneeded holes. A handy tip is to put a piece of tape on the inside of the drawer over the hole you’re filling. The tape prevents the excess filler/putty from seeping into the drawer, and you also use less filler this way.
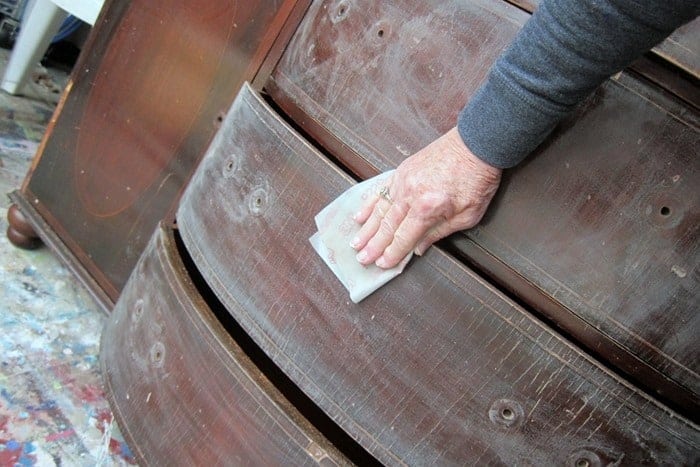
Step 4. Sand the wood filler.
When the wood filler is dry, it’s time to sand off the excess putty. I use 100-grit sandpaper by hand to do the sanding. Sand the filler flush with the drawer front.
When you are finished sanding, there may be a little depression where the filler shrunk as it dried. If there is… put a little more wood filler over it, then sand when dry. That should do the trick.

The photo above shows a different furniture piece entirely( Extreme Furniture Makeover)…I used Elmer’s Wood Filler in the tube. I like the filler in the tube because it’s much easier to get it in the screw holes without a lot of excess.

Step 5. Mark for the new hardware holes.
The next step is to drill the new screw holes. You need to lay the hardware pull on the drawer and mark where the new hole should be with a pencil or pen.
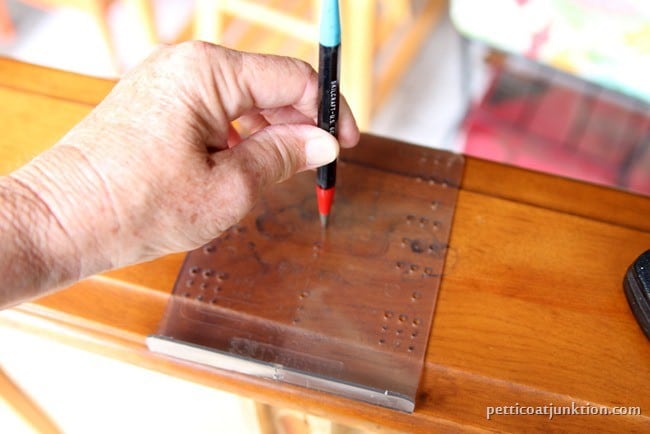
They have handy dandy cabinet hardware templates that make this job much easier. You can buy one at your local hardware store.

Step 6. Drill the new drawer pull holes
I use a cordless drill because they are easier for me to work with. To drill the new hole, I started with a small drill bit, then moved up in size till I got the size screw hole I needed. I usually use 2 or 3 drill bits.
You can always start with the size bit you think will do the job if you prefer. Don’t be scared of the drill! They are really easy to use.

Here’s the new hole and the filled hole…..all nice and neat. Always drill the new holes before painting because you may scuff up your new paint finish if you wait.

Step 7. Install the new furniture hardware.
This is where I inserted the replacement hardware so you could see how well it fit. One other thing to mention is it’s always nice if the replacement hardware covers the original holes, then you don’t have to fill them.
Sometimes that does happen. The hardware curves and decorative details will be wide enough to cover the original holes so you don’t see them.
You can replace furniture knobs on any piece of furniture. You don’t have to paint it or make any major changes either. Sometimes just changing out knobs makes a big impact and brings a piece up to date—time to show you how I painted the nightstand.
Paint Old Furniture and Make Repairs
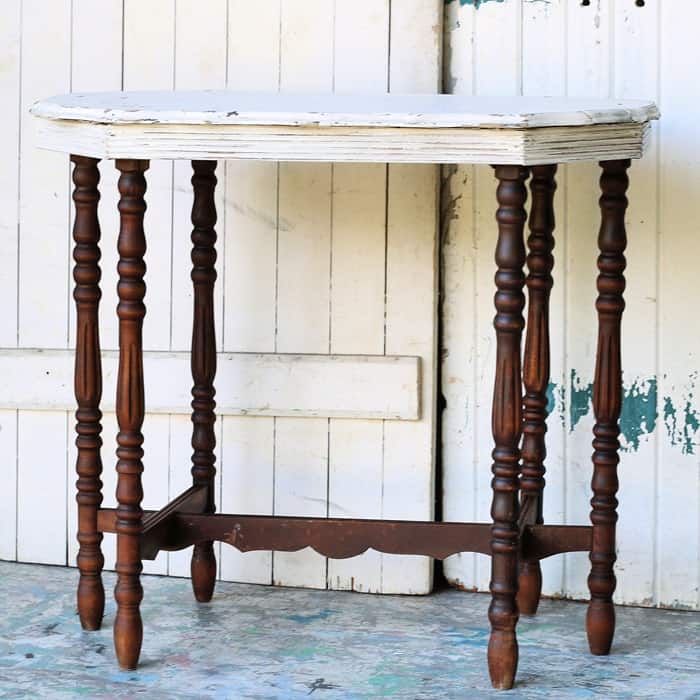
I found the nightstand/table at the Southern Kentucky Flea Market last week. I thought it looked pretty good until I unloaded it at home and saw the damage to the bottom edges. Why do furniture companies make pieces with solid wood drawers and use mdf or fiberboard for the sides?? Makes no sense at all.

Repair Furniture Before Painting
The JTS started repairs before I could get photos of the damage. You can tell from this shot…it was pretty bad. He troweled on lots of wood putty, trying to give the bottom edge some structure.

This is how it looked after I sanded down the wood filler. Not bad. You should fill areas needing repair, then sand the wood filler flush with the furniture surface before painting. You may need to repeat the fill and sand process, as the filler will shrink as it dries.

Select the right Hardware or Drawer Pulls
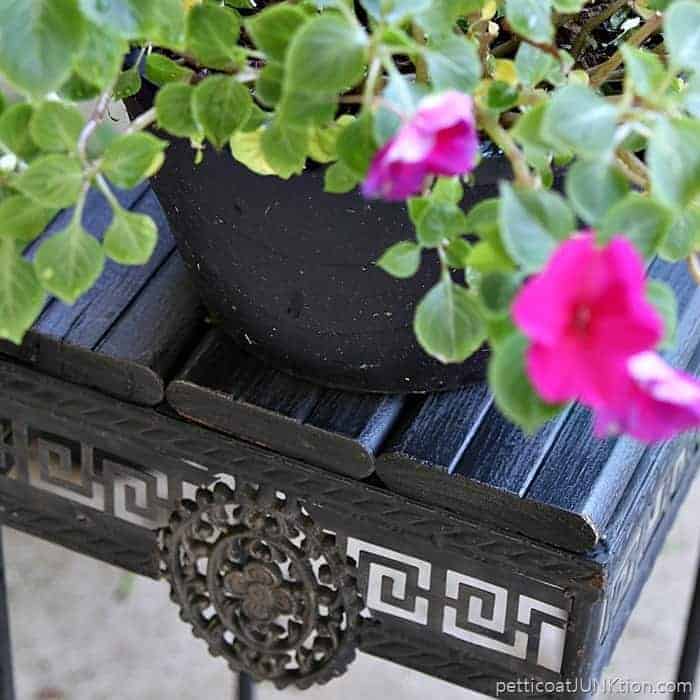
To totally transform the old nightstand it needs fancier drawer pulls. The French Provincial pulls will make this piece shine.
The drawer pulls got a makeover with a generic brand of white spray paint and gloss acrylic spray. The white hardware pops against the new paint color and looks much better than the original dark finish.
Select The Paint Color
Going girlie on this piece meant selecting a girlie color. I didn’t want to go with the typical pink so I looked at many paint samples.

After looking at the sample cards, I spotted already-mixed sample jars of paint. I got the sample jar of the Pantone Radiant Orchid at Lowes. I only used maybe half of the sample to paint the nightstand.
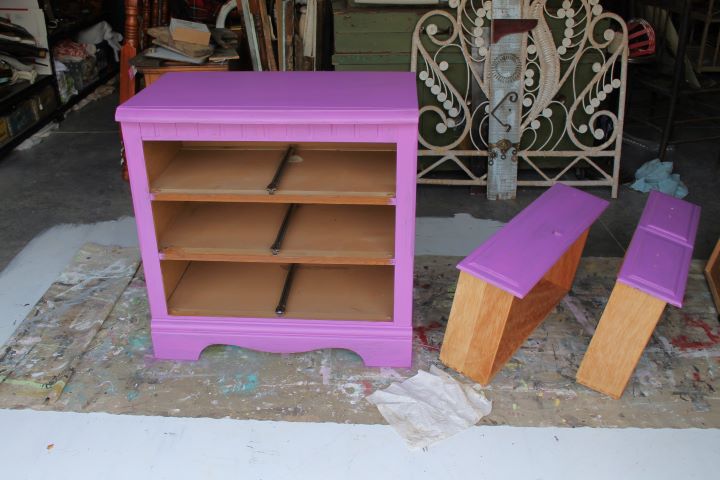
Paint It!
I brushed on two coats of paint to cover the wood completely.
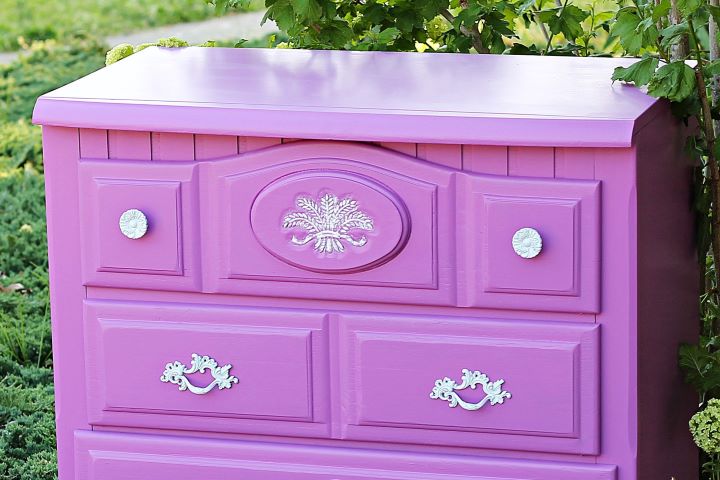
Next, I dry-brushed the floral detail, but it wasn’t white enough so I finger-painted it with the tip of my pinkie….really.

My video below on how to fill hardware screw holes with wood putty….
How To Fill Holes With Wood Putty To Replace Furniture Hardware
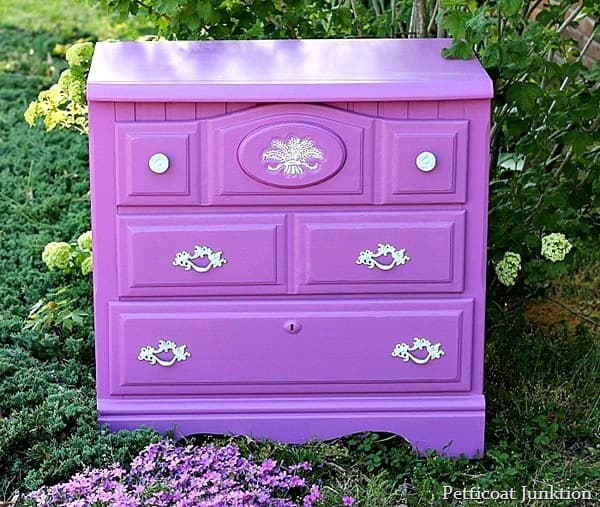
I’m really happy with the makeover. The nightstand looks 100% better now. What do you think?
update: I posted about adding a single new furniture knob in place of a handle/pull here…Update Furniture Hardware.

Leave a note below. I love hearing from you. As always, thanks for being here and have a great day, Kathy


WOW, I love this piece! You did an amazing job and you are right. I would not have recognized it as the piece you showed before. When I first saw it, I thought, “She is going to paint it in a dark blue and make a great little-boy piece of furniture.” Boy was I wrong!
Beautiful job!
Absolutely stunning!
Thank you!
GORGEOUS
Thanks Naomi, You can pin it if you have a Pinterest account or you can mark the page in your favorites on your computer 🙂
Great information, Kathy. Hope I can remember to look it up when I want to use it!
I think what you did to the dresser is very pretty, I have never tried this and when I was a kid I remember we have these types of wardrobes and sets of draws as the one you refurnished. I feed gutted that I let my mother throw them away back in the day. 🙂 nice work and thank you for sharing your wonderful talent with us all.
Now all I need is a decent piece of furniture to paint!!! Oh, I forgot, I have one already…I just hate sanding…thanks for the hardware tutorial! You are awesome!
Lot’s of great information. Very helpful. I love the part where you tape the inside of the drawer so that the wood fill would not get inside. Thank you.
KATHY,
THANKS FOR ALL THAT INFORMATION ON LINING UP THE HARDWARE HOLES.
Very good tutorial, love that little dresser, great job.
good tut…i remember having a dresser a long time ago that i had a heck of a time finding hardware for, this tut would have save me a ton of frustration thanks xx