Painted Butterfly House For The Flower Garden
As an Amazon Associate, I earn from qualifying purchases.
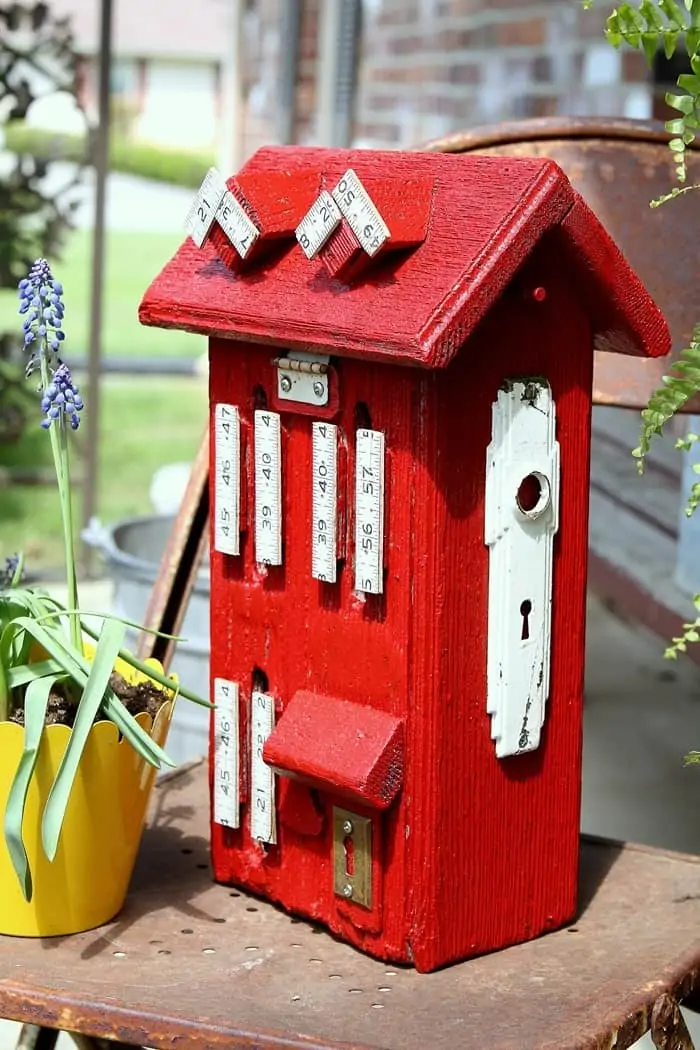
This painted butterfly is in-you-face red and is decorated with fun junk treasures. My favorite projects are those where I can show off a few treasured finds and this one includes a couple of upcycled pieces from my Grandparent’s home. I like to incorporate items with a history into my makeovers whenever I can.
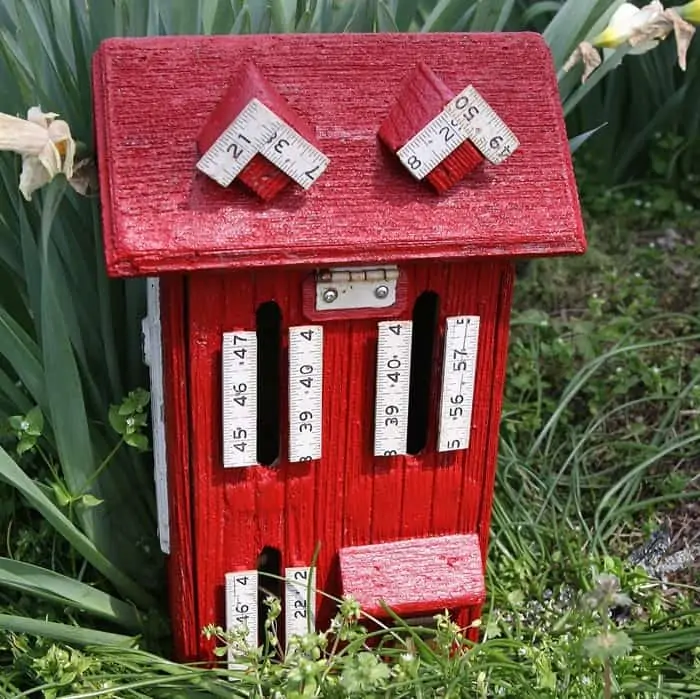
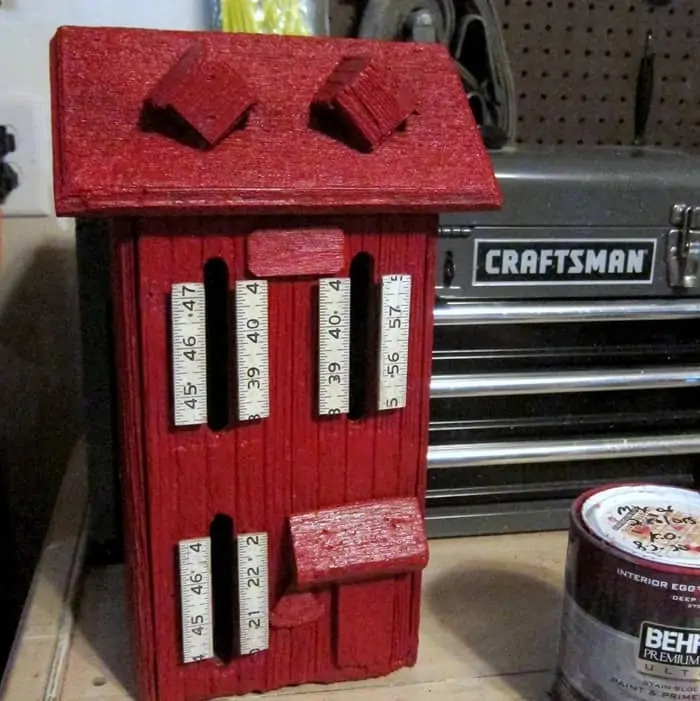
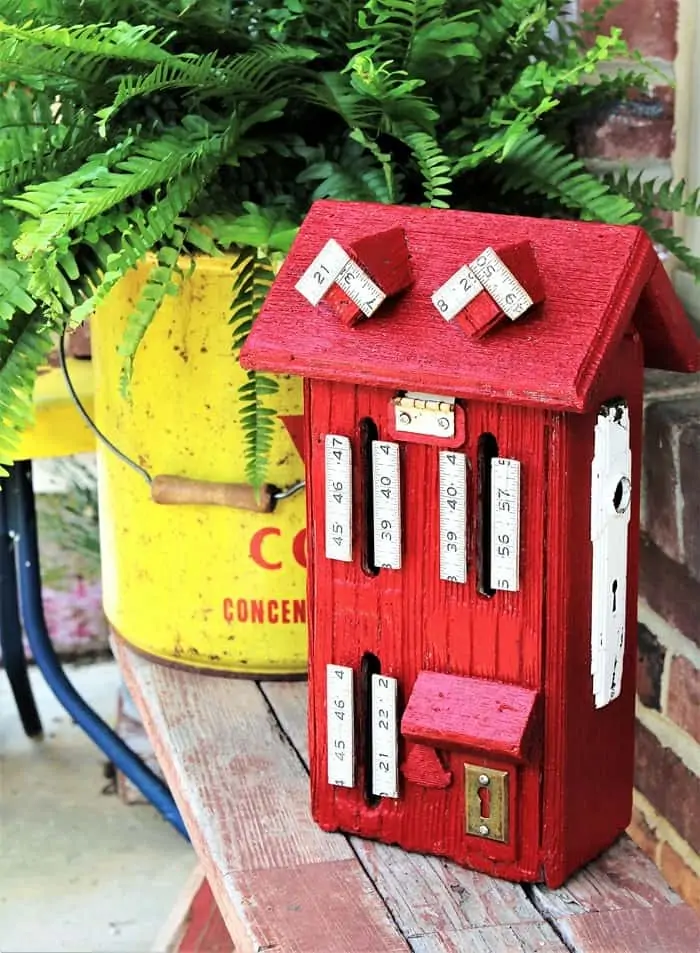
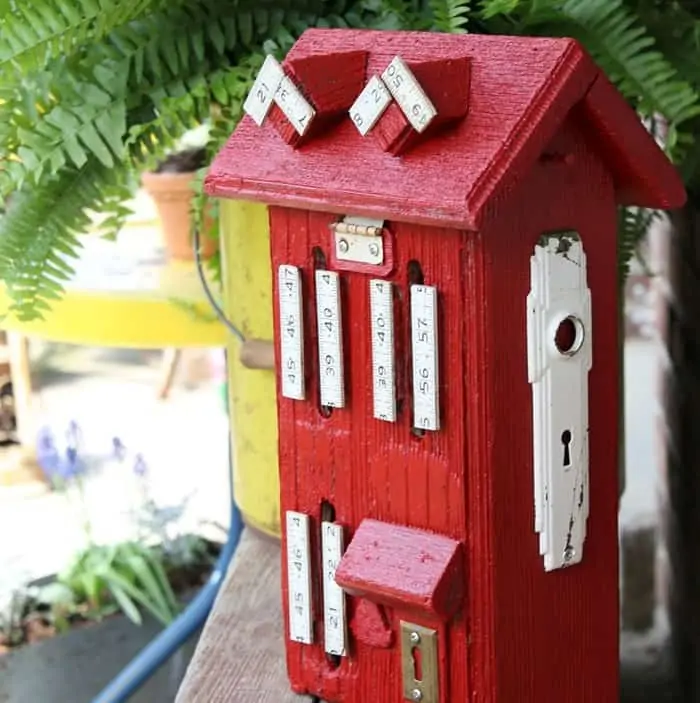
I told you it was red. I tried to make it a Razorback Red (as in Arkansas Razorbacks) for my sister. This butterfly house is going to her house although she doesn’t know it yet. What do you think about the vintage folding carpenters ruler “shutters”? You have to admit these butterfly house shutters are one of a kind.
Painted Butterfly House Project
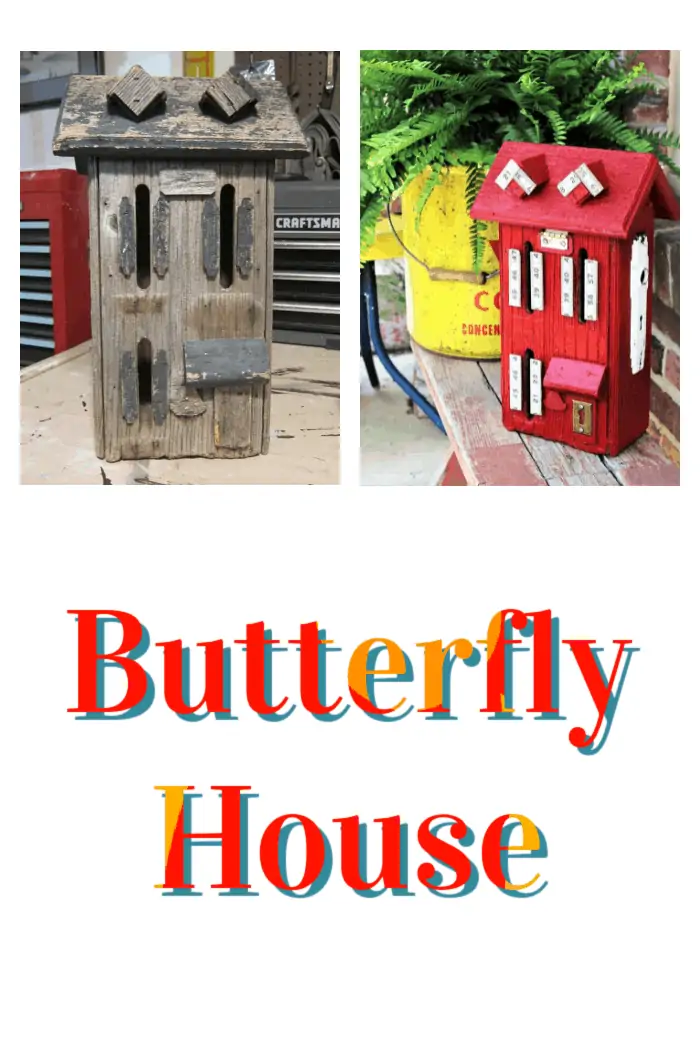
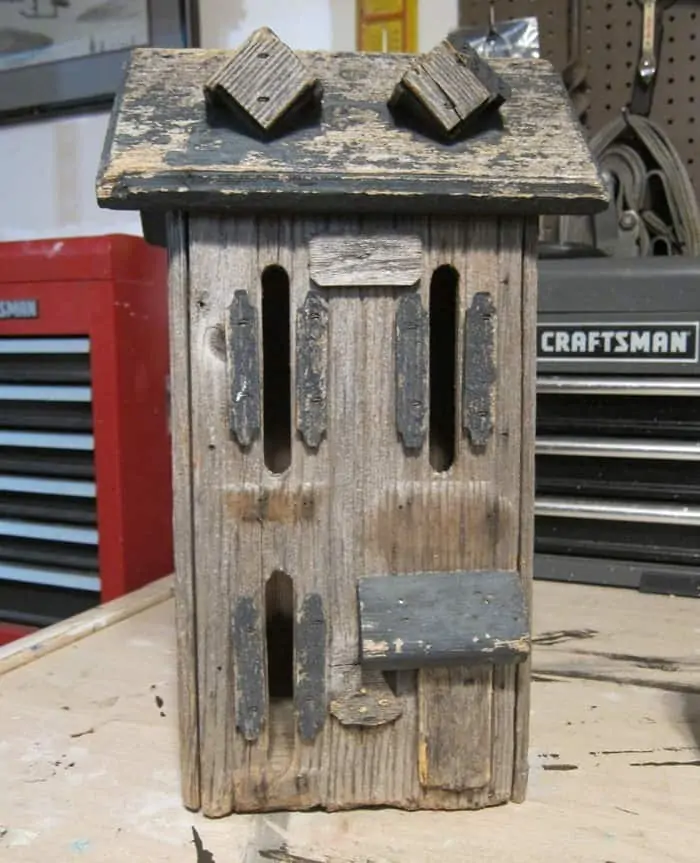
You might remember the old weathered butterfly house from an earlier junking trip post. You might also remember I called it a birdhouse and some of you corrected me. Thank you! I have a lot of birdhouse makeovers in my past and I guess birdhouses were on my mind.I paid $5 for the butterfly house and already had a plan for the makeover. Of course that plan was trashed later for a better one. This happens a lot around here.
Selecting The Perfect Paint Color
My original plan was to paint the butterfly house turquoise and paint the shutters yellow. Then I got to thinking about red and maybe I could paint the butterfly house for my little sister who is an Arkansas Razorback fan. Plus I love red.
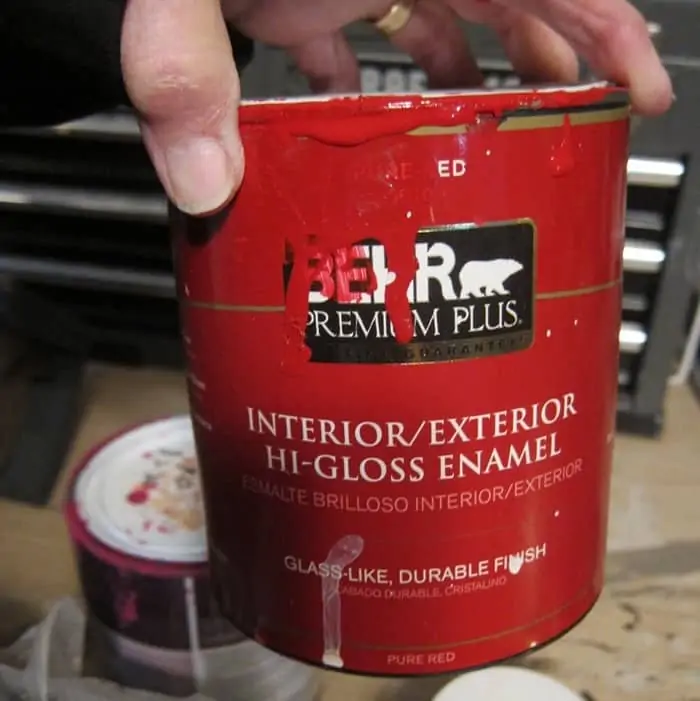
I worked with cans of red paint I had on hand and I started with the red Behr Hi-Gloss enamel. I brushed a bit of the color on the bottom of the house and it was a little too orange.
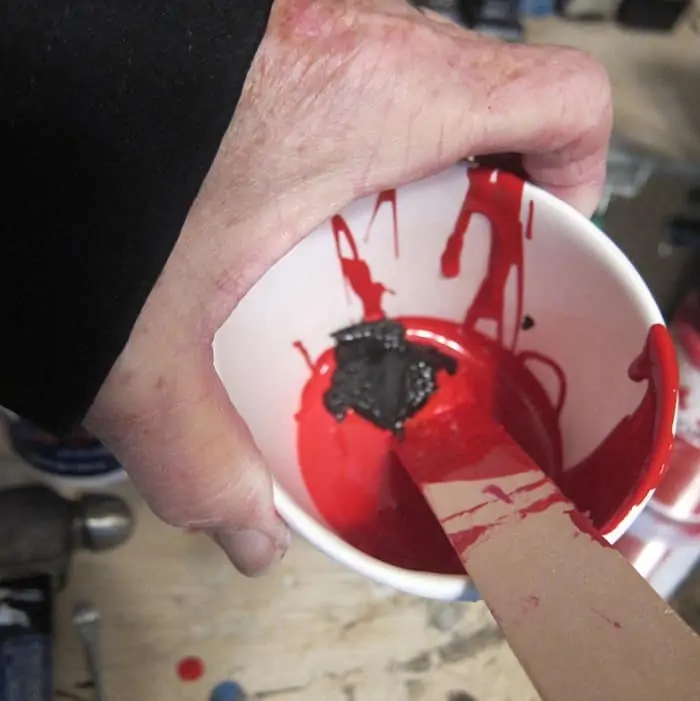
I added black paint to the red paint to deepen the color but I overdid it. Seems it doesn’t take much black paint to make a color darker ……or several shades darker. Don’t be afraid to mix paint colors together for a custom color. Just keep mixing until you are happy with the new color.
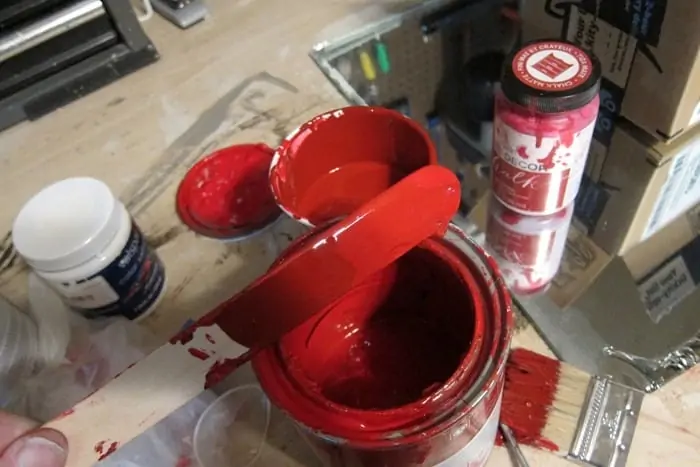
I just added more of the original red paint to the darkened red and it was the perfect color. You can see the too dark color on the left side of the stir stick. The red on the right is the color I used for the wood butterfly house. Most paint darkens a bit when it dries and the red did just that. I think it’s pretty close to Arkansas Razorback Red!
Painting The Butterfly House
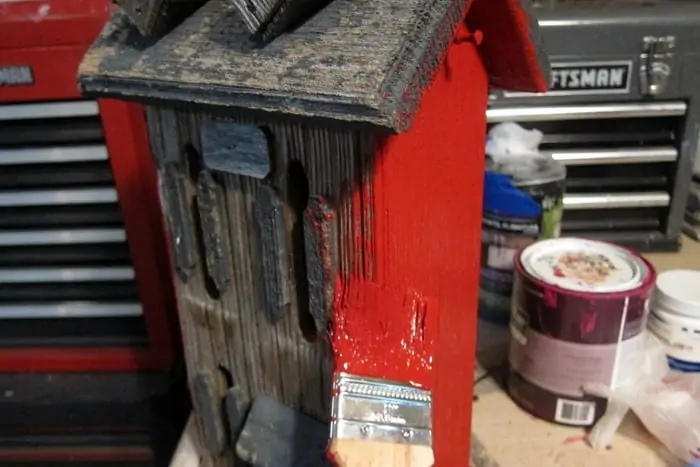
I used an inexpensive chip brush to apply the red paint and I painted the whole house, shutters and all. I was thinking I would paint the shutters white but still undecided at this point.
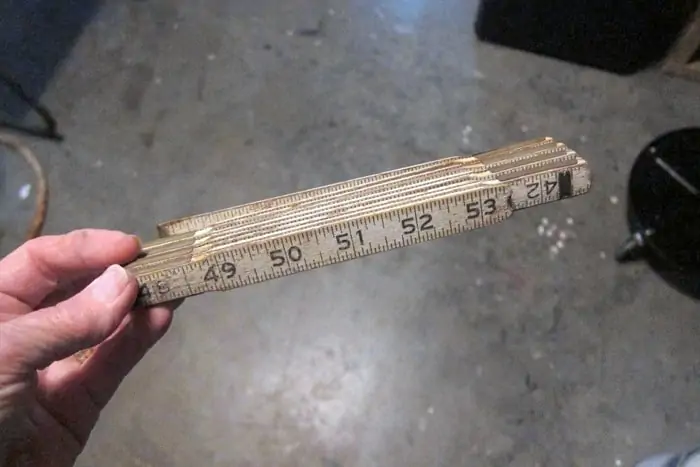
I kept thinking about painting the shutters and that just seemed so ho-hum. But walking by my junk shelves on a different mission in the workshop I spotted the white folding carpenters ruler. Ah-Ha Moment. Cutting the ruler shouldn’t be too hard and the width of the carpenters ruler was perfect for the shutters. Now I had a plan including adding some of my rusty junk finds to the house.
Decorating The Butterfly House
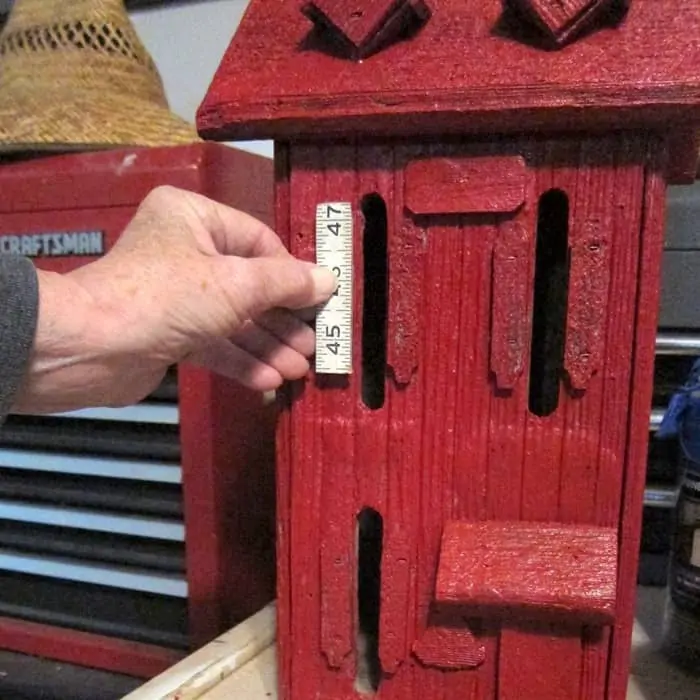
I cut a piece of the ruler to see how it would look as a shutter and decided the idea was brilliant. I compliment myself a lot. I didn’t worry about cutting certain numbered pieces just about having all the numbers running the same way.
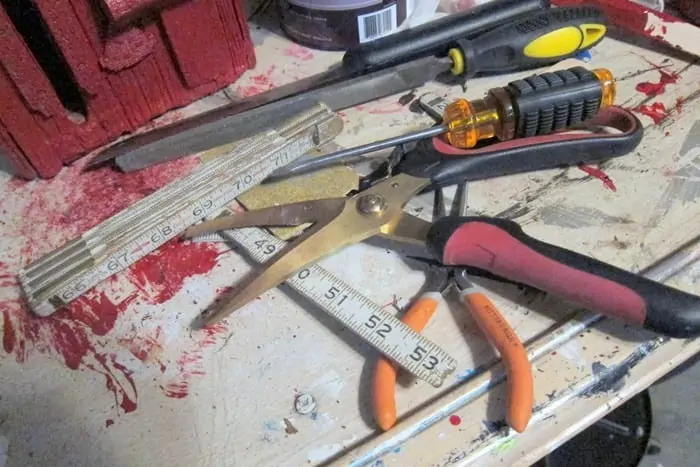
I went through several tools trying to find something to cut the ruler. Heavy duty scissors and a small saw worked best. A few of the cut edges were rough and I smoothed them out with sandpaper.
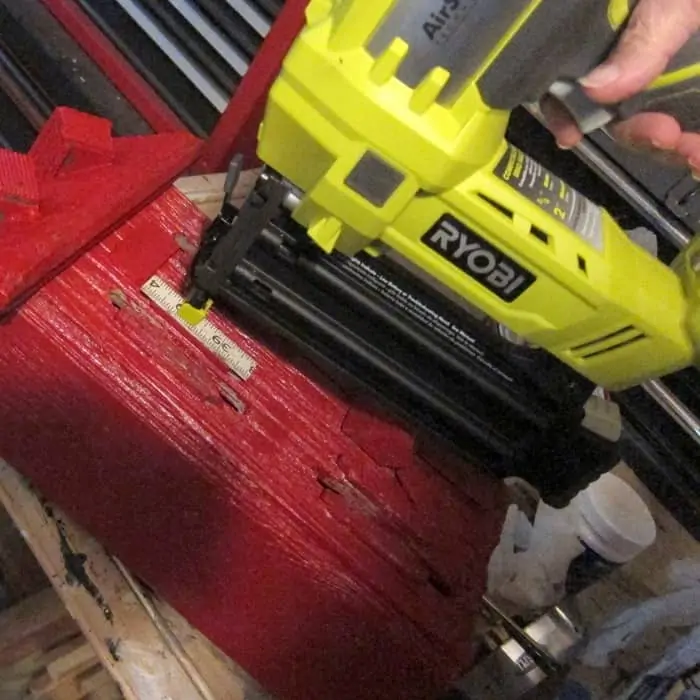
I attached the ruler shutters using my favorite Ryobi Brad Nailer. This power tool makes jobs like this so easy, no cord to mess with since it has a rechargeable battery. I used a couple of nails per shutter.
I didn’t have any problems until nailing the last shutter (top right) and it split just a little. Not very noticeable thank goodness. Now, I needed a few more things to finish the house so I shopped my junk treasures.
Don’t forget to sign up for email updates from me. There are some surprisingly easy junk projects coming up and a fabulous painted furniture makeover. Sign up here.
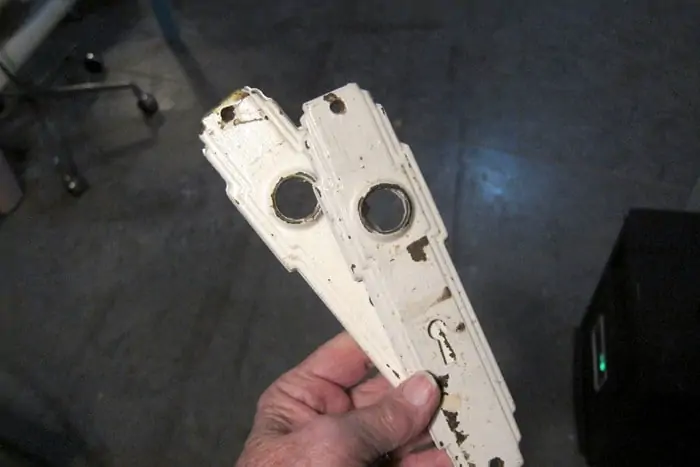
I ran across the two door backplates from my Grandparents’ house. My cousin’s wife remodeled the house for her son and she saved a lot of the original pieces she replaced with new. The things she didn’t reuse she offered to the relatives. I got the door backplates, some interior doors, and a few other things.
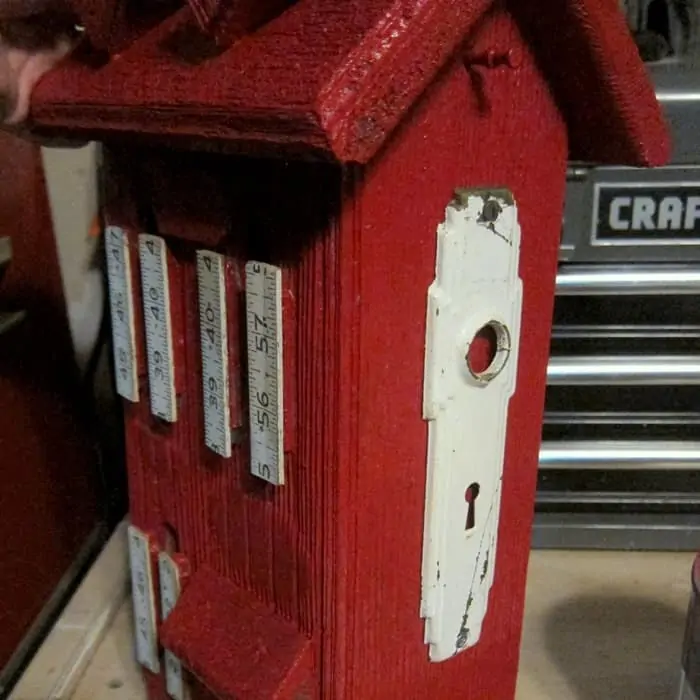
The backplates worked great as “windows” on the sides of the butterfly house. I attached the backplates to the wood by inserting screws in the holes in the top and bottom of each backplate. I drilled starter holes in the wood for the screws.
How To Seal The Painted Butterfly House
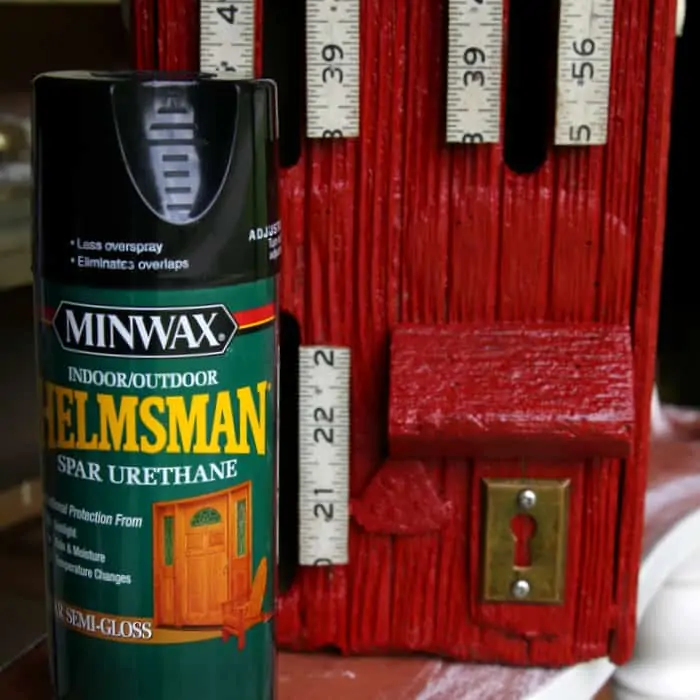
Next I added a vintage key hole plate for the “door”, attaching it with two scres. Since the butterfly house is an outdoor piece I sprayed a bunch of coats of Minwax Helmsman Spar Urethane over the whole thing.
I sprayed on light coats and let each coat dry before applying another. I used the spray sealer instead of brush on sealer because red paint is bad about bleeding and I didn’t want the red to bleed and turn the white ruler shutters pink or red.
Hopefully the sealer will keep the butterfly house from weathering too badly. My sister lives on the Arkansas River and there is a lot of wind and of course humidity. We will see what happens.
I hope butterflies move into the house instead of wasps which is what happens with her birdhouses and a lot of other things around her place. I’ll keep you updated.
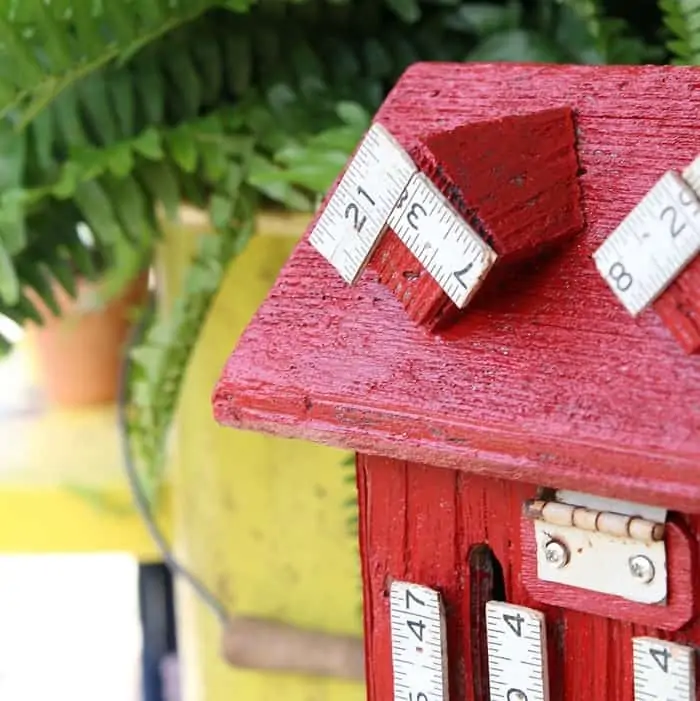
My sister who thinks she’s a comedian said the ruler pieces on the dormers look like eyebrows. I can see that. Anywhere on the birdhouse where there was a raised piece of wood I added a rusty bit, like the chippy white hinge.
Pin The Butterfly House For Later!
I wanted to add something else to the roof but had to restrain myself because I tend to overdo things sometimes. Do you guys think the butterfly house is just right or does it need a few rustic touches on the roof?
Click the photo below to view the Junk Creations Archives for my most popular junk projects….
You can find another of my ruler recycles here……How To Make A Recycled Ruler Flag. Also if you want to check out my favorite rustic birdhouse find it here…Update An Old Birdhouse With Vintage Hardware And Bits Of Jewelry
As always thanks for being here and have a great day, Kathy

I would love to see pictures of them when you are finished. Mosaics sound lovely.
Love your creative on butterfly house! I have two narrow and tall butterfly houses. Plan to put mosaics. Haven’t start yet.
Love the Butterfly House can’t wait to make one, I always go overboard with my junk finds too, but everyone loves the end result. And you will always have a one of a kind PIECE. I’m always in the junk stores and thrift stores looking for things no one else is looking for and those are the things I use for my junk builds, like bird houses, but I have never done a Butterfly house and I have seen them and I am going to start on mine today thanks for the inspiration. Absolutely love it and the red is great!
Kathy,
This is so cute! I love the addition of the rulers for a bit of whimsy.
I think this is the pose you are looking for Peggy. https://petticoatjunktion.com/home-decor-2/junk-finds-decorate-my-home/ I’m glad it inspired you. Thanks!!
My comment isn’t about this post but I recently received one of your emails with your most current mantel displays and I can’t seem to find the same post. It had a wreath and many other items of course. You included an Easter item you purchased at TJMAX. I just really need to see your display again because it was so inspiring! I tried to search for it and did not find the most current display. Where would I find it?
Thanks!
Peggy
That ruler as shutters is THE CUTEST EVER! I love it.
Perfect! Nothing else needed. Your sister will be over the moon happy.
Turned out so cute!
This is adorable and the foldable ruler is just the perfect accessoryt! (brings back memories of my grandpa, he had those rulers everywhere)
Cute Butterfly House!
I would add large camping wood matchsticks to the roof to add a little extra pizzazz.
Just be sure to cutoff the red/white flame part before adding on.
Certainly enjoy your website & marvel at the large projects and appreciate the smaller more “I copy that project”! Keep up the grand work!
I love your red birdhouse. Great job.
That is so darn cute! Love how you used the yardsticks for the shutters! BTW, don’t you love that Ryobi brad nailer? I bought one for a project I was making, but wasn’t sure how often I’d actually use it after that. But I use that thing all the time!
this is fabulous! the ruller touches and other hardware are perfect. Have never heard of a butterfly house and now I want one!
Ingenious! I hope the butterflies are appreciative. Love the pillar box red – as we would call it here. It is the colour of our post boxes .