How To Paint Outdated French Provincial Furniture
As an Amazon Associate, I earn from qualifying purchases.
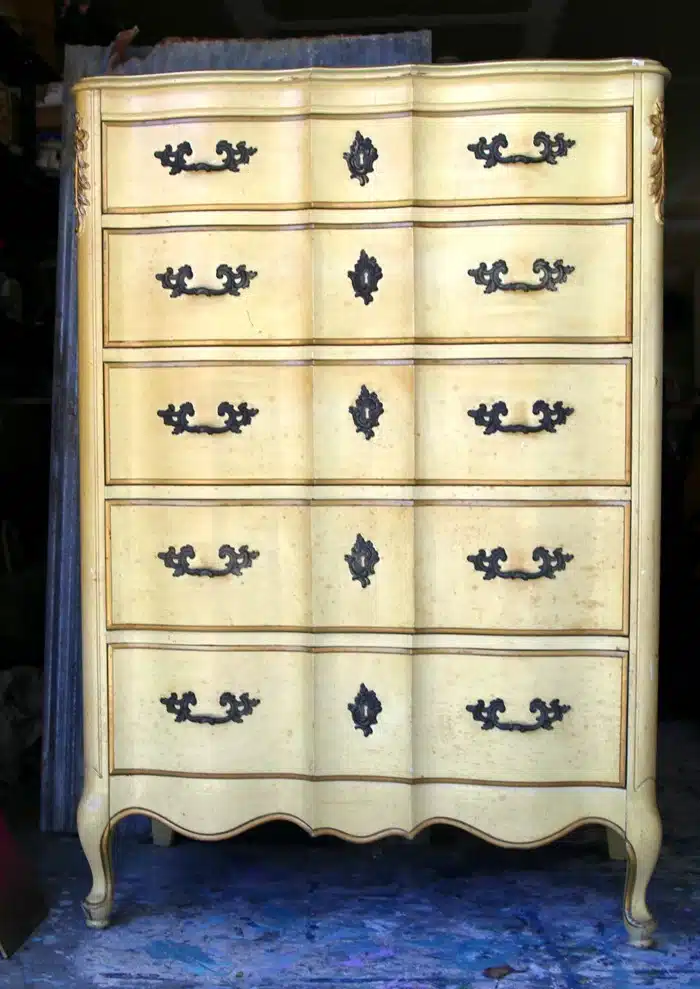
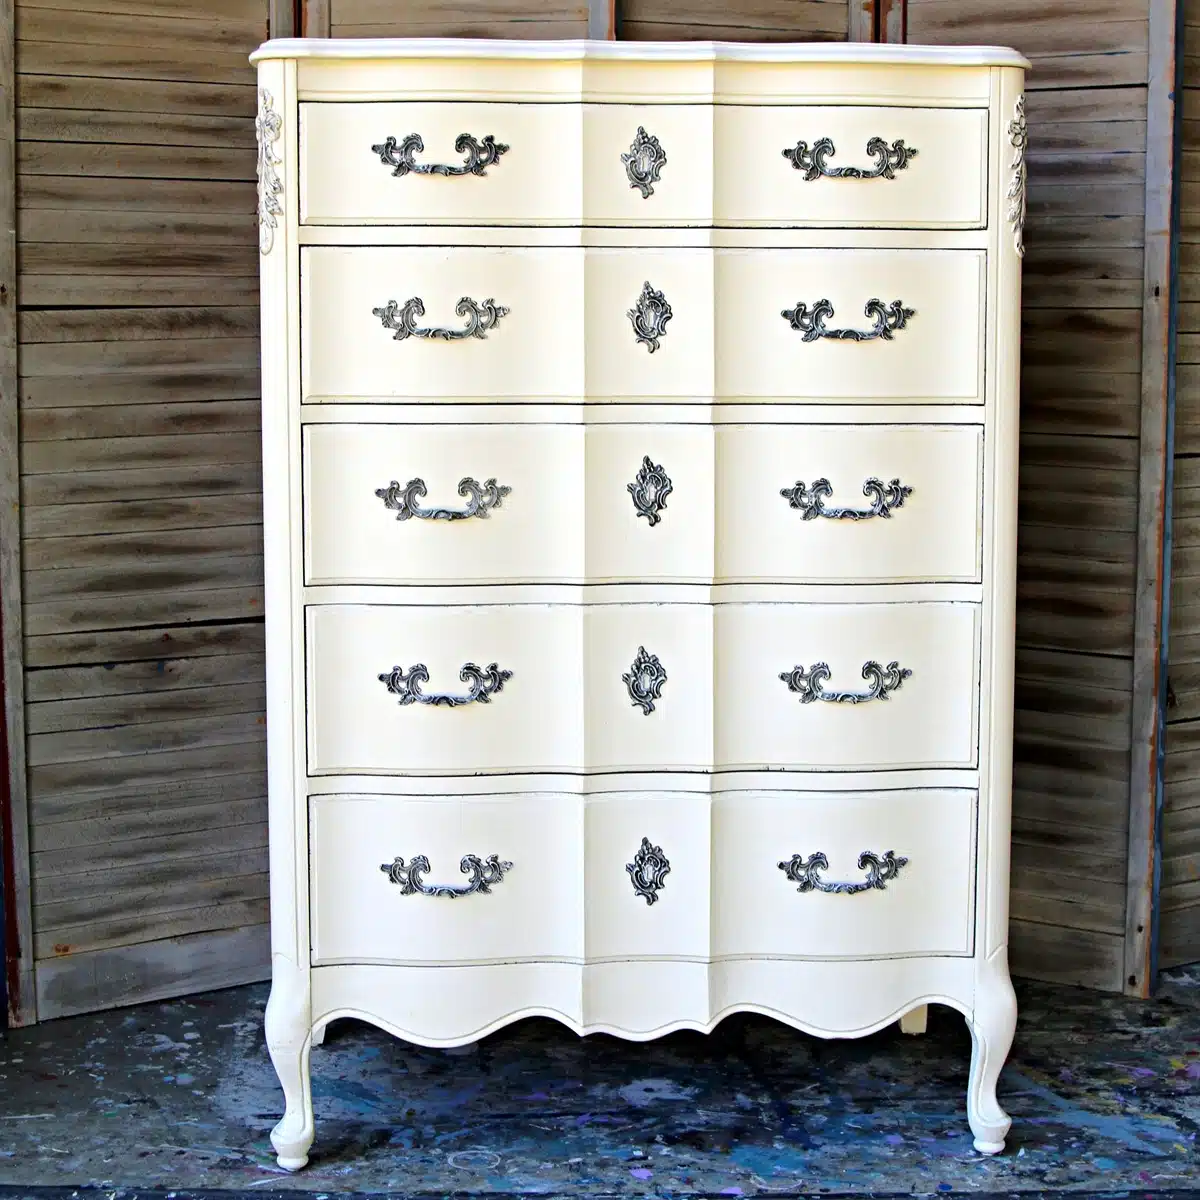
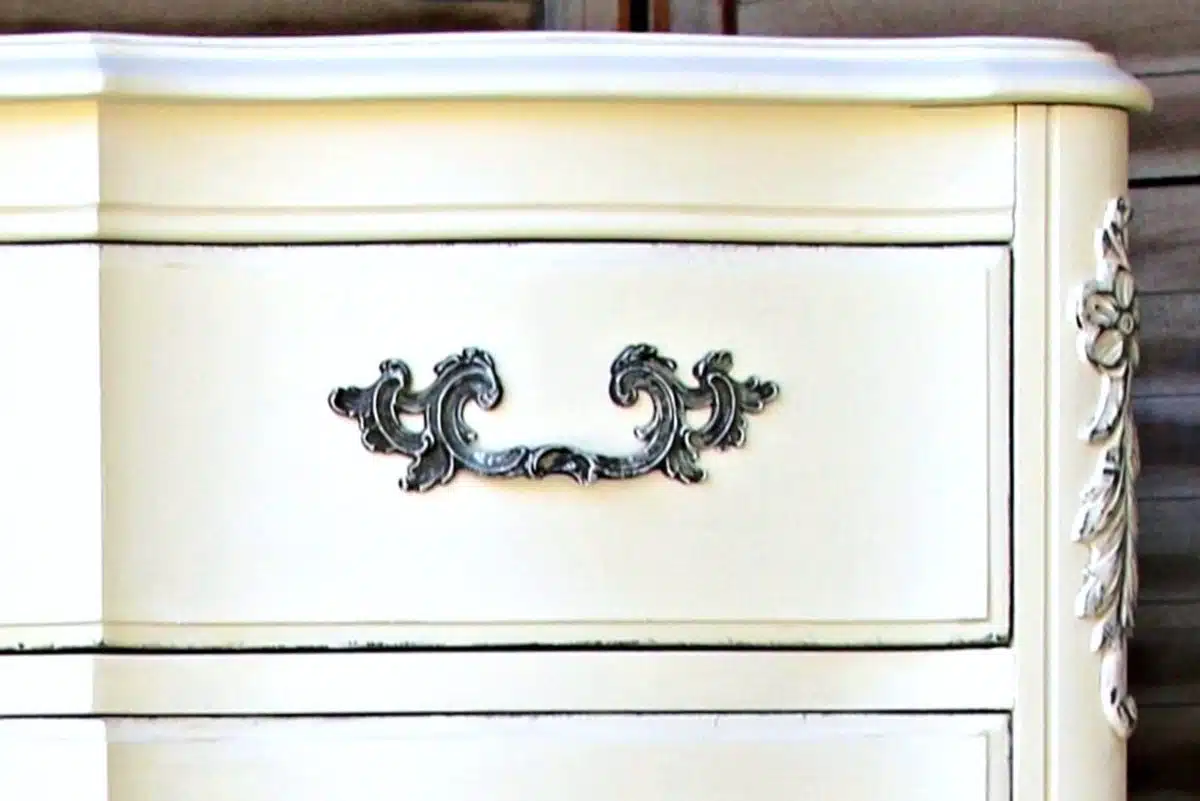
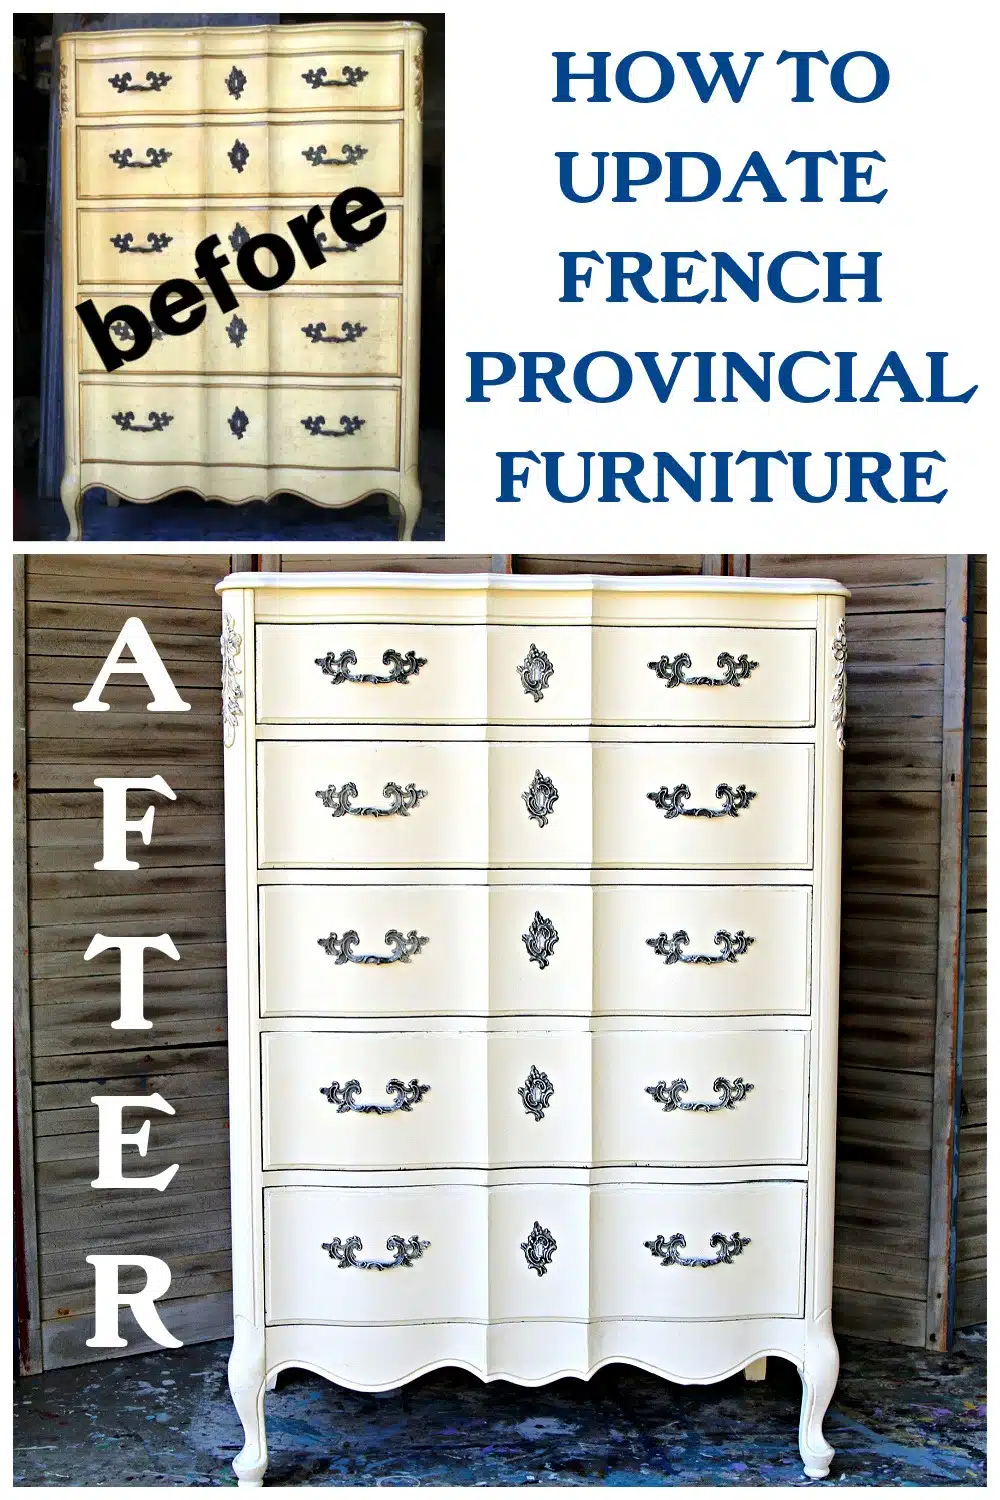
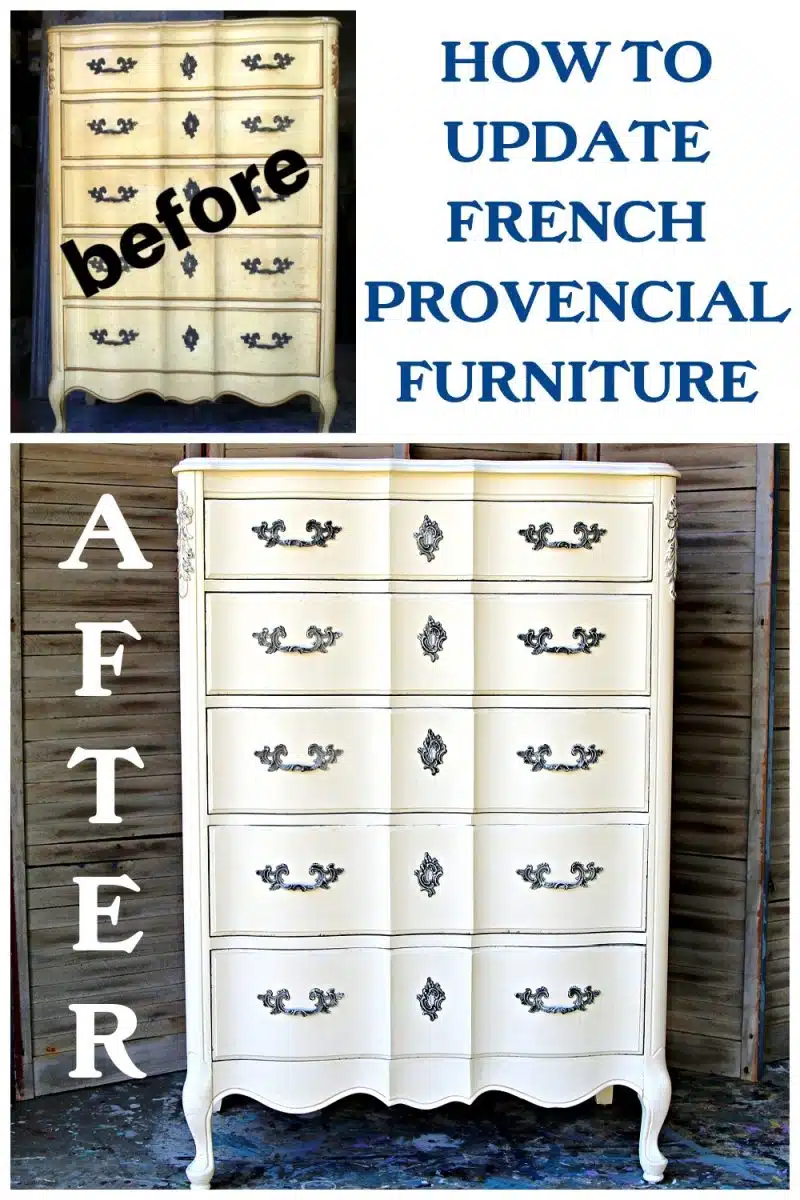
The trick to painting this French Provincial chest of drawers was to give it an updated look while preserving the timeless style. To do that, I went with a neutral color on the chest and lightly dry brushed the original French Provincial drawer pulls in the same color.
I filmed a very short video for you showing how easy it was to dry brush those drawer pulls. Also, today is the Furniture Fixer Upper Tour, and I am as excited as always to see what my friends have for us!
I bought the chest from an online auction. I couldn’t believe the price. I only paid $45 for the piece plus the 10% buyer’s premium. I mean, the drawer pulls, and other hardware is worth that much.
That was one of the nice things about the French Provincial chest. It has all the lovely original hardware. Those drawer pulls are hard to find if you need replacements.
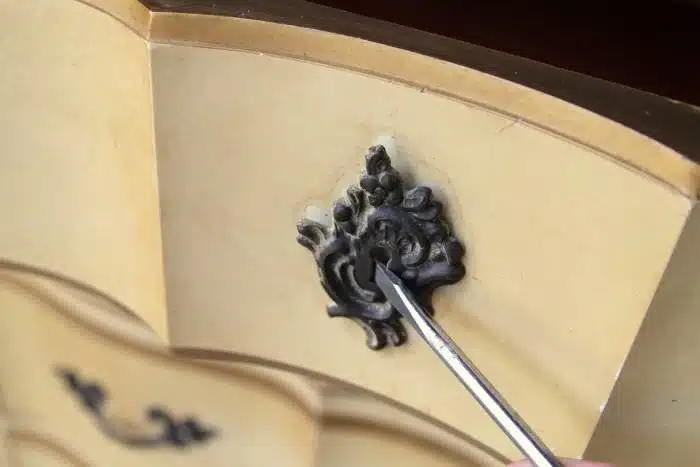
The first order of business was to remove the drawer pulls and other hardware. The decorative center piece in the middle of each drawer is called an escutcheon. Escutcheons usually protect keyholes on furniture but are also used as ornamentation.
Two small nails attached the escutcheons to the drawers, on the top and bottom of the pieces. I couldn’t get a screwdriver tip or my thin metal paint scraper under the side of the escutcheon, so I finally resorted to prying the nails out with the screwdriver tip in the keyhole.
I gently worked with the screwdriver from all four sides of the escutcheon keyhole until the nails came out. The hard part was catching the two nails because when they popped out of the drawer they tended to fall out of the escutcheon too.
I ended up losing two nails in the driveway rocks because the chest was sitting in the garage door opening. After losing the first nail, I should have moved the chest back. Those nails are tiny!
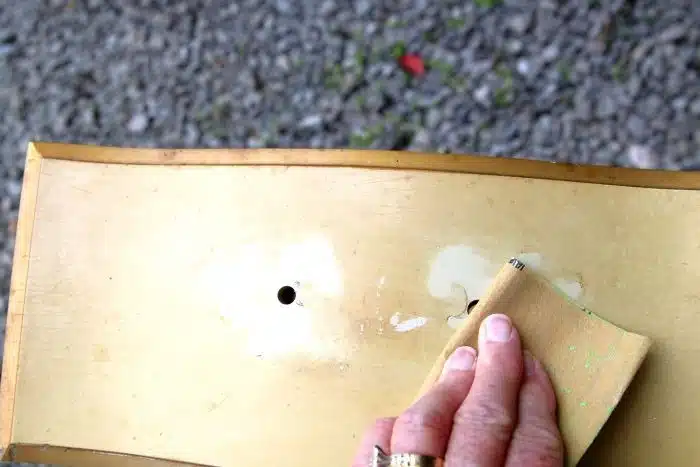
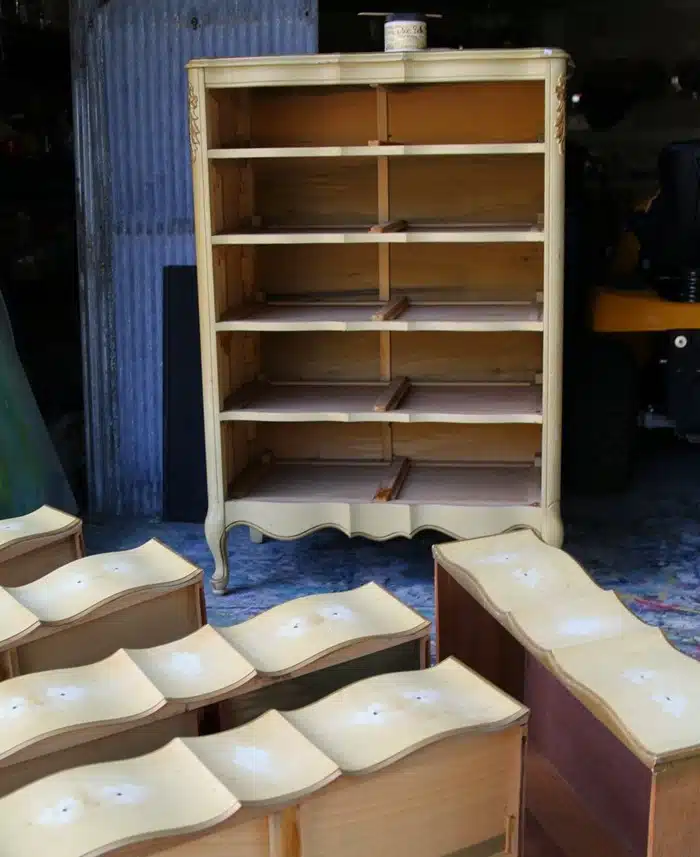
Once I removed all of the drawer pulls and escutcheons, I lightly sanded the areas where the pulls were removed. You can see how light the finish is where the drawer pulls were attached. The whole piece had definitely yellowed over the years.
It probably wasn’t necessary to sand around the drawer pull area since I was going to use the same pulls, but it’s a habit. There tends to be an indention or build-up of gunk around drawer pulls, and when I replace the original pulls with new ones, the raised areas might be noticeable even after painting over them. So I sand.
The final step in prep work was cleaning and vacuuming the chest.
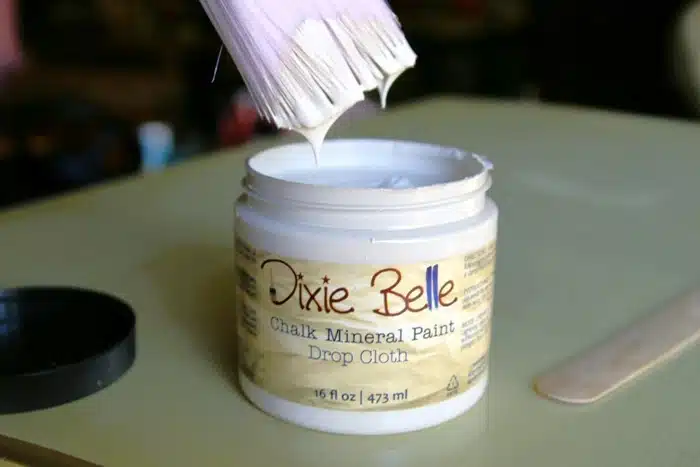
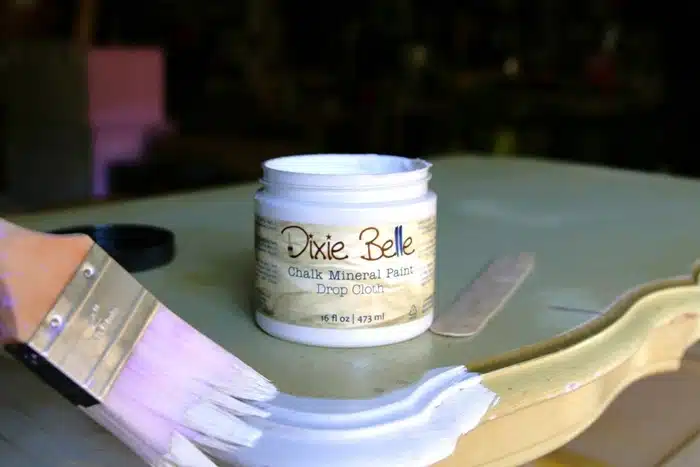
As I mentioned earlier, I wanted to keep the original style and feel of the chest, so I chose a neutral off-white paint color from Dixie Belle, Drop Cloth.
I love this chalk mineral paint because it brushes on so smoothly and covers really well.
Wow, can you imagine what the chest of drawers looked like originally? I bet it was a beauty with the light paint color and gold details. The gold details are one of the things that date the piece, so no more gold.
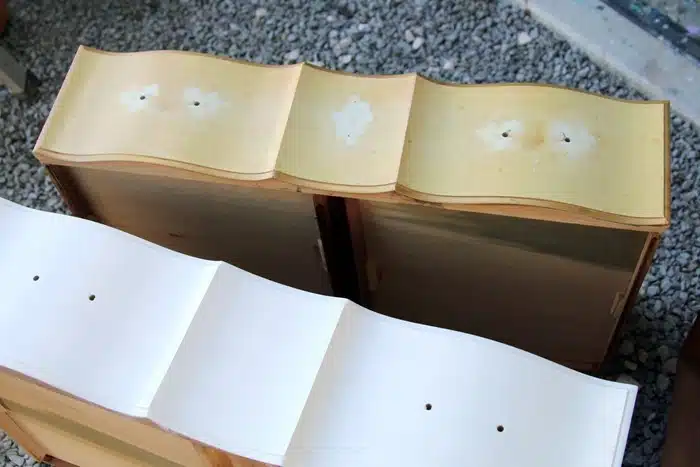
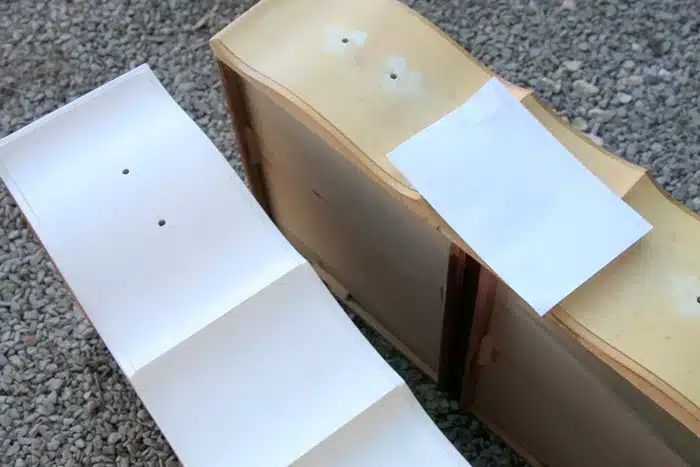
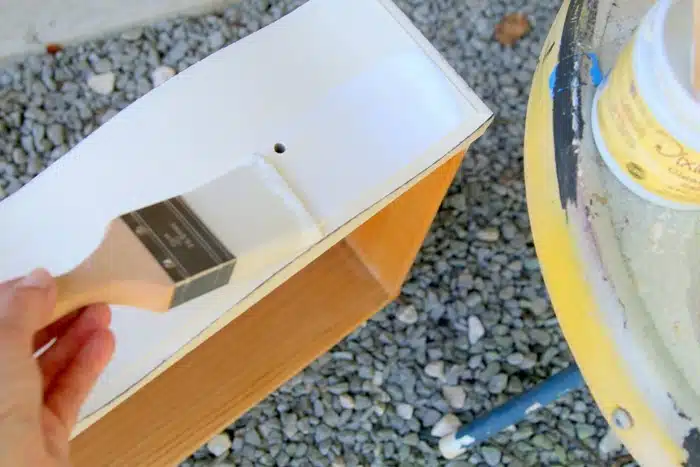
From the prior photo, you might think that the Drop Cloth paint color is white, but it isn’t. I laid a piece of white paper on the unpainted drawer for comparison. I applied two coats of paint for full coverage.
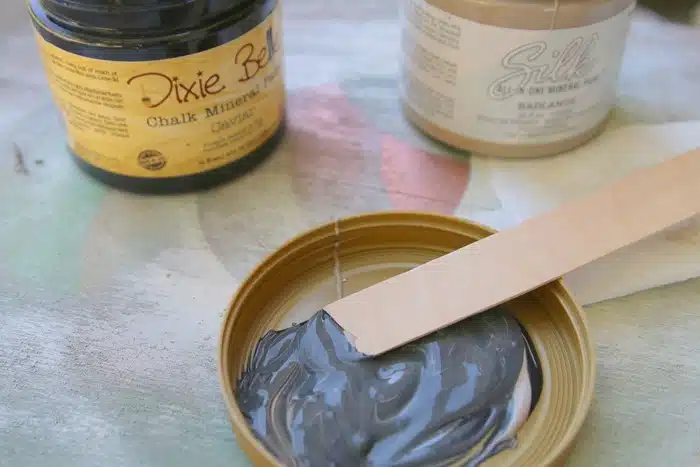
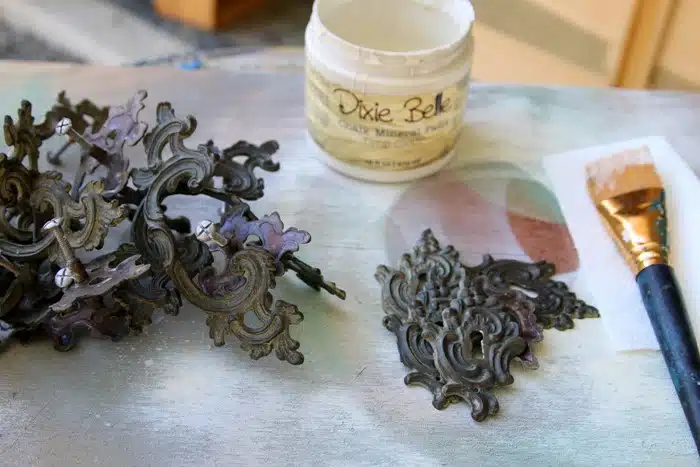
I said no more gold, but I did do a little dry brushing. For the dry brush color, I combined Dixie Belle Caviar and Dixie Belle Badlands to get a dark gray-brown color.
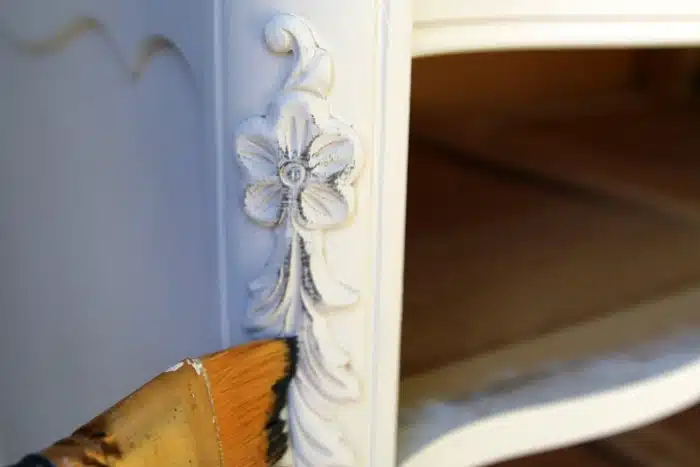
Then I dry brushed the dark color over the flower details on either side of the chest.
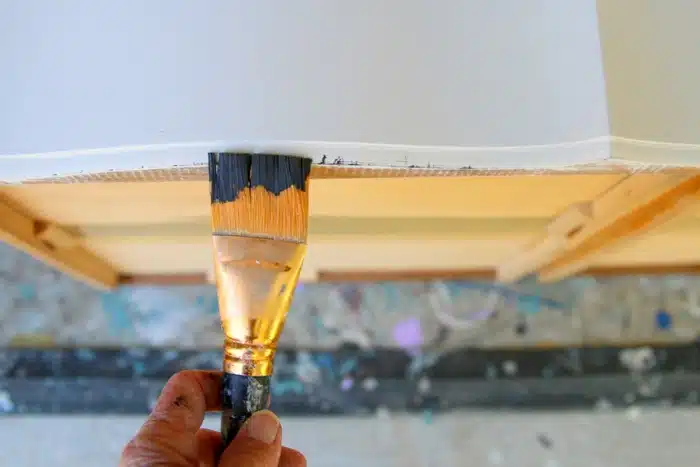
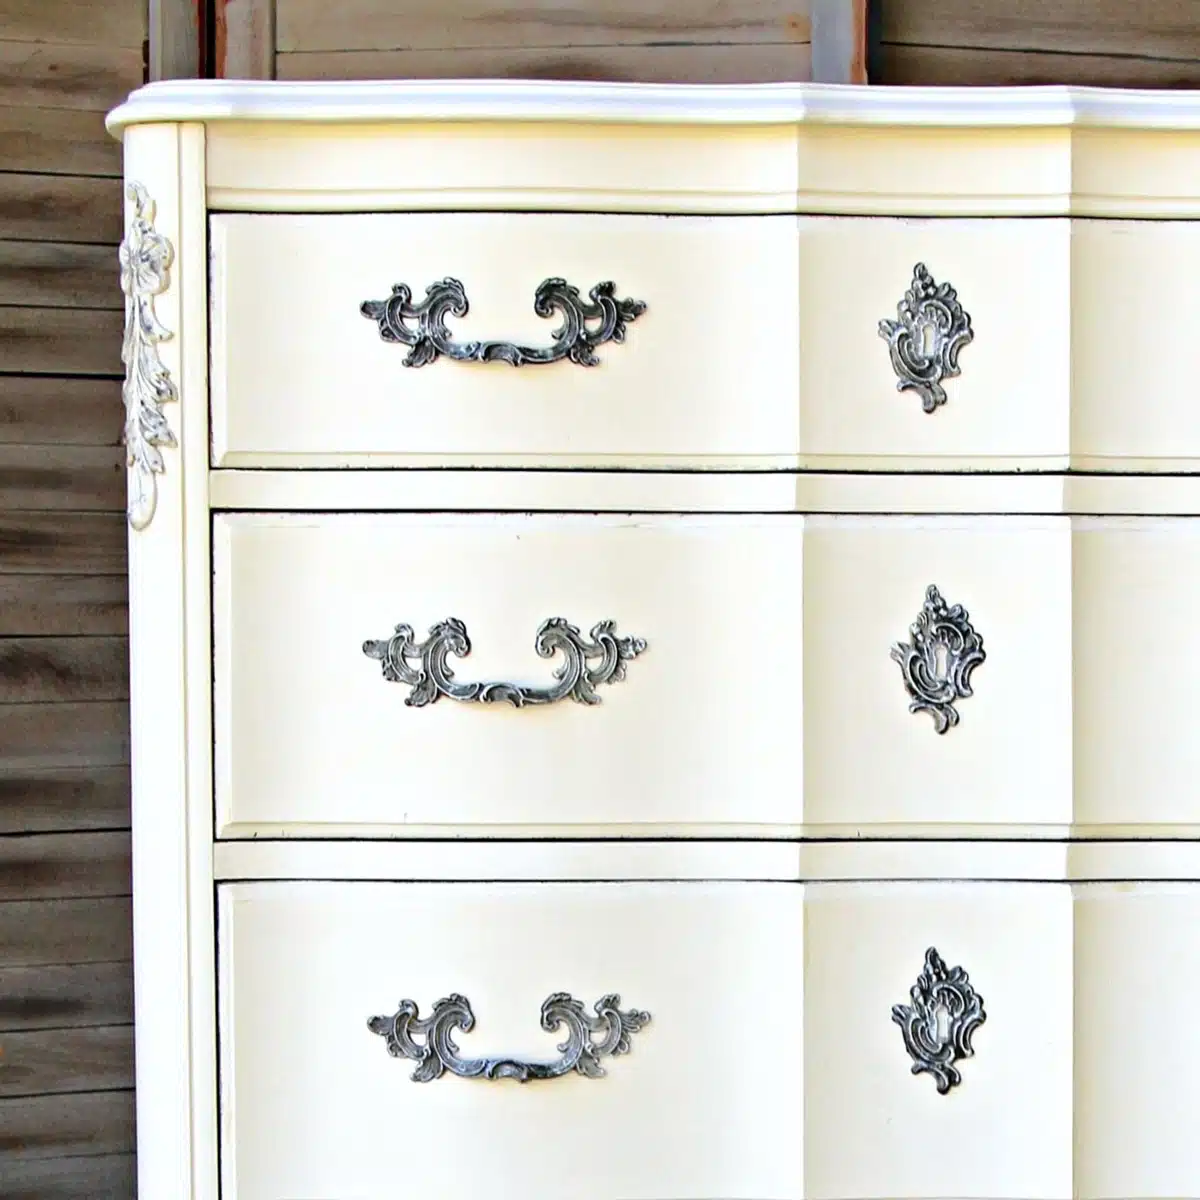
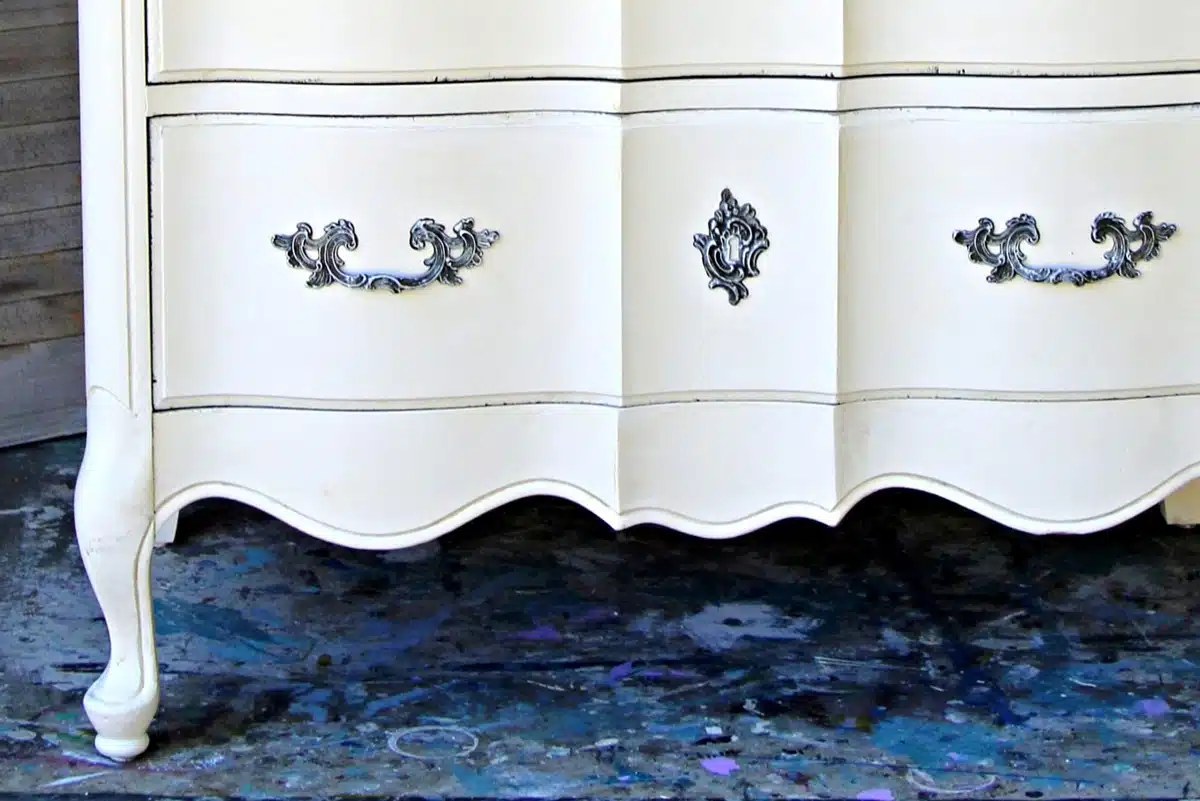
Next, I very lightly dry brushed dark paint along the edges of all 5 drawers. The effect is very subtle.
My first thought was to paint the drawer pulls in the Drop Cloth color and then distress them. But on second thought I decided to dry brush the hardware. You can see this process in the short (less than one minute) video I filmed for you below. It is always so much better for you to see the work in action!
[adthrive-in-post-video-player video-id=”5UXsJeWl” upload-date=”2024-10-24T02:30:01+00:00″ name=”Dry Brush French Provincial Drawer Pulls-1.m4v” description=”How to dry brush furniture drawer pulls and hardware with white paint.” player-type=”default” override-embed=”default”]
How To Dry Brush Furniture Pulls
The last step in the makeover was applying two coats of Dixie Belle Clear Coat Satin finish. The paint really doesn’t need sealing but I like to give it a little more shine and the clear coat does that.
Once the chest and hardware were dry, I put the French Provincial chest of drawers back together. To say I was thrilled with the new look is an understatement.
After the first coat of paint, I kept looking at my work in progress, thinking the chest was sure going to be plain-looking. I thought I might need to change the original plan.
But after dry brushing the hardware and applying the satin sealer the whole piece came together. The hardware is just too pretty for words.
The dry brushed drawer pulls, minimal dry brushing of dark paint on the drawer edges, and the dry brushed floral details added just the touch of drama needed.
New projects from the Thrift Store Decor Team July 24, 2025…..
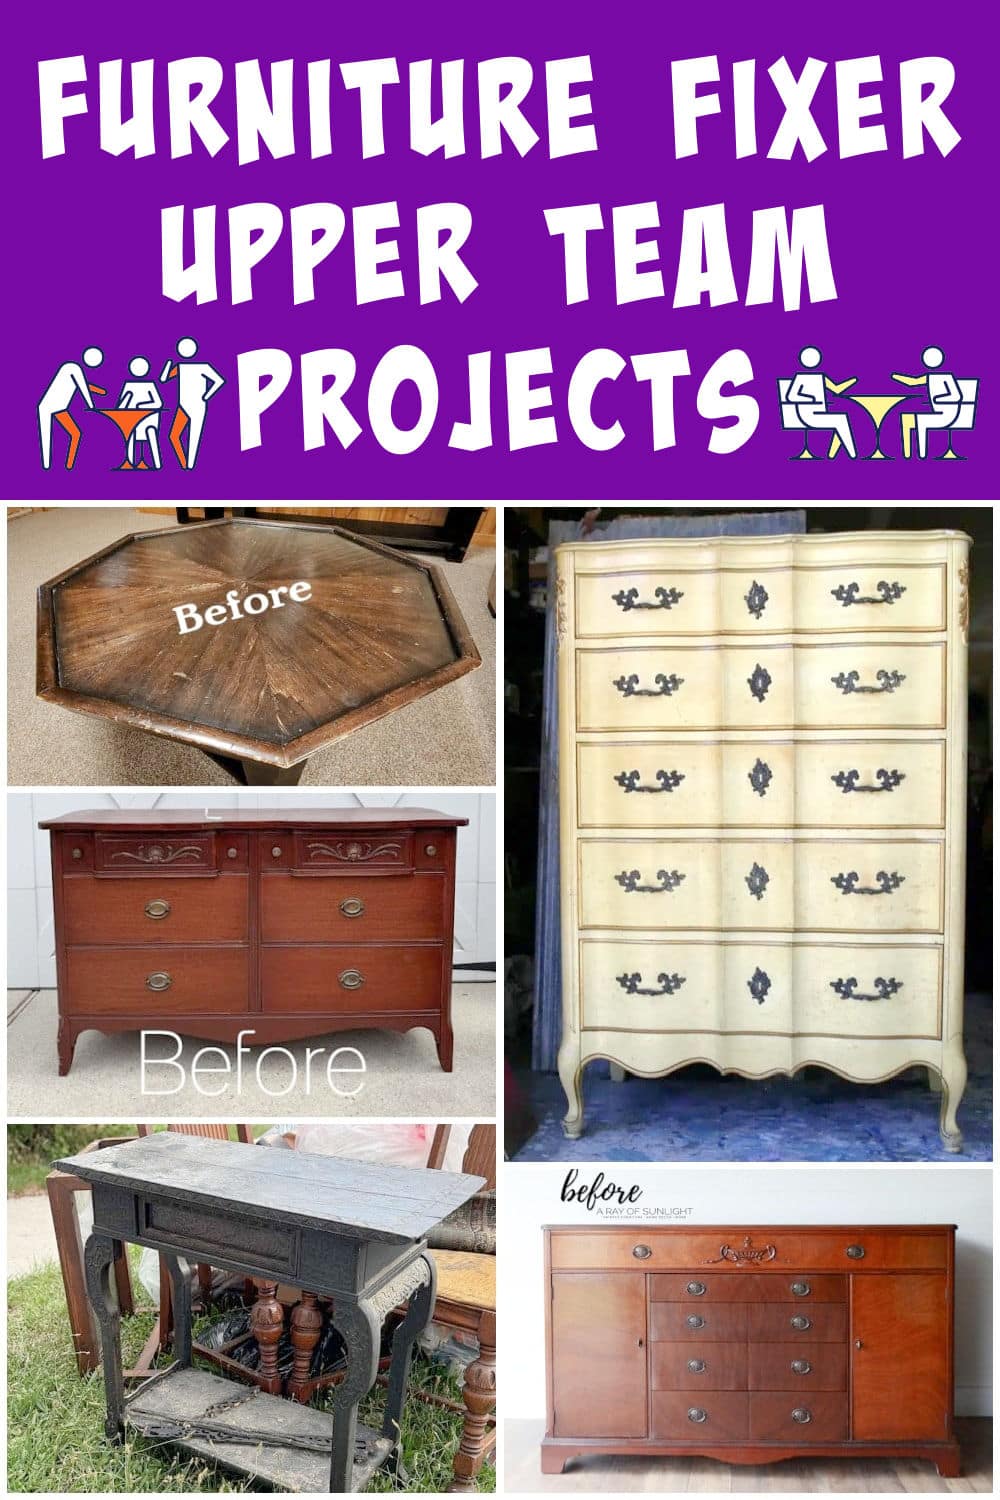
Furniture Fixer Upper Team Projects:
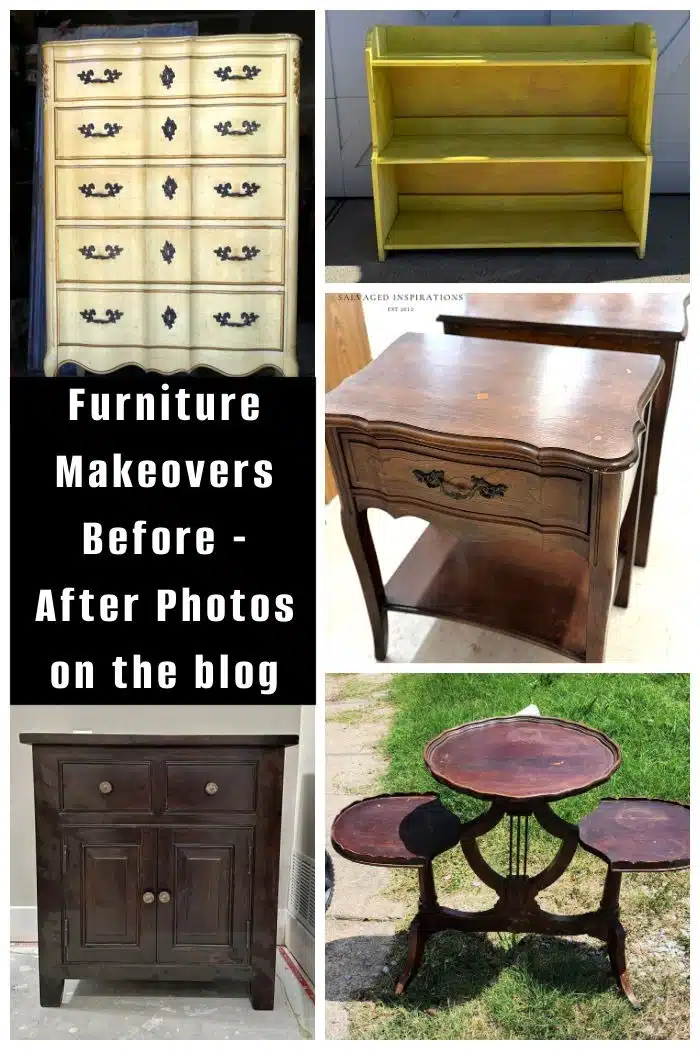
If you have time before heading out on the tour, leave a note with your thoughts. Take the Furniture Fixer Upper Tour by clicking the links below the “before” makeovers photo collage…..
Furniture Fixer Upper Tour:
IKEA Bookcase Makeover – Confessions of a Serial DIY’er
Black Painted French Provincial Night Stands – Salvaged Inspirations
Three Tiered Plant Stand Makeover – My Repurposed Life
Painting Rustic Furniture – A Ray Of Sunlight
French Provincial Furniture Makeover – Petticoat Junktion (you are here)
Dixie Belle Boss
Scrubby Soap
The Belle Paint Brush
Badlands Mineral Paint
Drop Cloth Mineral Paint
Peacock Chalk Mineral Paint
As always, thanks for being here, Kathy

Kathy,
I love the dry brushing on the handles! Lovely! Great job!
Pinned and shared on FB.
gail
This is beautiful. It’s still very classic looking with a clean look.
Love it!
Thank you so much Patti. I am glad you are still here. You also gave me a great idea. I need to do a roundup of my furniture that isn’t distressed!
It’s really pretty. My favorite is the hardware color.
Hi! I almost unsubscribed from your blog because I’m not fond of distressing…but today’s DIY was awesome! Very sophisticated. Many of us are very over the “Shabby Chic” look. Please keep up this great take on furniture repurposing…it is fantastic!
This piece is GORGEOUS Kathy! I love the neutral with the dry-brushed hardware!😍
Very nice!
This dresser looks brand new now! Such a great update!
French Provincial pieces are my absolute favorite! You really brought this beauty back to life, just beautiful!! XOXO
It is beautiful! The hardware is exquisite.
You do great work. Thank you for sharing!