$2 Table Painted And Stenciled With Dixie Belle Paint
As an Amazon Associate, I earn from qualifying purchases.
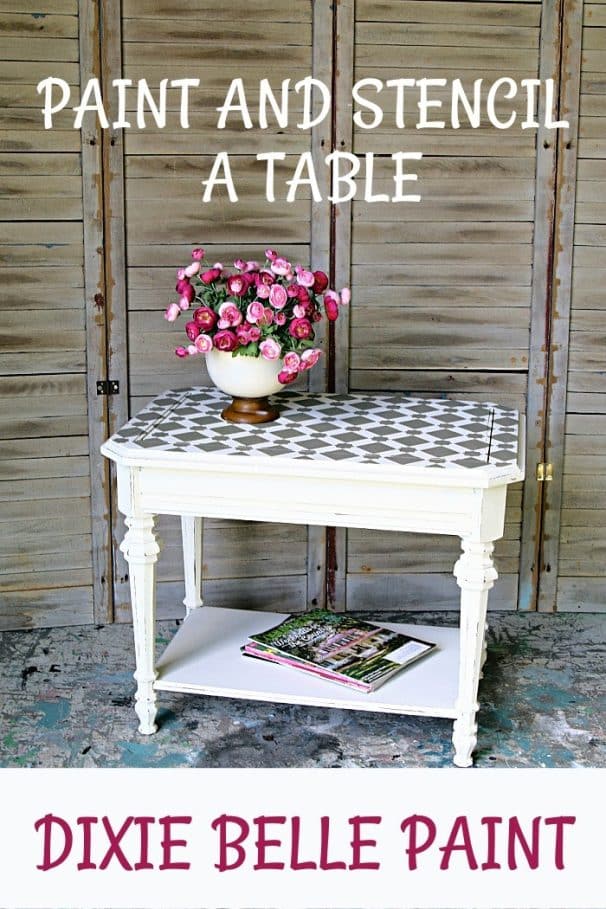
This is an easy furniture makeover using Dixie Belle Paints and a stencil. The table now has a modern look with neutral colors.
I really enjoy stenciling. If you’ve tried stenciling and haven’t had a great experience, you are not using the proper technique. We’ll talk about that.

It’s Furniture Fixer Upper Tour Day. Links to all of the makeovers are at the bottom of the post.
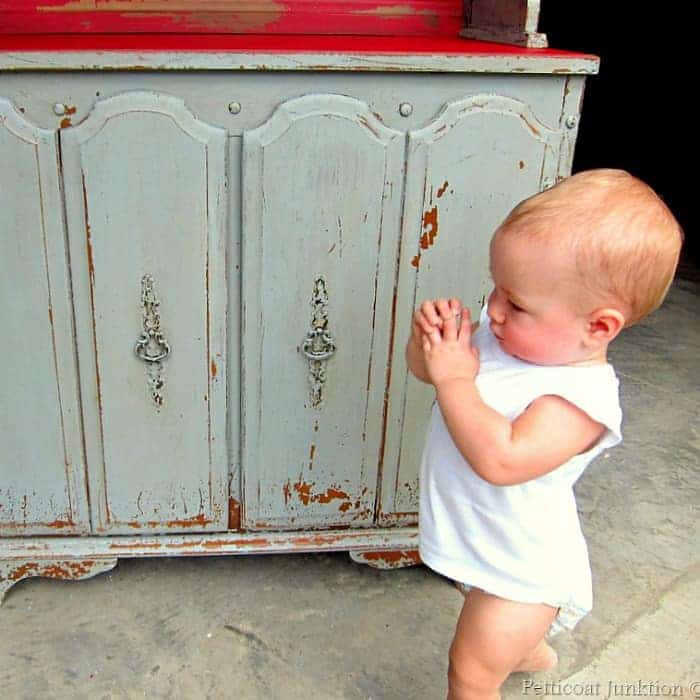
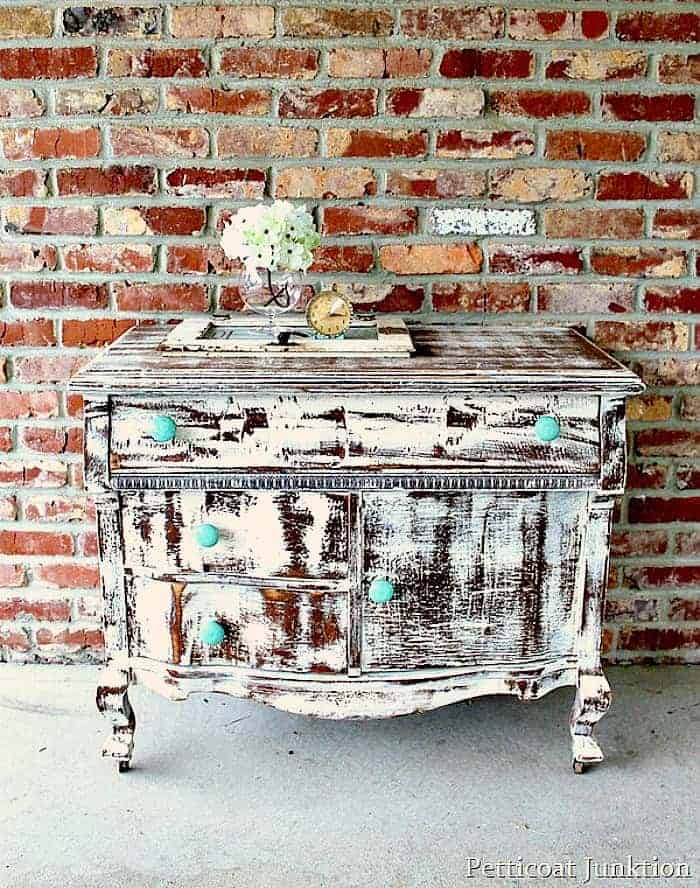
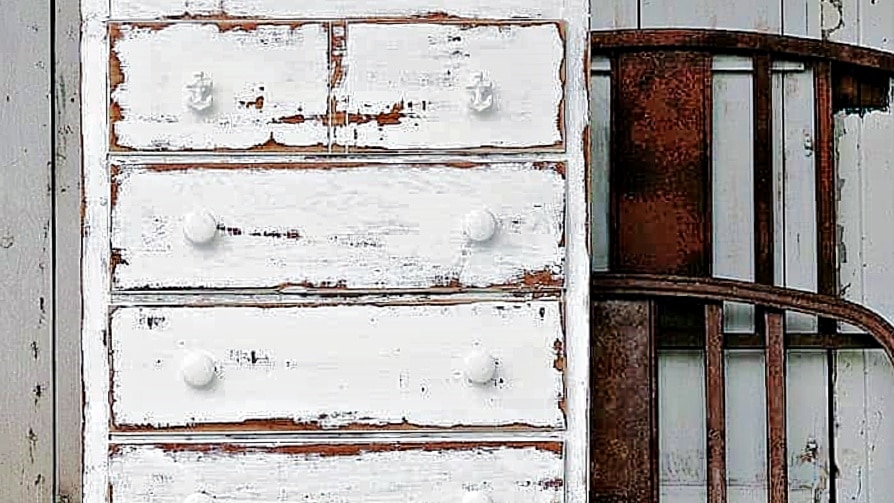
My project piece for today came from my favorite junk shop. The sad little table cost $2.

As you can see from the photos, it has had a rough life. The first thing I did was sand the rough areas smooth, and then I cleaned the table all over with Simple Green.

Next, I tightened all of the screws so the table would be stable. You would be surprised how many screws are in a small piece of furniture.

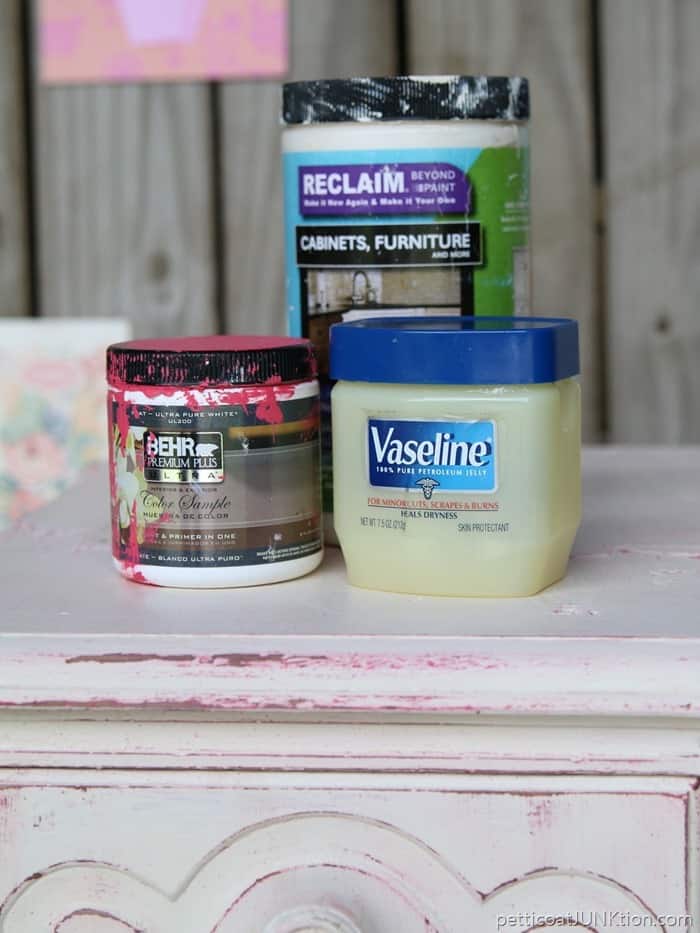
The paint is Dixie Belle Chalk Mineral Paint, color Drop Cloth—one of my favorite Dixie Belle colors. The photo above shows the table with one coat of paint.
The paintbrush I used is wrapped in my painting glove. This is an excellent timesaver. No need to wash your paintbrush if you will be reusing it in a couple of hours or even the next day. If you don’t wear gloves, then stick the paintbrush in a plastic bag or wrap it tightly in plastic wrap.

Sometimes, flaws or problem areas do not stand out until you have applied a coat or two of paint. In the case of the table, the large rectangular inset on the tabletop was cocked up on one edge. Nailing it down with my Ryobi Brad Nailer was easy.

Deep grooves and details in furniture tend to trap paint, stain, and dirt (yuk) in those spaces. A flat-tip screwdriver is a good tool for cleaning the gunk out of those areas.

I also found a lumps and bumps of glue or other stuff while applying the first coat of paint. I sanded those areas smooth and they covered up nicely with the second coat of paint.

My plan was to add a stenciled design of some kind to the tabletop. I found a Martha Stewart stencil in my stash that would give the top a faux woodgrain look. The stencil is a silkscreen with an adhesive back, and I received it several years ago from Plaid Crafts.
The only problems were that the back of the stencil was not sticky, and the paint didn’t want to flow through the cut areas of the silkscreen either. I assume these problems were because the stencil was old.

So, I searched through my stencils again to see what might look good on the small table. I admit to having an overabundance of stencils. However, some of the designs are dated.
I pulled out the BariJ Small Star Diamonds stencil from Royal Design Studio. I stenciled a tabletop with this piece many years ago. You can see it here…. Cute Stenciled Table

I don’t believe in using special stencil paints. You can stencil with any type of paint if it is thick enough. The Spanish Moss color in Dixie Belle Chalk Mineral Paint perfectly contrasts with the Drop Cloth color, keeping the overall paint finish neutral.
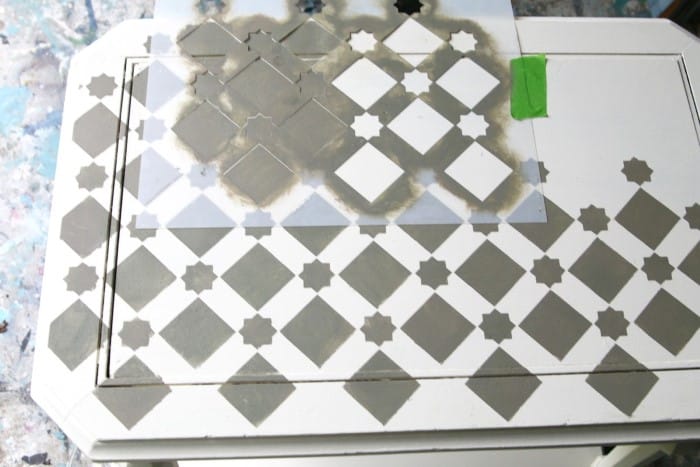
Since this stencil had no adhesive on the backside, I used Frogtape to hold it in place. I first started stenciling with a small brush, but the large cutouts called for a big brush. I also didn’t pounce, dab, or swirl—I just painted like normal over the cutout stencil areas.
")
I covered the cutout areas entirely with the paint. since I could only tape the stencil in place on two sides I use my free hand to hold the stencil in place close to the area I am working on.
")
The photo above shows how the first area looked when I pulled the stencil up.
")
I moved the stencil down the tabletop and lined it up over the top of the closest row of stars and diamonds.
I didn’t wait for the paint to dry as I moved along the table with the stencil. Make sure the paint hasn’t seeped onto the back of your stencil before laying it in place. This mylar stencil is very thick, and I had no problems with paint seepage.
Once I stenciled across the tabletop, I noticed that the four corners looked bare, so I added a star or square block to each corner. Paint these areas by laying the stencil over a matching painted area to keep the stencil lined up correctly.

Now, to the last step. I distressed the sharp edges of the table and the legs with sandpaper wrapped in a wet disinfecting wipe.

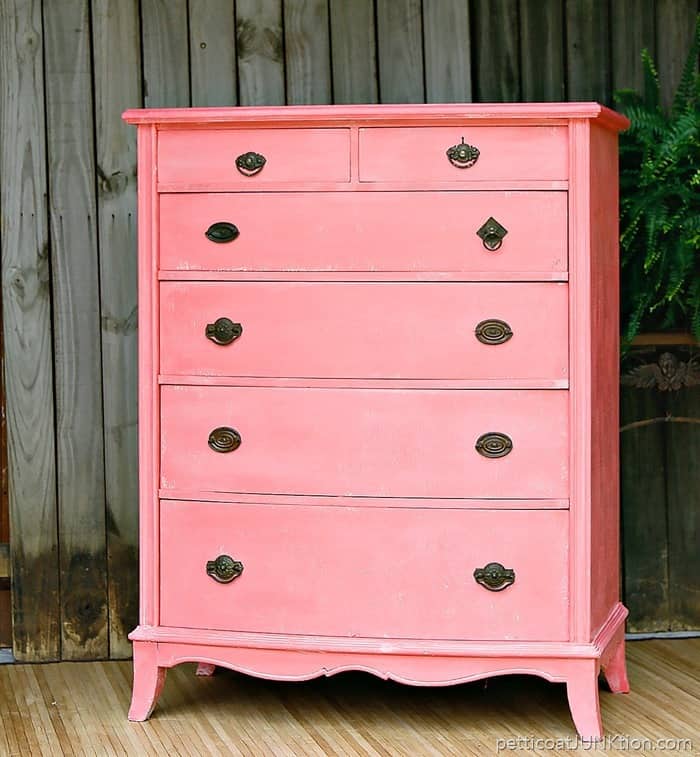
I’m more than happy with the results. The table looks fresh and modern. The distressing is very light, giving the table a gently worn look.

I talked about loving stenciling and how you must use the proper technique to get professional results. Well, usually, the proper technique is to use a very, very, very dry brush to stencil. I discovered I needed a good amount of paint on the brush for this project.
Stencils with small, busy designs do call for a dry brush in order to keep paint from bleeding under the stencil. I have an in-depth tutorial on stenciling….Stenciling Tutorial Using Multiple Colors For A Designer Look

The Spanish Moss color from Dixie Belle is described as a unique blend of green and gray. To me, it looks like a light gray/brown combination. I asked the hubby what color it was, and he said gray. So there you have it.
Dixie Belle Website
Dixie Belle Boss
Scrubby Soap
The Belle Paint Brush
Badlands Mineral Paint
Glacier Mineral Paint
Peacock Chalk Mineral Paint
Baroque Swirls – Water Slide Transfer
Roses Silkscreen, Belles and Whistles
Terra Seal Matte Finish
Spanish Moss Chalk Mineral Paint
Drop Cloth Chalk Mineral Paint

One more photo of the top because I love the design so much. Now it’s time to take the Furniture Fixer Upper Tour. If you have time, let me know what you think of my table. Take the tour by clicking the text links below the “before” makeovers photo collage….

Furniture Fixer Upper Tour:
Updated Vintage Cabinet – Confessions of a Serial DIY’er
How To Create One Color Stencil Designs – Salvaged Inspirations
Wooden Rocking Chair Makeover – My Repurposed Life
Painting A Hutch – A Ray Of Sunlight
Stenciled Table – Petticoat Junktion (you are here)

Thanks for being here, Kathy

Sweet table makeover, Kathy. I always love your tips about stenciling. Isn’t it so much fun to turn trash into treasure?
Pinned!
gail
Pretty darned cute. I hate when I get something painted and then see an obivious flaw. Have a great upcoming weekend. Diana
This looks so cute now, Kathy!! Like you said, fresh and modern, and your stenciling is so crisp! XOXO
Love your bravery/expertise with stencils! Really cute design, too. When I saw your table I thought it would make a good bar cart if you could find suitable metal railings for those deep grooves on top. A handle on one end and coasters on the feet and voila, cocktail anyone? Just an idea. Your table looks great as is!!
Your table is adorable! Thanks for the inspiration!
I love Spanish Moss with Drop Cloth and this stencil design really updates and brightens the piece! Pinned!! XOXO
Love the fun painted stencil on your table! Pinned!