$5 Table Makeover: No Wax Chock Paint And Whitewash Finish
As an Amazon Associate, I earn from qualifying purchases.
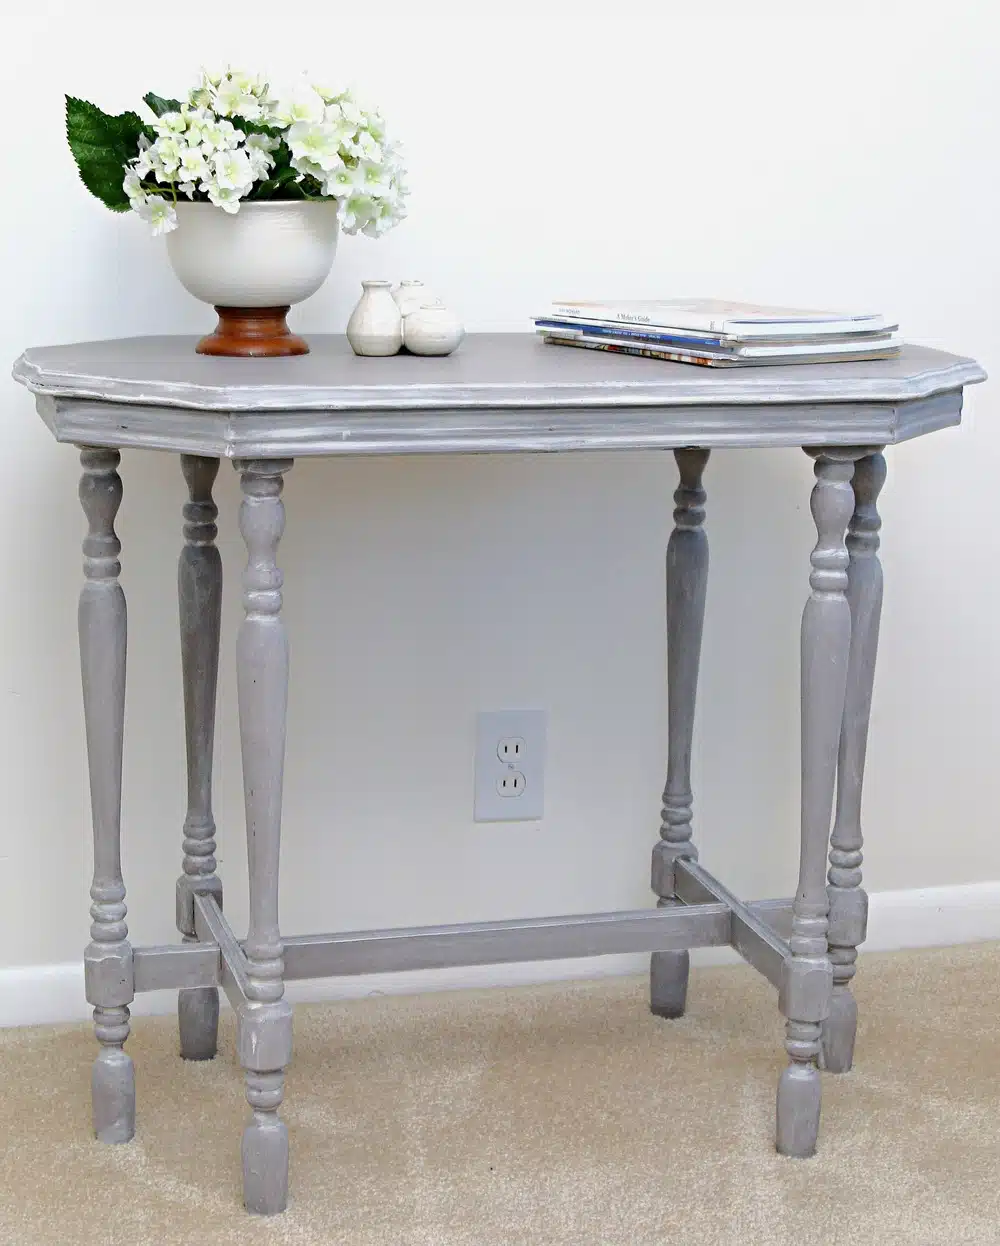
Try no-wax chock paint for your next furniture makeover and whitewash the paint. The fresh paint finish will give your old furniture a new, modern look.
The vintage table I painted for our Furniture Fixer Upper Tour today is fabulous. Just wait until you see the special paint finish.
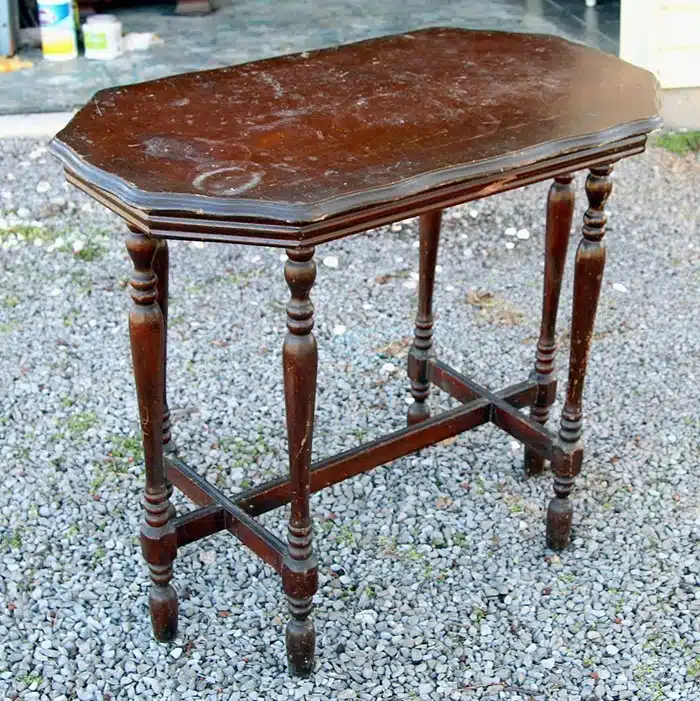
My hubby and sidekick in everything concerning furniture repairs and power saws bought the table at an auction. The price was $5. You can’t beat that deal.
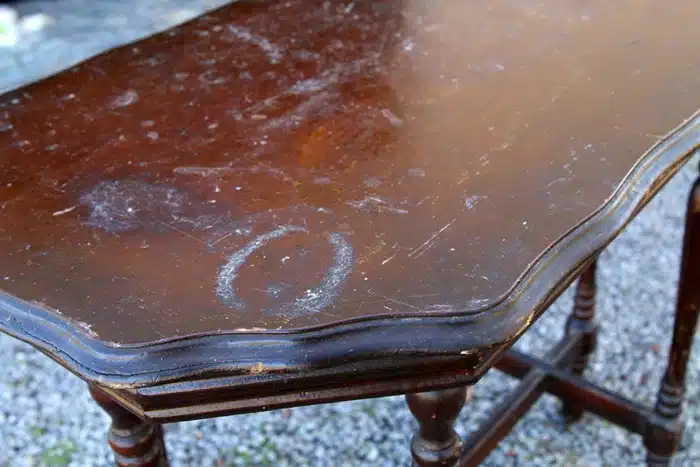
Most of these old tables have loose, wobbly legs, and no amount of glue or nails helps. All 6 legs on this table were firmly in place and steady as could be, with no wobbles or shaking.
But the tabletop had a lot of damage. I could have opted to paint the top only and refresh the original finish on the table but I really wanted it to have a new overall light, fresh look.
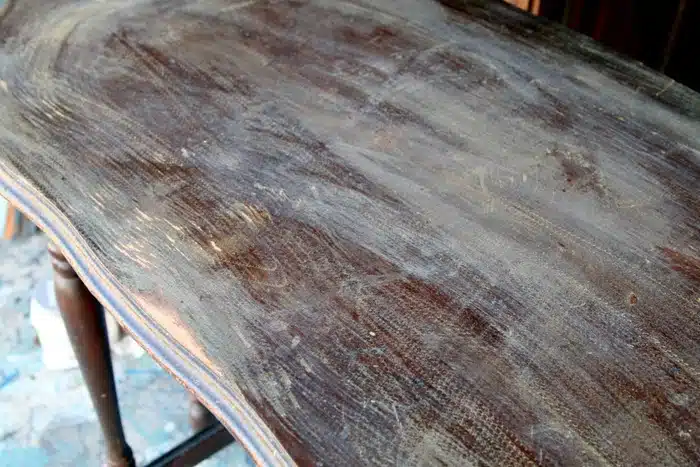
I used my power sander to smooth the rough, damaged areas on the tabletop.
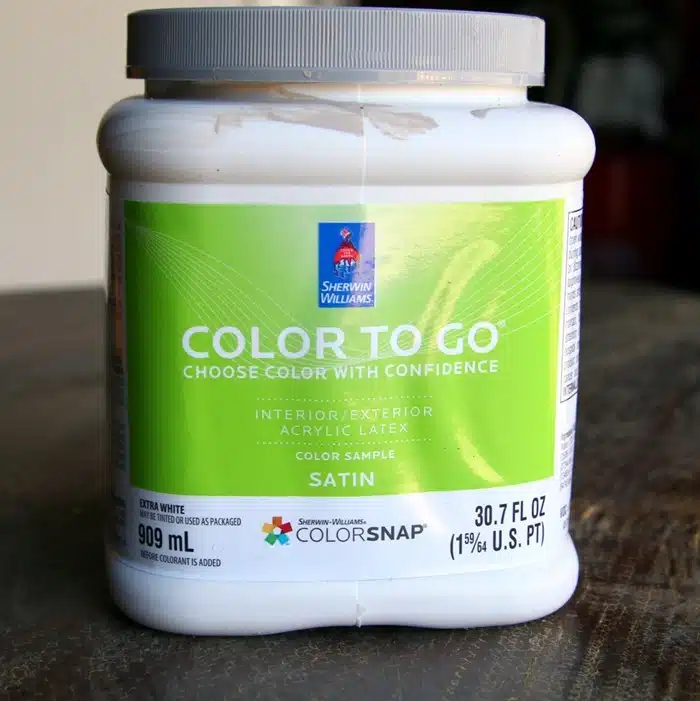
My sister-in-law went through many, many Sherwin Williams paint samples when selecting colors for their family room makeover and I was the happy recipient of the paint she said no to. For the table, I chose a light taupe color from my freebie paint.
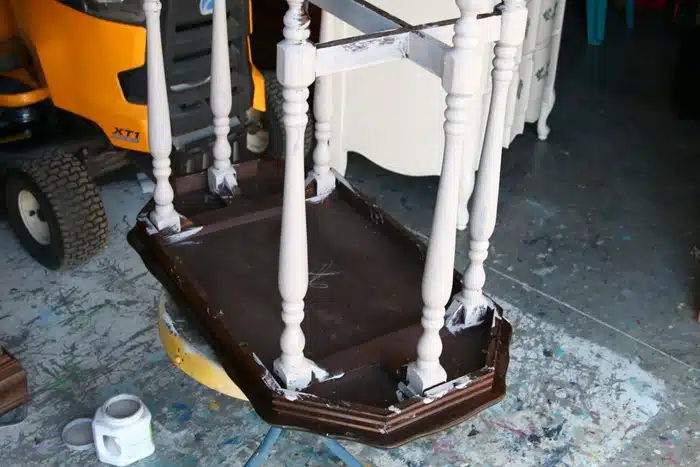
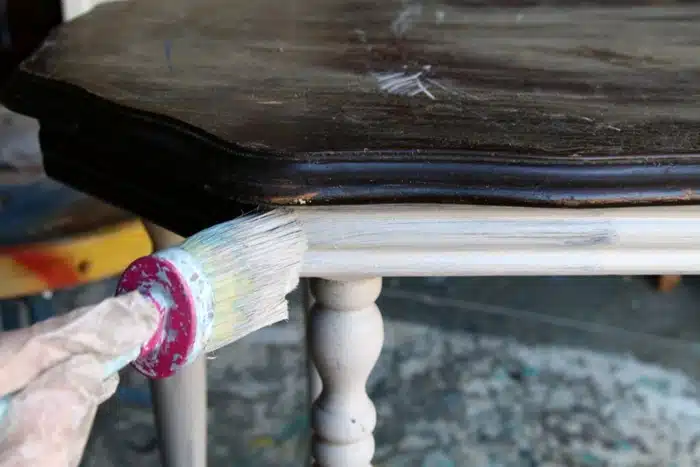
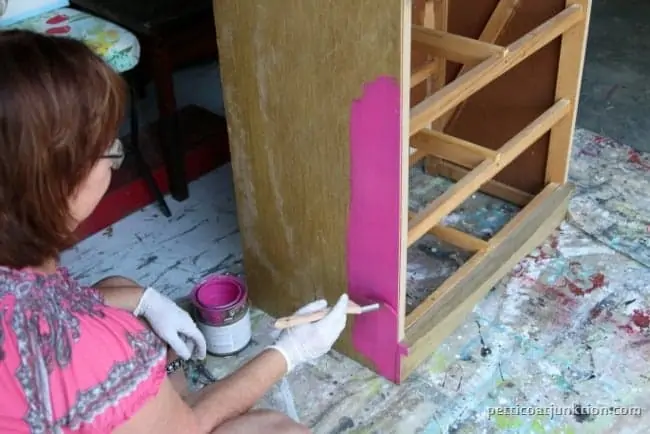
You will notice in the photo above that the table is upside down. It is easier to cover all the curvy areas on tables and chairs this way.
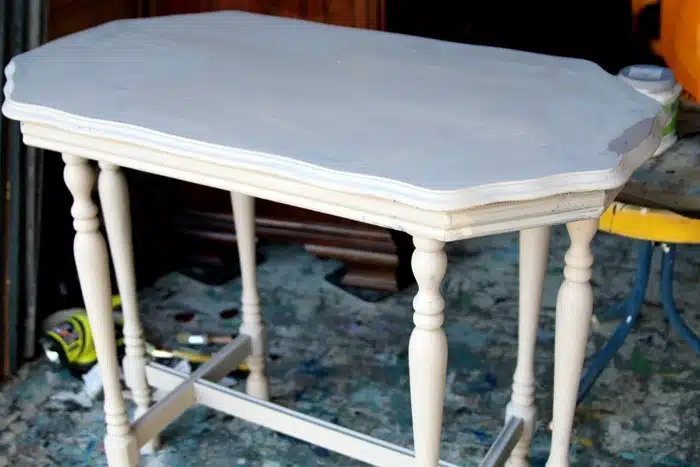
When I flip the table over and paint the legs from the top side, all the wood should be covered in paint.
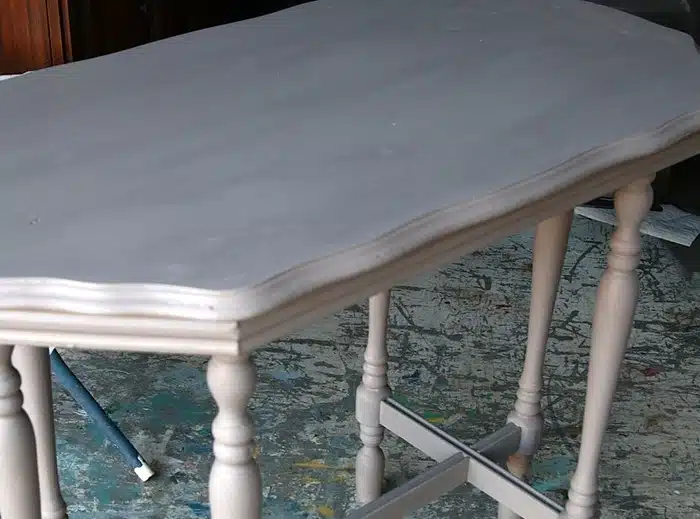
The photo above shows the table with one coat of paint, and I immediately decided the color was too light.
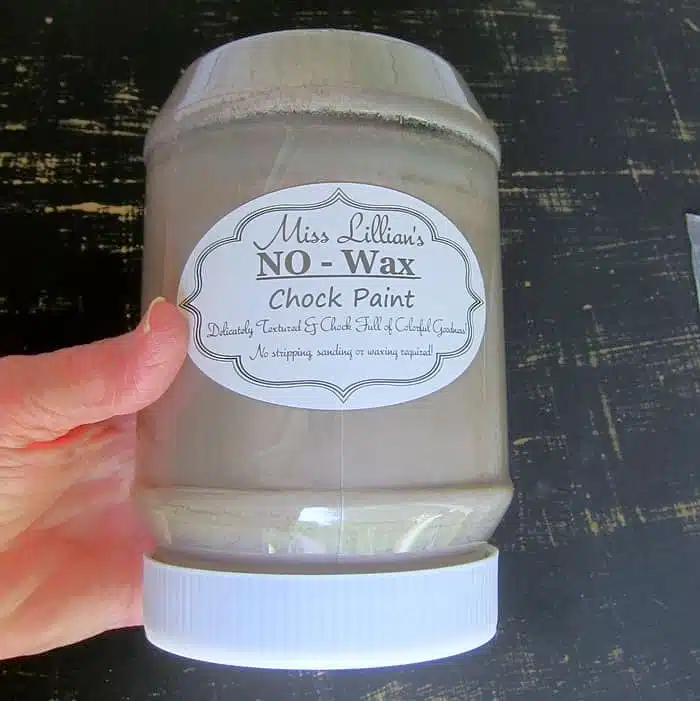
I went to my paint shelf and found the beautiful Graystone color in Miss Lillian’s No-Wax Chock Paint. I’ve used this color on a sideboard and loved it. There was plenty of paint left over for the table.
Miss Lillian’s NO WAX Chock Paint is a creamy, water-based, chalk-style paint that is self-leveling and has a built-in sealant, which means NO WAXING Ever! I happen to know Marilyn, the creator of this paint brand. We live in the same town and once had booths at the same antique shop. This paint is fabulous!
I always try to use the paint I have on hand instead of buying more. Sometimes, I combine my paint colors to make a new color!
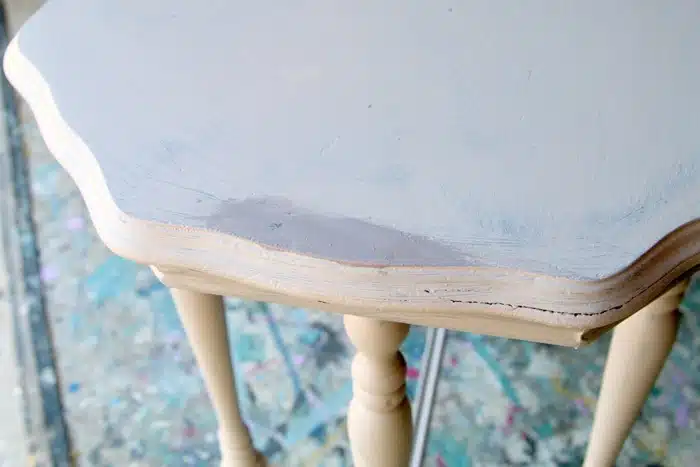
I painted a small amount of the graystone over the Sherwin Williams paint color to see how it would look. I guess I didn’t realize how light the first color would be.
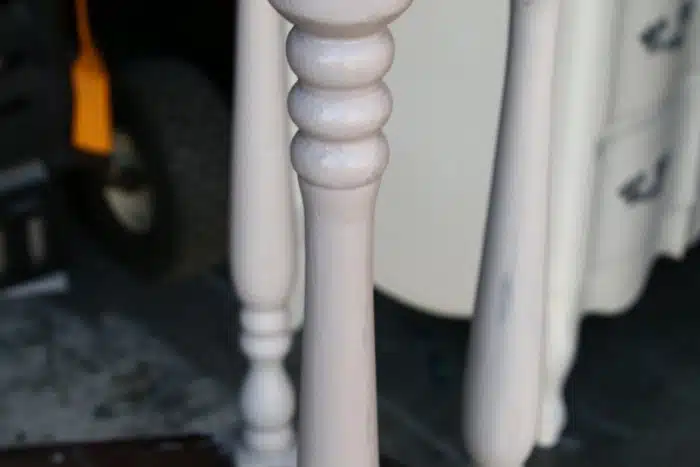
You can see the difference in the paint colors with the table leg at the forefront of the photo painted with graystone.
The first coat of paint acted as a primer or basecoat, so I only needed one coat of graystone paint.
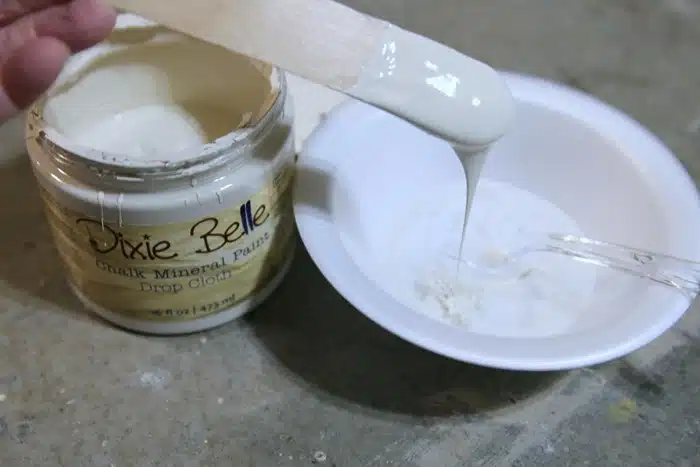
Now it’s time for the paint technique that takes this table to the next level. I used an off-white Dixie Belle paint color called Drop Cloth to make a whitewash for the table. I mixed the whitewash in a 3:1 ratio: three parts water to one part paint.
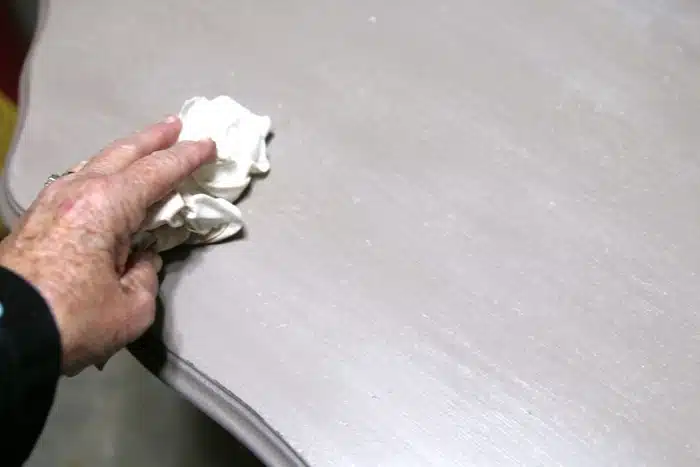
Next, I dampened a lint-free cloth with the whitewash and spread the wash over the tabletop. I gave it a light coating.
It is a good idea to keep a rag dampened with water handy. If the whitewash is too heavy you can always wipe it back with the damp rag until you get the look you want.
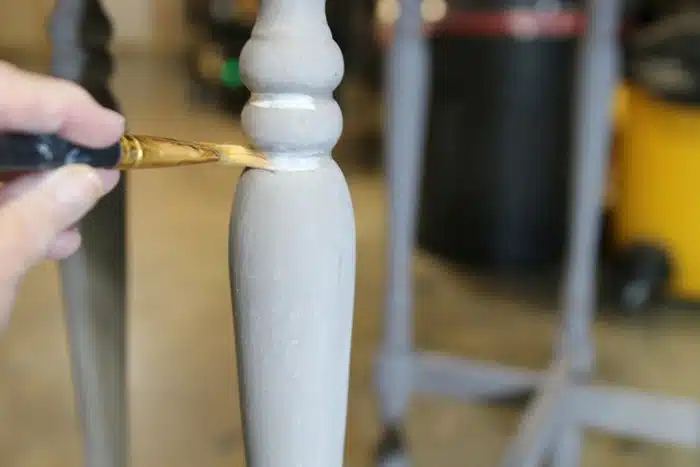
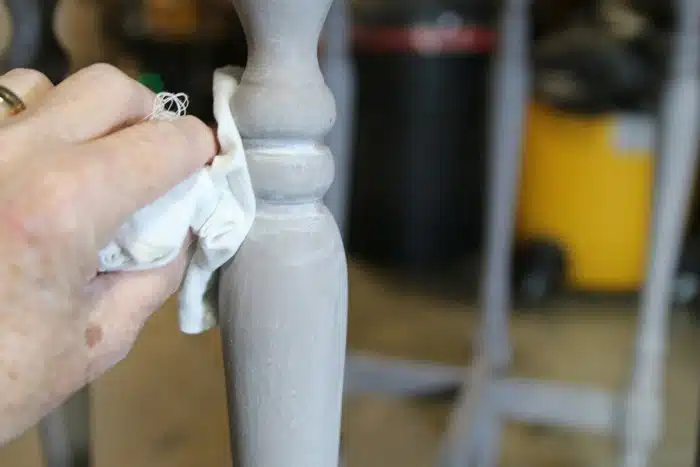
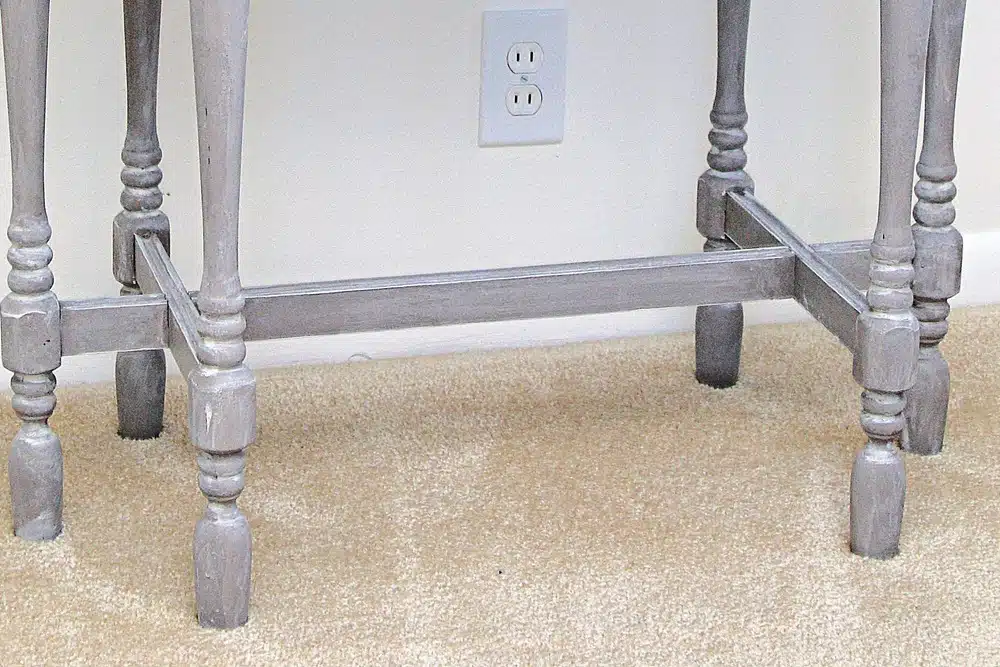
After whitewashing over the complete table I grabbed my small paintbrush and brushed whitewash into the groves of the legs and the apron of the table.
After brushing on the whitewash, I wiped it back and smudged it a bit with a damp, lint-free rag.
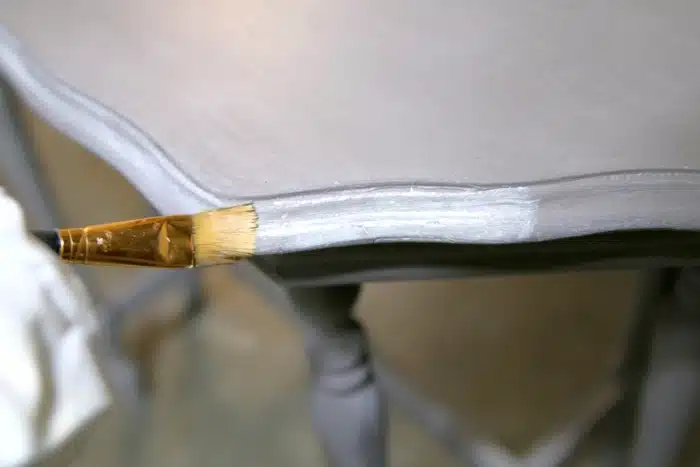
I did the same withe the top edge of the table. I brushed on the whitewash.
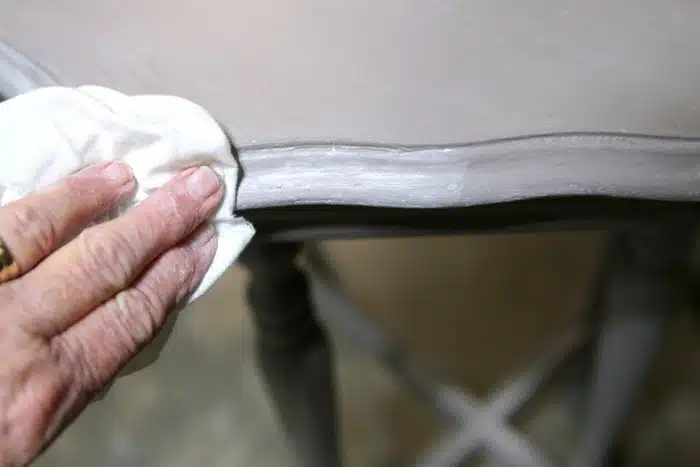
Next, I wiped back the excess whitewash.
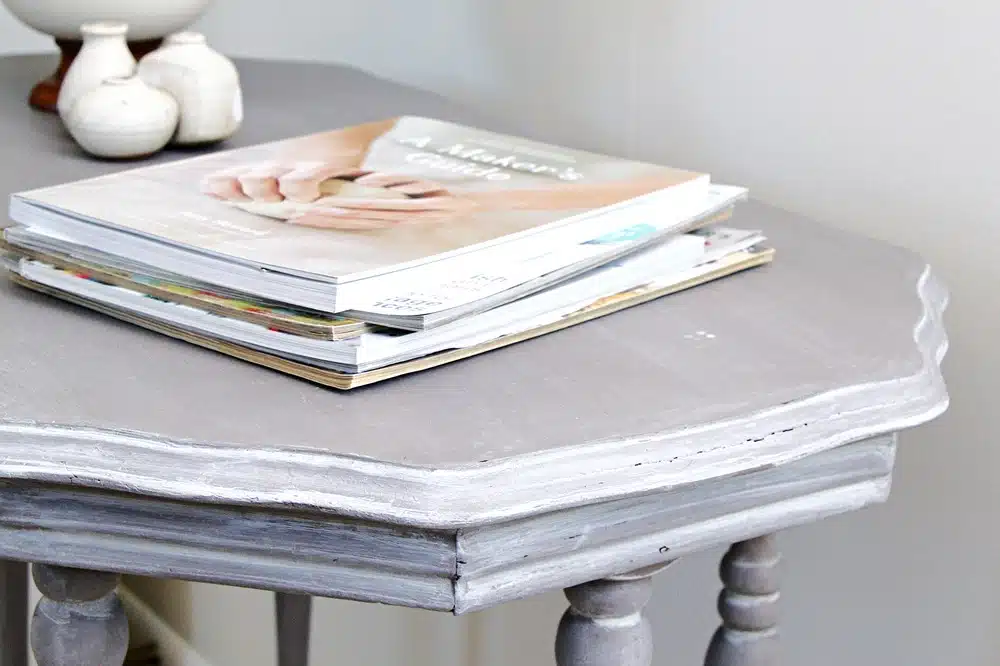
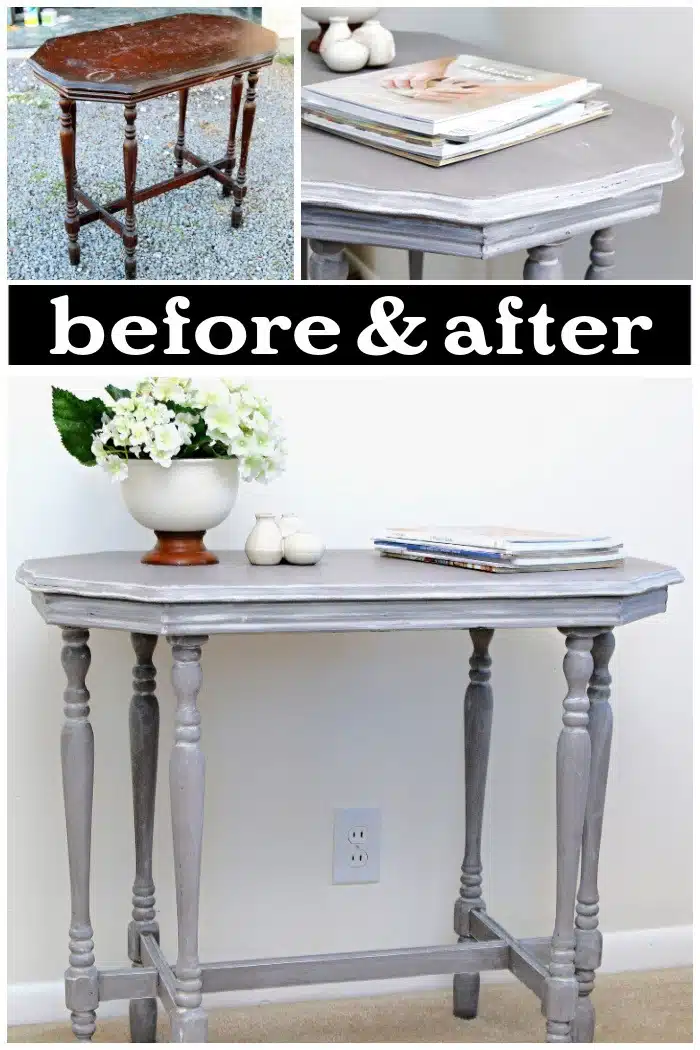
In the photo above you can see how the whitewash settled into the grooves and imperfections of the table.
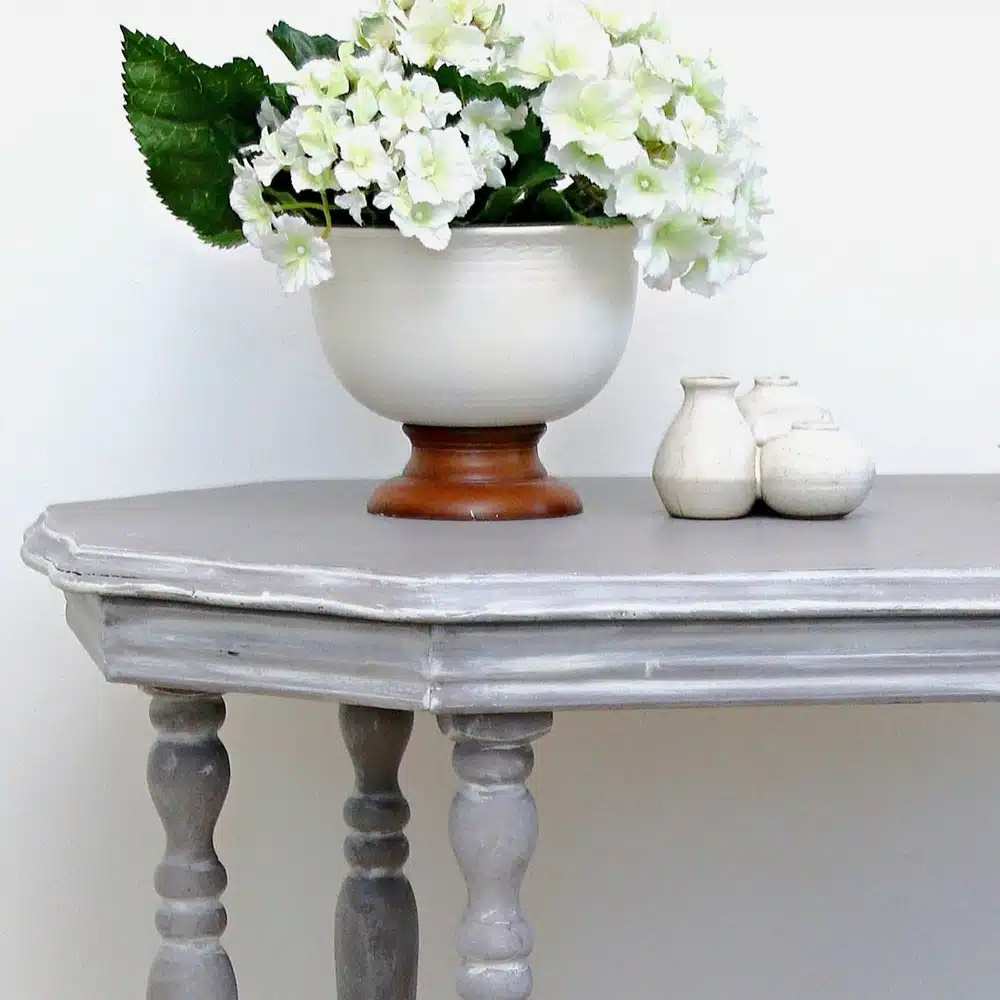
I love how the table turned out, and I’m so glad I used a darker paint for the second coat. Have you heard of no-wax chock paint? Tried it?
Whitewashing paint is one of my favorite techniques for achieving a furniture finish that isn’t boring and has that perfectly imperfect look.
It doesn’t take very long to whitewash a piece of furniture and as you can see, the whitewash is not perfect and symmetrical. It doesn’t need to be.
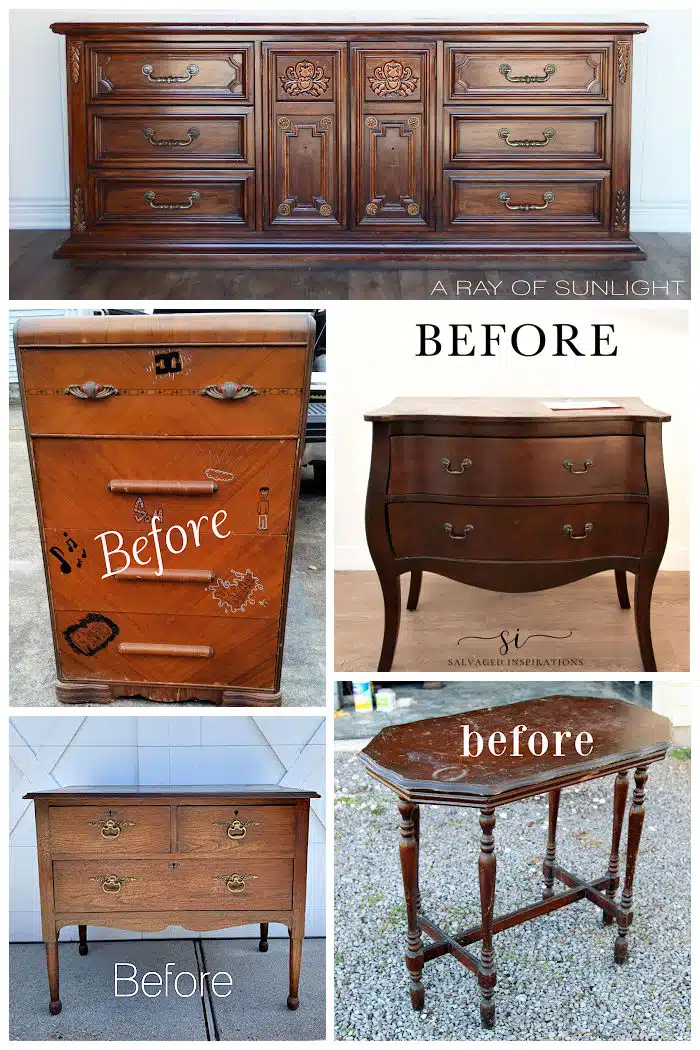
So tell me what you think about the table before heading out on the Furniture Fixer Upper Tour please! Take the tour by clicking the links below the “before” makeovers photo collage……
Furniture Fixer Upper Tour:
Estate Sale Dresser With Transfer – Confessions of a Serial DIY’er
How To Blackwash Over Existing Paint Finish – Salvaged Inspirations
Waterfall Dresser Makeover – My Repurposed Life
DIY Sideboard Buffet – A Ray Of Sunlight
$5 Table Makeover – Petticoat Junktion (you are here)
As always, thanks for being here, Kathy

