DIY Halloween Treat Containers Decorated With Electrical Tape
As an Amazon Associate, I earn from qualifying purchases.
Fun DIY Halloween treat containers you can make at home with upcycled jars and black electrical tape.
I have a treat for you today…and I do mean treat! How do you feel about googly eyes? Those little rolly eyes get me every time. I can’t help but smile.
Then there’s black electrical tape. I once made a Valentine for my hubby on the concrete workshop floor using black electrical tape. I also decorated some white wood crates you can see here. So many uses.
The only other things you need are a few recycled glass jars and maybe a picture frame with glass.
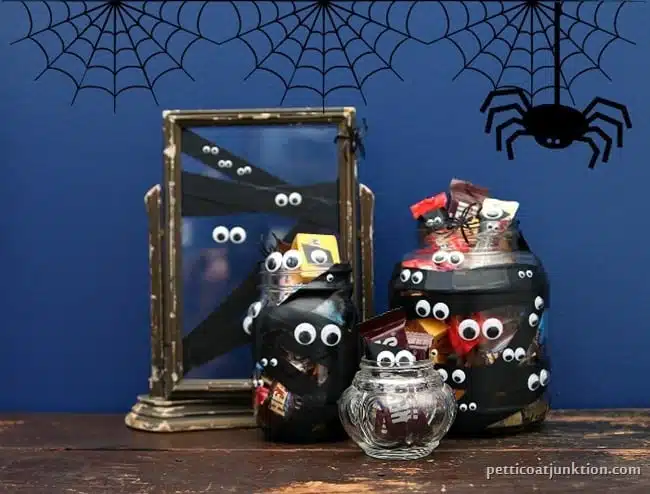
DIY Halloween Treat Containers
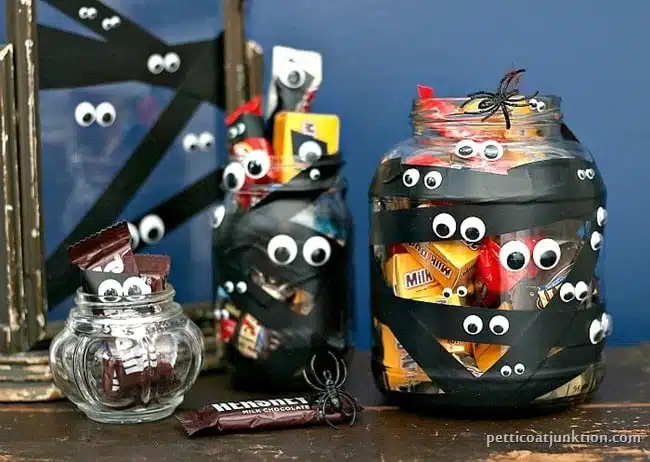
I made this cute Halloween display for my granddaughters and visitors to enjoy. See, don’t those little eyes make you smile.
The granddaughters haven’t seen the decorated jars yet. I imagine Miss Sofi will go for the chocolate, then admire the jars.
Buy Some Yummy Chocolate Candy
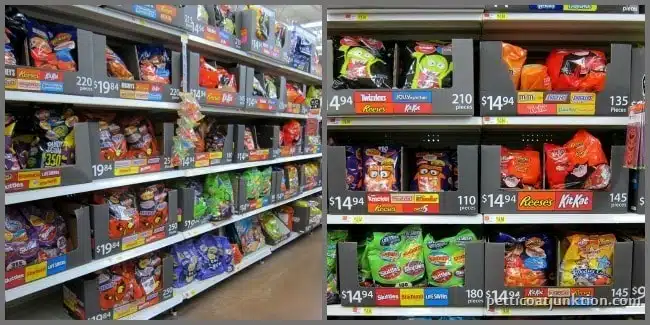
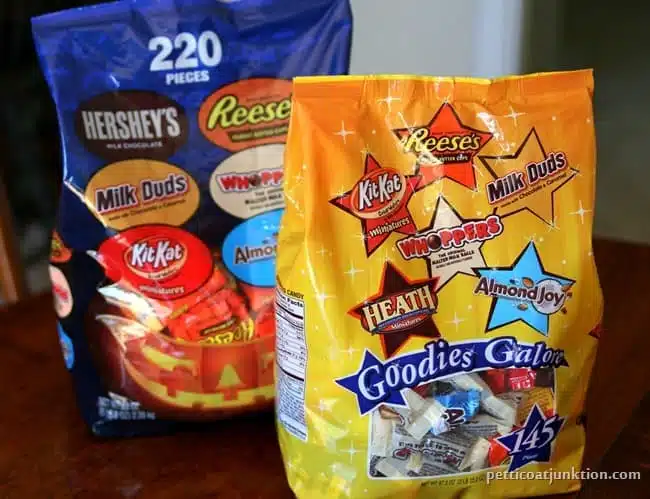
I was inspired to make the craft when I found these large bags of candy. If asked to pick my favorite candy I’m not sure what I would say. At the top of the list would be…..
…everything in the bags…….Kit Kats, Milk Duds, Heath bars (yum), Almond Joy, Milk Duds, Hersheys Milk Chocolate bars, Reese’s Peanut Butter Cups, and Whoppers of course.
How To Make DIY Halloween Treat Containers
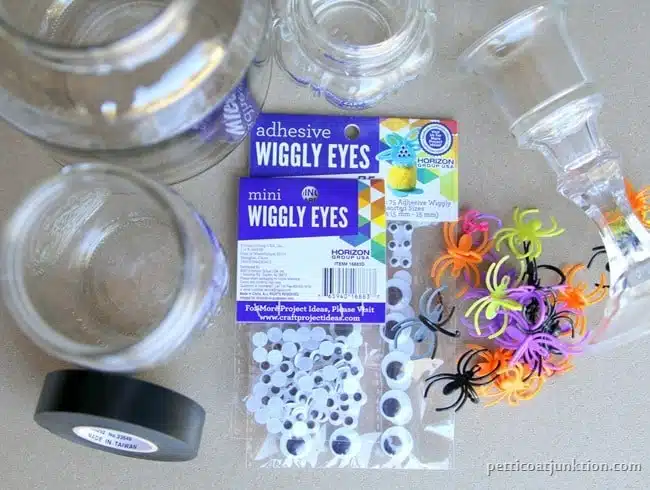
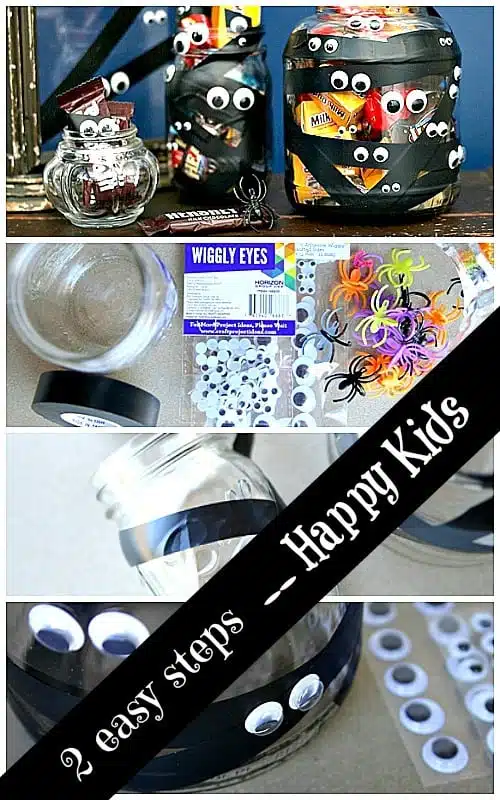
Supplies:
- various sizes of clear jars
- black electrical tape
- googly eyes ( adhesive back )
- plastic spider rings or other decorative items
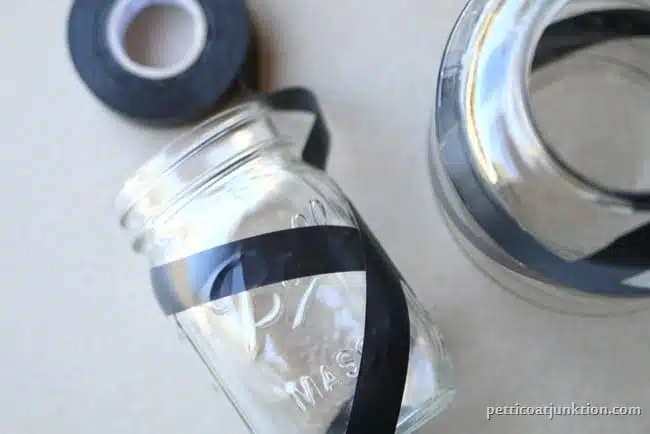
Step 1. Apply The Electrical Tape
Wrap the electrical tape around the jars in any pattern you like. Also wrap a few…or all… of the candy bars with tape.
Get creative. Wrap the tape around the jars in criss cross patterns and or wrap the jars to look like mummys.
You can also take a photo frame with just the glass and make a unique pattern on the glass…..maybe a spider web. Can you think of other glass items to use in the Halloween treat display?
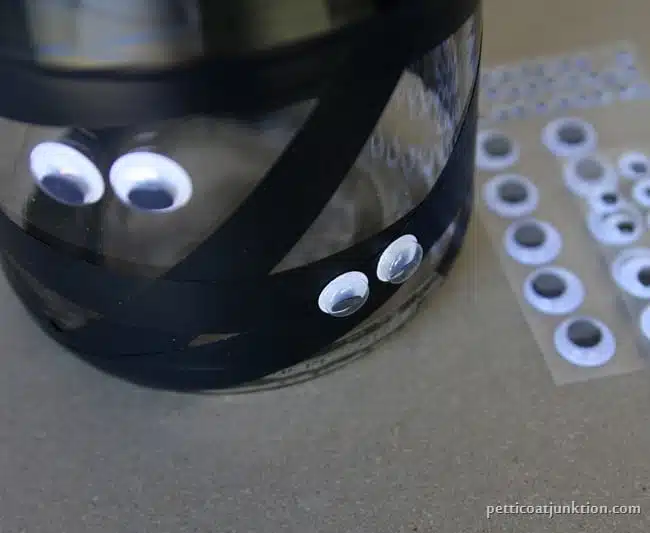
Step 2. Apply The Googly Eyes
Again, get creative with the googly eyes. Adhesive backed googly eyes definitely are better for this project. No need to worry with glue.
Step 3. Add the treats
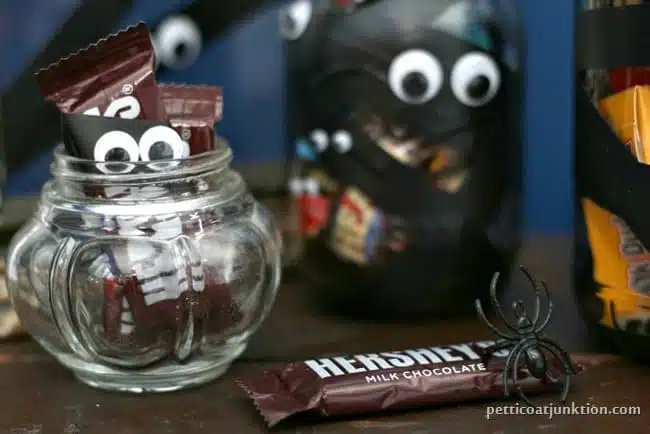
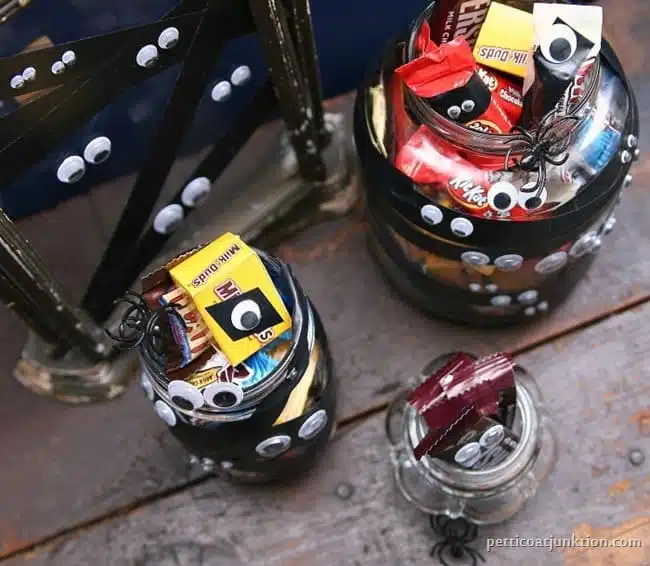
Time to fill the jars with candy. But don’t just put the packaged candy in the jars as is. Wrap them in electrical tape and add googly eyes. The kids will love these treats…..and so will the adults.
Step 4. Make A Fun Halloween Treat Display
Put the jars, frames, whatever you’ve collected to decorate in a cool display. Remember to display items in odd numbers.
Did you notice the vintage frame on a stand in the background? You guys know I can’t resist adding some of my treasured finds to every display.
This was such a fun project and takes no time at all. You can get as crazy as you want to with it.
When the ghost and goblins knock on the door Halloween night I greet them holding the large bag of chocolate candy. I just cut the bag open on the back side and grab the treats from there. No serving dish required!
Which candy is your favorite? I do admit to being partial to the Heath bars and the Kit Kats.
As always thanks for being here and have a great day, Kathy


LOVE it! What a simple and fun way to dress up containers and candies, plus you can reuse them all year long! Definitely looking forward to making this happen in my own home! Thanks for sharing! #client