Painted Pumpkins Total Solar Eclipse Style
As an Amazon Associate, I earn from qualifying purchases.
Painted Pumpkins
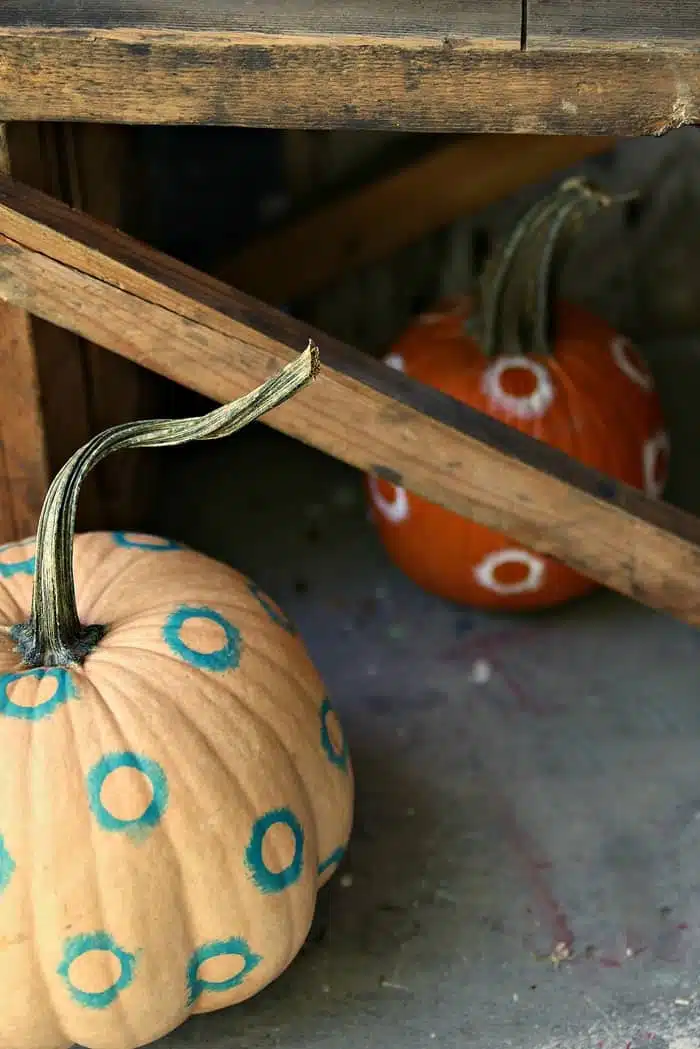
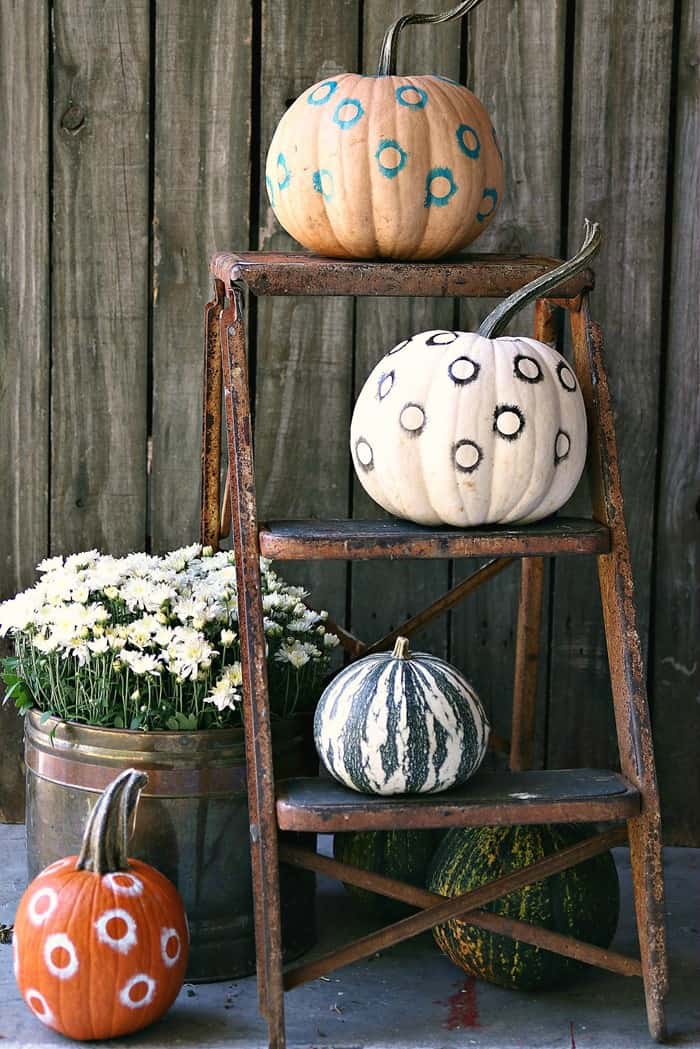
My newest crop of painted pumpkins are inspired by the total solar eclipse of this past August. I’m calling them “eclipse pumpkins”. I like painted pumpkins for decorating the front porch and the hearth. No carving, no mess, no fuss. Plus, painting is just plain easier.
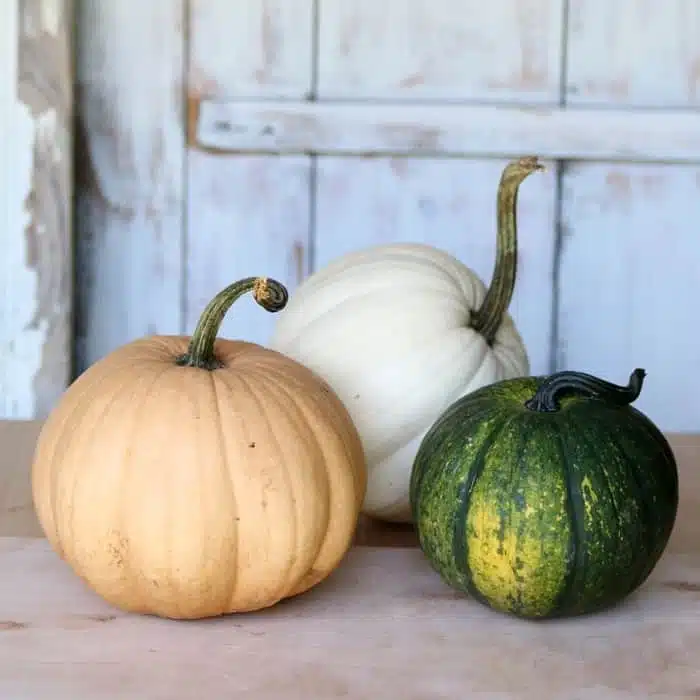
I couldn’t wait for the pumpkin patch to open so I went to a locally owned flower/fruit stand and picked out a few pumpkins to pump up my Fall décor. The market had a large variety of colors and shapes. I don’t love the traditional orange pumpkins. Me, non-traditional.
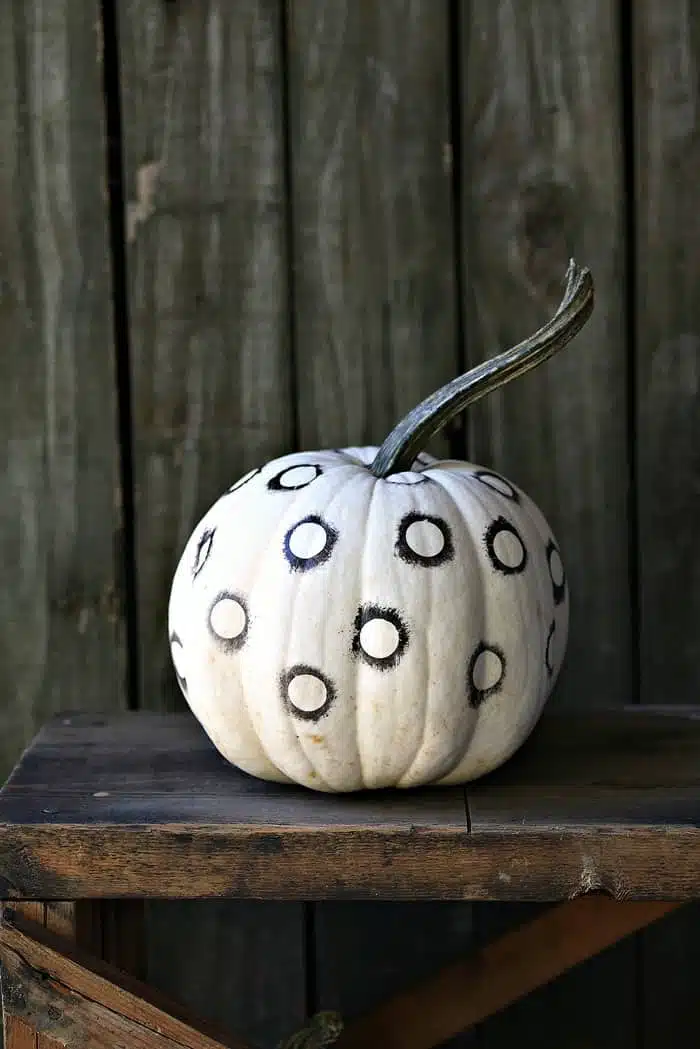
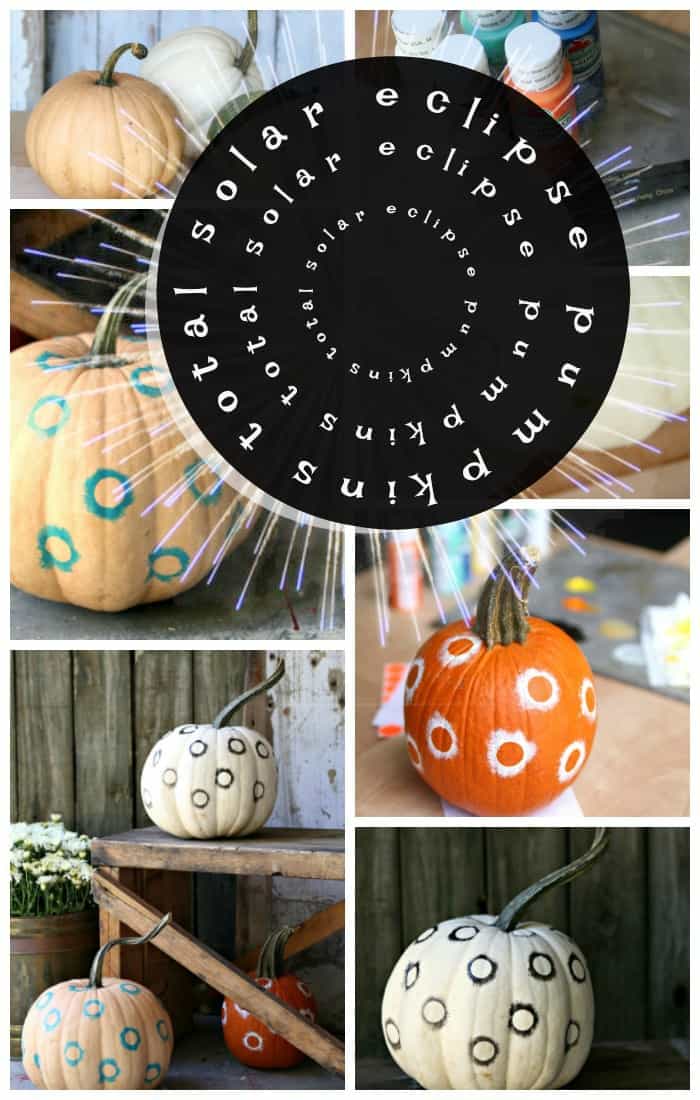
The painted pumpkins. I admit to smiling a lot and patting myself on the back. I’m going to walk you through the process although it’s so darn easy you can probably figure it out by looking at the photo.
I came home with a big box of pumpkins and selected just a few to paint. (I may come up with more totally awesome and unique paint ideas later)
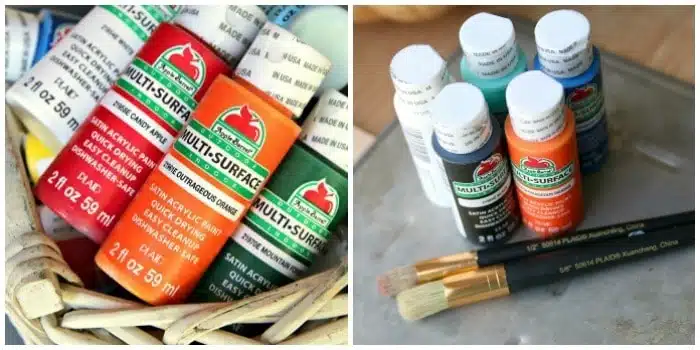
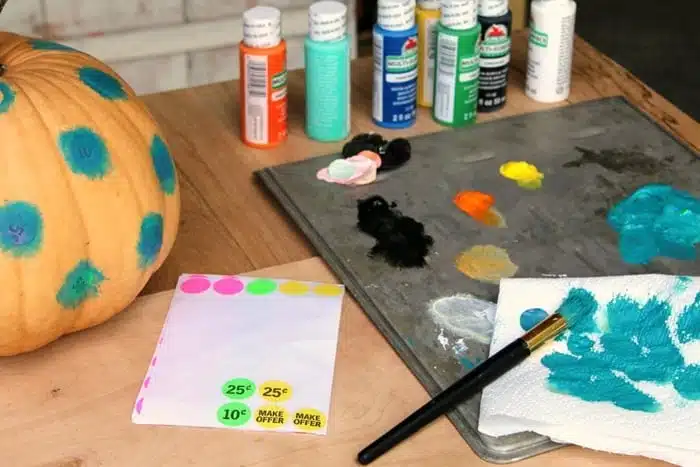
The paint I chose is Apple Barrel ® Multi-Surface Satin Acrylic. I have a basket of 16 basic colors. The acrylic paint is multi-surface and I’ve found it will stick to everything from glass to concrete to plastic so it should work on pumpkins. And the paint is for indoor/outdoor use so I’m good to go. I pulled 5 paint colors and gathered a few stencil brushes to paint with.
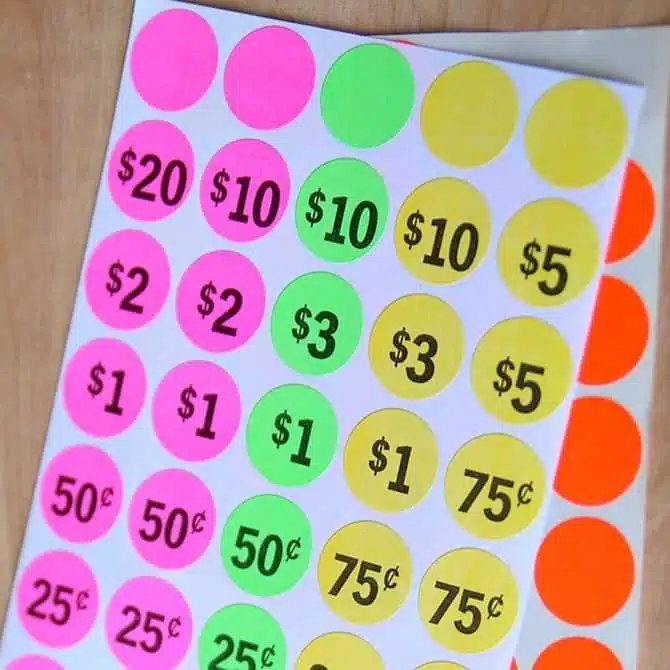
And I found the sticky back circle stickers in my junk stash. Time to rock and roll.
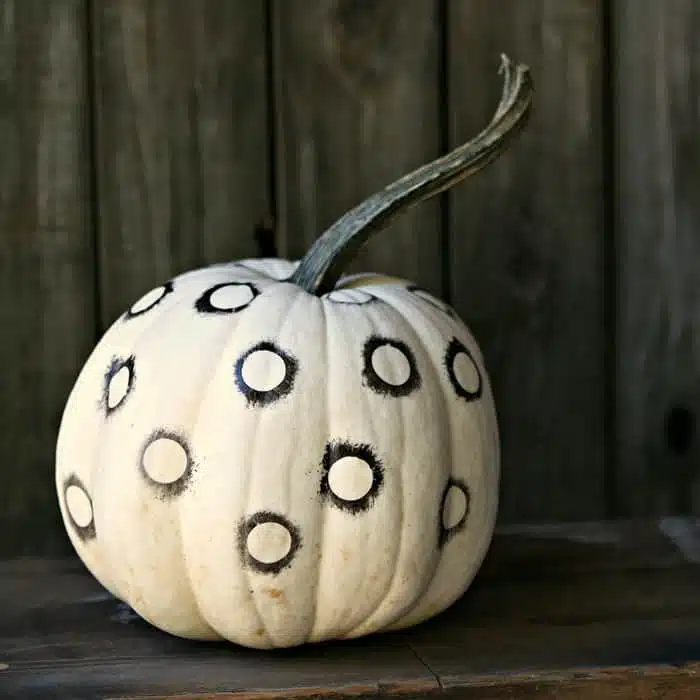
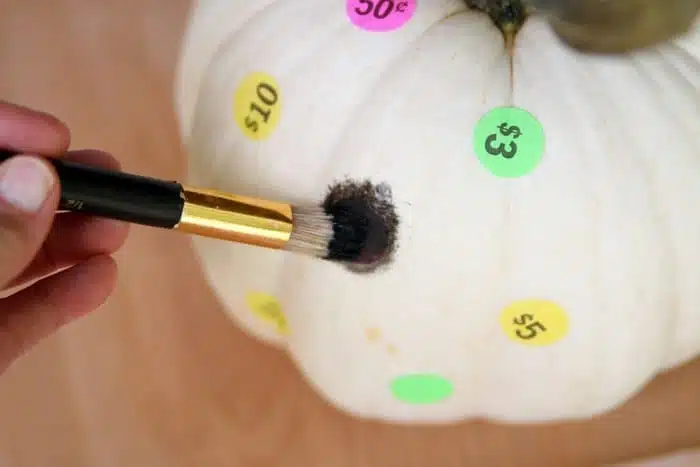
I stuck those little stickers on the pumpkin, just willy nilly, and started painting. I ran the brush from one side to the other over the sticker. I didn’t paint like I was stenciling although I used a stencil brush. Running the brush from one side to the other gives the “eclipse” look.
See, perfect total eclipse.
The white pumpkin with black painted design turned out so good I moved on to pumpkin number two.
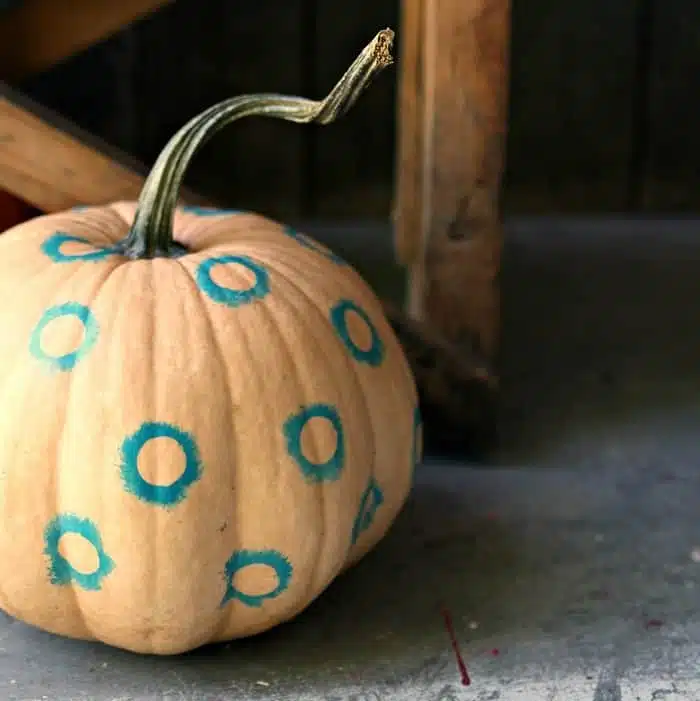
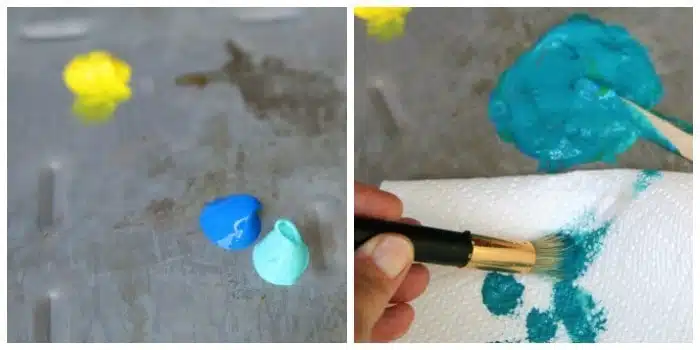
For the pale orange pumpkin (cheese pumpkin?) I wanted a turquoisy color. I mixed three paint colors together. I started with Acapulco and Primary Blue. Then I added True Green to get the perfect color. I mixed the colors together using a popsicle stick. When painting the eclipse circles I wiped the excess paint from the brush. I didn’t want a “dry brush” but I didn’t need globs of paint either.
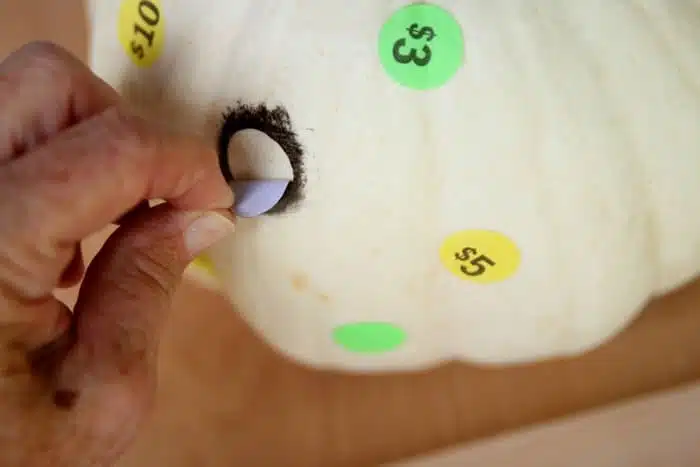
Here you can see the pumpkin with the paint covered stickers. I pulled the stickers off as soon as I finished painting the pumpkin.
The green pumpkin I wanted to paint didn’t work out. I tried orange paint and then yellow paint but the colors just didn’t pop against the dark green. That’s okay, I had an orange pumpkin.
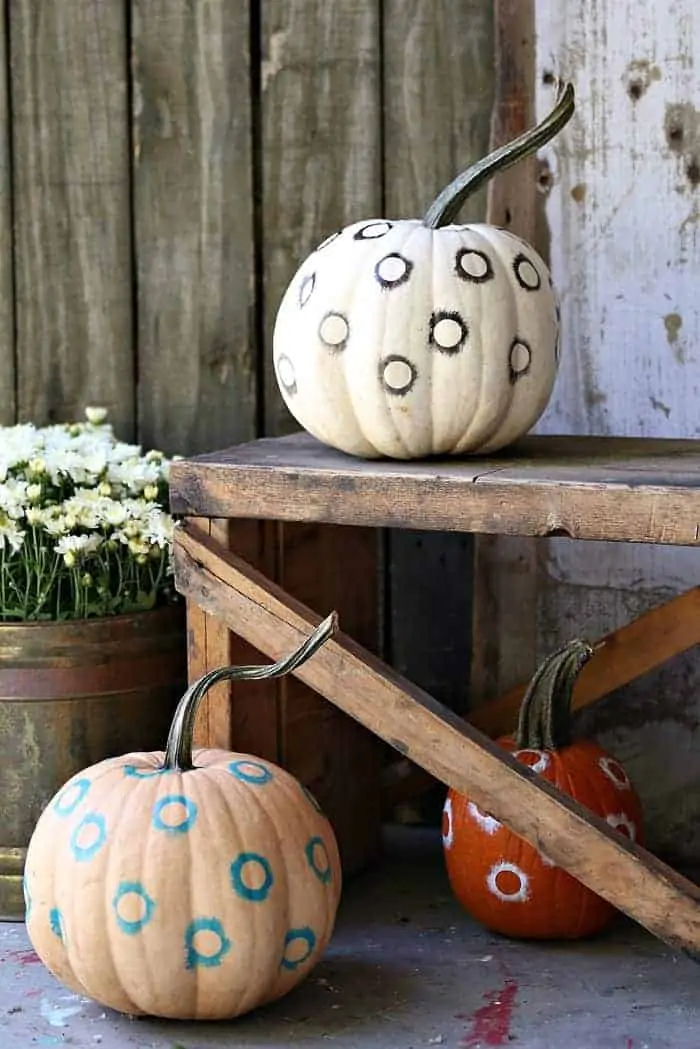
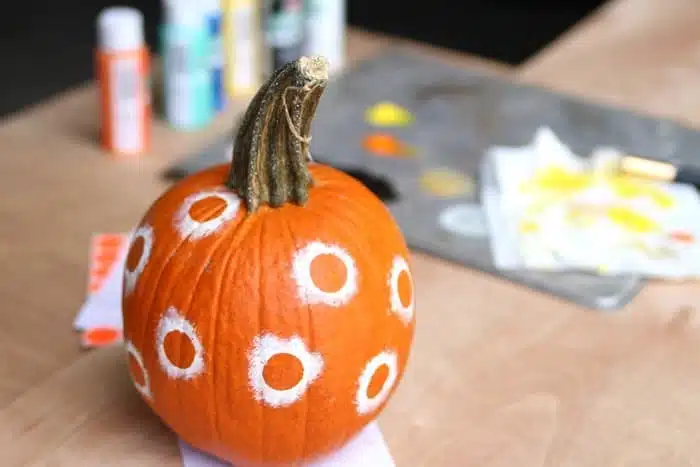
The white paint really popped on the orange. What a fun project and the three pumpkins took less than an hour to paint.
When you paint your pumpkins and you go a little crazy with the paint ………like making giant halos (insert Kathy smiley face), just wipe the excess off with your finger. But do it when the paint is wet because once it dries it’s not coming off.
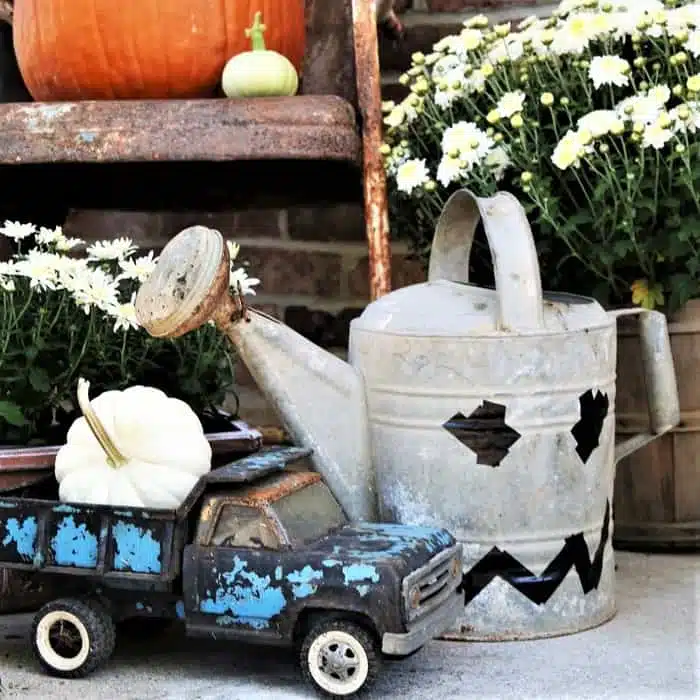
The painted pumpkins really spice up my Fall decorations. And they will be around a long time. Remember….paint…… don’t carve
The 16 color set of Apple Barrel ® Multi-Surface Satin Acrylic Paint comes in a variety of basic colors and is dishwasher safe. Click here to view the Apple Barrel Kit and additional information including details/exclusions. Can’t wait to see what you paint.
Painted Pumpkins – Eclipse Style
Click here to Pin This Post For Later
Which pumpkin is your favorite? Leave me a note. I’ll see you tomorrow!
Disclosure: This post is sponsored by Plaid Crafts as part of the Plaid Creators program. All words, project ideas, and photographs are 100% my own.
Favorite DIY Tools and Paints:
Beyond Paint for Furniture
Ryobi Drill (cordless)
Mouse Sander (cordless)
FrogTape Painters Tape
Howard’s Restore-a-Finish
Rustoleum Heirloom White Spray Paint
Rustoleum Metallic Copper Spray Paint
(Affiliate links for your convenience, read affiliate disclosure here)

So easy and super cute! Thanks for sharing the tutorial on Share Your Style.
I love your fantastic idea, and it is so cute!!! What a great way to remember the solar eclipse!
Very beautiful and creative. Wow, I love this.
So adorable and such a great idea! How do you come up with this stuff. You amaze me!!! Your mind must never shut off.
Love them! Very creative!
I love them all, but I think that the pale orange/“cheese” with the blue eclipses is my favorite! Beautiful display!!
I like the way you think, Kathy – too stink’n cute! Pinned
This really looks awesome. Thanks for sharing.