Two Color Painted Furniture Makeover With Video
As an Amazon Associate, I earn from qualifying purchases.
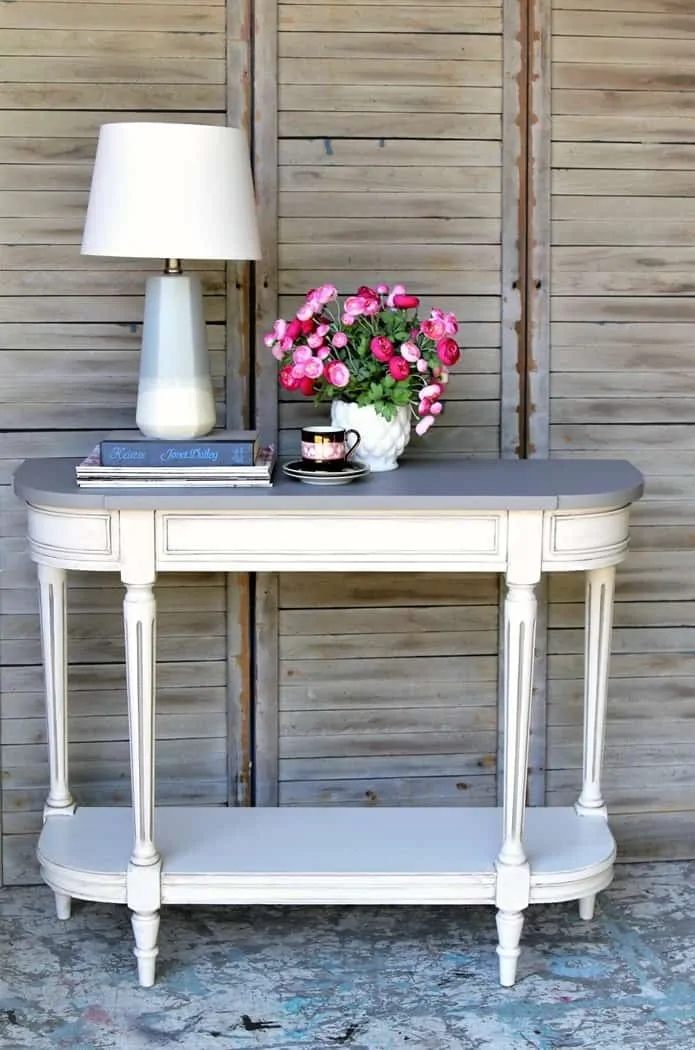
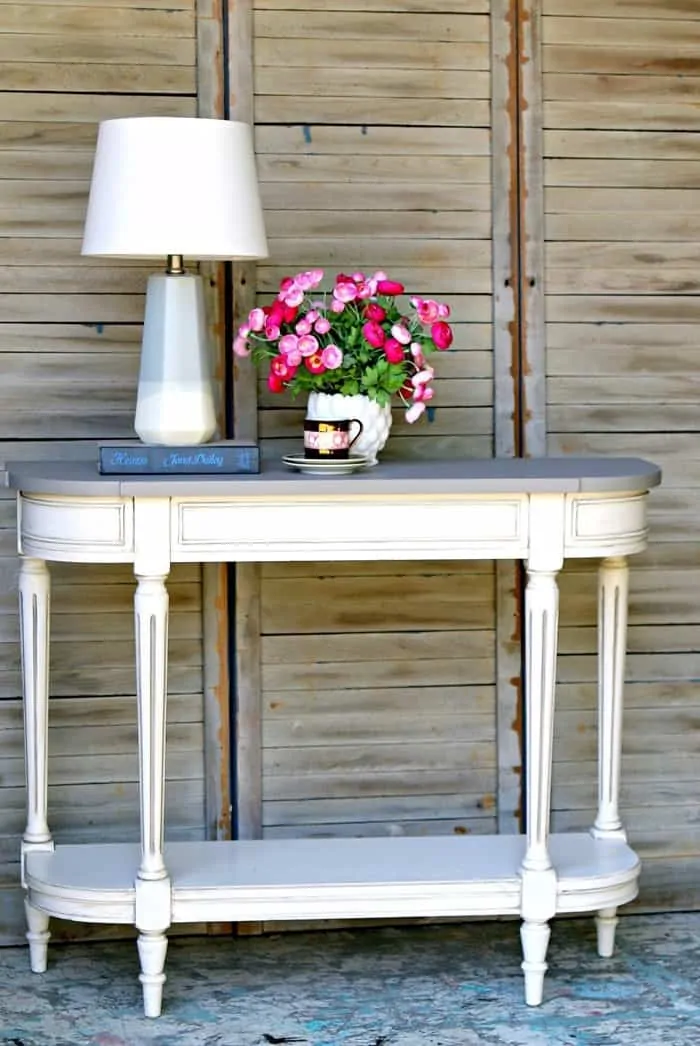
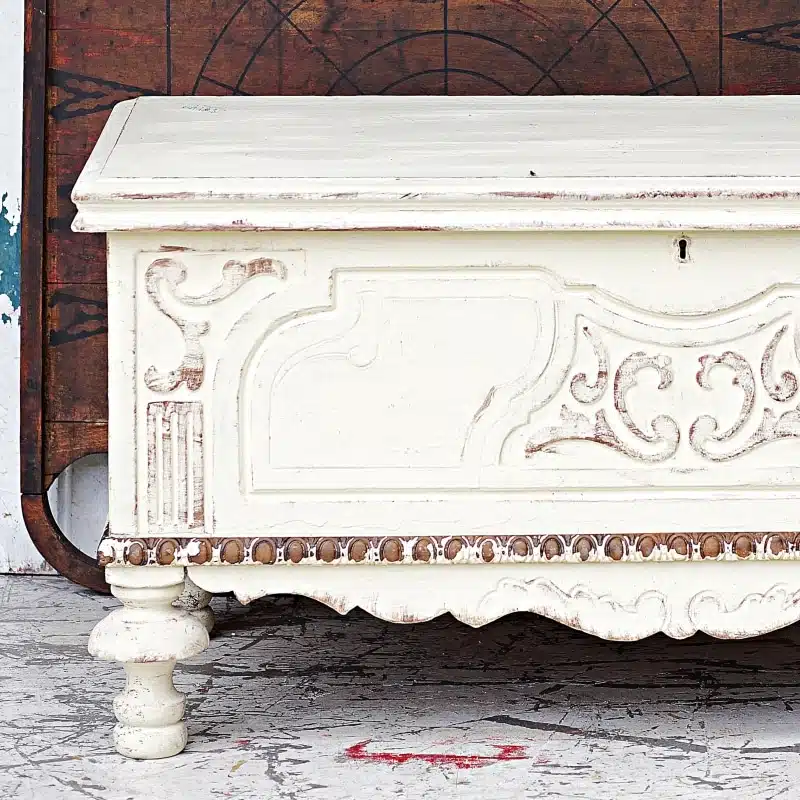
How do you feel about two color furniture or two tone furniture? I like it if the two colors are light neutral tones. That’s what I did here and I think you will like the look!
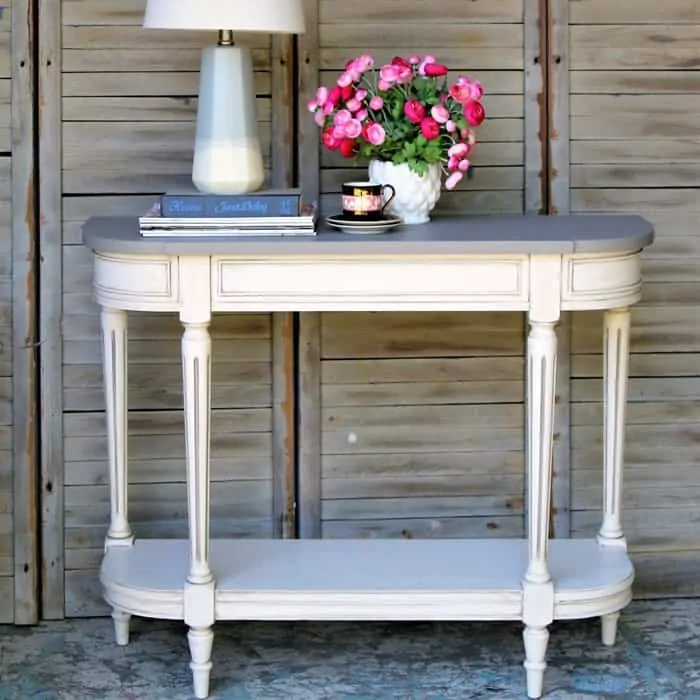
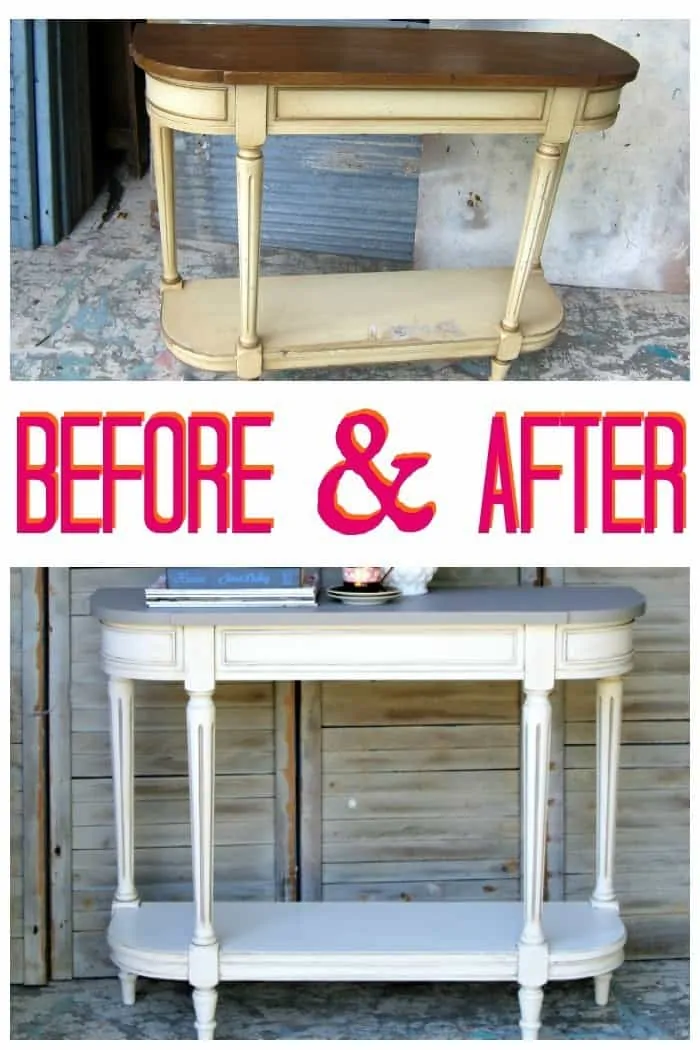
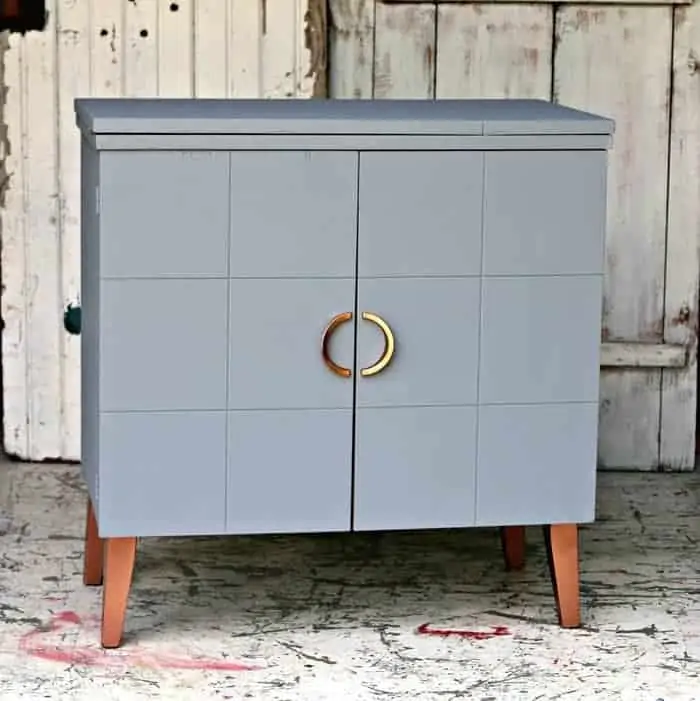
The lighter brighter paint finish did wonders for this table. The original finish on the table was two tone with gold accents.
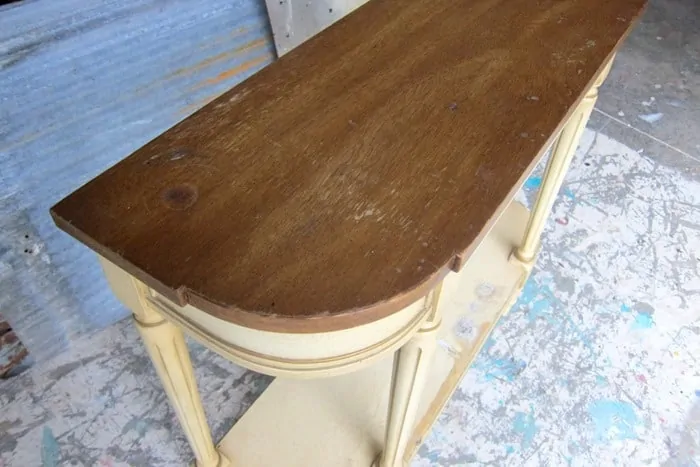
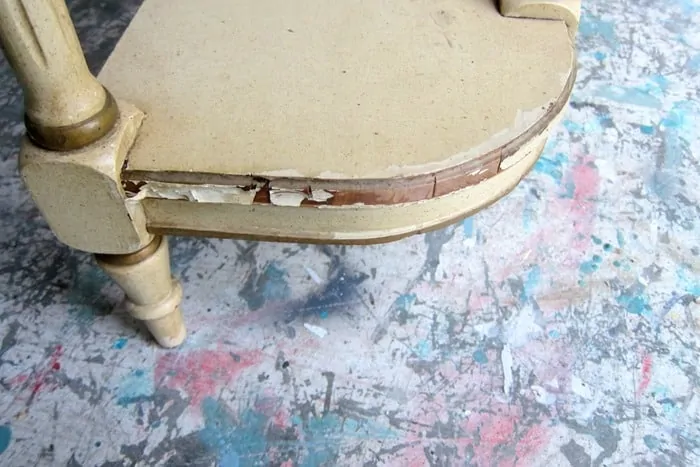
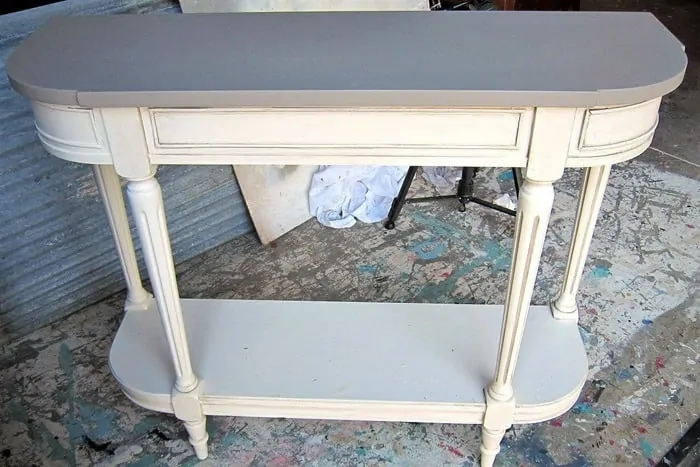
My sister gave me this table a few weeks ago. I’m still trying to remember if I gave her the table to start with! As you can see it’s grungy looking and the two tone finish with gold details is a bit outdated.
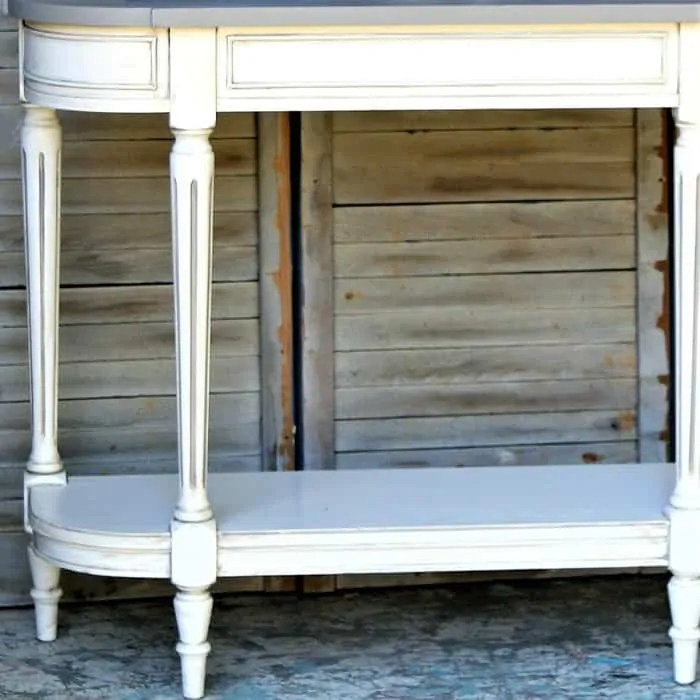
I call this a console table and when I researched console tables I learned the style of legs on this one are referred to as cylindrical and reeded. We all know what cylindrical is and I guess reeded refers to the grooves in the legs.
Two Color Furniture | Paint Makeover
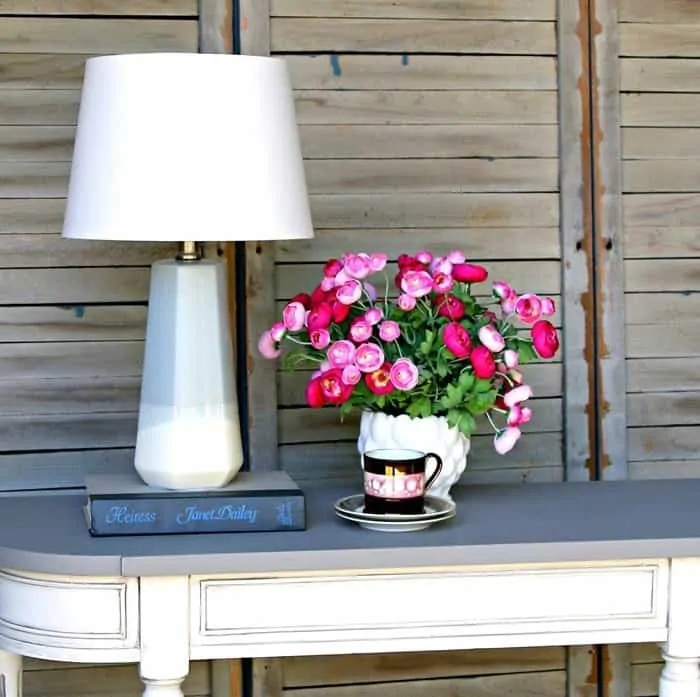
I like the new look a lot better. Isn’t it fun to see a sad piece of furniture with a new stylish paint finish.
Today is Furniture Fixer Upper Day and you guys know what that means. Be sure and take the furniture tour after reading my tutorial.
I made a video showing you how I painted the legs and how I made the detailed areas look antiqued or aged. It’s much easier to tell the story in a video where you can see the process as I’m doing it.
The Project – Console Table
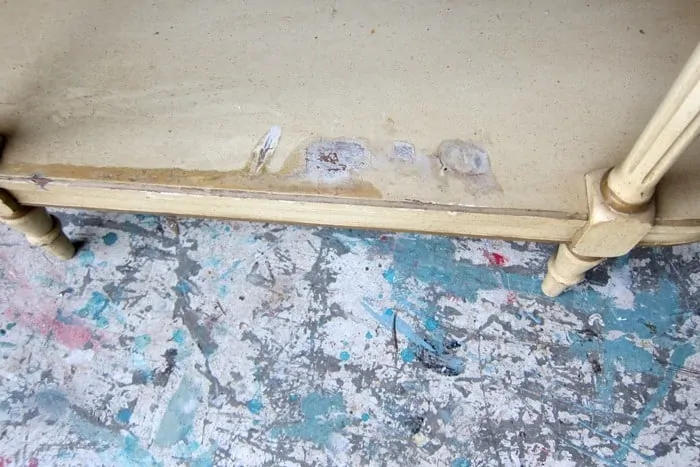
The table had a few dings and scratches in places. I used my sander to smooth them out before I started painting.
I thought about trying to refresh the stain on the top but there was too much damage for me so on with the paint.
Some of the original paint finish was flaking off and I sanded that area too.
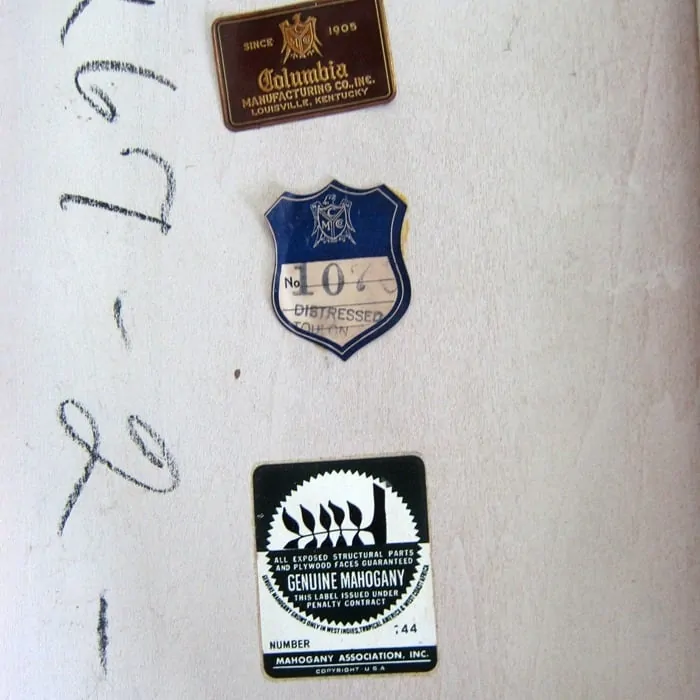
The table is solid Mahogany. The console table was obviously painted at the manufacturer. Why would you paint Mahogany?
Prep The Furniture
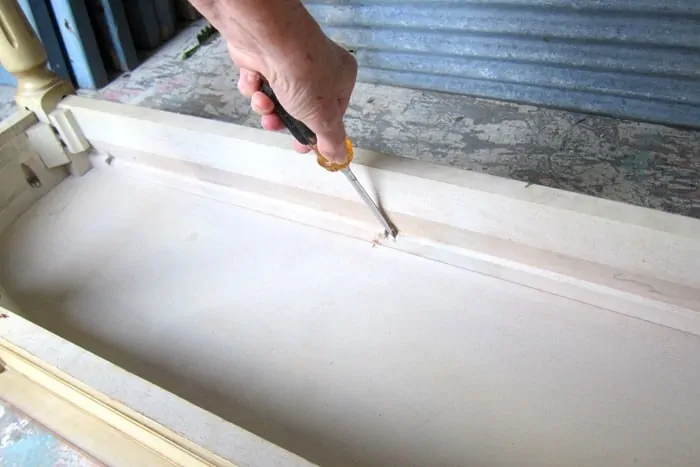
First thing to do on a piece like this is to tighten all the screws. You wouldn’t think there would be many screws in wood furniture but there are.
Next I sanded all the rough areas and cleaned the table with Simple Green.
Paint Table With The First Color
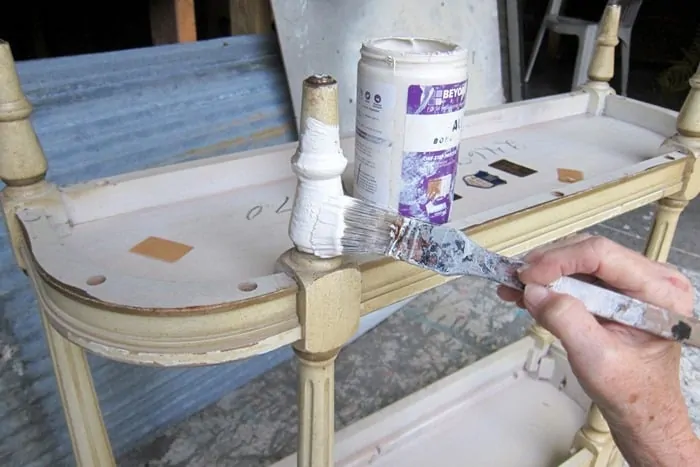
The paint color I choose for the overall color on the table base and legs is Beyond Paint in off-white. On small tables and dining chairs I always turn the furniture upside down to start the paint process.
Then I turn the furniture right side up. This way I’m not as likely to miss some of those small twists and turns on the legs, spindles, joints, etc.
Paint The Table Top With The Second Color
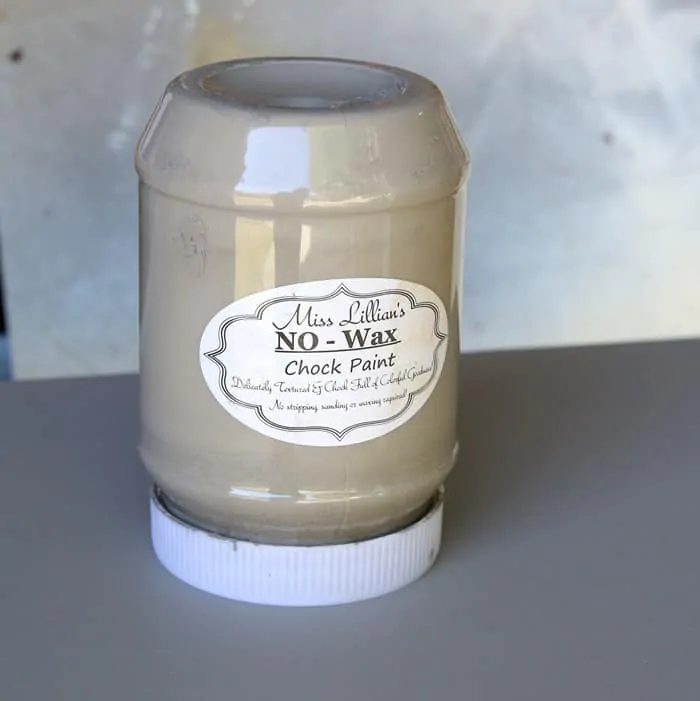
I painted the top of the table with Miss Lillian’s No Wax Chock Paint, color English Tapestry. This paint is made by Marilyn, a wonderful furniture painter, who lives here in Clarksville, TN and at one time had a booth at the shop where I have mine.
Now Marilyn retails her paints in the shop. You can find Miss Lillian’s paint at antique shops and flea markets around the county and also online.
On the Miss Lillian’s Chock Paint website the color, English Tapestry, is listed under “grays” but I call it more of a taupe color. It certainly has a lot of brown in it. I love the color.
I’ve used the paint before and this pink chest of drawers (here) is a favorite of mine.
Paint or “Highlight” The Details
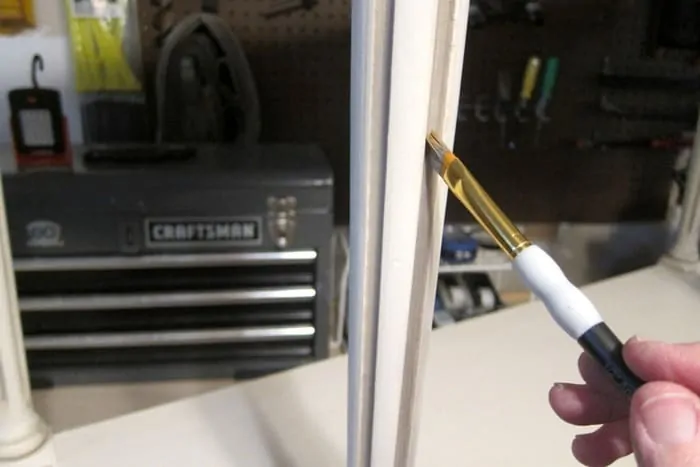
I used a small artist brush to paint the legs and other detailed areas of the table. I had a damp rag handy to wipe off excess paint and to swipe a bit of paint onto the edges and corners of the table.
The video tutorial shows the process perfectly, much better than a bunch of pictures.
The photo of the table above shows where I’ve already finished painting or highlighting the reeded legs and the apron of the table on the right side.
Compare that to the far left side table apron and two legs where I haven’t completed the final paint process. The brown/gray highlights are noticeable yet very subtle too. That’s what you want.
Be sure and watch the video and you will see what I mean. While brushing on the paint I usually overdo it but I had that damp rag. I was going to be very strategic with the paint but ended up wiping it on a lot of the details.
Don’t be afraid to try this technique. It’s only paint after all and it can be wiped off when wet or painted over when dry if you make a mistake…..or two. Been there.
I can’t get enough of those legs. This piece would be perfect in a foyer, hallway, in the bedroom as a TV stand, whatever. Where would you put the table?
Video Tutorial – Two Color Furniture | Paint Makeover
The video below shows the places I antiqued or highlighted with brown paint, how I brushed it on, and how I wiped it off. I didn’t film myself painting the whole table. No one wants to sit through that! The video is short and sweet. Video showing how I painted the furniture details …..
Be sure and leave a note about the video and what you think of the paint technique. The technique isn’t difficult. The process is a bit time consuming but the results are worth it.
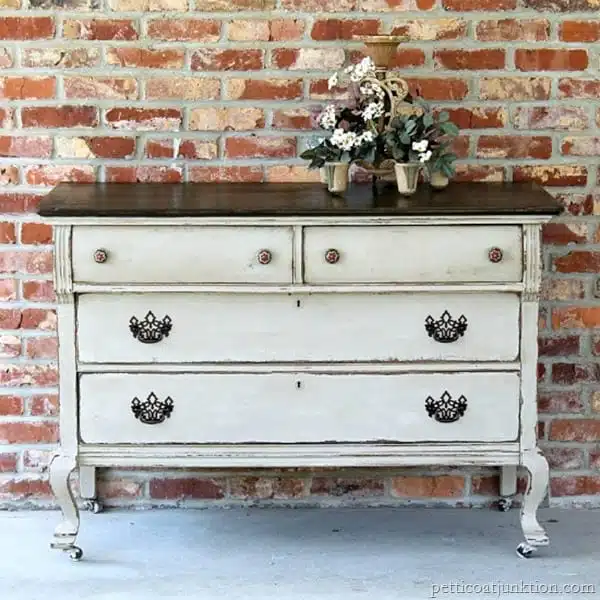
I have a favorite two color paint piece I did years ago……
You can see this vintage dresser makeover here…Two Tone Vintage Dresser.
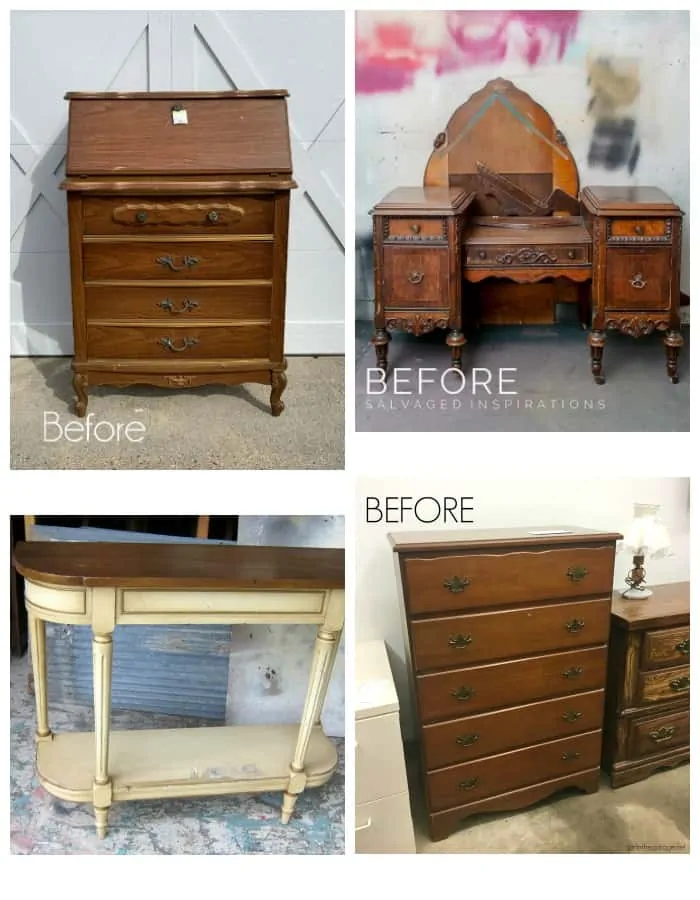
Time to take the Furniture Fixer Upper Tour. I’ve already had a peek at the projects and all of the makeovers are over-the-top! Just click those pink text links below the “before” makeover collage.
Vintage Secretary Desk Makeover from Confessions of a Serial DIY’er
Paint Stripes On A Dresser from Girl In The Garage
Antiquing With Glaze from Salvaged Inspirations
Two Color Furniture from Petticoat Junktion (you are here)
As always, thanks for being here. I know you have other things to do. Enjoy your day, Kathy

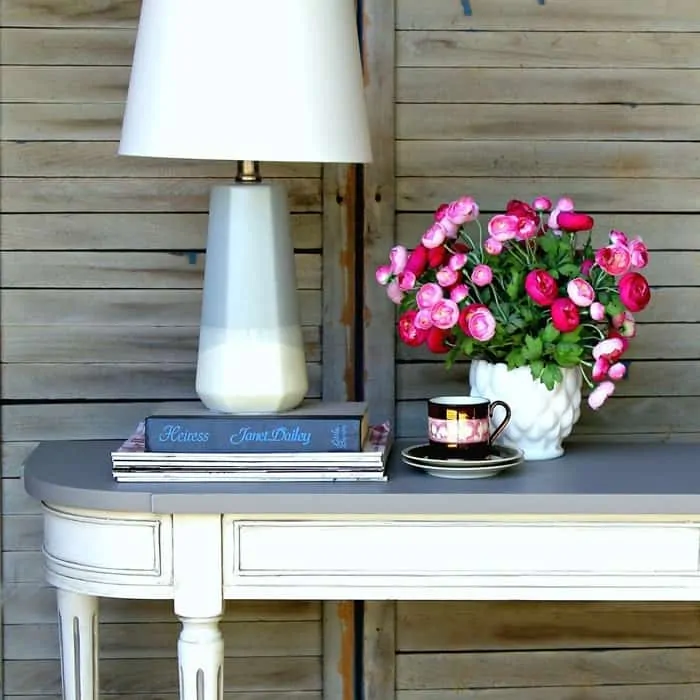
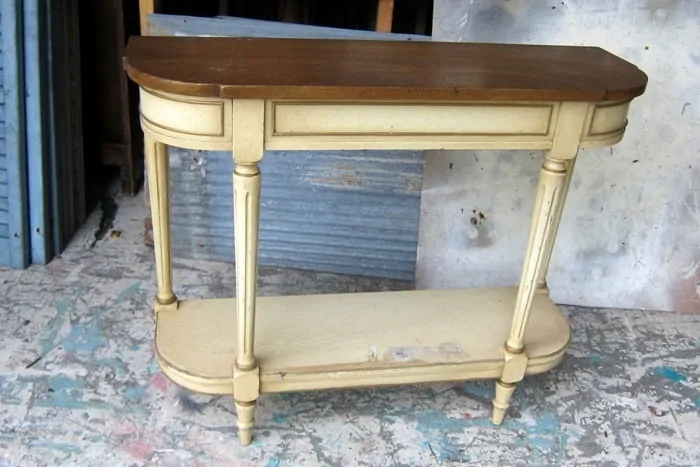

What a difference: from tired and dated to fresh and “new”. I love the transformation!
Even though it is no wax I would seal a dinner table since it will get a lot of wear and tear. I usually seal every paint type when painting a table.
Thanks for the great post! Question: can I use the No wax paint on a kitchen table that gets frequent use or would I need to seal it? Thanks.
Sorry, I’m just now catching up. The two colors are beautiful and it’s the perfect table. Love the video. When I can watch it makes the process easier to understand, at least for me it does. Happy Thanksgiving to all.
I love how this turned out, Kathy! The two toned look is gorgeous with the technique you used! xo
Simply Beautiful! Thank you for the tips and video. I would use it in my foyer with a pretty lamp and accessories.
Great makeover! I really like that style of table, very versatile. Good job!
The video is showing for me. It is in the post right above the before and after photo of my table project.
I love the new look, but I cannot find the link to the video.
This is gorgeous now, Kathy! I love how you painted in the spindly parts, almost looks like a glaze! XOXO
Aren’t sisters the best? ? and you gave me a chuckle when you said you can’t remember if you originally gave HER the table. Sound like me and Andrea. ?♂️ Beautiful makeover my friend! ???
Hi- I cannot find the link to the video for the Two Color Furniture from Petticoat Junktion. It seems to be a picture but not video. Can you post it or send it. I love how it turned out.
Great Job.