DIY Farmhouse Style Rustic Wood Flag
As an Amazon Associate, I earn from qualifying purchases.
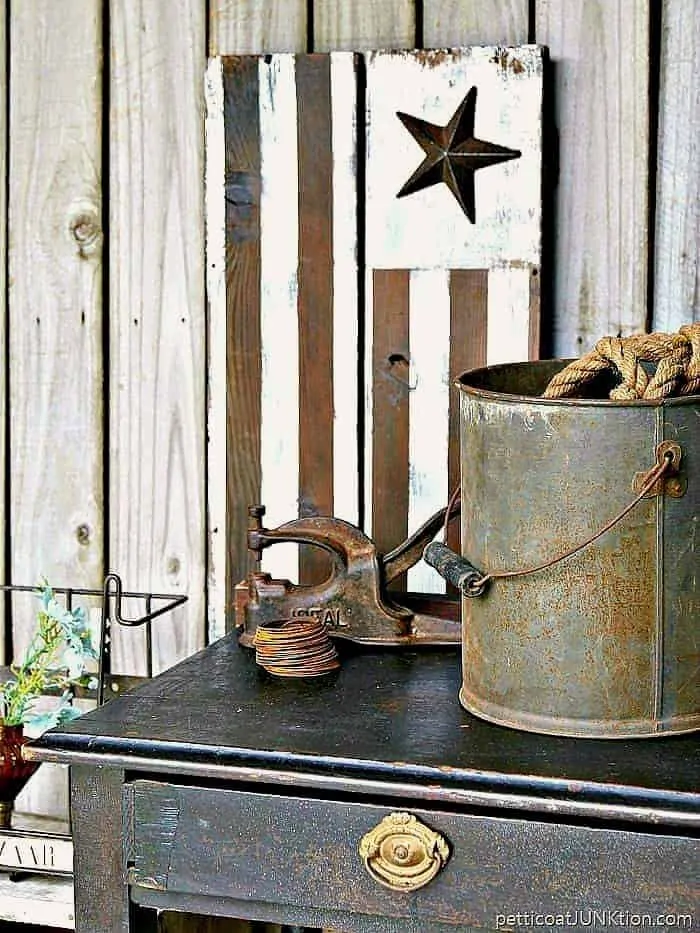
You can make a farmhouse style rustic wood flag using an old reclaimed wood drawer bottom, a trunk lid, a piece of discarded wood, you name it…..be inventive……get creative. It doesn’t have to be red, white, and blue either. I used neutral colors on this farmhouse style flag. There are several steps to making the flag but nothing difficult at all.
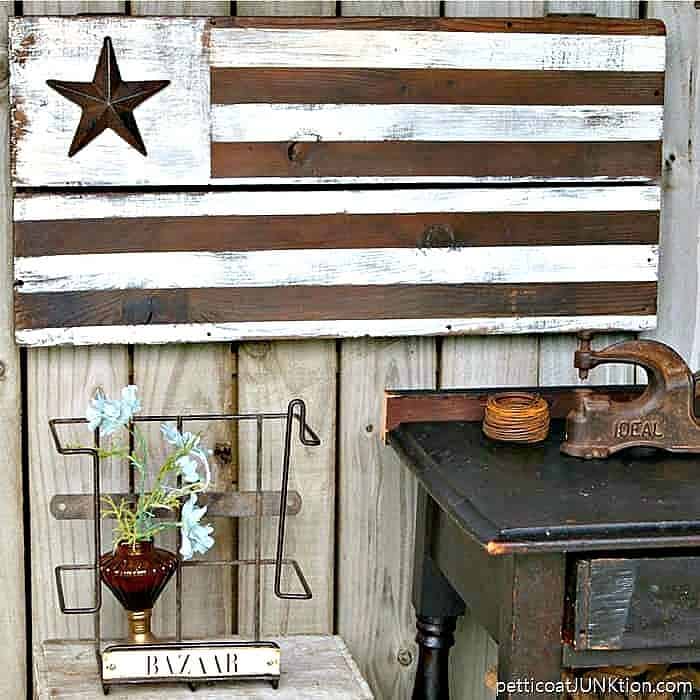 I chose to stick with a neutral palette for this project just to do something a little different. I made a pretty red, white, and blue flag and a recycled ruler flag that you guys would love too. I still haven’t made the nautical flag with starfish as the stars. Maybe next project. I got the inspiration from a cottage we stayed at on Tybee Island.
I completed the project in less than two hours. You guys know me, I didn’t measure anything and the flag is perfectly imperfect. Just how I like things. A lot of times I just wonder around the workshop looking at what I have trying to come up with ideas. I’ll spot one piece like the old box lid I used for this flag and an idea is born. Then I have to search for other items to make the project happen. The projects don’t often come together as easy as this one did.
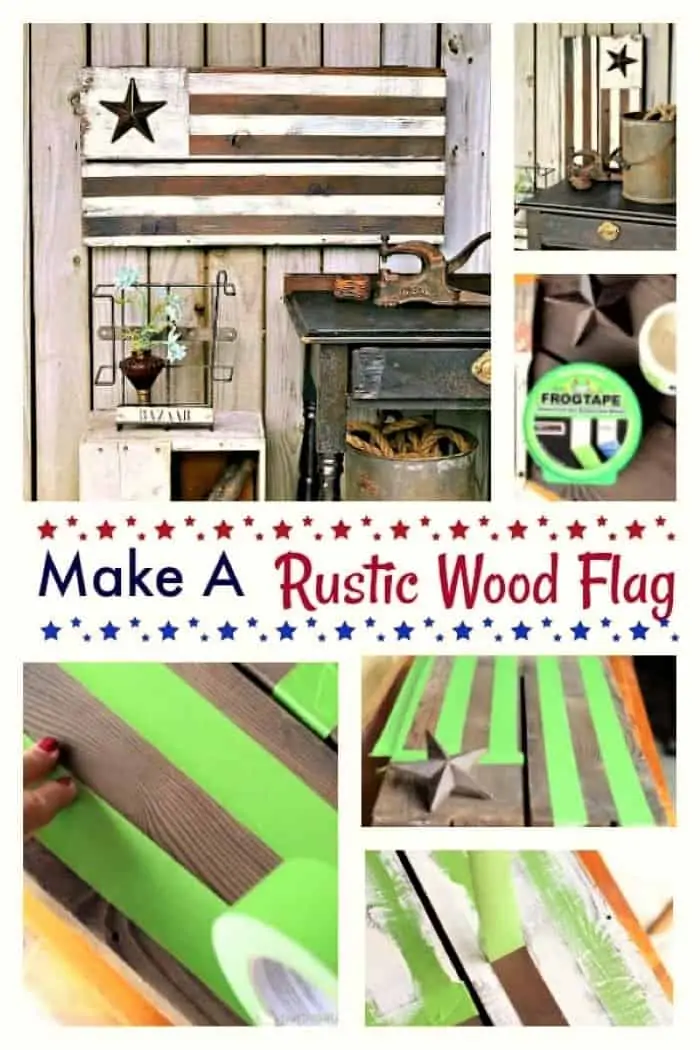
How to make a Rustic Wood Flag
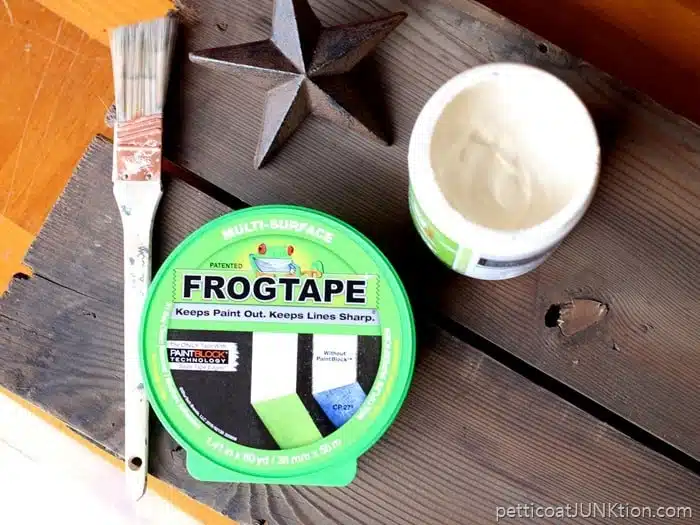
Supplies For The Flag:
Wood for flag- new or reclaimed
Wire and screws for Hanger
FrogTape
Howard’s Wax- Neutal
Beyond Paint- Off White
Rusty Nail Star – eBay
The board is a piece from my favorite junk shop. I pick up reclaimed wood any chance I get. The pieces and parts come in handy at project time.
Apply Painter’s Tape To Paint The Stripes
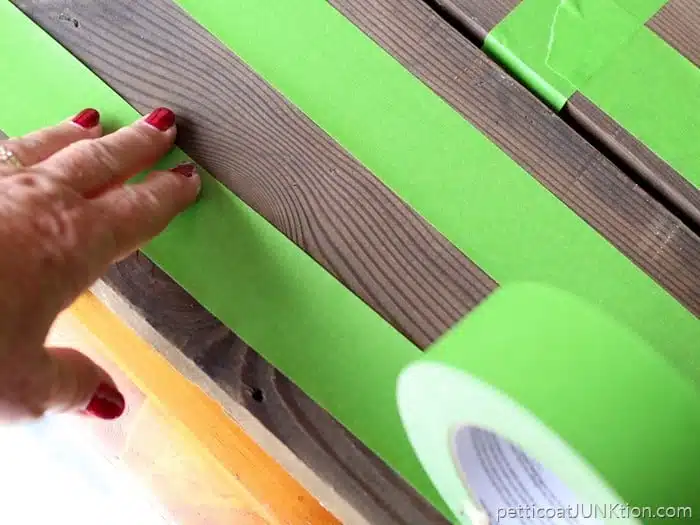
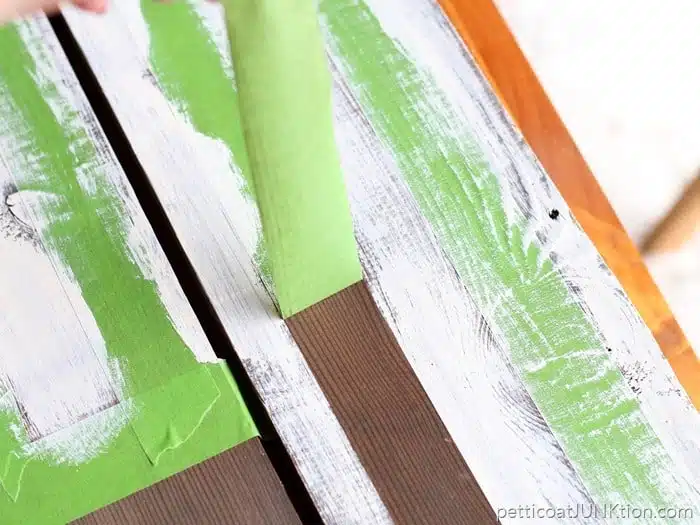
I used FrogTape to make the stripes. I didn’t measure anything…just eye-balled it. The FrogTape was the perfect width for the stripes. Of course it all depends on what size the wood piece is as to how wide you make the stripes.
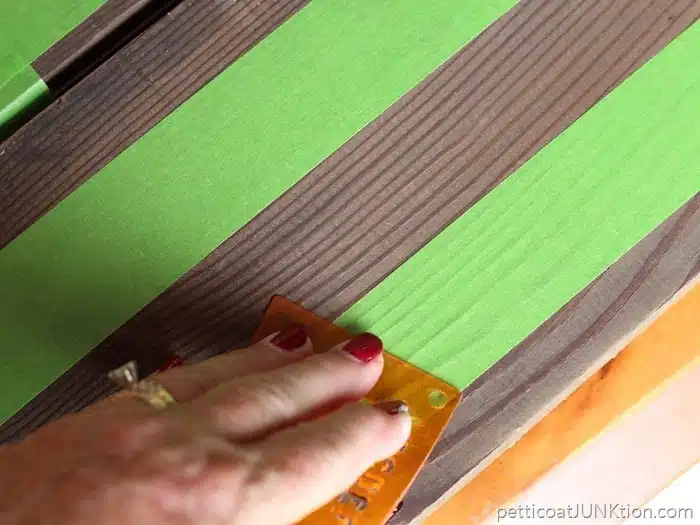
I made sure the edges of the tape were good and sealed by using a flat plastic piece (similar to a credit card) and running it over the edges. I think this is called burnishing. That’s what I’ve always called it but the definition in the online dictionary is different. Maybe one of you guys know what it’s called.
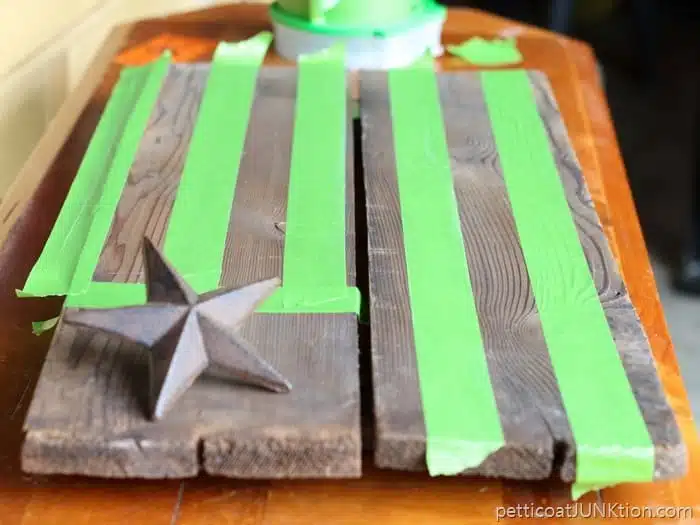
I taped off a small square area for the one iron star. No, the flag isn’t to specs….it’s called “creative license”. I use it a lot.
Paint The Farmhouse Style Flag
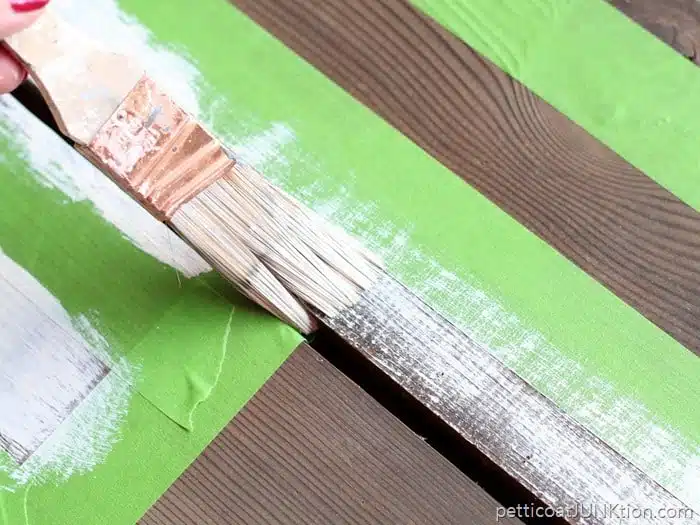
For the stripes I used off-white Beyond paint. I didn’t worry too much about covering every speck of wood with the paint. Remember, I want the wood flag to have a very rustic look.
See how nice and clean those paint lines are? Love it. I wasn’t sure if I wanted to paint the area for the star but decided last minute to paint it.
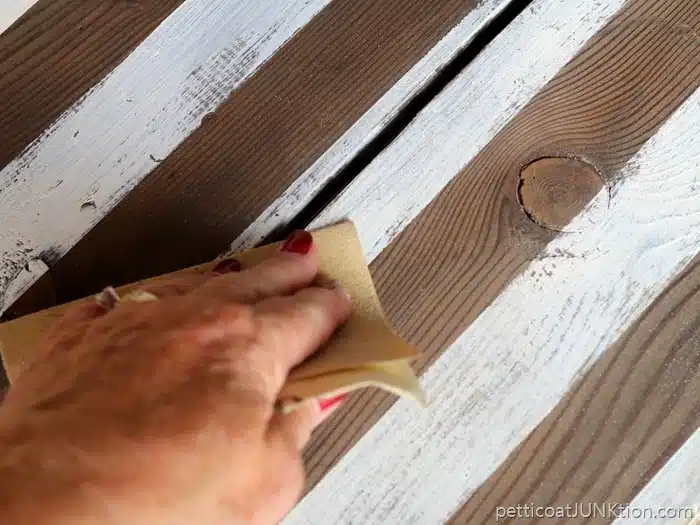
Just a little distressing to give the flag a worn look. Another reason not to completely coat the stripes with white paint.
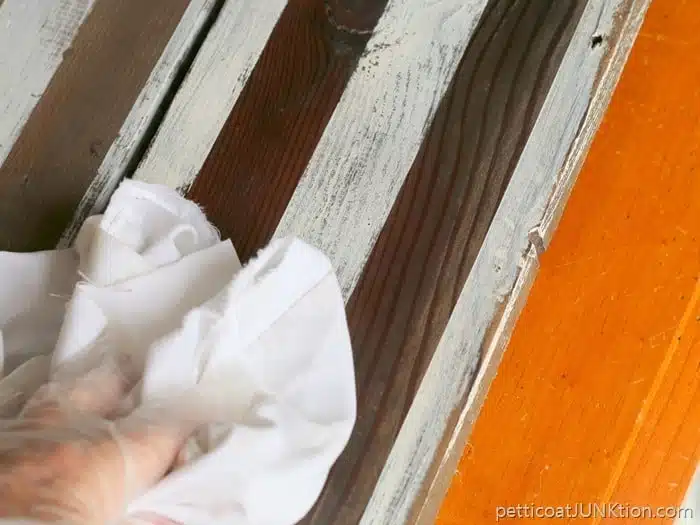
I applied a coat of Howard’s Wax to seal, protect….and add patina to the wood.
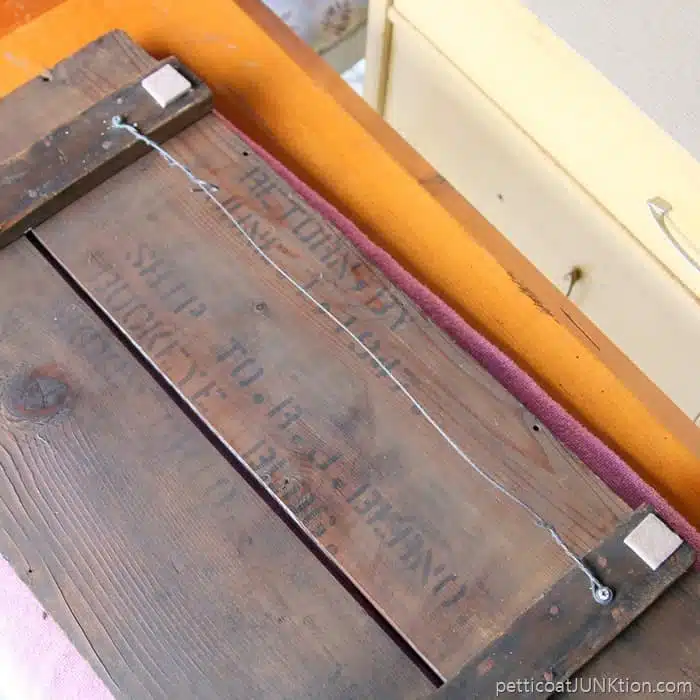
Maybe you guys remember this crate lid with the stenciled name? It’s what I used as the wood base for the flag. I didn’t paint over the back…saved the history. To make the hanger I used two screws and picture hanging wire, and as always wall protectors on the corners. Most of the pieces I work with are a little rough and I try to do everything I can to make them “home friendly”.
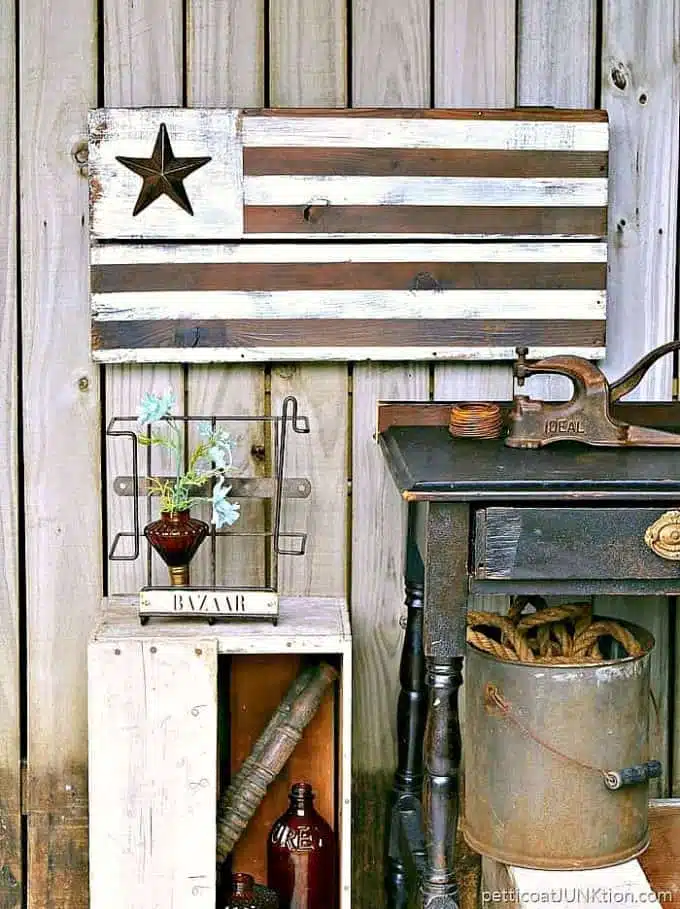
How do you like the flag hung vertical? I like that I can change it up. The iron star is actually a star nail and I ordered a bunch from eBay a few years ago. I just nailed it on. I added iron stars to this red trunk.
I made a rustic star flag in red, white and blue you can see here!
What do you think of the flag? The whole project took less than 2 hours. You should give it a try. I bet you can find something to work with around your house.
Thanks for being here and have a great day, Kathy


I love the flag. And the star nail is a great addition to the rustic feel of the project. You did a great job on this project and I appreciate you sharing it with us this week at #HomeMattersParty
Your flag looks wonderful! Thank you for sharing at Party In Your PJ’s.
I love the flag! I especially love that it’s different from the traditional red, white, and blue! Pinned.
Sooo Cute! I love how you said you didn’t measure and it’s perfectly imperfect! Really adorable! Please come and link up to my Linky Party- Centerpiece Wednesday on my blog and share your post with us. The party starts at 7pm tonight! Hope to see you over there.
Karin
I absolutely love your flag, so much character to it!!
Haha! Very well said. Made my day!! Thx!
Love it. Great job.
Rose, you are so right. There is a flag etiquette that sometimes we aren’t aware of.
God bless our country and the crazy people. Not going to say who the crazy people are. That would be telling on myself. We are in a mess. Only He can fix it.
I’m gonna make one of these Kathy. So thank you!
It’s perfect! Very creative.
One should plan ahead as to “how” the flag will be displayed. When displayed horizontally or vertically against a wall, the union should be uppermost and to the flag’s own right, that is, to the observer’s left. The same applies to flags displayed in windows.
Start small – but I’ll warn you, it’s addictive!
Hi Kathy! I love this rugged flag. It is perfect. I can’t collect reclaimed wood because I live in an apartment so Everytime I drive by a pile I look with sadness. Love this.
I love the look of this and always wanted to make a rustic flag. I’ll probably attempt this next year. Thanks for sharing on Merry Monday.
Love this so much. It would look great in my family room.
I LOVE how this turned out – and I love the colors you used to make it. Beautiful!
I have to go find some wood….. I love this!
I just LOVE this!!
Love it! Very rustic.