How To Spray Paint Vintage Decor
As an Amazon Associate, I earn from qualifying purchases.
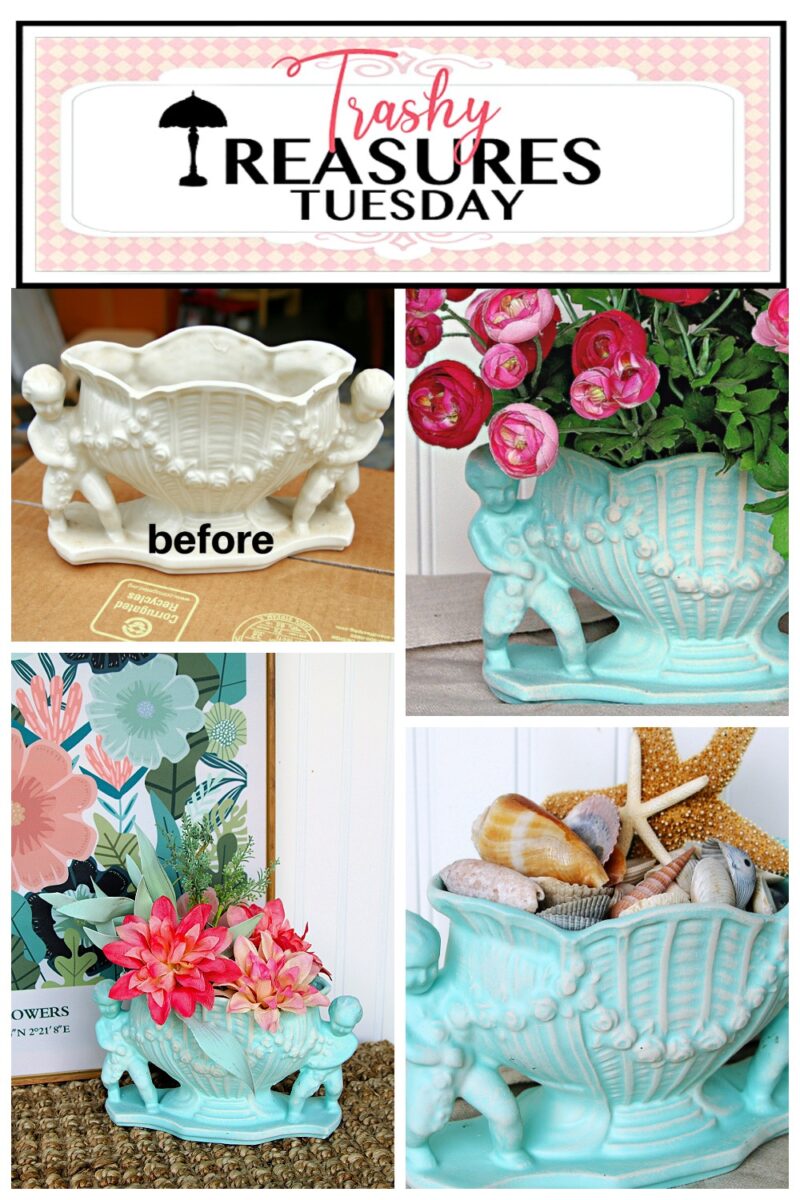
Discover how to transform a $1 planter into a stunning centerpiece with spray paint and a simple dry-brush technique.
This project is fun and super easy. After seeing this makeover and the fabulous results, you will be hunting for outdated decor to spray paint and dry-brush.

And it’s Trashy Treasure Tuesday! That means we have 4 trashy treasure makeovers for you. Links to the makeovers from my talented upcycling partners are at the end of my tutorial.

Can you believe this vintage planter was $1? I couldn’t believe it either when she quoted me the price. The hubby and I went on a shopping spree along the 400 Mile Yard Sale in Kentucky this past weekend, and this isn’t the only deal I got!
")
The planter was almost perfect. There was one small imperfection along the rim, but I couldn’t decide if it was a manufacturing flaw or a tiny chip.
")
The bottom of the planter was stamped “MADE IN JAPAN”. I did a little bit of research, and it seems it was probably made between 1921 and 1941.
This piece of pottery is in great shape for its age, and the raised details made it the perfect candidate for a paint makeover.
Supplies for this project:
-
Project Piece (Vintage pottery, frame, or basket)
-
Rust-Oleum Indoor/Outdoor Spray Paint (Aqua, matte finish)
-
Dixie Belle Chalk Mineral Paint (Drop Cloth)
-
Chip paintbrush
-
Paper towels and cleaning supplies
-
Flowers, seashells, or other filler for the planter
How To Spray Paint and Dry Brush Vintage Pottery
")
First, I gave the planter a good cleaning to remove years of dust and grime. Once it was completely dry, I decided to do a simple makeover using spray paint and then a dry-brush technique.
Aqua is my favorite color for spring and summer decor because it looks so light and airy. I just happened to have a can of Rust-Oleum Indoor/Outdoor Spray Paint in Aqua on my paint shelf.
The can was almost empty, but there was just enough paint to spray two light, even coats on the planter, and that did the trick.
")
The spray paint dried really fast. After only 10 minutes, the paint was dry to the touch and ready for the next step.
For the details, I selected Dixie Belle Chalk Mineral Paint in the color Drop Cloth to dry brush over the aqua. Dry brushing is a very simple technique, but there is one all-important rule to remember: the brush must be almost completely free of paint before you swipe it across your project.

The Dry Brush Technique:
- Dip just the tips of a chip brush into your paint color.
- Wipe the brush firmly on a paper towel until you’ve removed almost all of the wet paint.
- Lightly run the brush tips along the raised details of your project.
- Repeat the process until you get the desired look and the details pop.
Styling the Finished Planter
And that’s the whole process! I completed this makeover in less than one hour. You can easily do this yourself.

Look around your home and find a piece of decor that needs a fresh look. It can be a lamp, a tray, a vase, or a wood crate—just about anything that has enough raised details to make the dry-brushed paint shine.

My planter is a multipurpose piece. It can hold my paintbrushes on my work table.

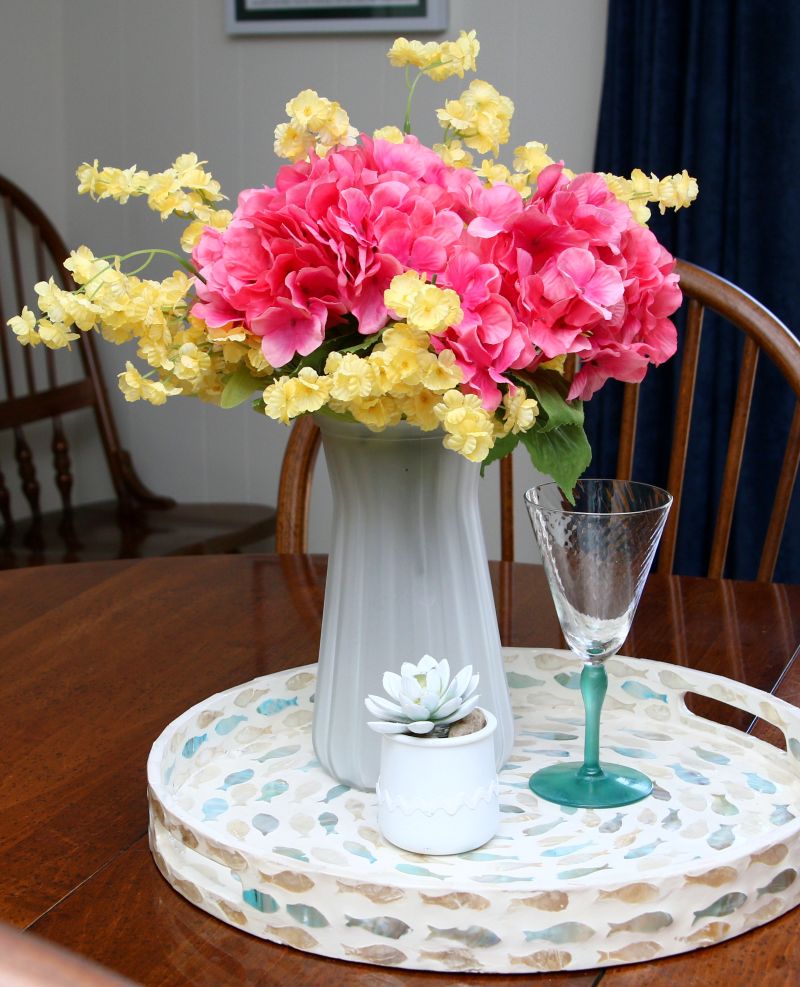
Or I can use it to display colorful faux flowers.

It would look great filled with seashells on my bathroom vanity for a fun splash of summer color.

How do you like it now? I know you guys have seen this faux Ranunculus bush in many of my photos. I just love it, and aqua and pink are a perfect match to me. I even filled the planter with flowers to match my favorite wall print.

I even filled the planter with flowers to match my favorite wall print.

The off-white Drop Cloth paint matches the planter’s original color beautifully. I could have just sanded the aqua paint to reveal the original ceramic underneath, but sanding pottery can leave the finish looking scratched up instead of naturally aged. This way, I get the look without the damage and dry brushing is actually easier and faster.
")
I usually decorate with seashells in the summer but box them up for the year come Fall, so this planter will definitely be changed up with the seasons.
Now it’s time to see what my talented upcycling friends have for us today. Before you head out on the tour, please leave a quick note in the comments with your thoughts on this $1 planter transformation! Just click the links below for the rest of the tour. I’m heading out now…..

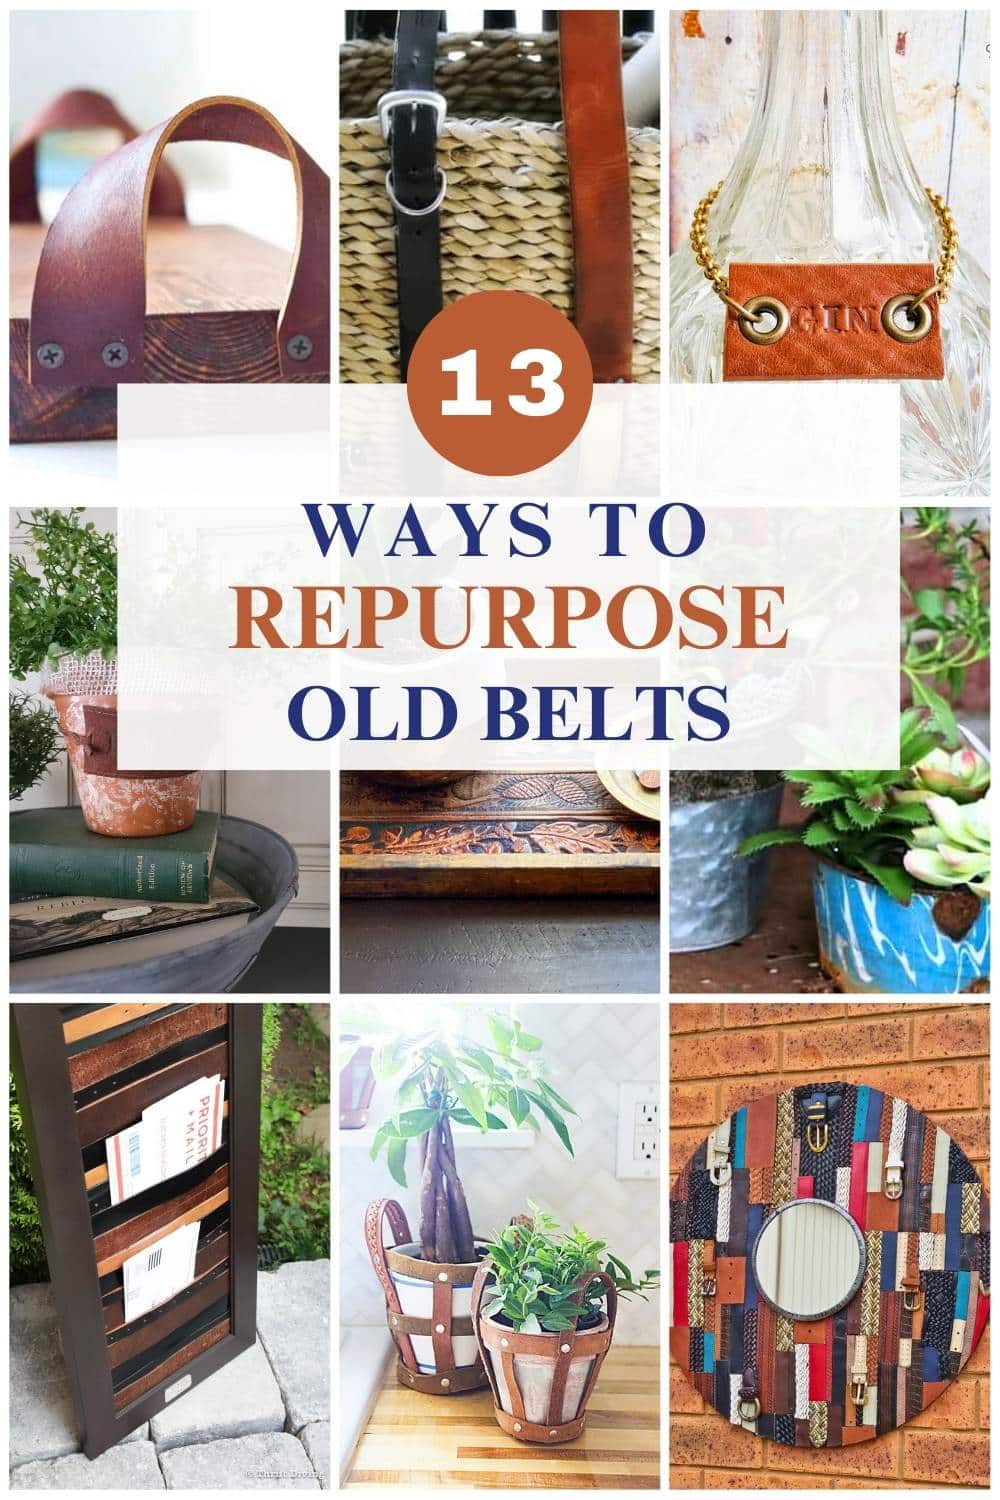
Trashy Treasures Tuesday Tour:
Vintage Telephone Table Makeover – Confessions of a Serial DIYer
Salvaged Eastlake Table Makeover – Salvaged Inspirations
End Table Update – Artsy Chicks Rule
Painting Vintage Pottery – Petticoat Junktion

My Favorite Dixie Belle Products:
Dixie Belle Website
Dixie Belle Boss
Scrubby Soap
The Belle Paint Brush
Badlands Mineral Paint
Glacier Mineral Paint
Drop Cloth Chalk Mineral Paint
Gold Gilding Wax
As always, thanks for being here, Kathy
Kathy, I’m delighted to be featuring your DIY spray painting vintage decor post at Create, Bake, Grow & Gather this week and pinning too.
This turned out beautifully! I love the dry brushing. I’ve always wanted to try this. I’m happy to tell you I’ll be featuring this today at Thursday Favorite Things. 🙂
My favorite color! So cute.
Its amazing how you see what can be done with furniture 👍
Love what you did with this vintage planter! You brought it back to life!
No, this is the 400 Mile Yard Sale in Southern KY.
Thank you for the comment. Drop Cloth is my go-to white or off-white color!
Drop Cloth is my favorite chalk paint. It was the first color I chose when I began this hobby a few years ago, and it continues to satisfy. I love the easy combination of spray paint for the body of decor items, then upping the look with dry brushing, colored wax, or transfers.
What a fabulous find for only a dollar! Is that the route 66 World’s Longest Yard Sale? Nancy and I got to shop that one many years ago and it went through Kentucky…what a blast! Great update…the red flowers are my favorite look! XOXO
Looks great. I love that color as well for summer. Something new for me try. Thank you
Love the color you chose, Kathy!! The dry brushing really brought out the details!! xo
This makeover is so cute.I love the color and adding the shells is a great idea for a Seaside theme.
Oh I love that – its looks like it was meant to be this color!
Good eye!