Paint A Tile Stencil Design On Wood
As an Amazon Associate, I earn from qualifying purchases.
Tile Stencil Project
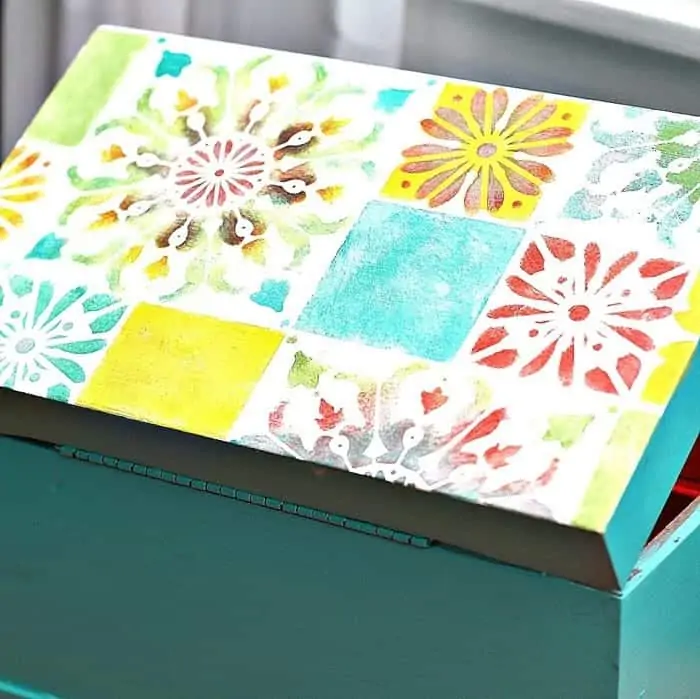
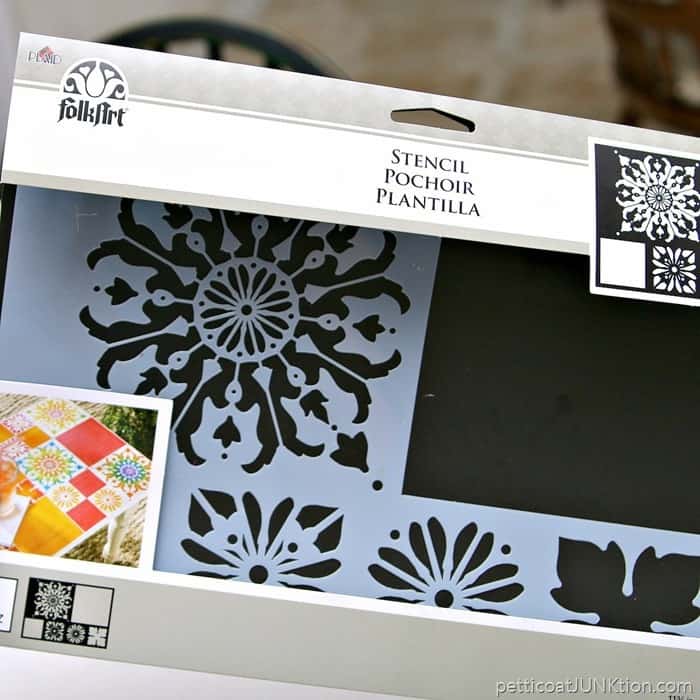
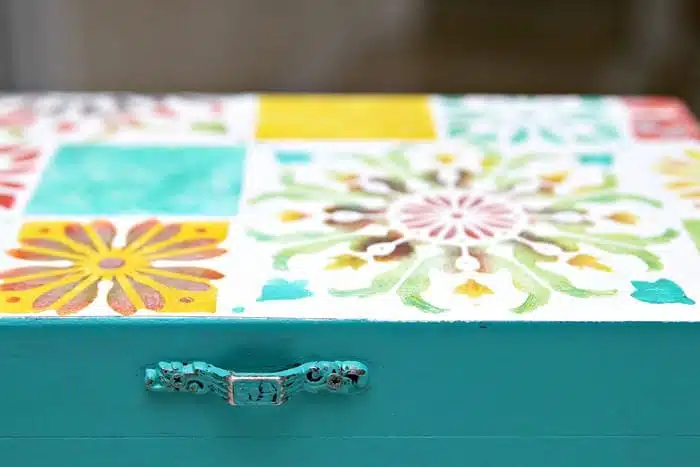
The tile stencil I used on this project is just beautiful. The design is called “Mod Flower” and the paint colors I used look amazing together.
You guys know I’m a big fan of stencils because I can’t freehand anything. I was excited to find the tile stencil because I love how the painted faux tiles dress up furniture and home décor.
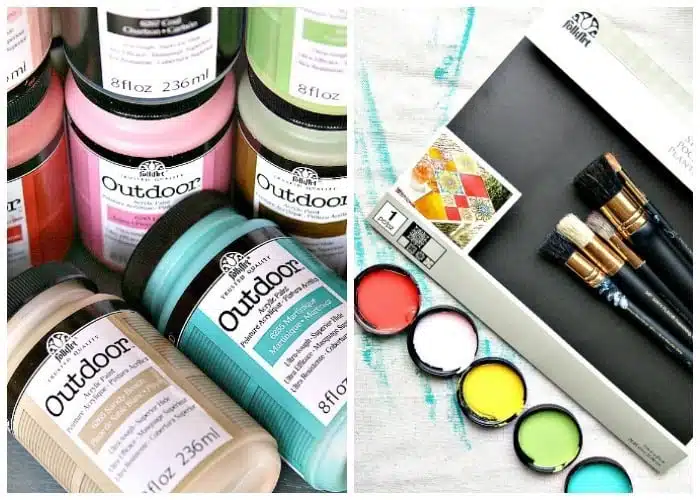
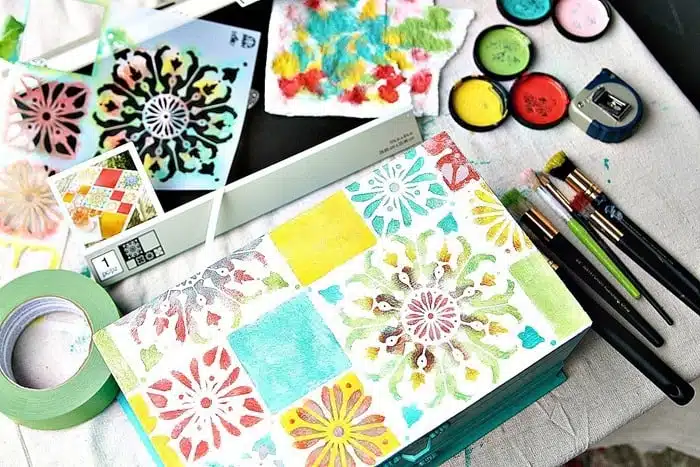
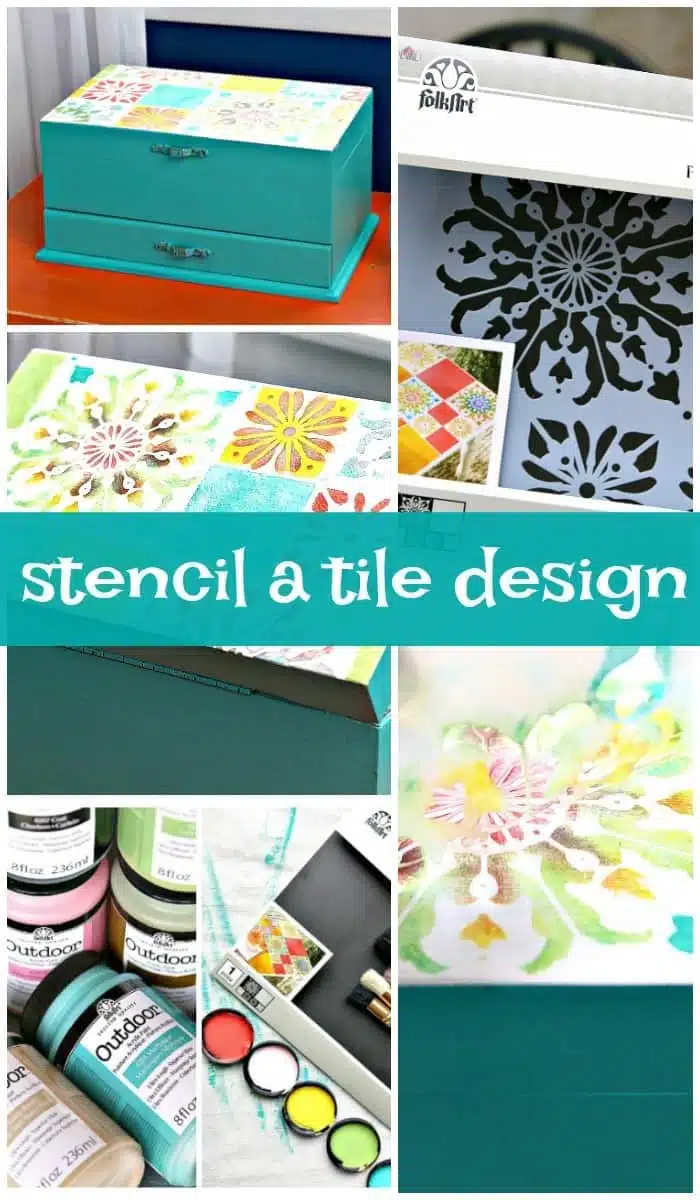
The stencil is from FolkArt® and the Mod Flower design has 4 tile designs and two plain blocks, one small and one large.
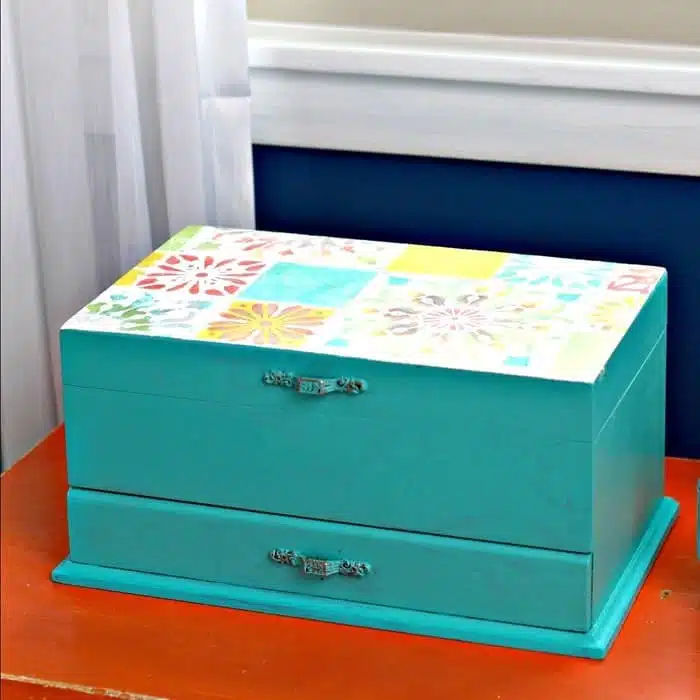
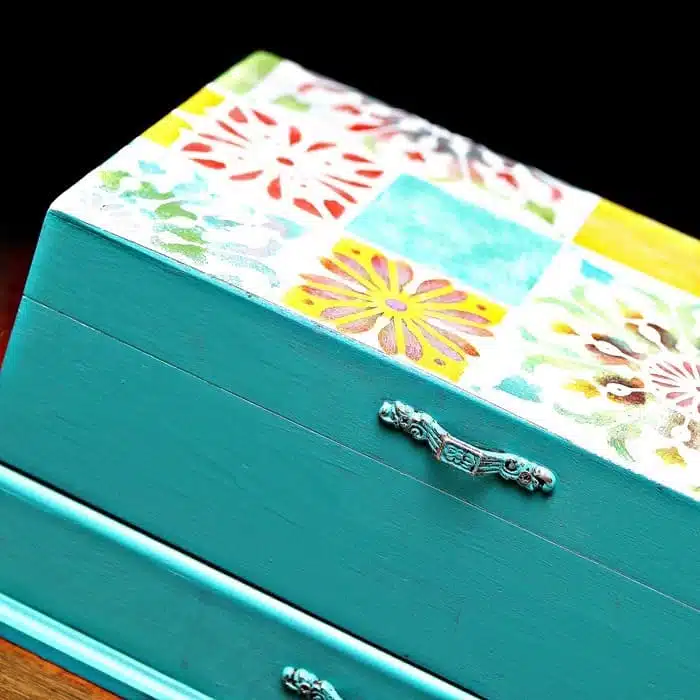
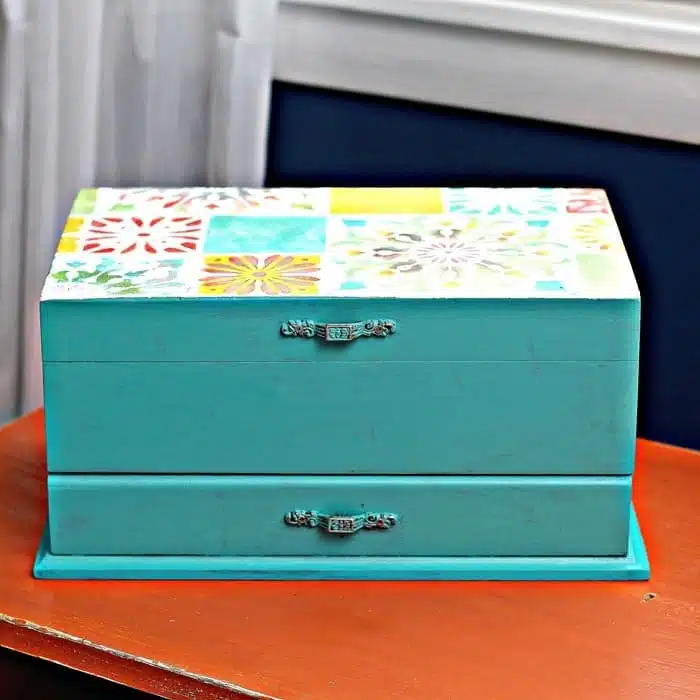
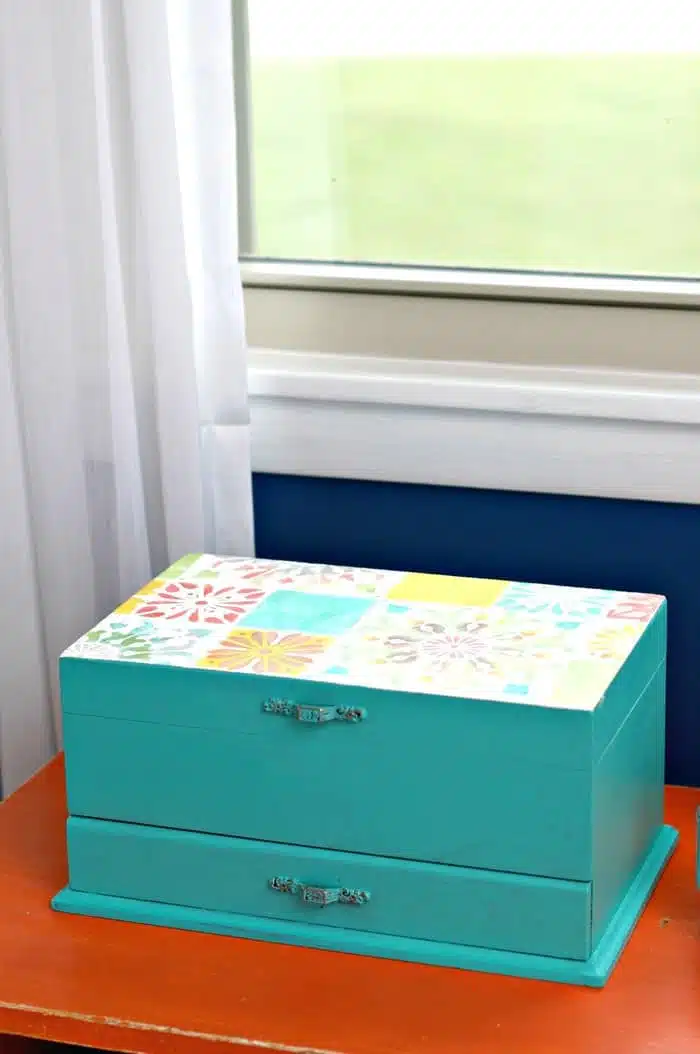
I used the stencil to decorate the top of my jewelry box.
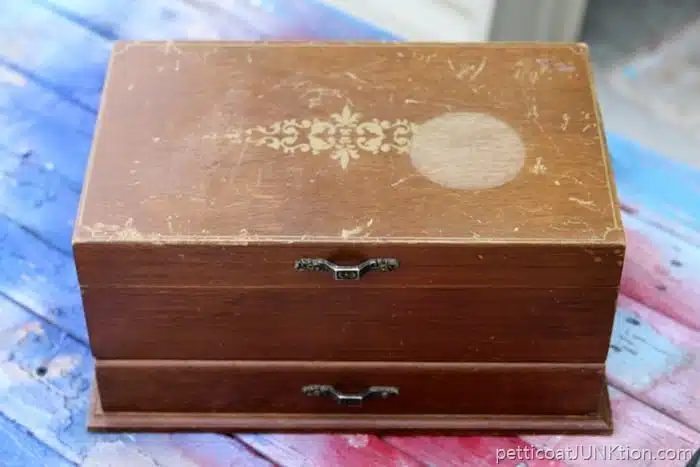
The jewelry box is from one of my thrifting trips but I can’t remember where I bought it or how much I paid for it.
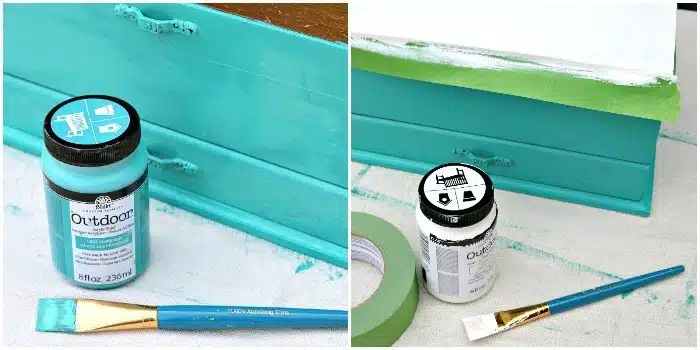
I painted the box using FolkArt Outdoor paint. The colors are so vibrant and the paint is really durable. I like the sheen so I use it on inside projects also. No sealing or waxing required. The base of the jewelry box is painted with Martinique and the top is Cotton. It only took the paint an hour or so to dry.
I selected 5 paint colors to use on the stencil design. You can use these stencils with any FolkArt paint like the Multi-Surface or the Home Decor Chalk . I also grabbed several stencil brushes.
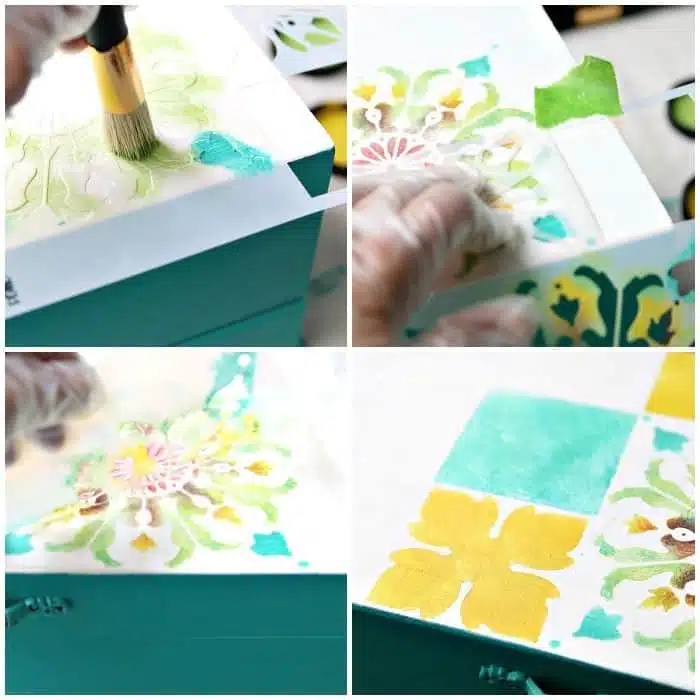
The first thing I do when using a stencil is decide the part of the stencil I want to use first and then the placement of the stencil. For this project I started with the large tile design and placed it on the lower right corner of the top of the jewelry box.. I left a little room on the right of the stencil tile to add a partial design.
Next I started stenciling using a dry brush. I’ve talked about this technique at length in prior posts. The FolkArt stencils have complete project instructions on the packaging including placement of the stencil and paints used in the featured project. Nice.
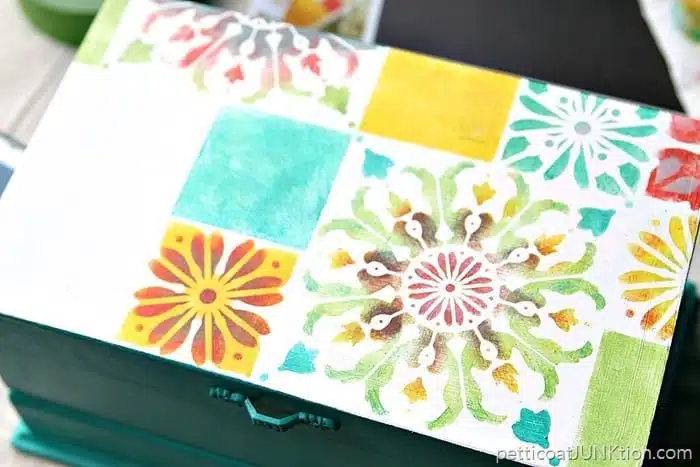
Once I stenciled my first tile I moved on to the placement of the next element deciding as I went…one tile or partial tile at a time.I guess you could say I worked counter clockwise starting at the bottom right corner. Adding the solid color squares keeps the design from looking too busy. For the daisy on the bottom left I painted the daisy design right on top of the yellow design. There are so many options with this stencil. (find the stencils here)
You would think the project would be time consuming but it’s not. I find the paints dry just about as fast I stencil them on because of using a dry brush. I completed this project in less than 3 hours and that includes drying time.
All done and that paper towel where I dabbed off the excess paints looks pretty enough to frame.
Wow, that was easy and what a transformation.
No distressing for the paint, just the knobs.
FolkArt has a number of new stencils with various tile designs. I’m excited to try one on a piece of furniture.
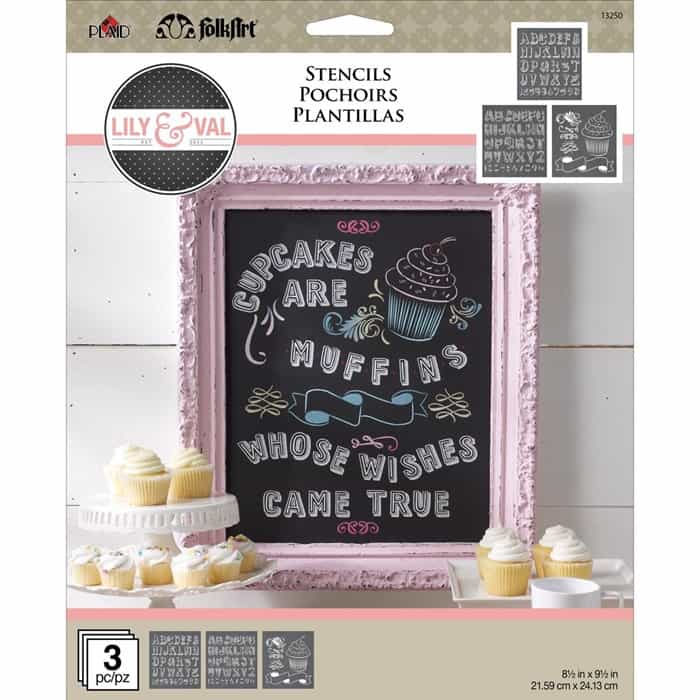
You can find the new FolkArt stencils plus FolkArt Lily & Val stencils at Michaels.
The LIly & Val layered alphabet stencils are cute as can be.
Pin It ~ Tile Stencil Project Tutorial
What do you think of the painted tile designs? Are you game?
Sign up for the Plaid Newsletter and follow Plaid on Facebook and Pinterest for the latest ideas and trends.
Disclosure: This post is sponsored by Plaid Crafts as part of the Plaid Creators program. All words, project ideas, and photographs are 100% my own.


Thank you!
Beautiful! I love anything in that color, and like my mother used to say.. you can never have too many boxes!
What you did on this jewelry box is very similar to what I want to do on our deck on a much larger scale using the same outdoor paint to make a faux area rug. Love it! Pinned
Awesome, as usual
What a pretty way to dress up a jewelry box.
Thanks for letting me know Bonnie. I’ll take care of that.
I’m glad stencils have become more plentiful lately and have made a come-back, for several years they were hard to find. They are useful for so many projects.
I love your blog. But when I try to read it on my phone so many ads get in the way and are so annoying I can’t read it!