Quick Way to Lighten Dark Furniture: Whitewashing Stained Wood
As an Amazon Associate, I earn from qualifying purchases.
Whitewashing is a great way to lighten dark furniture. Older furniture sometimes looks outdated and a whitewashed finish can freshen and lighten the stained wood.
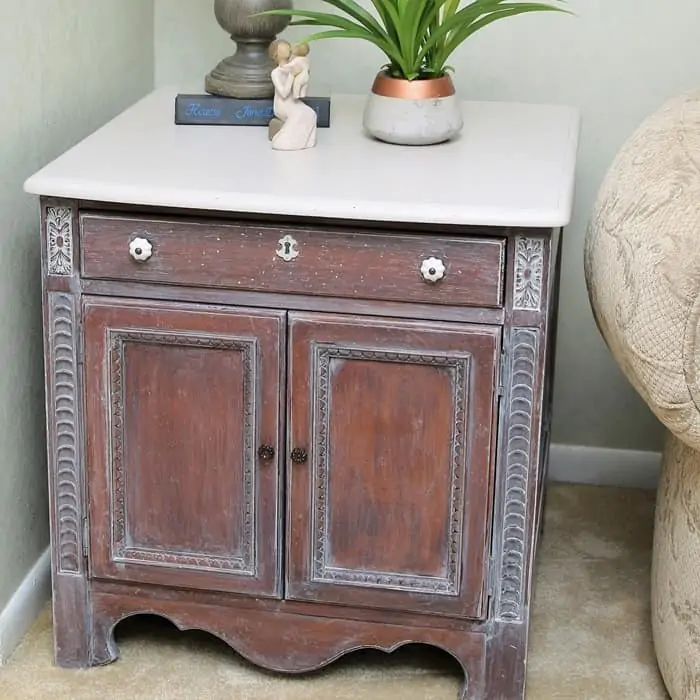
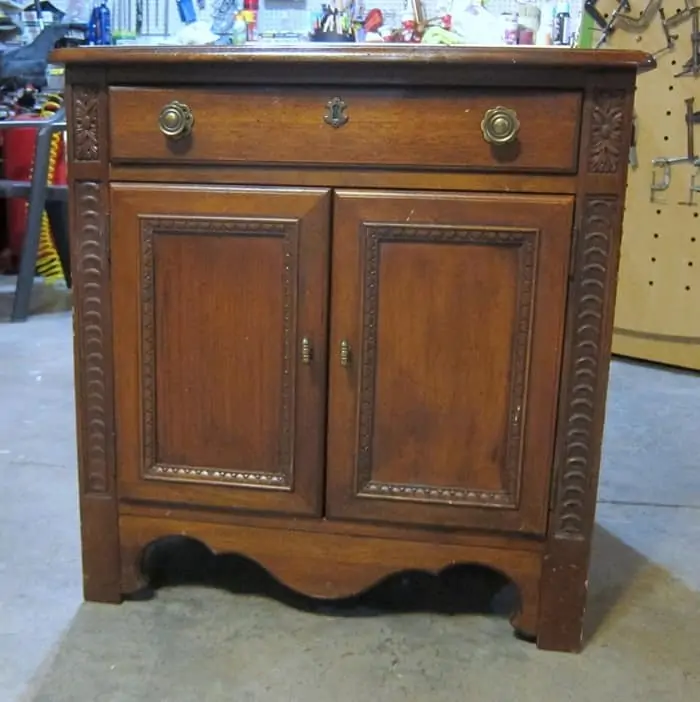
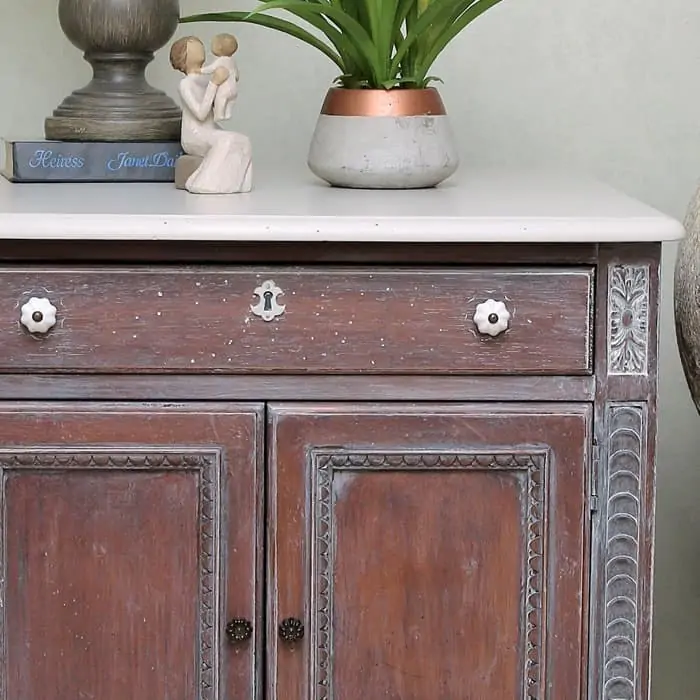
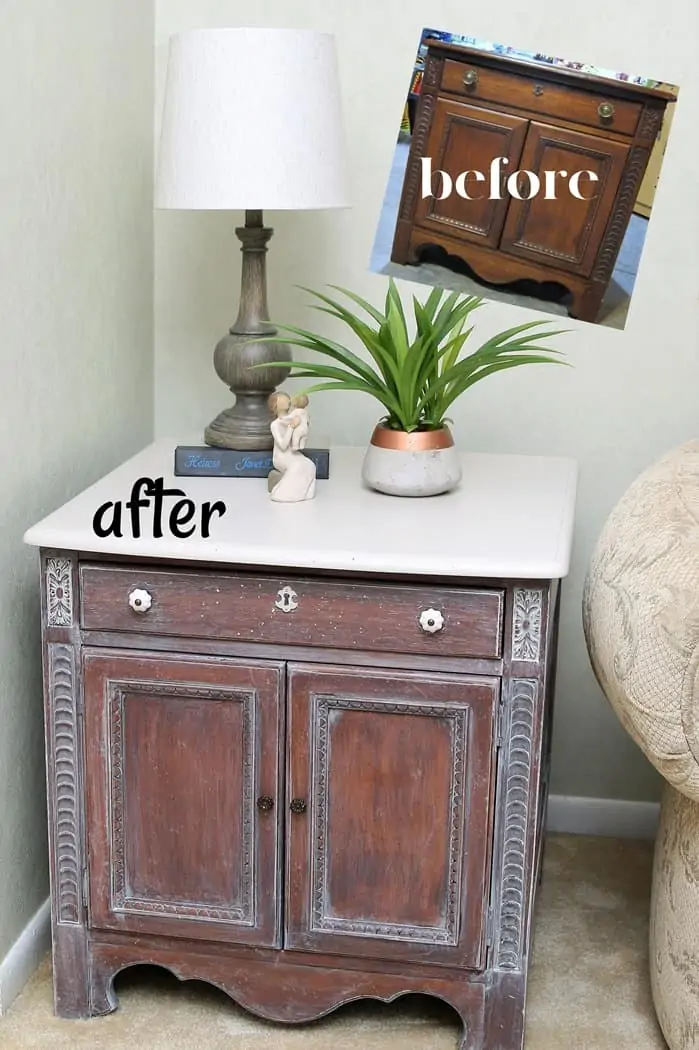
Well, Guys, I’m in love with this side table. I know, bragging on myself and patting my back but wait until you see the new look versus what I started with. You will not believe it is the same piece. The photo above shows the new look. I think you could buy a similar piece at a high-end furniture store for maybe $500. Take a look at the before photo below.
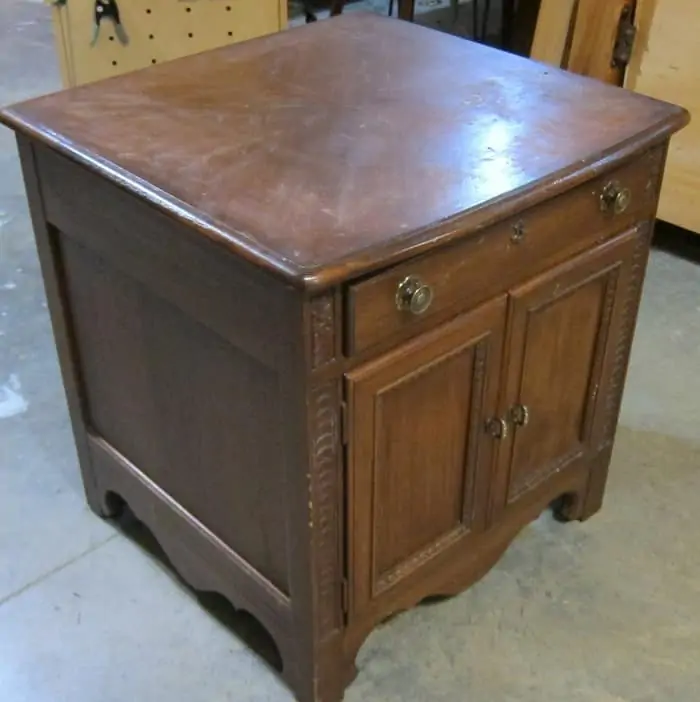
We got this piece free from one of our neighbors. You can’t beat free furniture. It is solid wood, squarish, and rather large. The brand is Hekman. I Googled the name and the company makes some pricy furniture.
I couldn’t find a similar piece to this one but I think we got a good deal from our neighbor. I’ll have to be sure and thank him again.
I planned to paint the table and sell it but the more I looked at it, the more I liked it……I just had to get the right paint plan together.
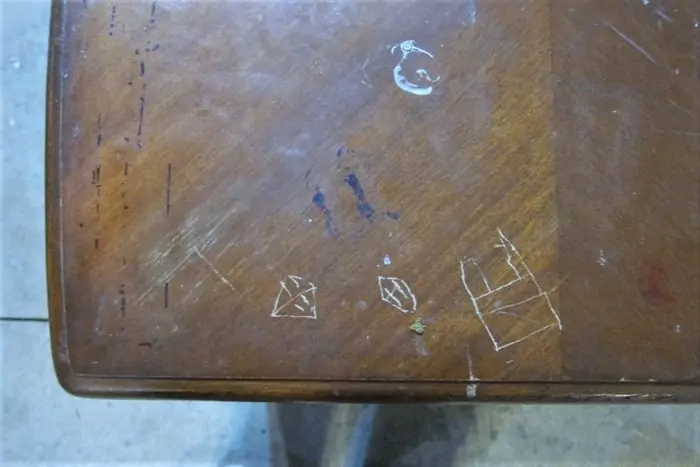
Someone had etched little drawings into the top of the table. Now they don’t look too bad but it takes a lot of sanding to get down deep enough to remove the scratches. I decided to paint the top instead of sanding for hours. And I wanted to try a whitewash technique on the rest of the cabinet. I was inspired by a dresser makeover by my friend Do Dodson.
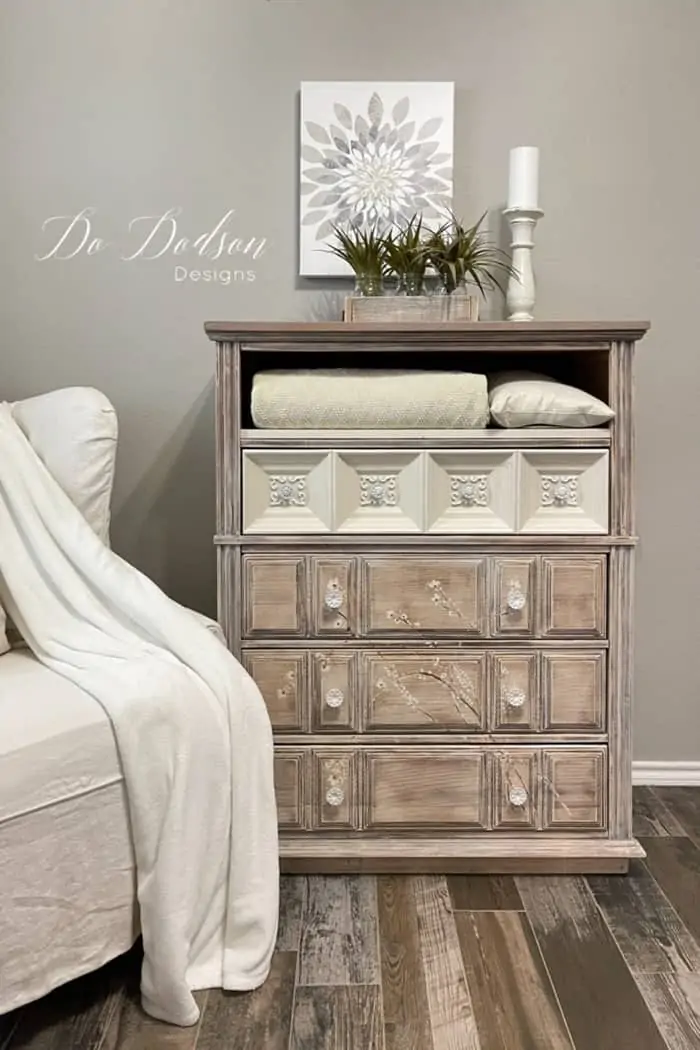
Do is a master when it comes to furniture makeovers. She whitewashed the dresser above and painted the trailing flower stems on the dresser freehand. She is an artist! You can see her tutorial for the dresser here…SHOCKING Dresser Redo. My finished table project does not look remotely like the dresser. Just remember, inspiration is a creative idea to work with and make your own, not something to copy.
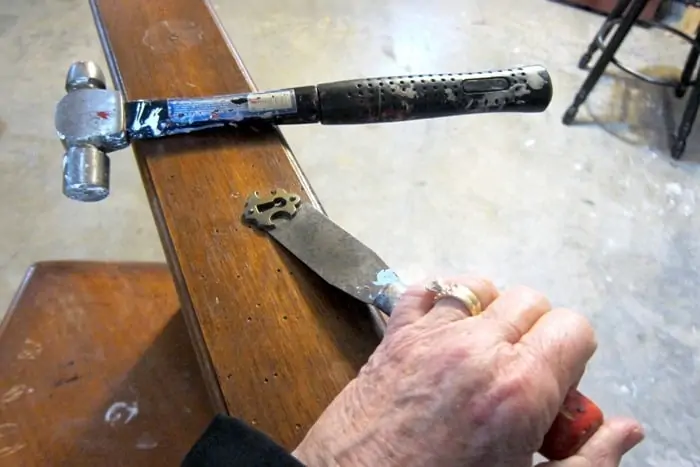
Before painting, I removed the drawer pulls and other hardware. I always remove the drawer pulls before painting anything.
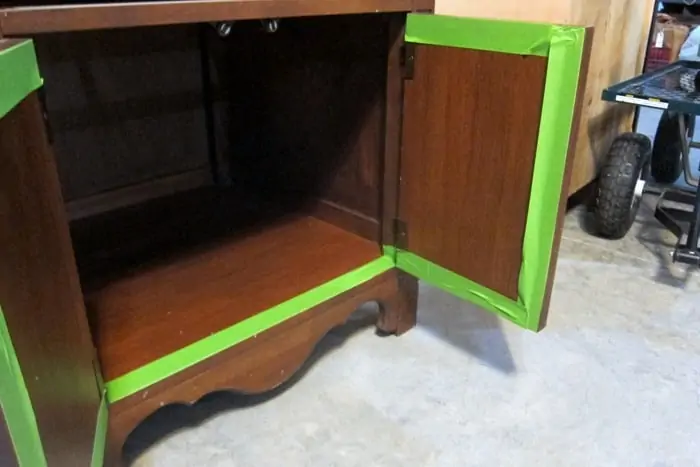
Next, I used painter’s tape on the inside of the cabinet doors and bottom shelf. Nice clean paint lines make the interior of the cabinet nice and neat looking. The inside of the cabinet got a good cleaning but will not be painted or whitewashed.
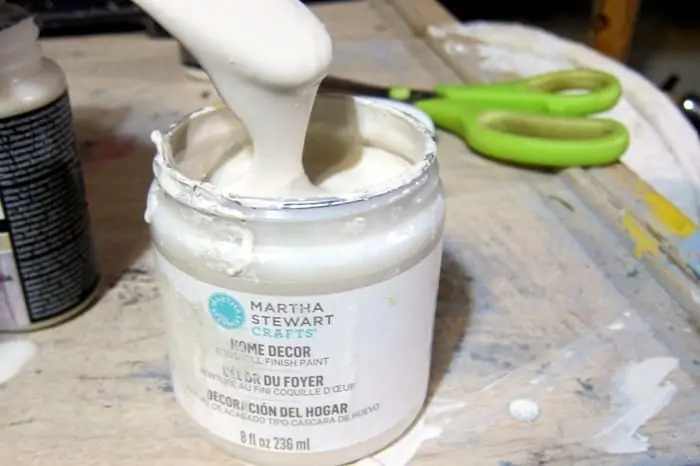
I went through my paint shelves, looking for off-white paint. My stash of light-colored paints is very low. I found the container of Martha Stewart Home Decor paint in a light color called Sand Dollar. It has been on my shelf for a while and the paint was thick, so I added a bit of water to thin it down. It’s definitely okay to do that if you have old latex paint that’s been sitting for a while.
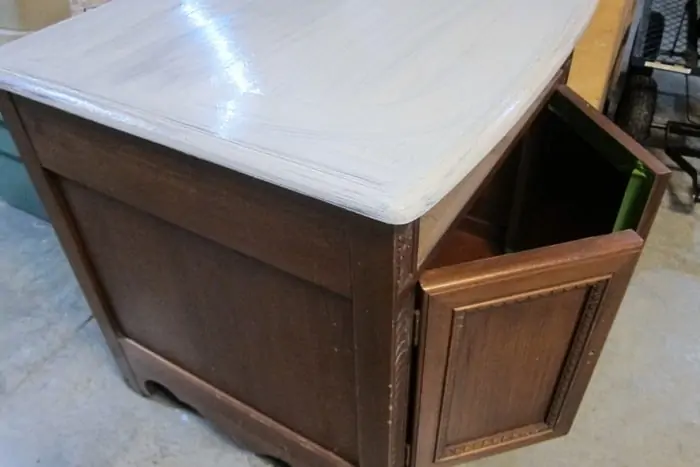
This is how the tabletop looked after one coat of paint. I applied a second coat and the top was done. Moving on to the whitewashing.
I made a short video of the process but I’m also going to walk you through it with a few photos. To make the whitewash, I combined equal parts of paint and water. I didn’t water the paint down as much as I do when I’m doing a whitewash over painted furniture.
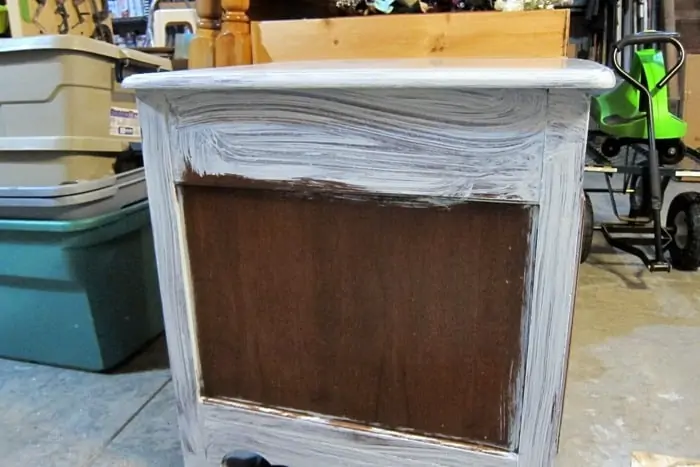
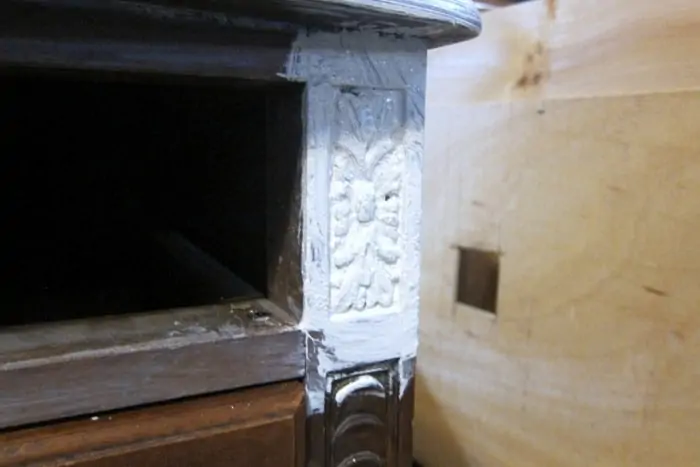
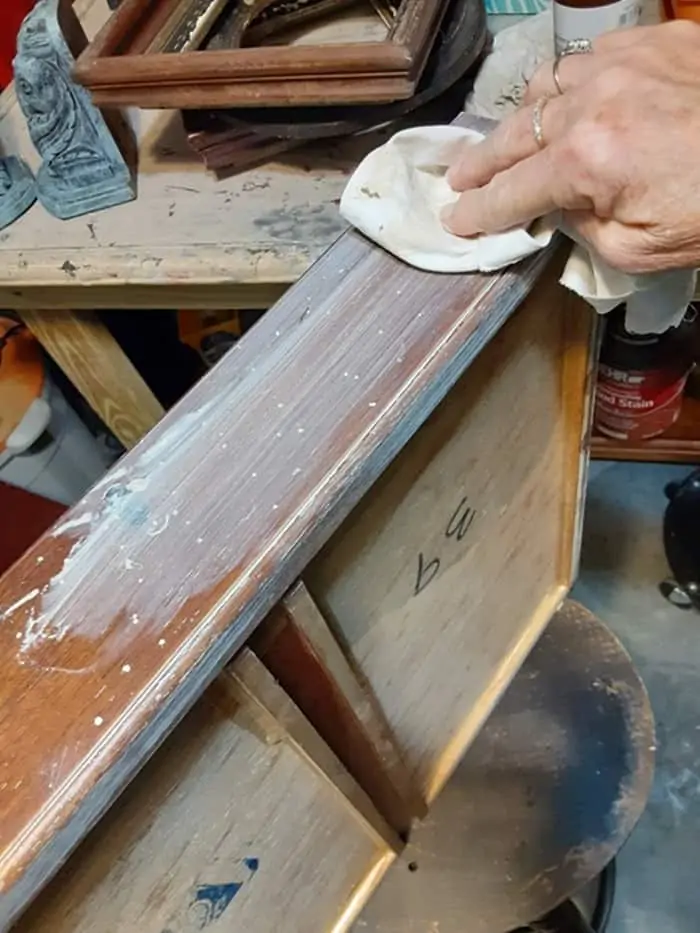
I did the whitewashing by sections on the table, first brushing on the wash and then wiping it back (or off) with a dry rag. Removing the whitewash with a dry rag leaves a lot of the wash behind.
When I want to remove most of the whitewash, I use a damp rag. For this piece, I rubbed a dry rag over the washed area until I got the look I was going for.
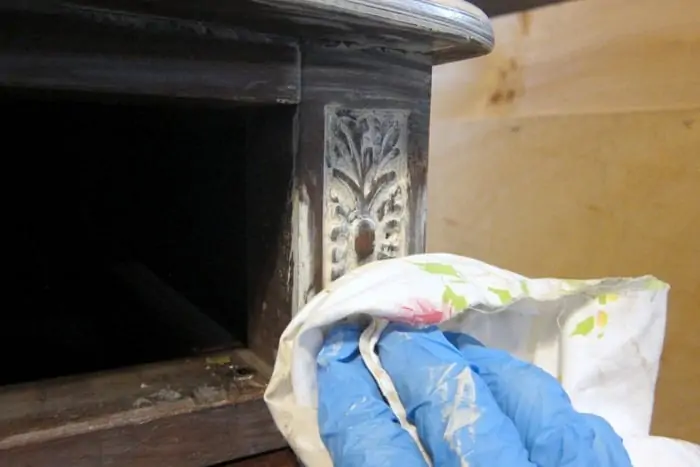
For all those lovely details, I brushed the whitewash on and then wiped it back too. I love this part.
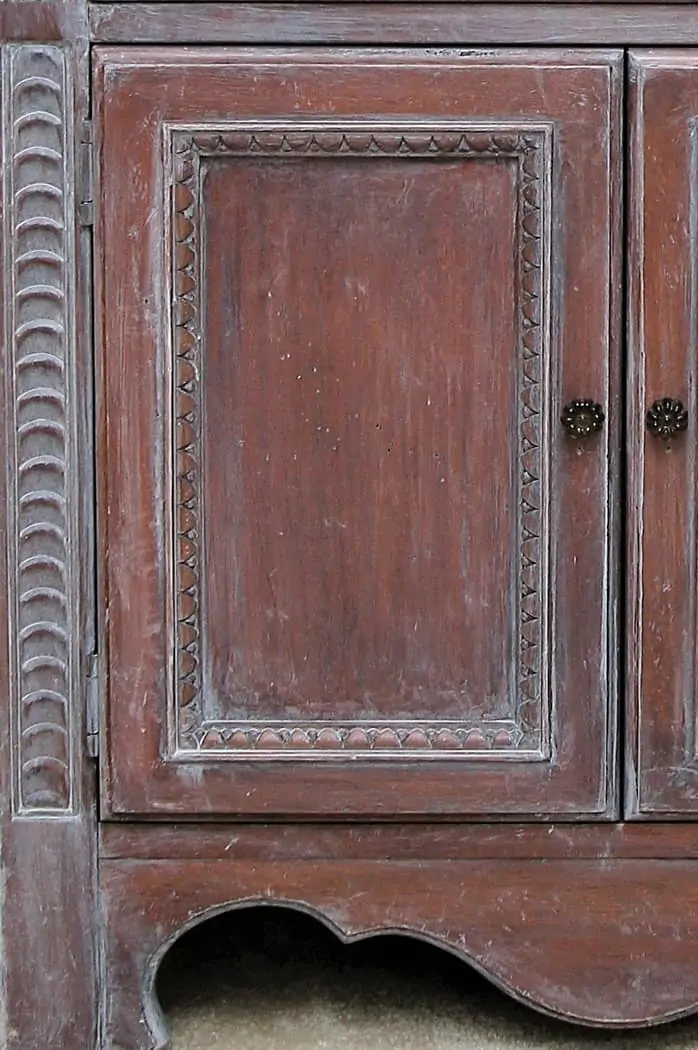
It’s so cool to uncover the raised detailed areas by rubbing over them with the rag. The contrast between white paint and stained wood is so pretty. Also, remember that the look I’m going for is not perfection. Each side and all of the details are not going to be perfectly matched as far as paint coverage or lack of paint coverage. Perfection is just about impossible unless it’s manufactured furniture and then……it just looks manufactured and cookie-cutter. Perfectly imperfect is the best look.
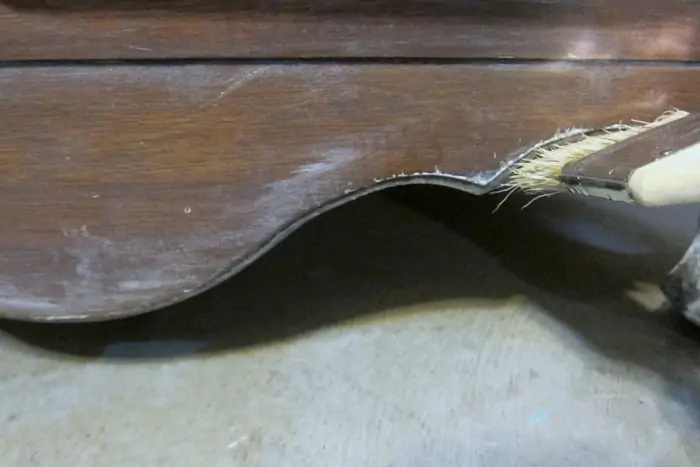
Along the bottom and corners of the piece, I did a bit of dry brushing.
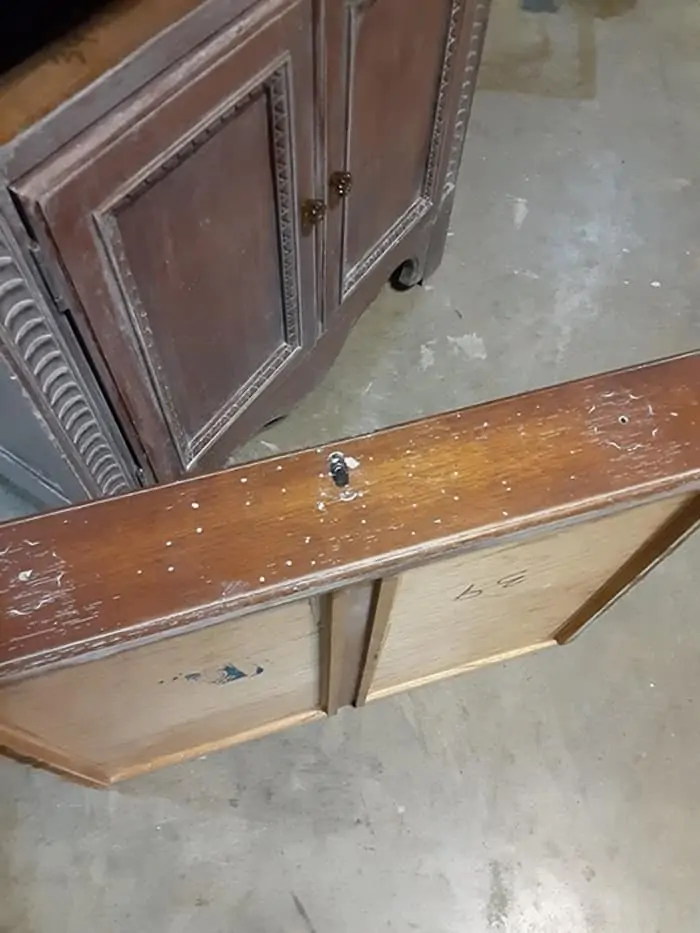
When I started this project, the first thing I did was paint the drawer with the sand dollar color paint. I thought I wanted the drawer painted. When I put the project back together, I did not like the look at all. I took a bottle of Simple Green and sprayed the painted drawer front.
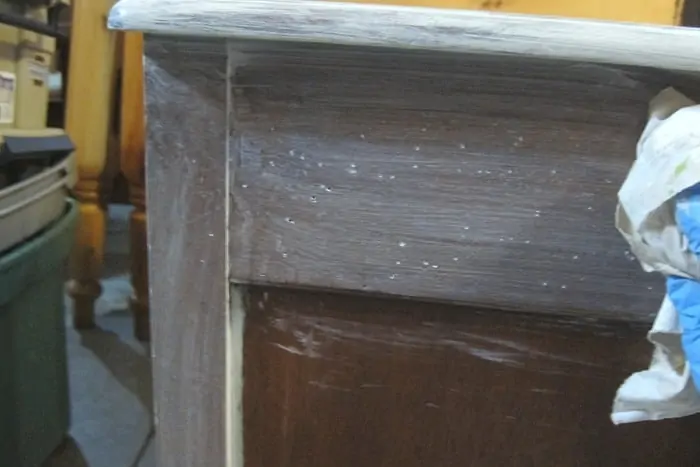
I let the Simple Green set on the surface of the paint for a few minutes, then I scrubbed and scrubbed with a rag until I removed all of the paint. In the photo above, you can see where there are still dots of paint in the small pits of the drawer front. That is going to look really cool after I whitewash the drawer.
Instead of brushing the whitewash on the drawer, I dipped the rag in the whitewash and wiped it on. There are various ways to apply the whitewash depending on how you like to work.
The only thing left to do now is picking out new drawer pulls and paint the little keyhole thingy. I painted the metal keyhole thing with the same paint and nailed it back on the table. The pulls on the cabinet doors are some I had in my stash.
They looked just right and I wished I had two for the top drawer but I didn’t. I found the pulls for the drawer at Hobby Lobby and they look just right! The color is off-white and they have a matte finish.
I mentioned making a short video showing some of the whitewash process and you can see it below….
[adthrive-in-post-video-player video-id=”aNAjl7kW” upload-date=”2022-01-19T02:47:04.000Z” name=”how to whitewash stained furniture.m4v” description=”Whitewashing stained furniture to lighten the wood finish.” player-type=”default” override-embed=”default”]
How To Create A Whitewash Paint Finish
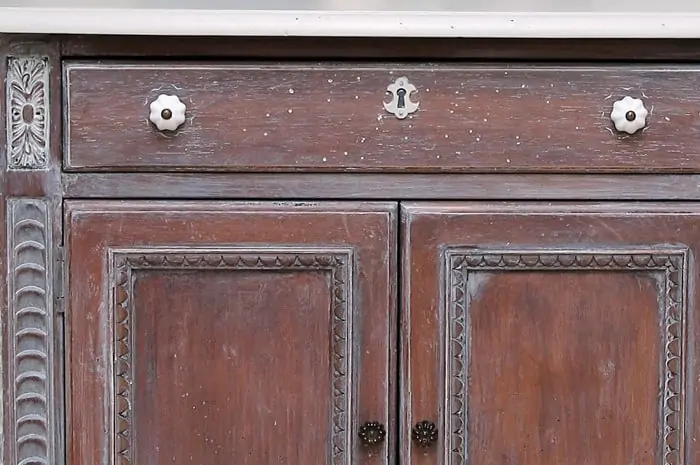
Do you guys see what I mean about the white pitted areas in the drawer front? Love that look. You can also see where I lightly dry brushed white paint around the edges of the cabinet doors and the drawer. The look is very subtle but it’s there and you would be surprised how something that seems so minor can make a big impact.
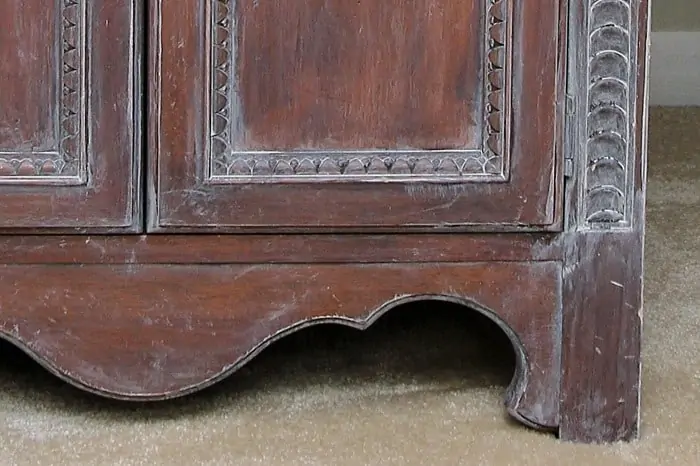
Another close-up look at the details on the side and the cabinet doors. The whole whitewash process on all four sides of the table probably took me less than an hour. That’s one plus for imperfection…..time saved.
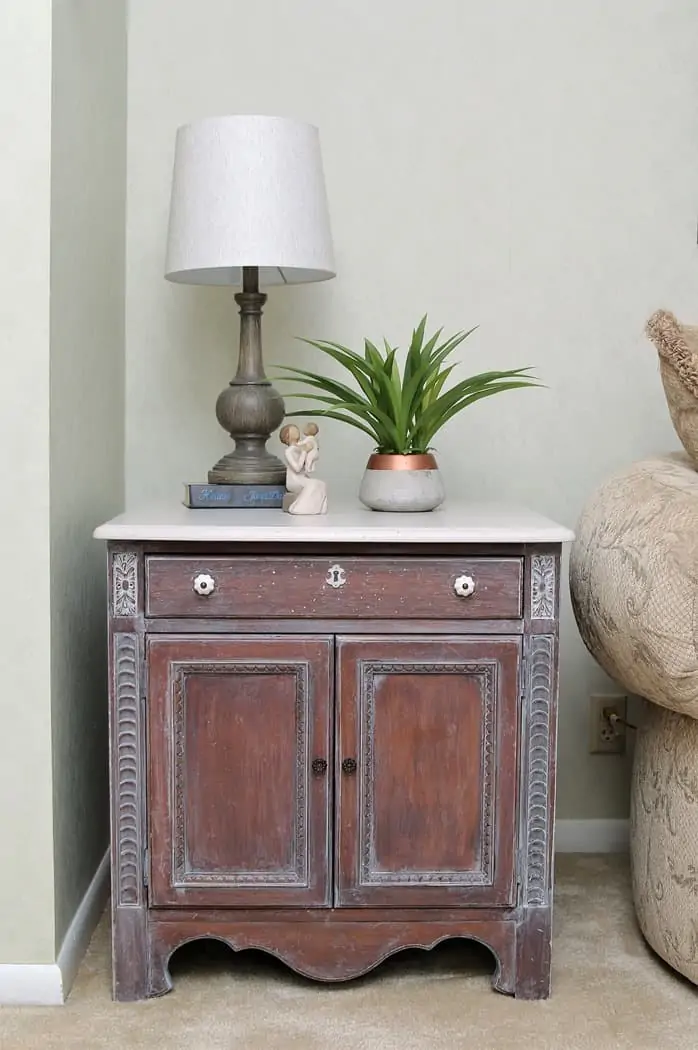
Can you believe this is the same piece of furniture? I’m impressed. Whitewashing painted furniture is something I do quite often but that’s a totally different look from whitewashing a stained finish. I can see using this technique on stained furniture a lot in the future. I just have to find the right furniture pieces. The original stained finish would need to be in good shape and a pretty shade.
The side table looks great in the space beside the sofa in our small living room. What do you guys think of the whitewash finish and the two-tone look with the top painted white? Do you like the drawer and cabinet pulls?
The pulls on the cabinets are kind of like crystal. In the photos, the brown color looks solid and dense and looks different in person. That’s it for me. Leave a note if you have time, and thanks for being here, Kathy

This makeover is beautiful Kathy! XOXO
It was nice before but now it’s beautiful!
This looks great! I want to do something with a 4 drawer chest in my bedroom and my nightstands. I think I’m going to give this a try. Thanks for sharing!
It’s perfect! Thanks for sharing your technique!
What a lovely little cabinet. Prefect for any room in the house.
Wow! It’s so pretty, Kathy! I love how you used the whitewash over dark wood. I haven’t tried this but I sure will now. Thank you so much for sharing this creative technique and for sharing my Dresser Redo.
You’re the best! ? xo