

How To Stencil Mid Century Modern Furniture With a Retro Star Design
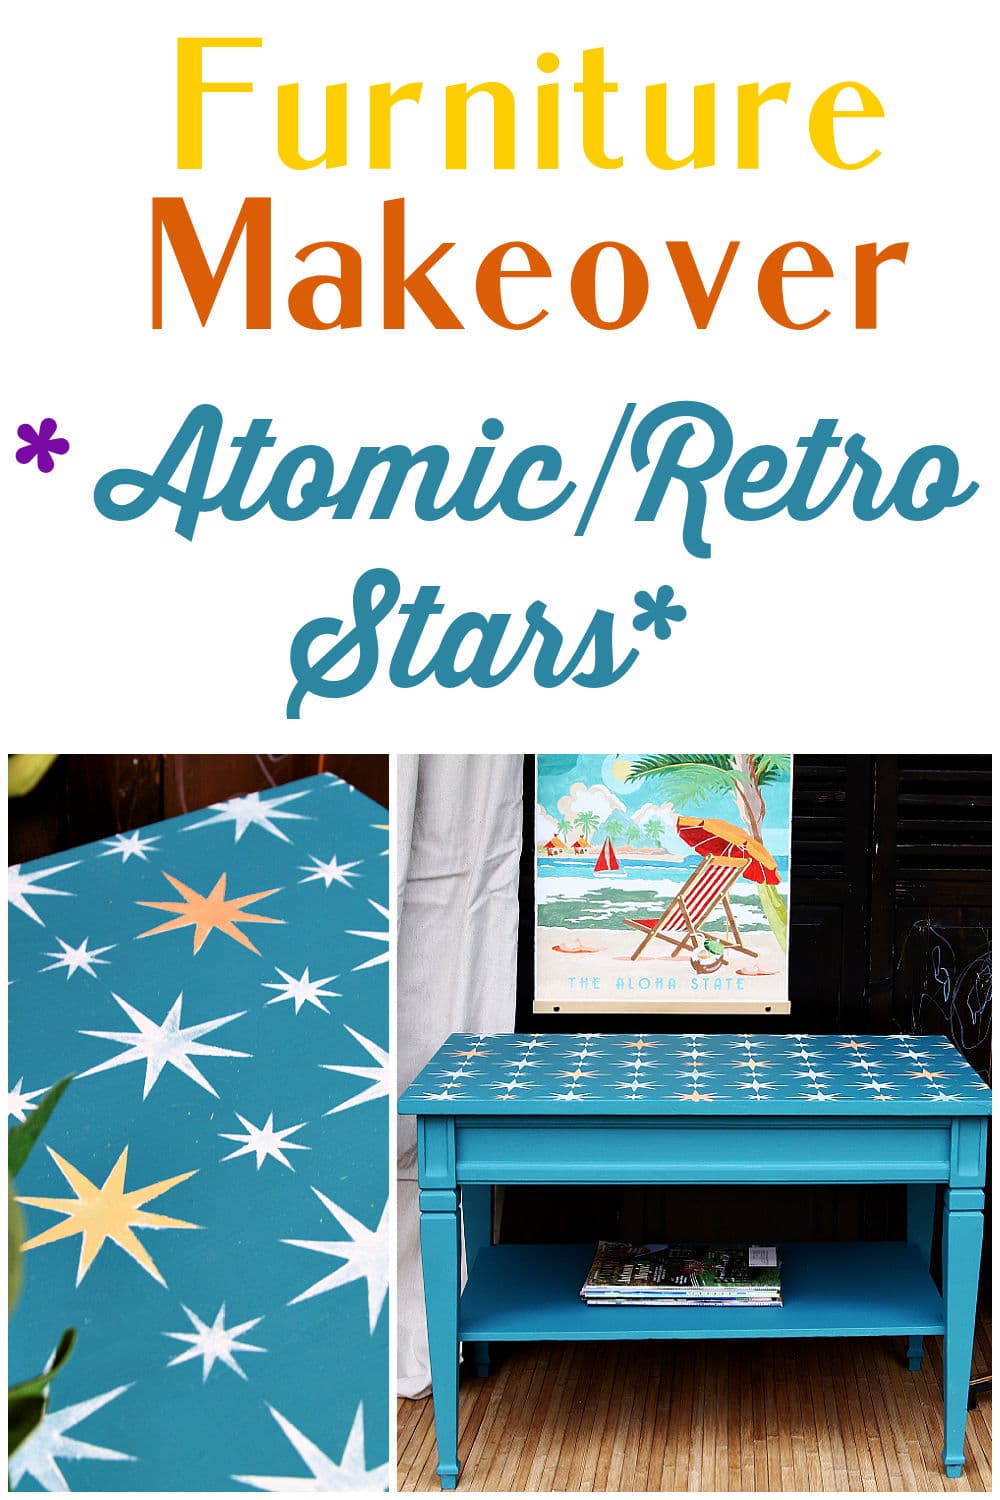
Learn how to stencil retro stars (atomic stars) in colors of orange, yellow, and white on turquoise furniture.
After painting this mid-century modern table a pretty turquoise color, I started looking for something to add pizazz to the piece and spied the perfect thing on my workshop shelf: a retro star stencil.
I stenciled the top with white, orange, and yellow stars, and the bright colors gave the table that fun atomic-style look you see in mid-century modern designs. The stencil completely changed the personality of the table, and I love how the colors pop against the turquoise paint. I made a video of the stenciling process just for you!
Today is one of my favorite project days. It’s the Furniture Fixer Upper Tour, where 4 of my furniture-flipping friends and I each share a new furniture makeover. Click the links at the bottom of the post and pick a favorite if you can.
How To Stencil Retro Stars On Furniture
Supplies:
Dixie Belle Silk Paint, Mirage
Dixie Belle Drop Cloth Chalk Mineral Paint
Dixie Belle Silk Paint, Yellowstone
Dixie Belle Terra Clay Paint, Marigold
Dixie Belle White Lightning
Stencil brushes
Stencil (similar)
Paper plates and towels
Sandpaper
Wood filler
Prep Your Furniture
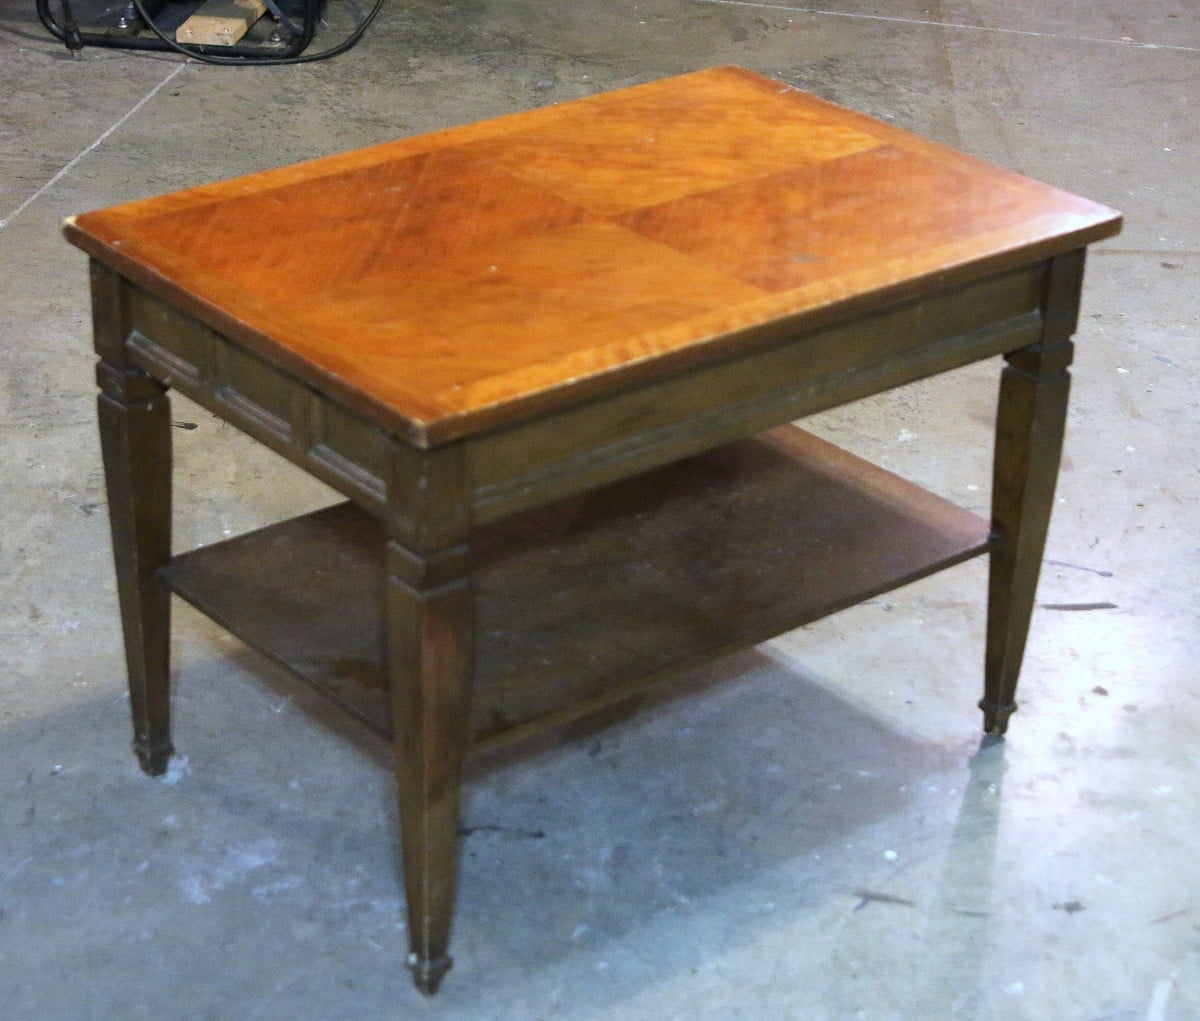
I found this table for $5 at my favorite junk shop a couple of weeks ago. It is solid wood, and I like the details. I would call the table Mid-Century Modern. What about you?
Make Repairs
If you look closely at the photo of the table, you can see where one of the corners on the top is dinged up.
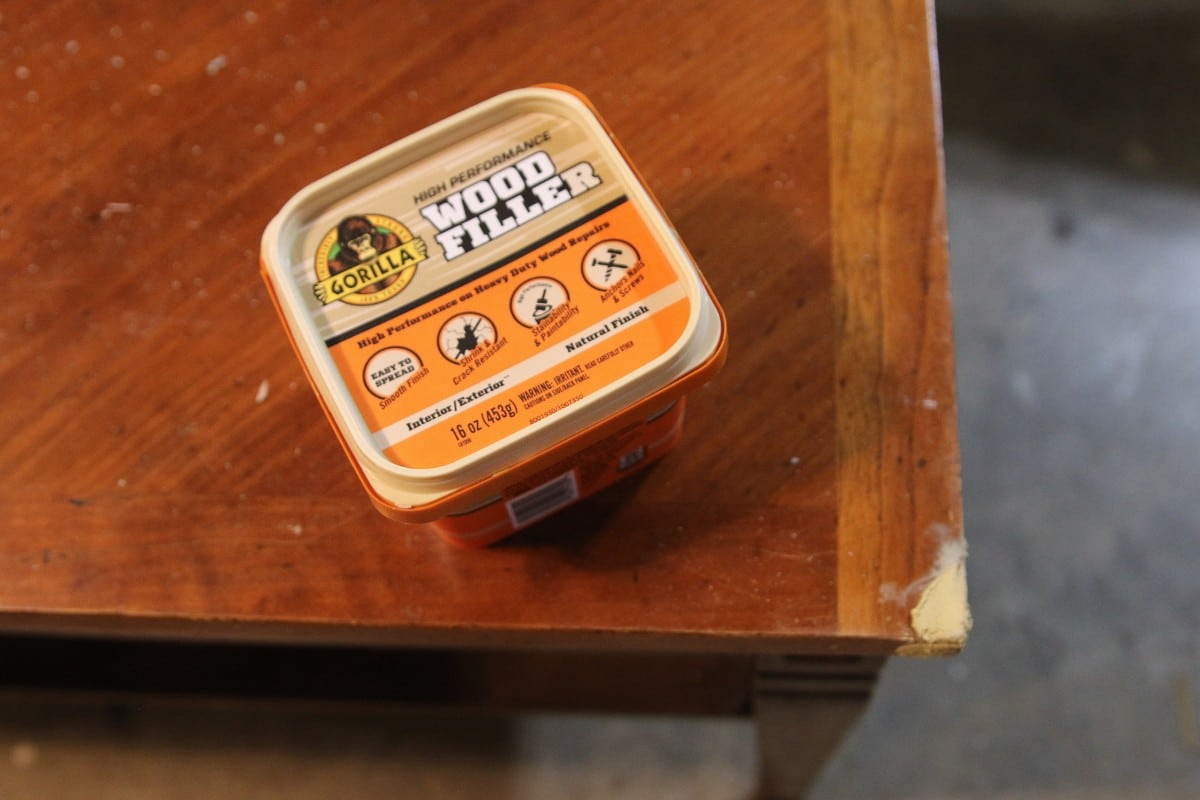
I applied a little wood filler over the area.
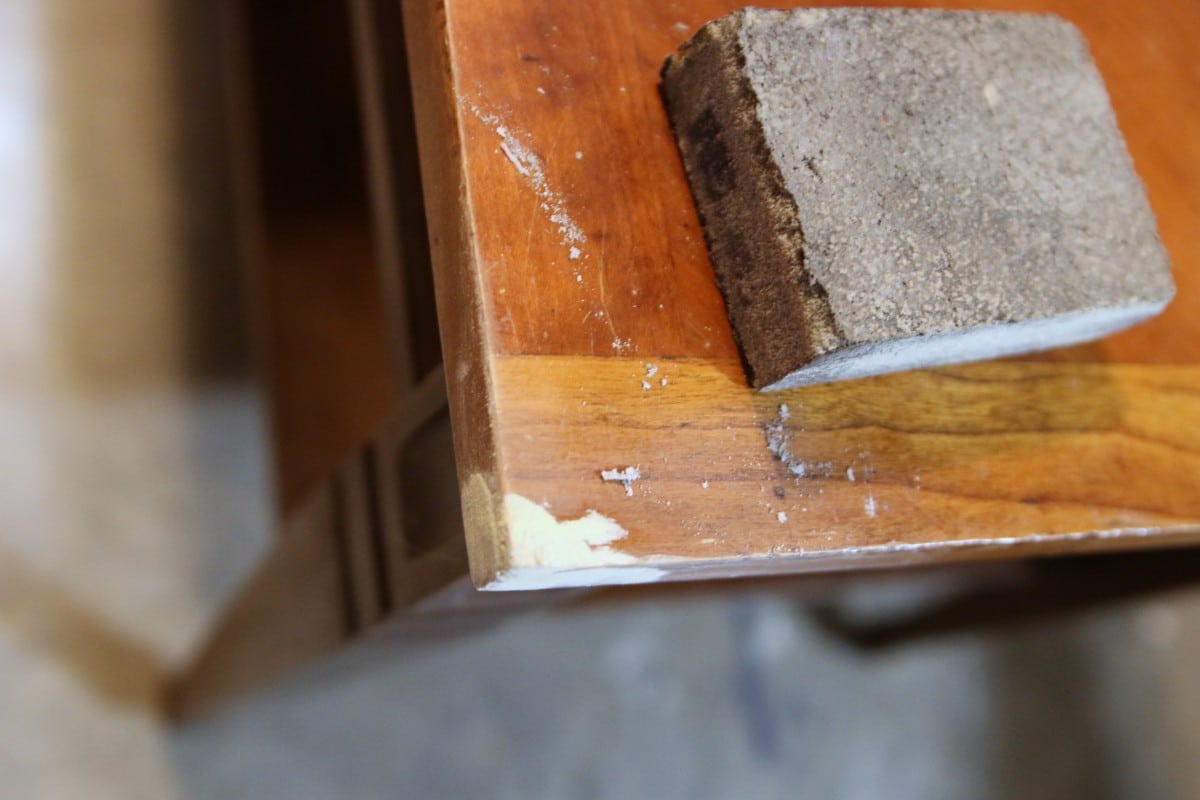
Once it was dry I sanded it smooth with a sanding block.
Clean
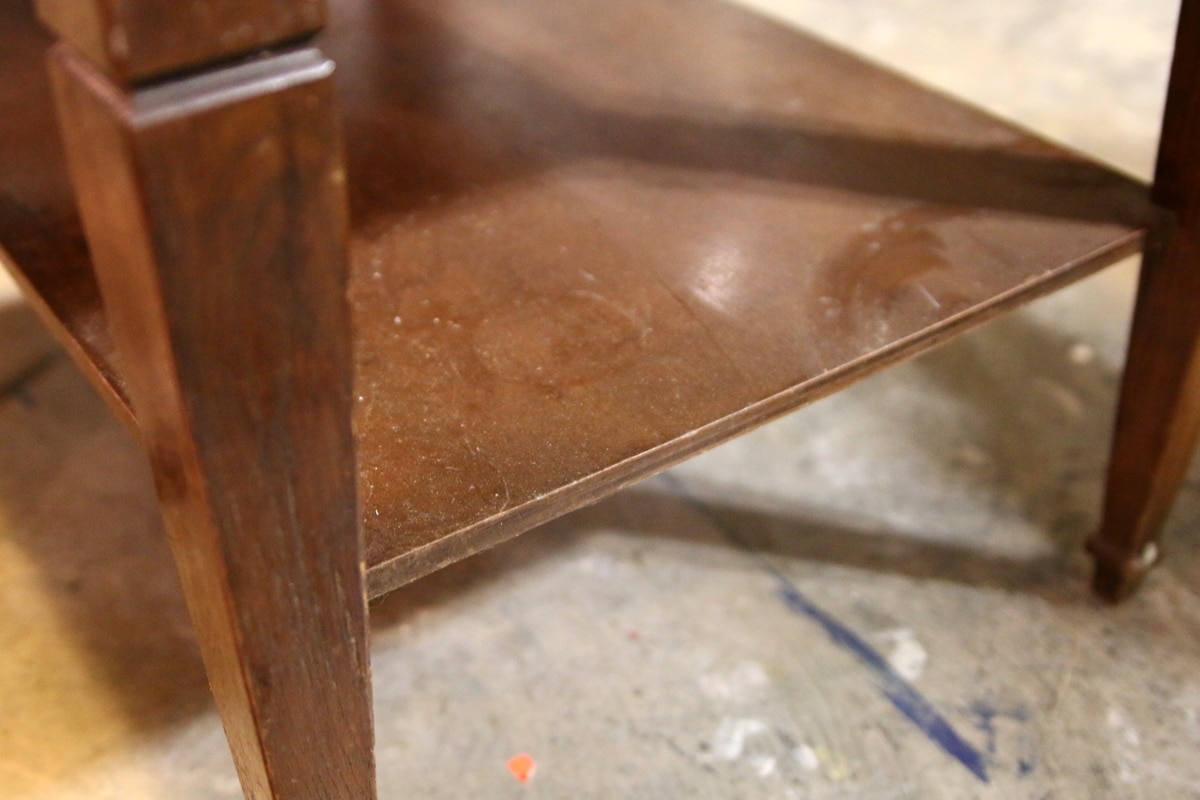
Most of the furniture I buy has set in a garage somewhere or been stored for a while. That means it is usually dirty and smelly.
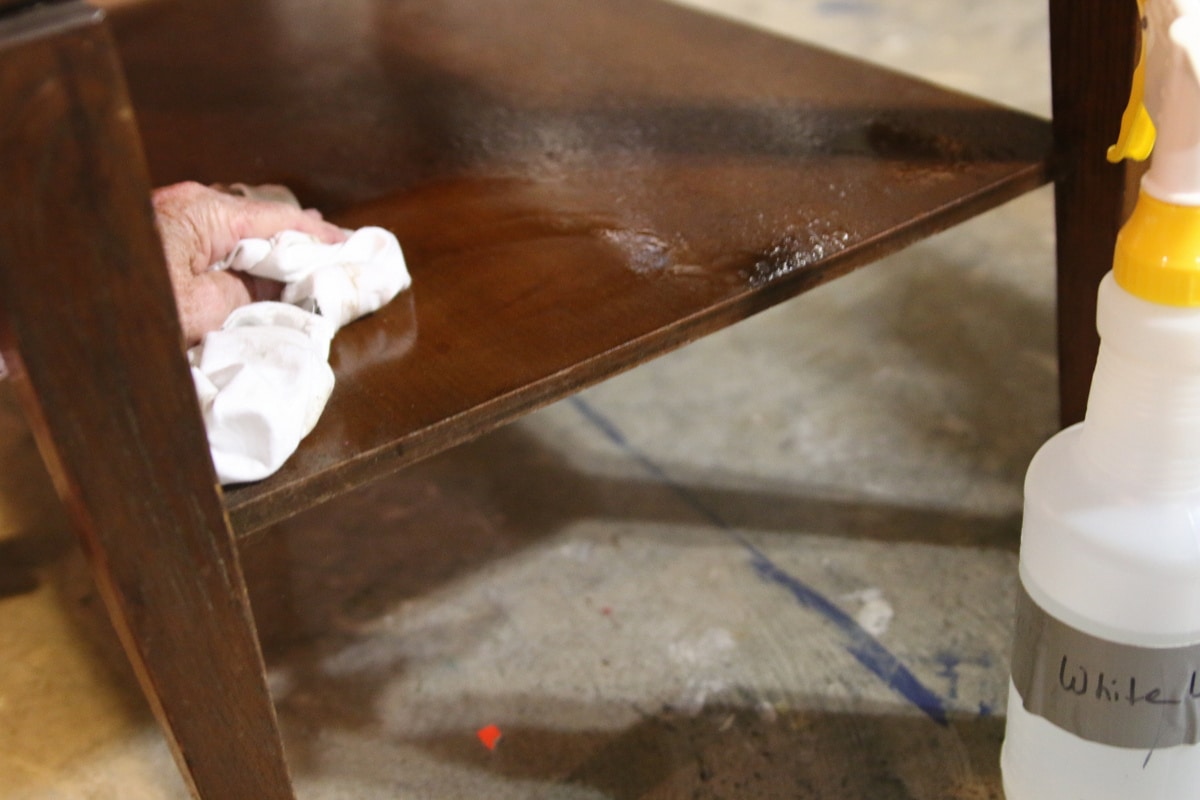
I use Dixie Belle White Lightning to clean all my furniture pieces. It cuts through wax and grime without a lot of elbow grease.
Prime the Furniture
The paint I chose for this project is an all-in-one paint meaning it contains the primer, paint, and the sealer.
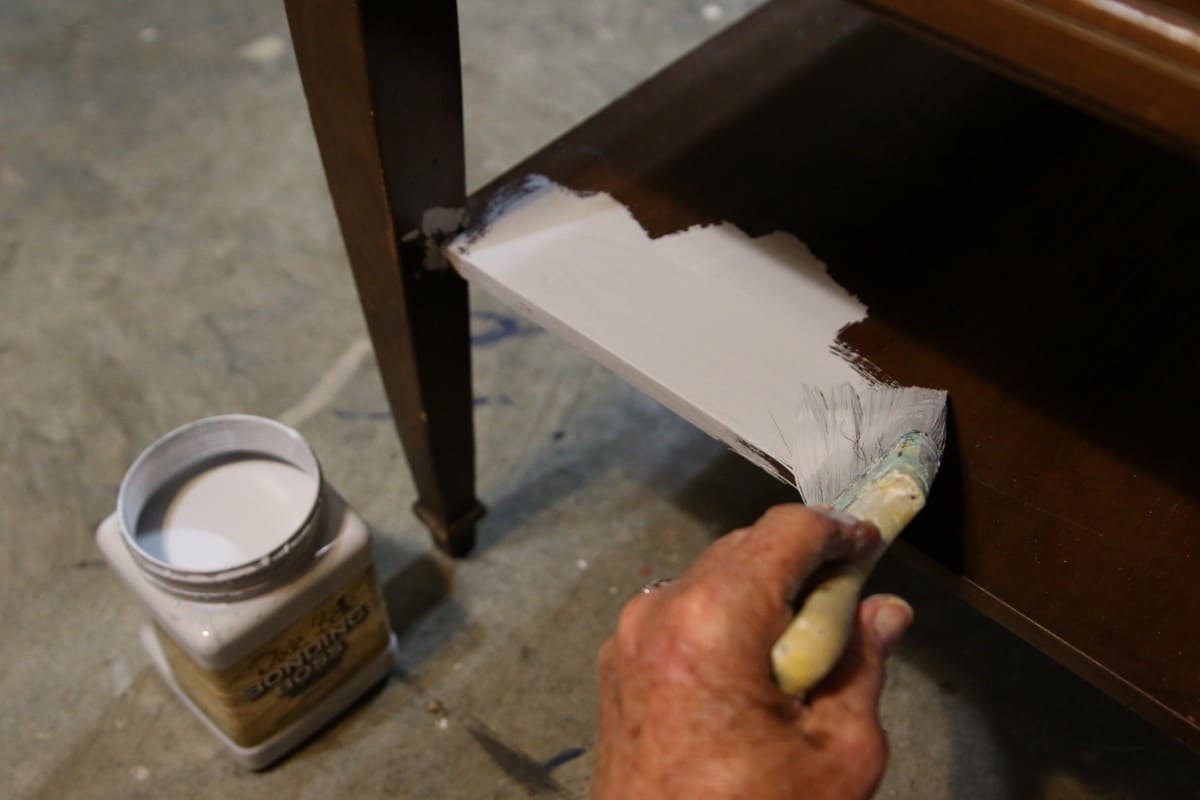
I like to apply a coat of primer to give furniture a smooth, even color and finish.
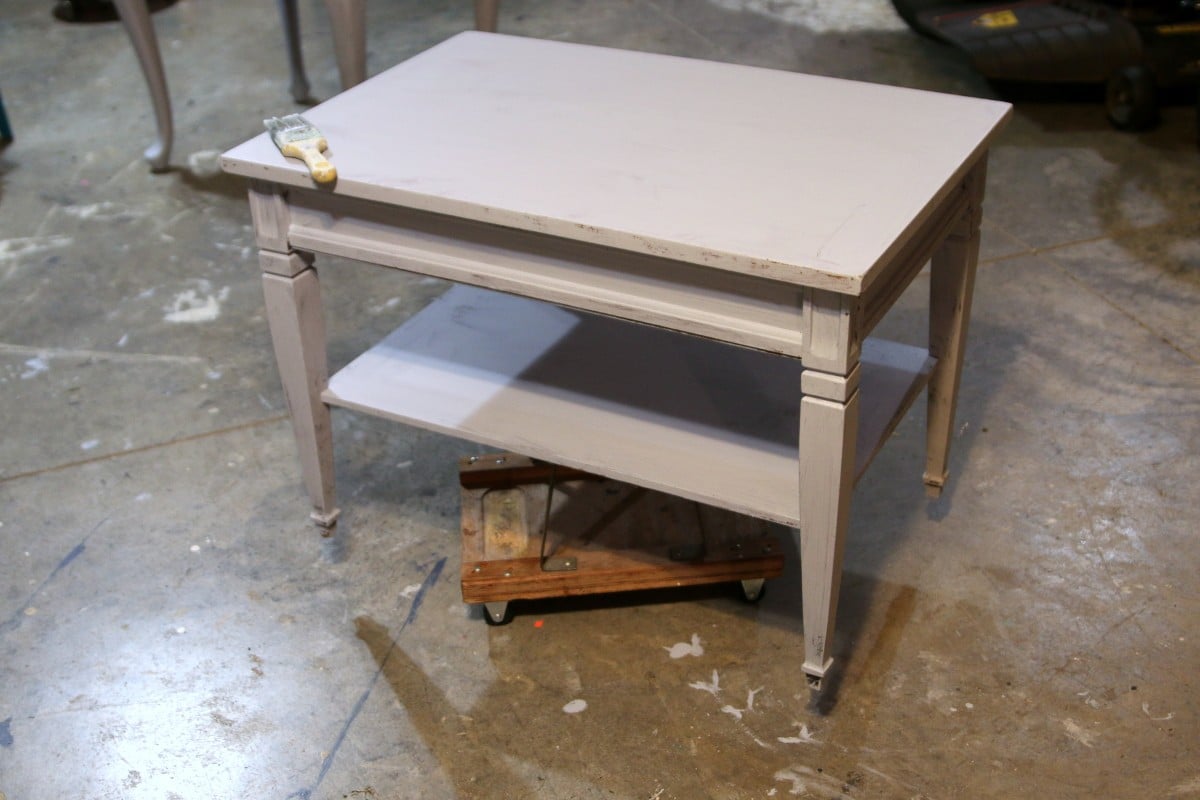
The gray Bonding Boss works great under any paint color. When I purchased primer at the local hardware store, I always had it tinted gray.
You might notice in the photo above that I placed the side table on a small rolling seat to give it a bit of lift. I sat on the floor to paint the table.
I mentioned a few weeks ago that we were finally having air conditioning and heat installed in our workshop. Well, we finally got it in. I love it except for one thing. The lighting in the workshop is good but not really good for painting.
I always opened the garage door and painted in the entrance, where I had plenty of natural light. I will try to set up some lighting just for painting but that is a pain too. Anyway, the photos of the makeover are not the best because of the lighting.
I made a video of the stenciling for you, and some of the photos are screenshots from the video.
Paint the Furniture
Now, it’s time for the good part of any furniture makeover: the paint. Prep work takes more time than the actual painting.
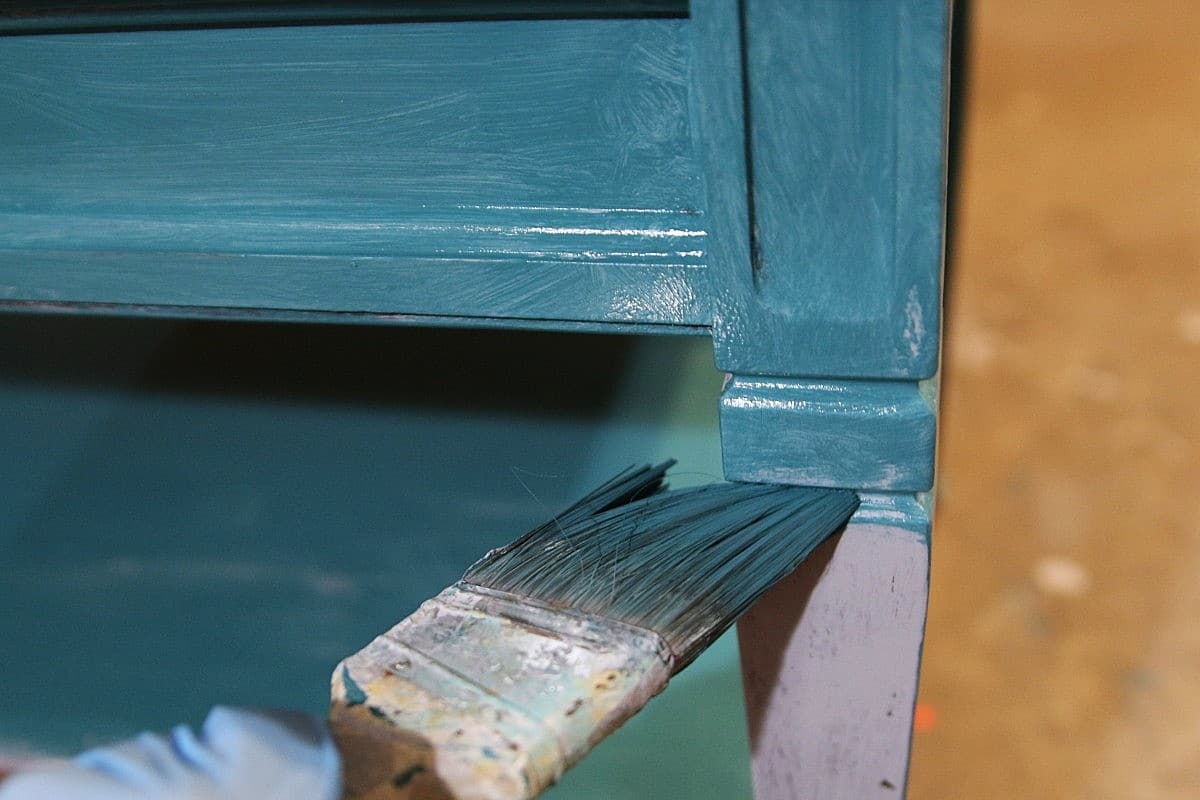
The table had a lot of corners, dips, and curves! I’m not going to give you guys a step-by-step paint tutorial because you already know how to paint furniture. If you don’t, I have plenty of info for you.
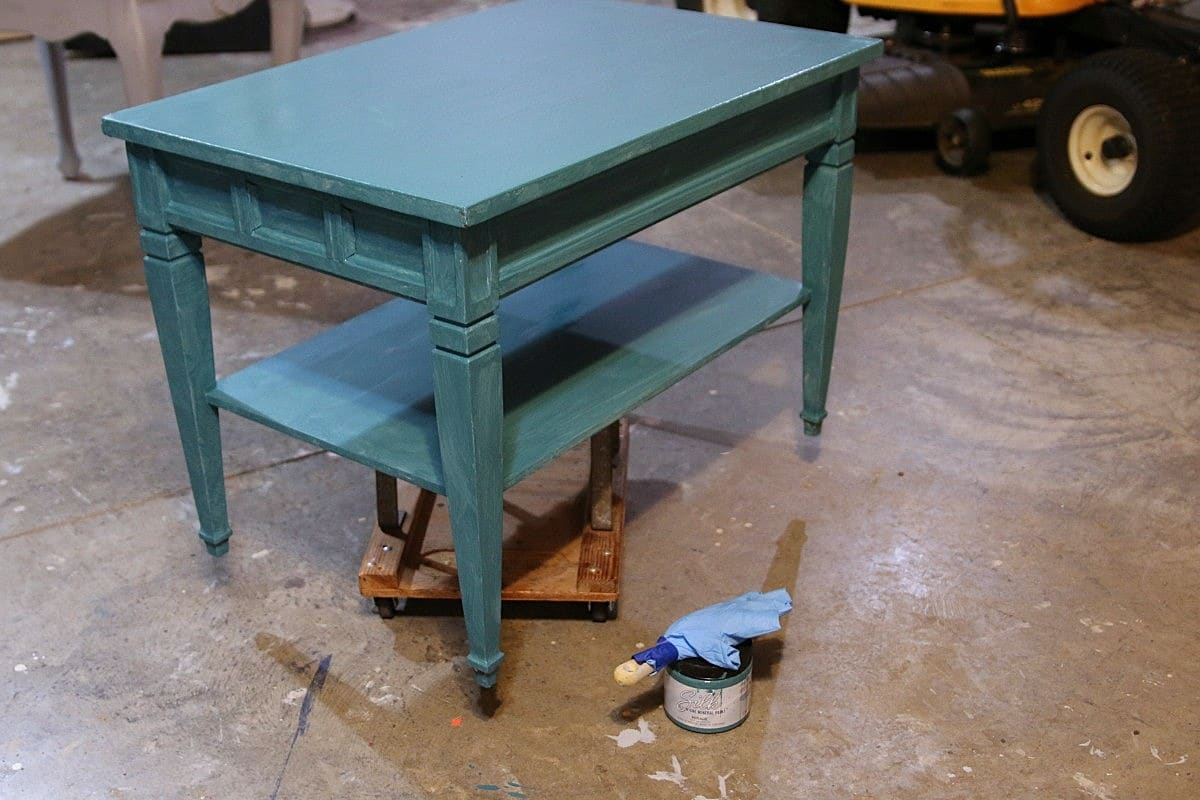
This is how the table looked after one coat of paint.
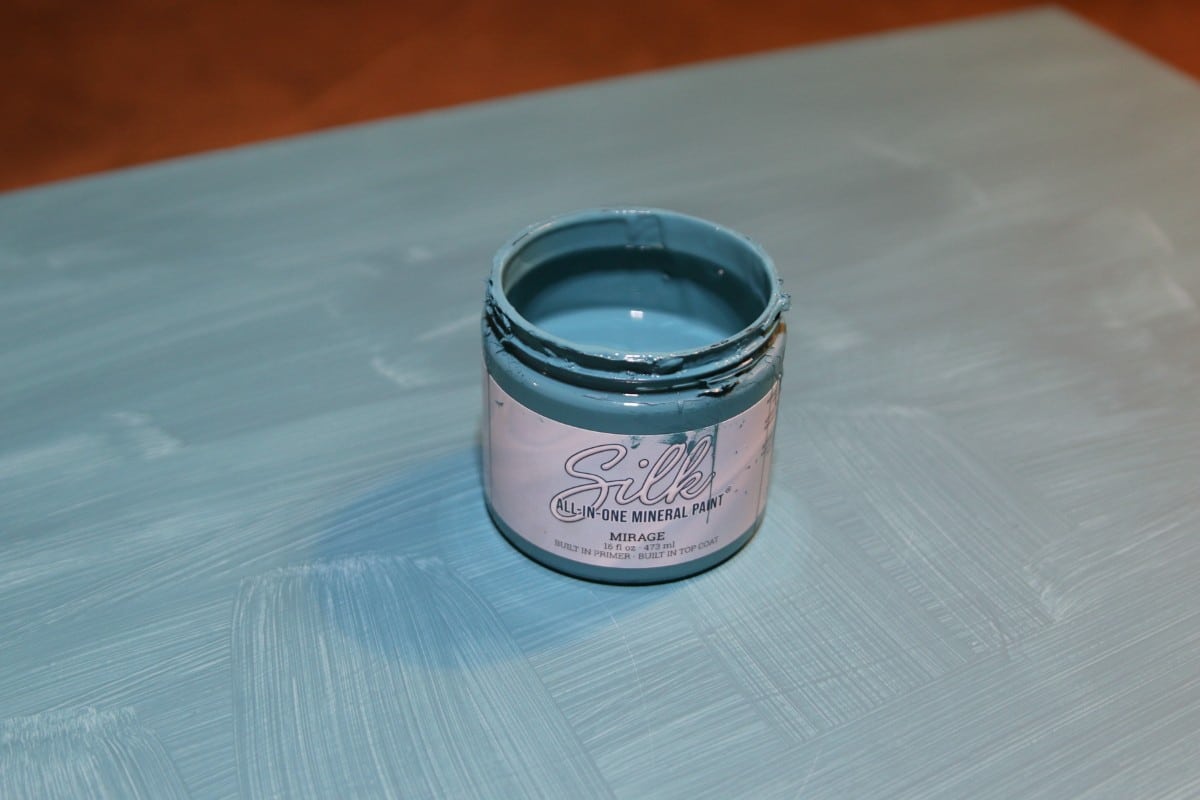
The color is Mirage in the Dixie Belle Silk All-In-One Paint line.
Apply Two Coats of Paint
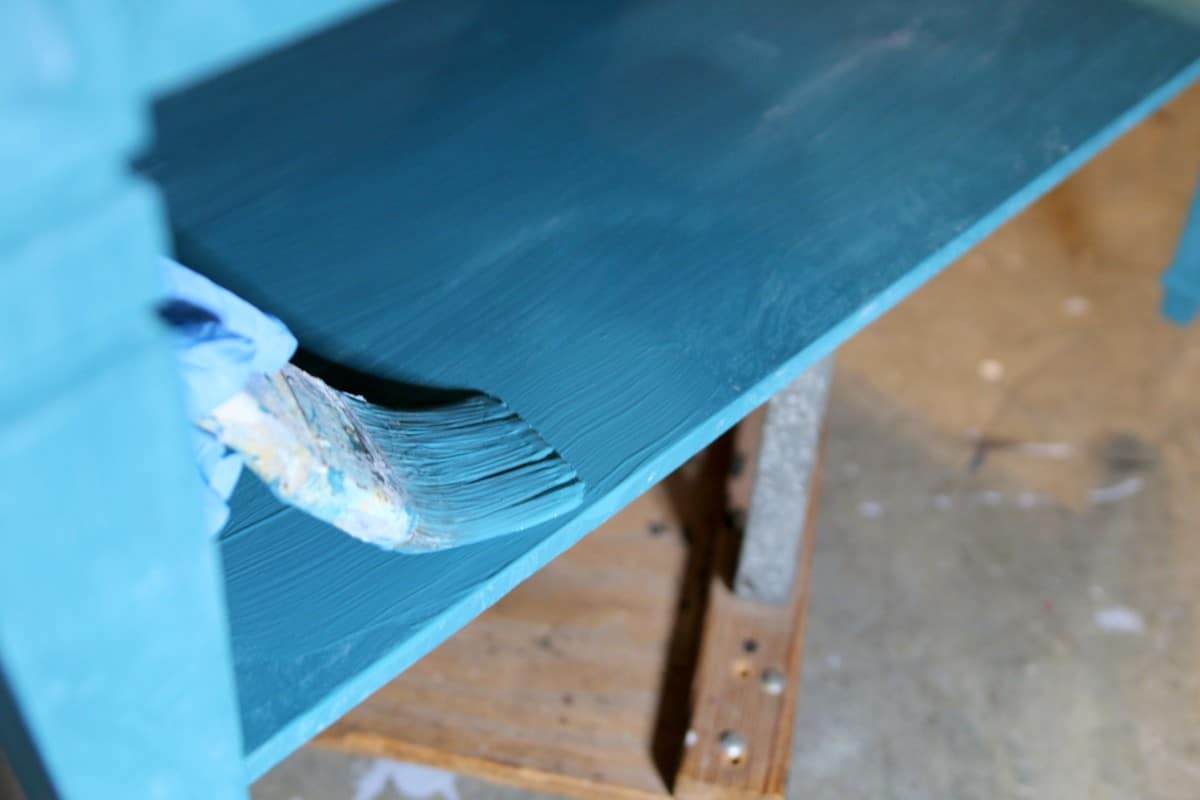
Two coats of paint covered the table well, even the parts I missed the first time.
How To Stencil Retro Stars
Now it’s time to get fancy with the top of the table.
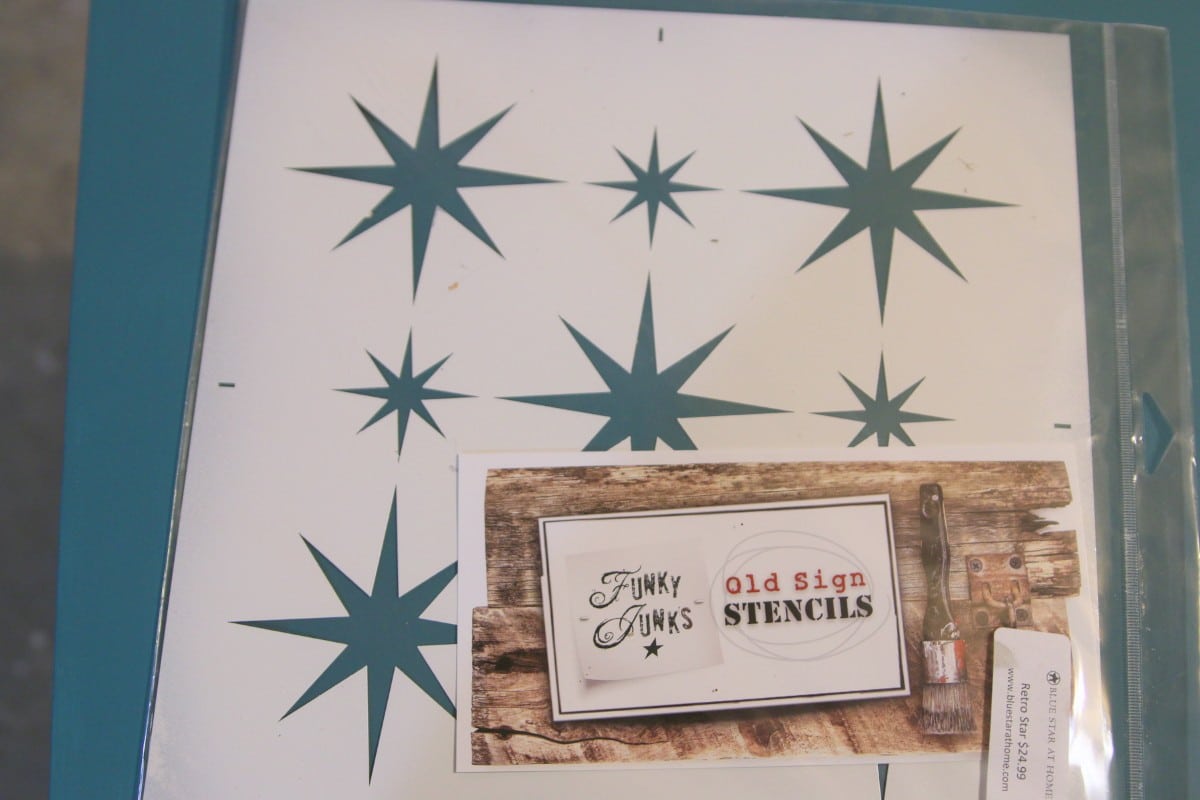
I’ve had this stencil for years! I remember ordering it from Funky Junk Donna, but not the date. I checked her website, and the stencils are not available for sale at this time, but I think you might be able to download the design in the future. She had a bingo stencil, and I used it to make this cute game table.
I’m a child of the 60s and 70s and have always loved anything Mid-Century Modern so these retro or atomic stars are right up my alley.
Place the Stencil
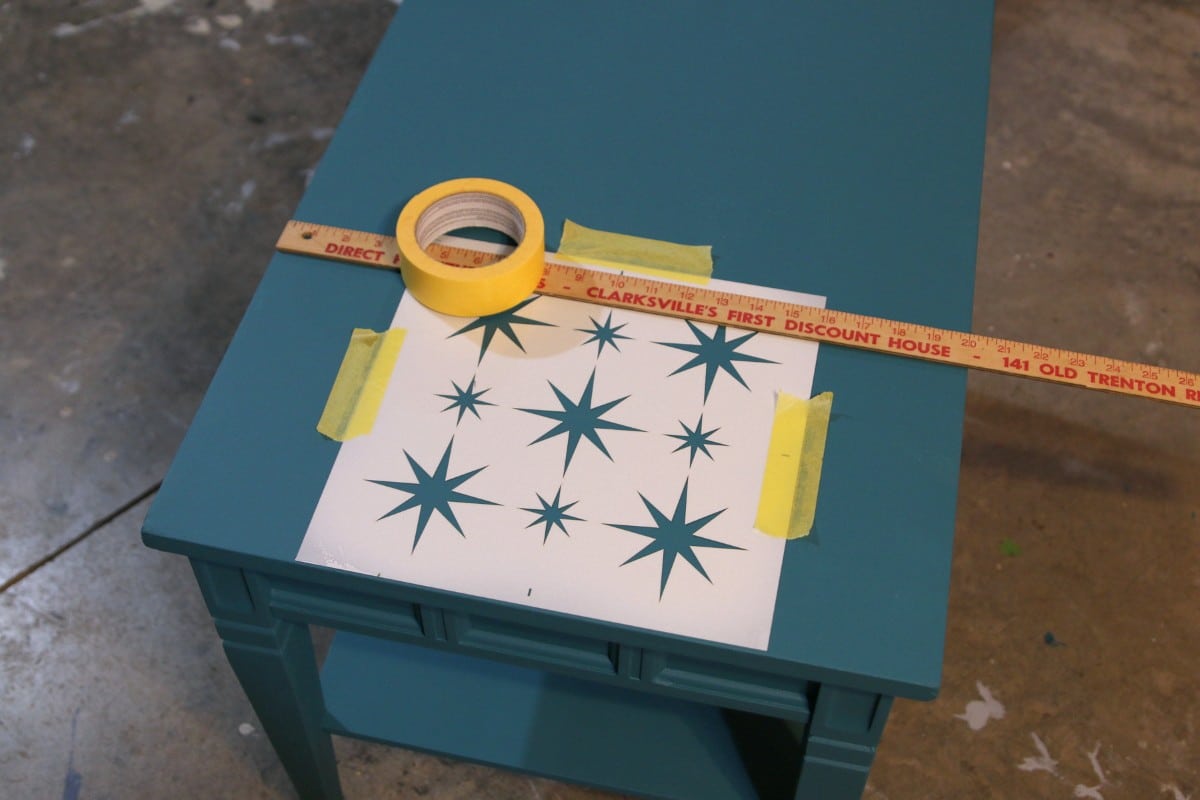
Without thinking through the stencil layout, I first lined it up on one of the corners. Not a good idea. Starting in the middle with the stencil is a much better idea.
Begin Stenciling
Before you begin stenciling the table, remember to remove excess paint from your brush. This is the number-one tip, and something to always remember when stenciling anything.
After dipping the end of your stencil brush into the paint, dab it onto a paper towel or plate until the brush is almost dry to the touch. Offloading the paint prevents it from seeping under the stencil edges, giving you a crisp, sharp design every time.
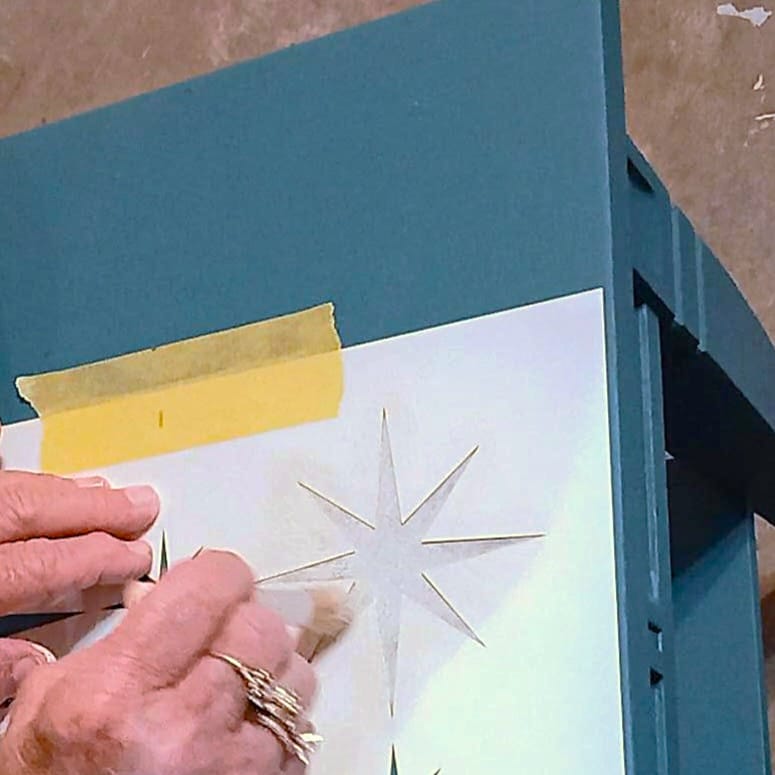
My plan was to stencil the entire tabletop using off-white Drop Cloth from Dixie Belle. Then, the next step was to add some color. We will get to that.
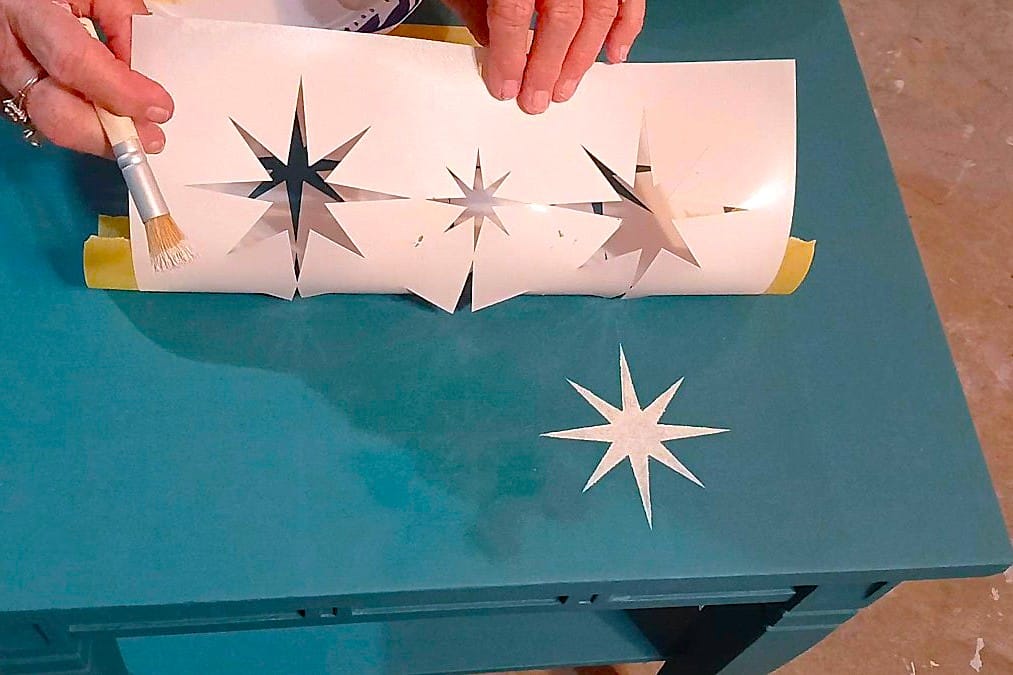
Stenciling is an art in itself. The process isn’t difficult but it does take a bit of practice. I have a stencil tutorial for you here.
Repeat the Stencil Design
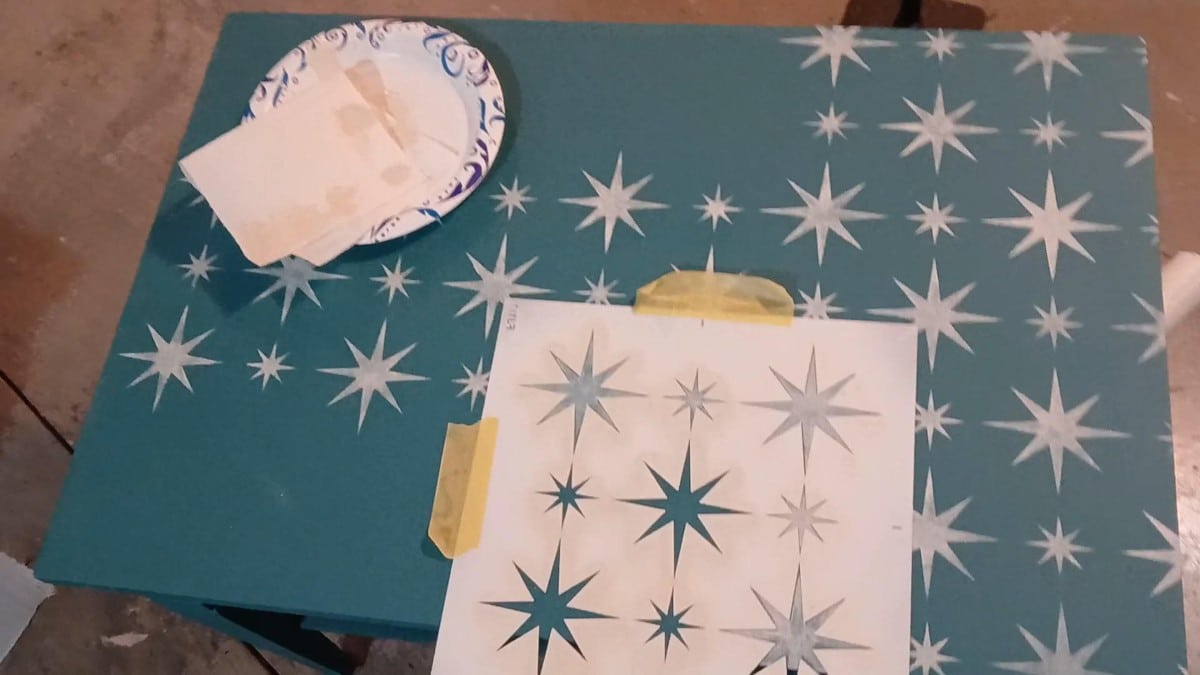
To stencil the entire tabletop, move the stencil when you finish one area, then line it up with the stars you have already painted.
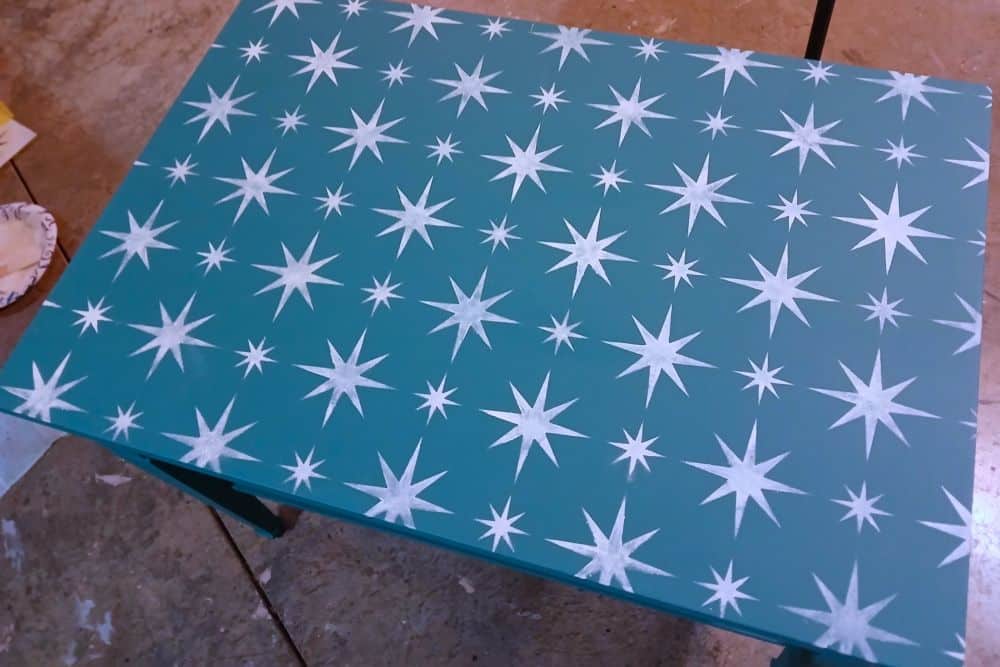
Those stars look really nice. I did a great job! Now to add color.
Add Multiple Colors
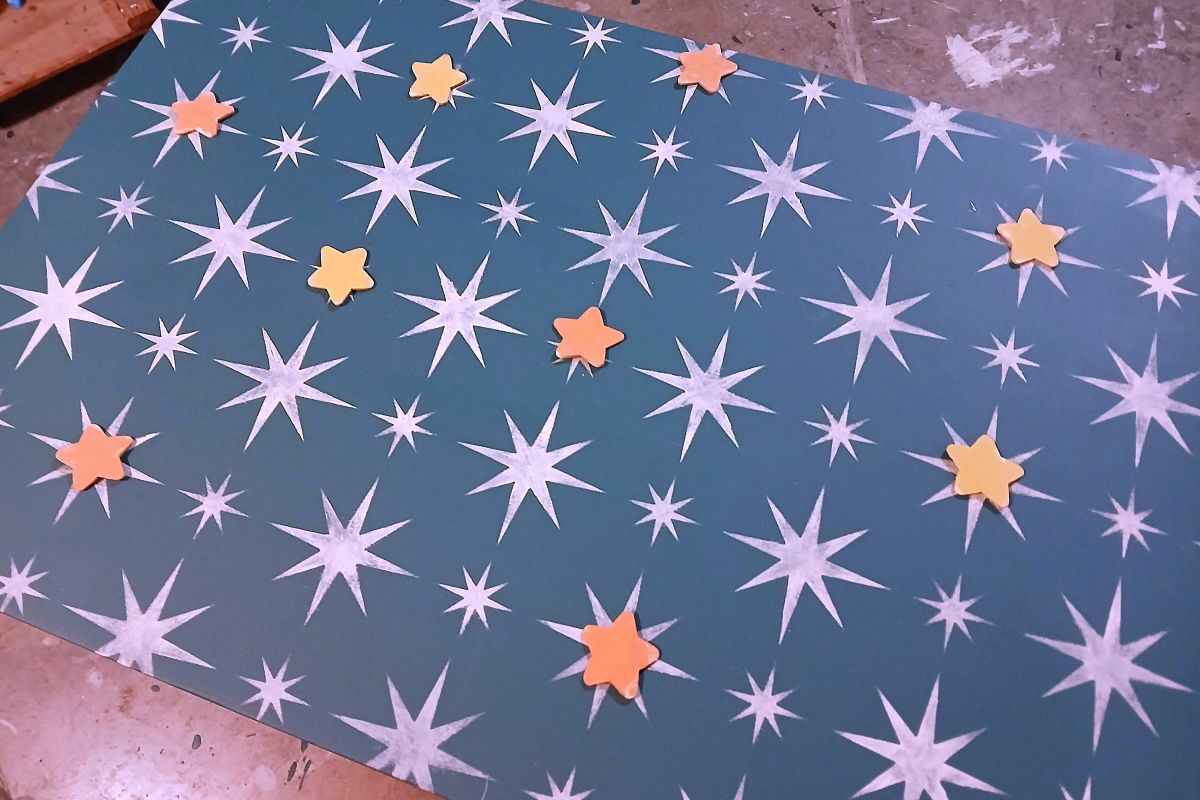
Not wanting to overdo the color, I decided to paint random stars in orange and yellow. But I did need a little guidance, so I painted small wooden stars from my craft stash and placed them on the table as my guide. Of course, I changed the design a bit once I started painting but this did give me a start.
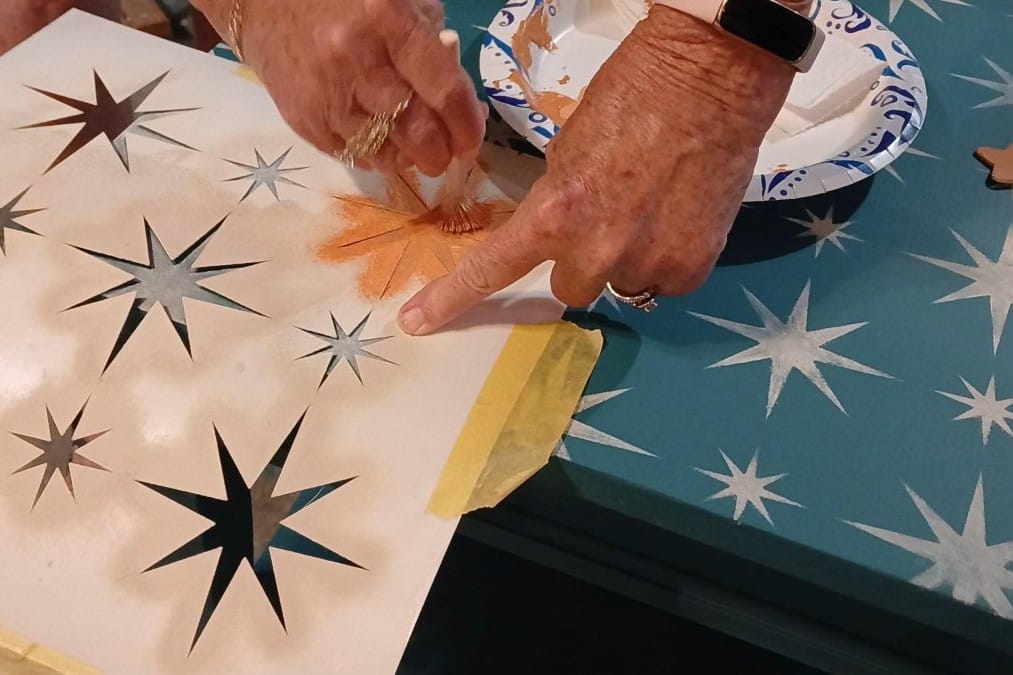
I used Terra Clay Paint from Dixie Belle, color Marigold for the orange and the Yellowstone color of Silk paint for the yellow stars.
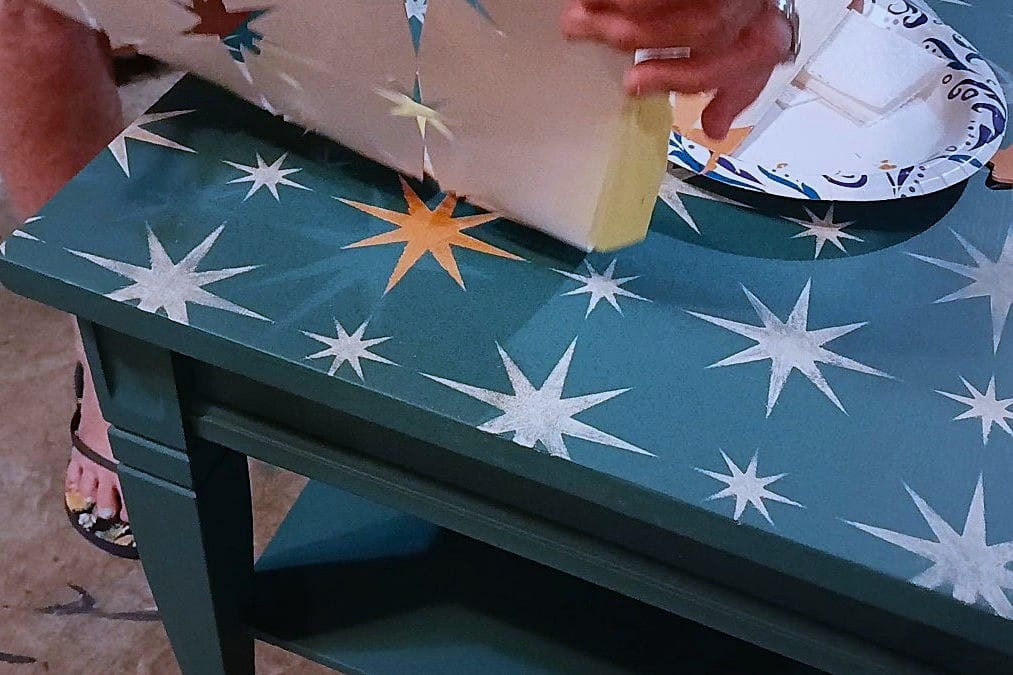
I took several breaks during the stenciling process because it can be overwhelming. I didn’t want to have to wipe off or paint over the stars if I messed them up. They aren’t perfect but I have to say they came out pretty well.
Style Your Furniture
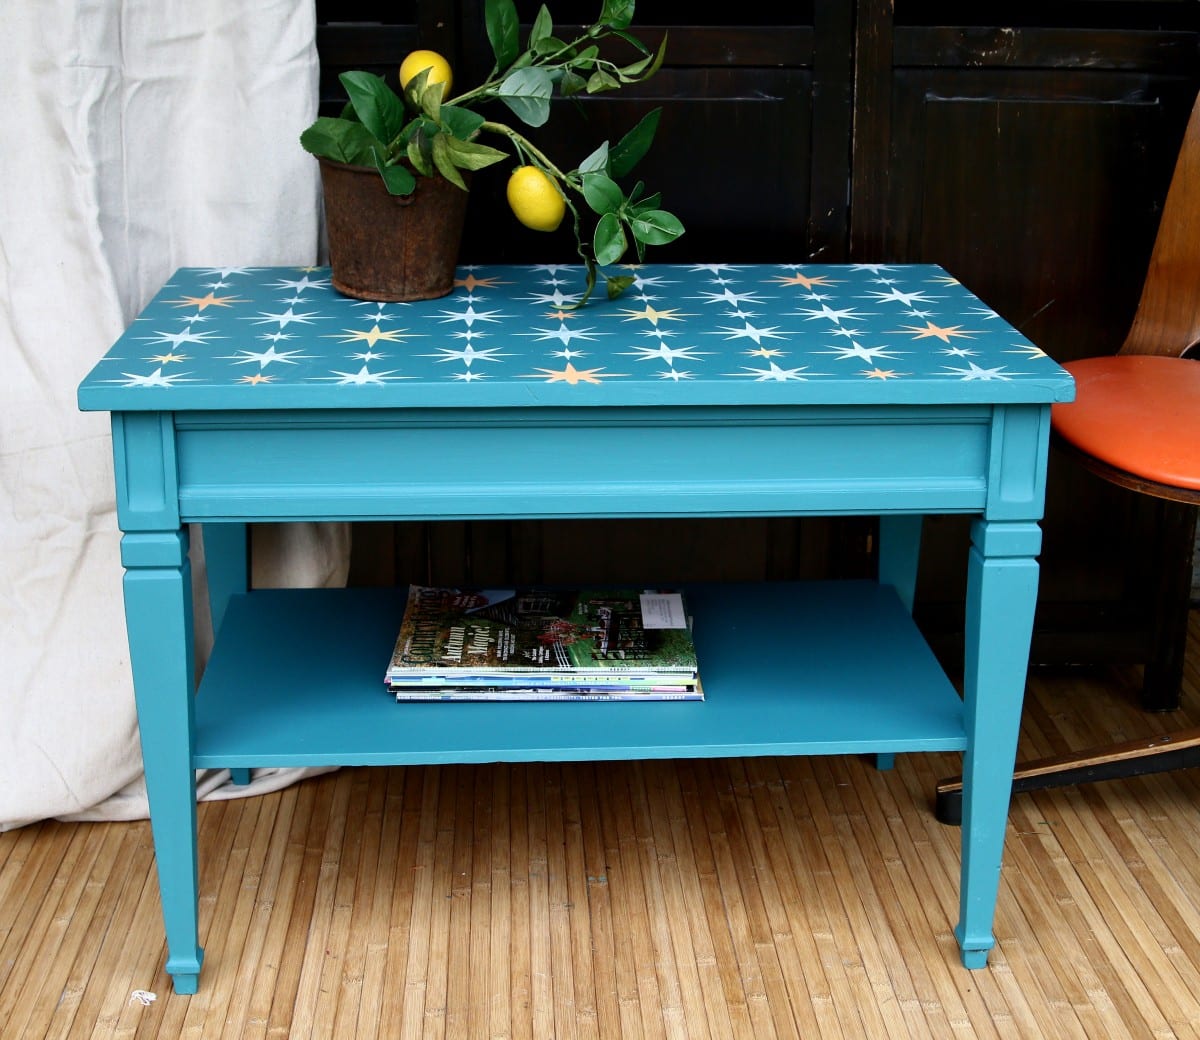
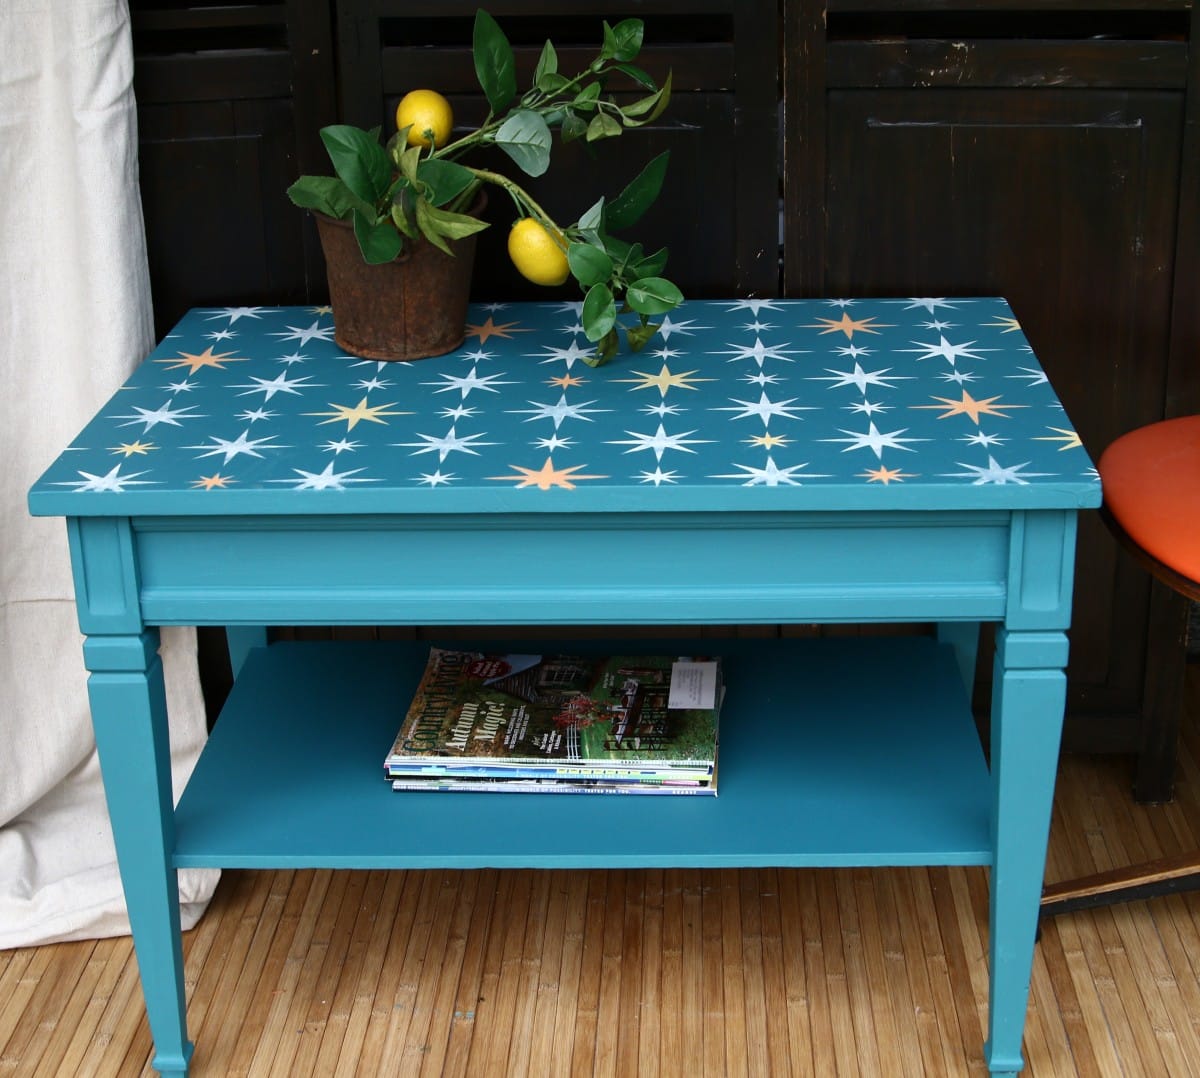
The color combination is spot on for Mid-Century Modern. And I used paint colors I had on hand.
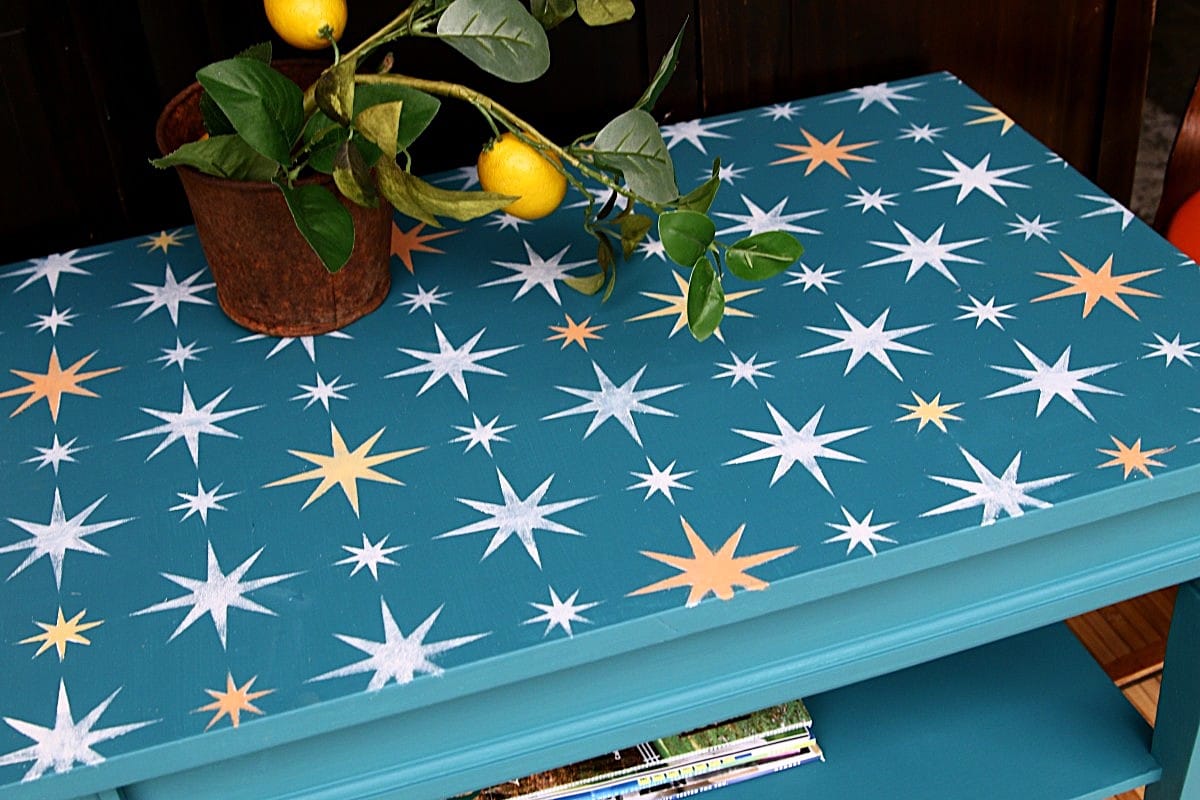
I wish I had a room in my house to display the table.
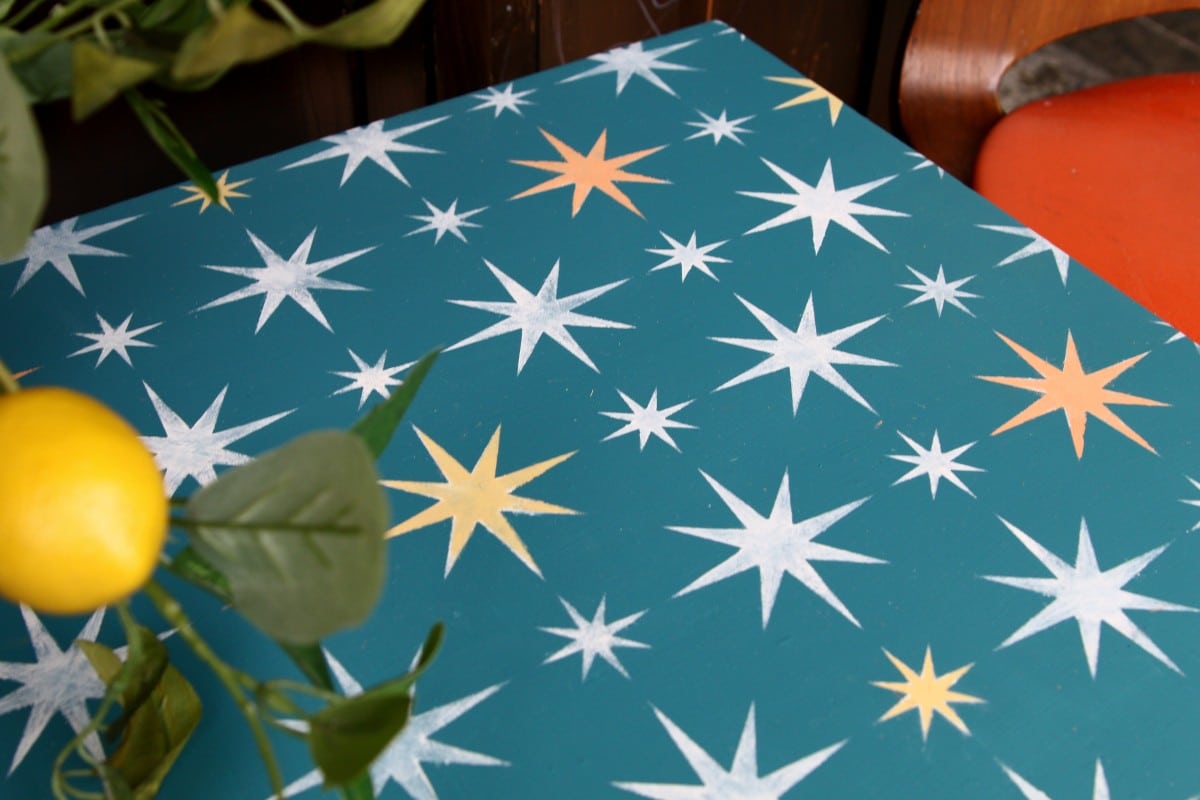
Would you have added more color?
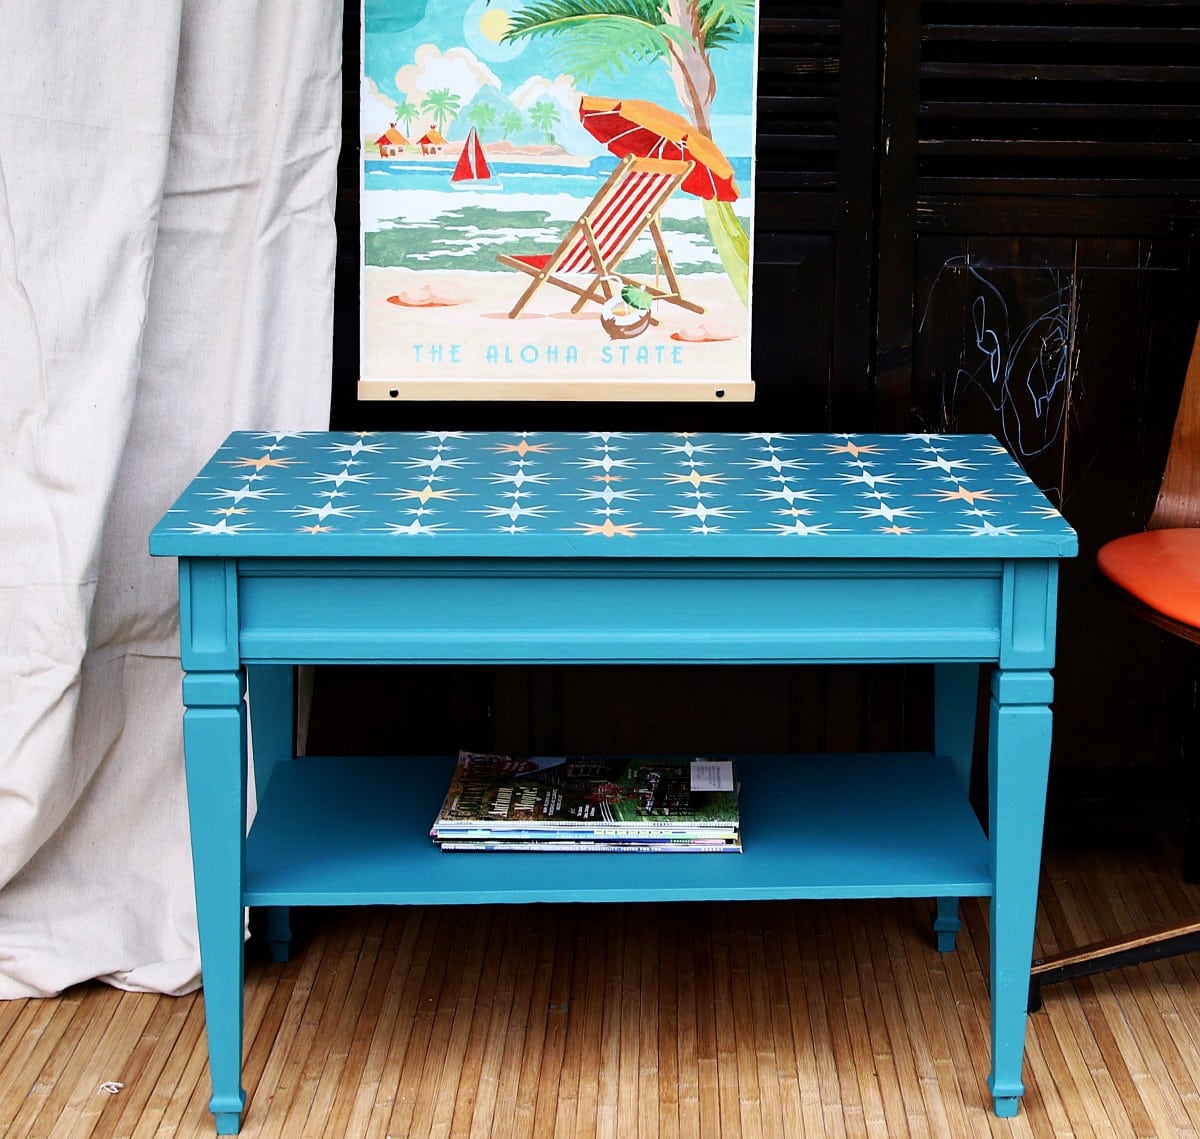
Or used different colors?
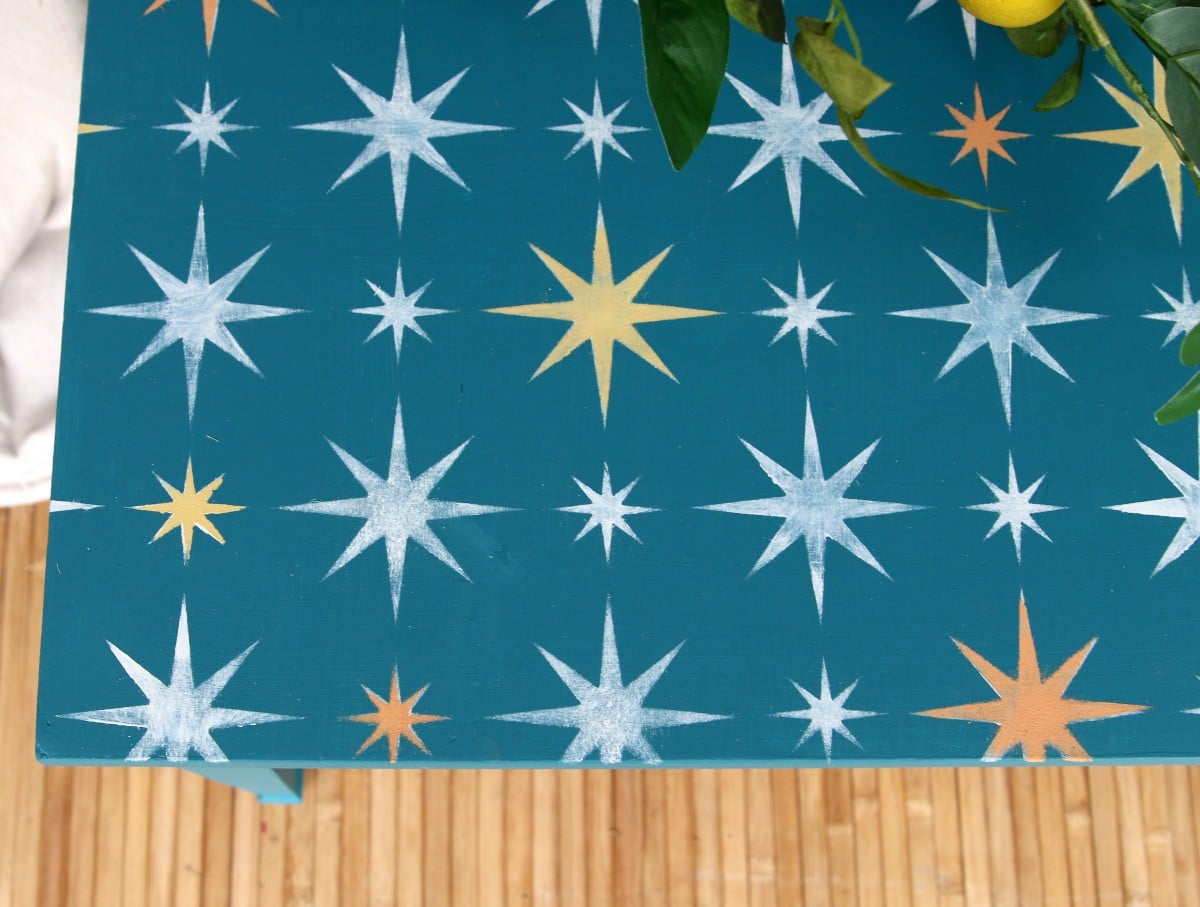
When you get a close-up look, you can see where the stenciling isn’t perfect, but you know what I always say: “perfectly imperfect is better than perfect.”
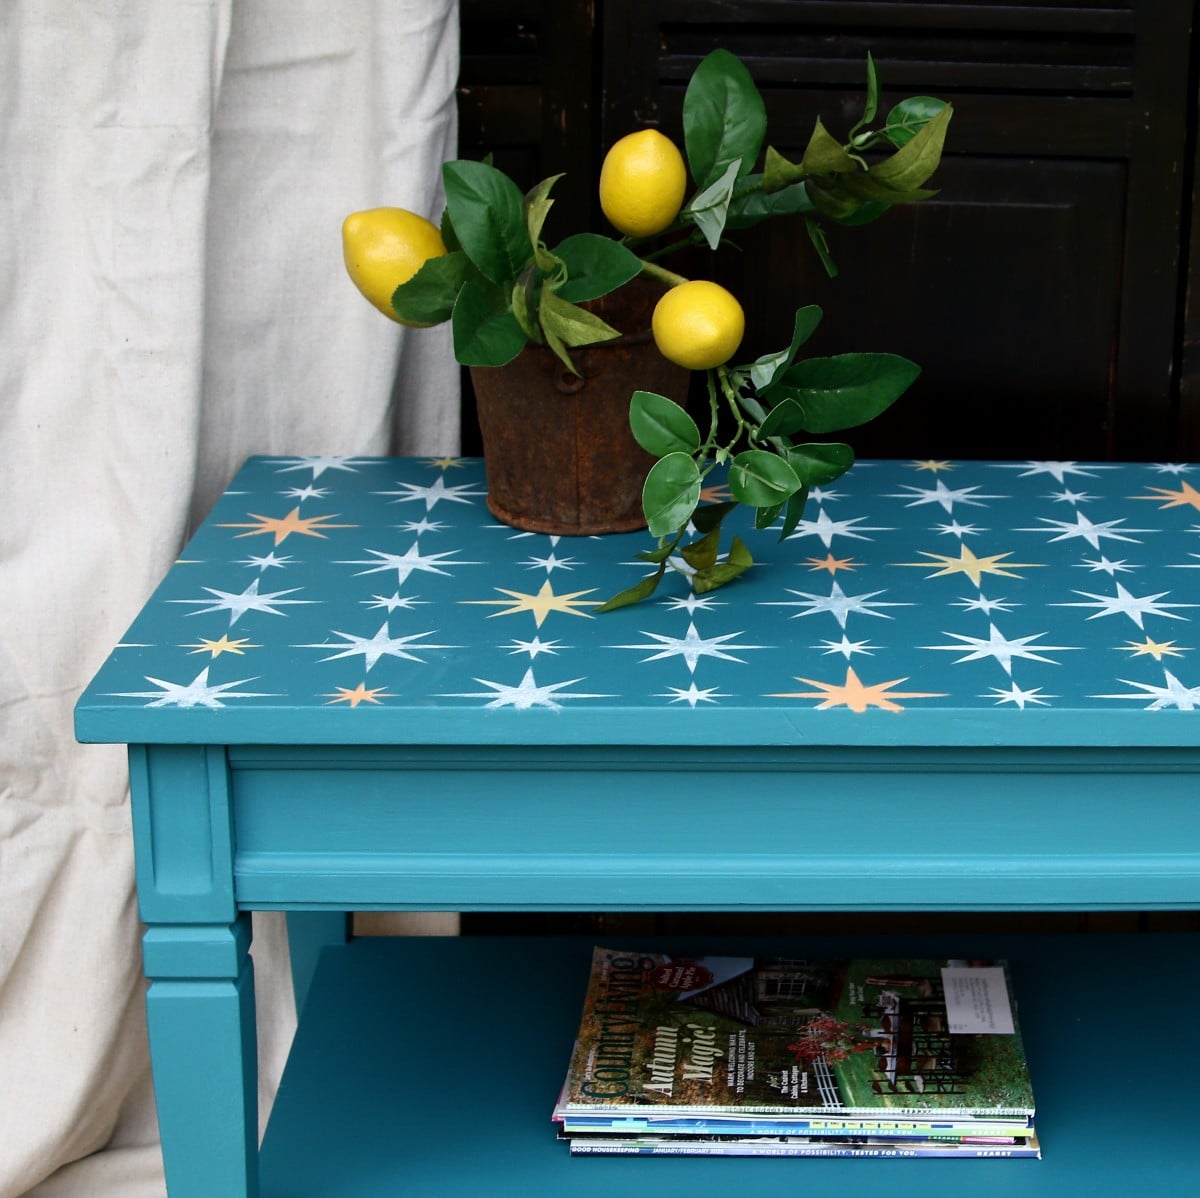
I selected muted shades of orange and yellow so they wouldn’t compete with the turquoise.
Video Tutorial For Stenciling Stars….
How To Stencil Stars
I was curious about the history behind atomic star designs and why they became such a Mid-Century staple—it turns out their origin is pretty fascinating!”
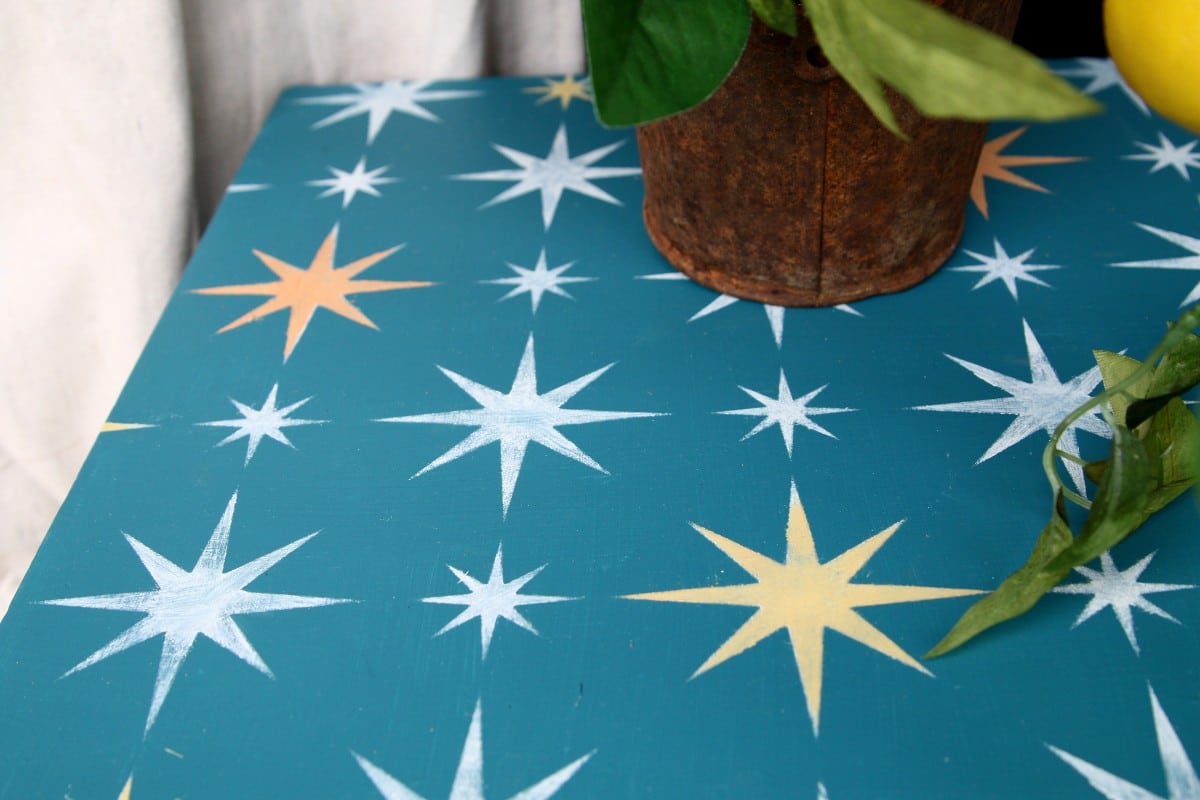
Following WWII, public fascination with the Space Race, nuclear physics, and satellite technology heavily influenced art and architecture. The motif directly mirrors atomic structures, central nucleus points with orbiting electrons, and distant stars or celestial bodies.
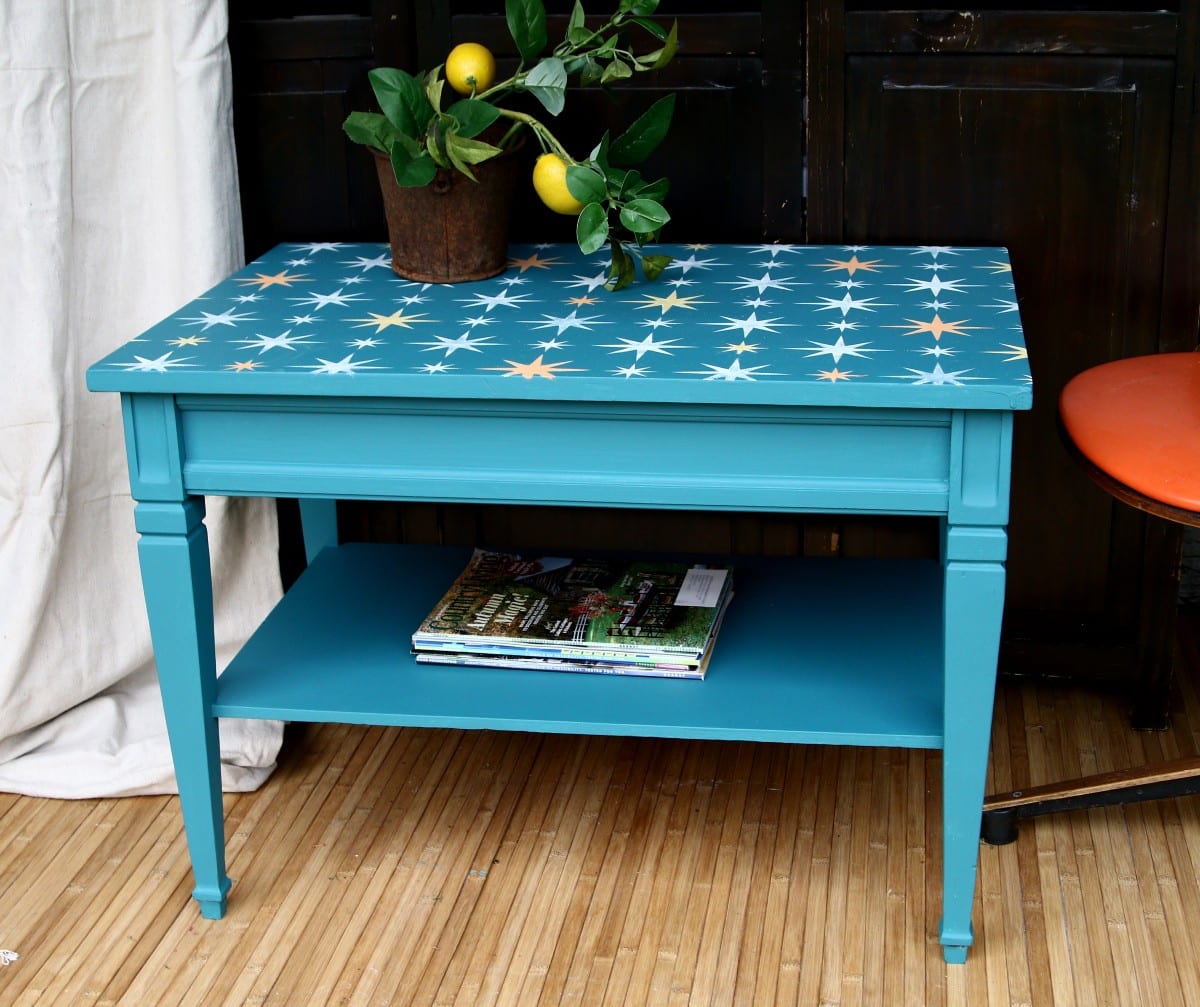
Unlike standard symmetrical stars, atomic stars feature elongated, tapered points of varying lengths projecting from a central hub.
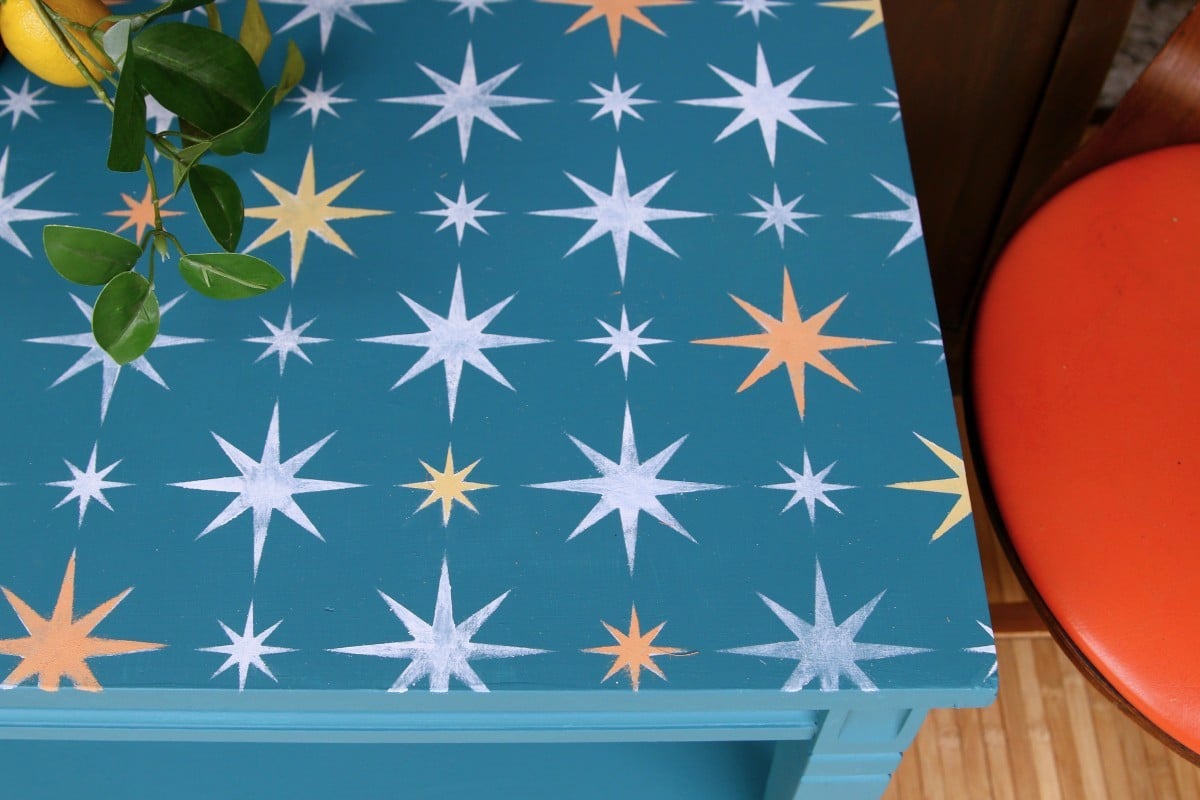
The designs are typically paired with playful mid-century color combinations like turquoise, coral, mustard yellow, burnt orange, olive, and cream.
I think I hit the nail on the head with the color choices, don’t you?
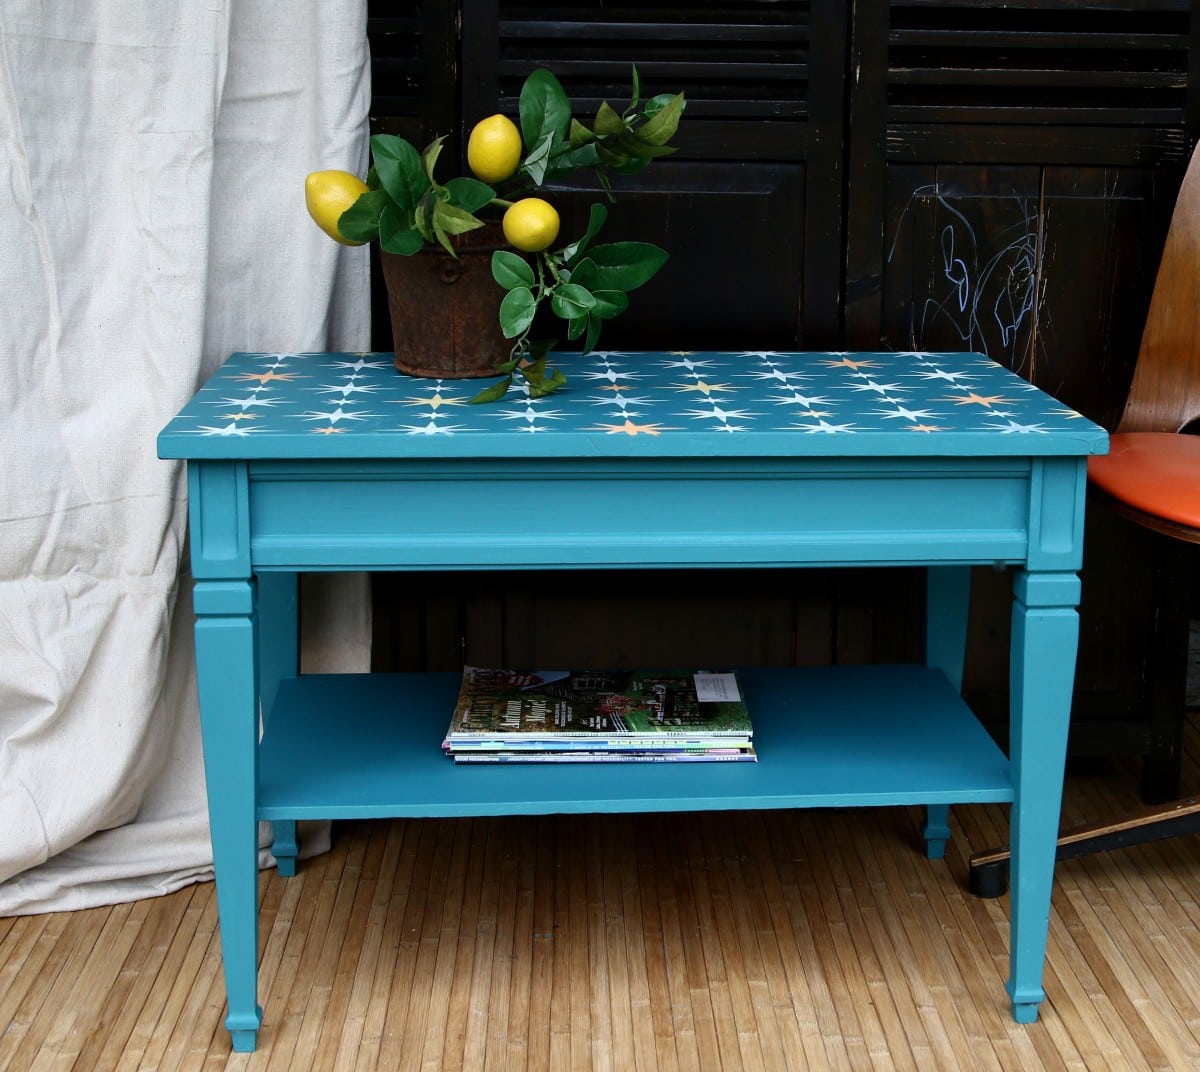
I know you guys are usually in a rush to head out on the tour, but leave a quick note if you have time.
Furniture Fixer Upper Tour
Now it’s time to take the tour. My lovely friends have worked extra hard on their makeovers this month, and it shows. Yes, I’ve already seen the makeovers, and you are in for a treat! Click the links below the “before makeovers” photo collage.
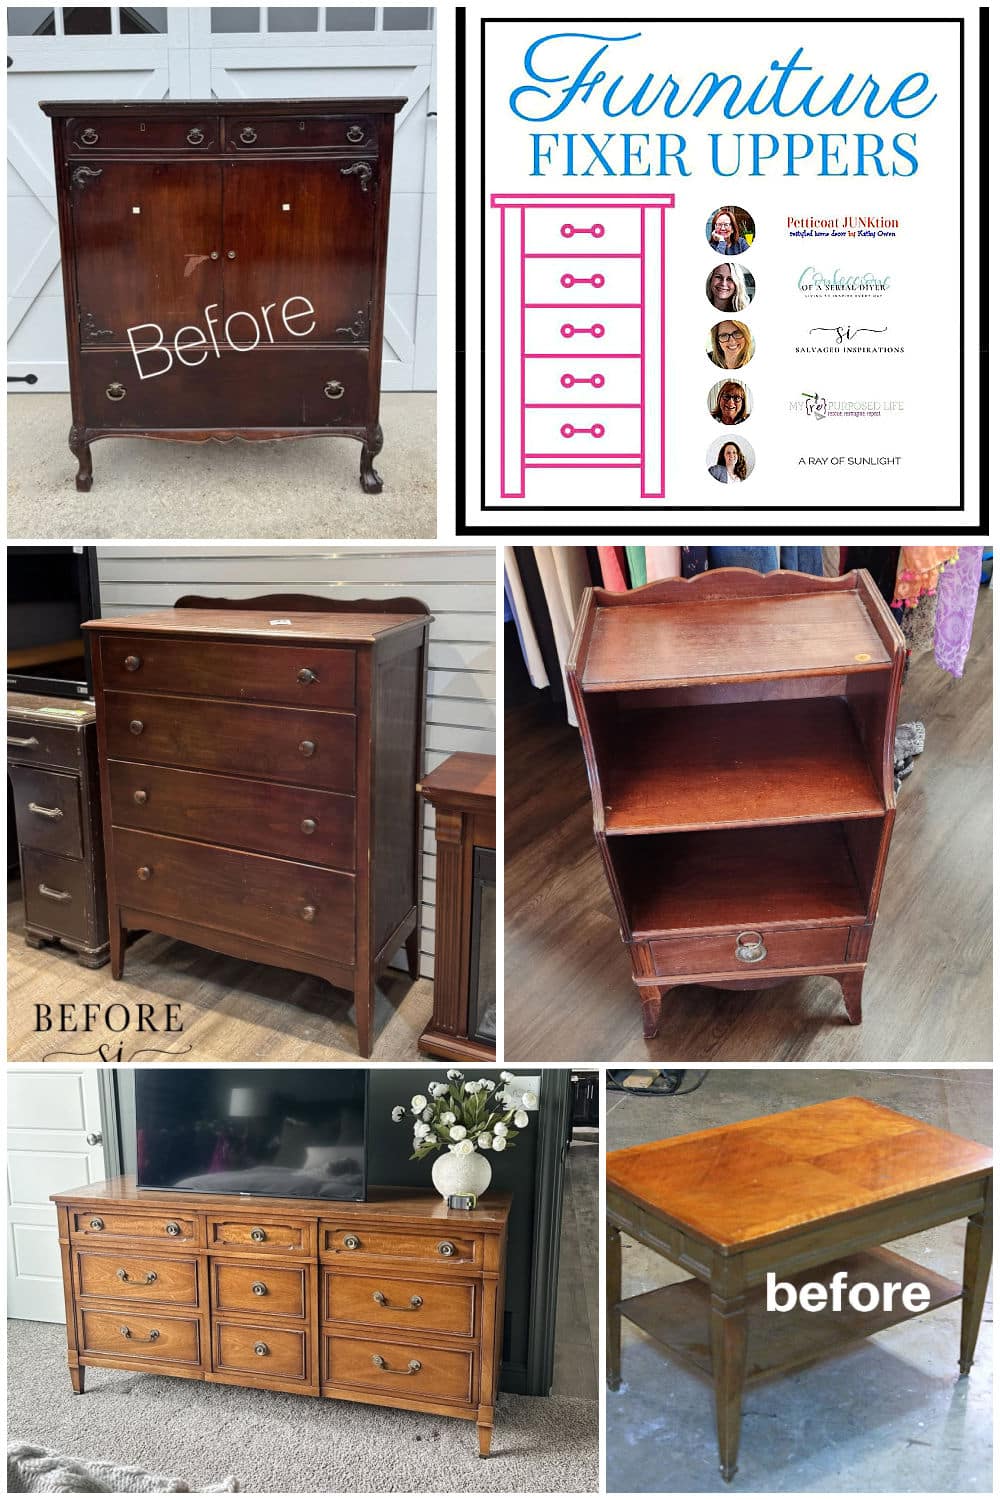
Antique Gentlemen’s Cabinet Makeover – Confessions of a Serial DIY’er
How to Hide Furniture Imperfections with Stencils – Salvaged Inspirations
Telephone Stand Makeover – My Repurposed Life
How To Paint Wash A Wood Dresser – A Ray Of Sunlight
Paint Atomic Stars On Furniture For A Vintage Vibe – Petticoat Junktion (you are here)
As always, thanks for being here, Kathy

What a beautiful table design Kathy! And you certainly nailed what this stencil is great for! Love your choice of colours… it’s just FUN! And I’m cringing here… I’ve delayed revamping the stencils into digitals, so thanks for the needed kick. This needs to be done before Christmas! It’s now on the list…
WOW, love the final product.
Thank you for sharing with us at TFT 775. You will be one of my featured posts this coming Thursday. See you then
A lot of work for a great result.
Lovely upcycle job that I sa at Funtastic Friday #608. Your choice of colors is so much fun. Look for me at the party too. I’m at # 39 thru 42. Happy weekend and be well. Nancy Andres @ Colors 4 Health.
It’s pretty. Is that a real lemon tree? Mine dropped its leaves but is growing back with a vengeance! Would love to see lemons on it someday.
This table is beautiful! I love the stars! We redid our 1955 bathroom floor with star tiles last year. The tub/shower walls have pink tile with gray trim tiles. The counter top is the same. So I went with gray star tiles on a white background. I don’t know how to post a photo from my phone to my laptop or I’d do it so you could see. It turned out so pretty. I love the colors you chose!
I love that you kept the orange and yellow stars a little muted. They pop against the turquoise without overwhelming the whole piece. LOVE it!!
Kathy,
I love that you added the colored stars. That really brings this project together. I bought a star stencil from Donna, but I think mine were different sizes.
Great job, I always love your tips!
Pinned!
gail
I think the table is more colonial lite! The detail on the legs does not look MCM in my opinion. I wasn’t sure about the stars but they look good.
You really had fun with this one, Kathy! The stars as such a whimsical touch! XOXO
What a fun design (and interesting background) star design. I love the color choice(s)! Pinned XOXO