
Simple DIY Christmas Card Display Idea
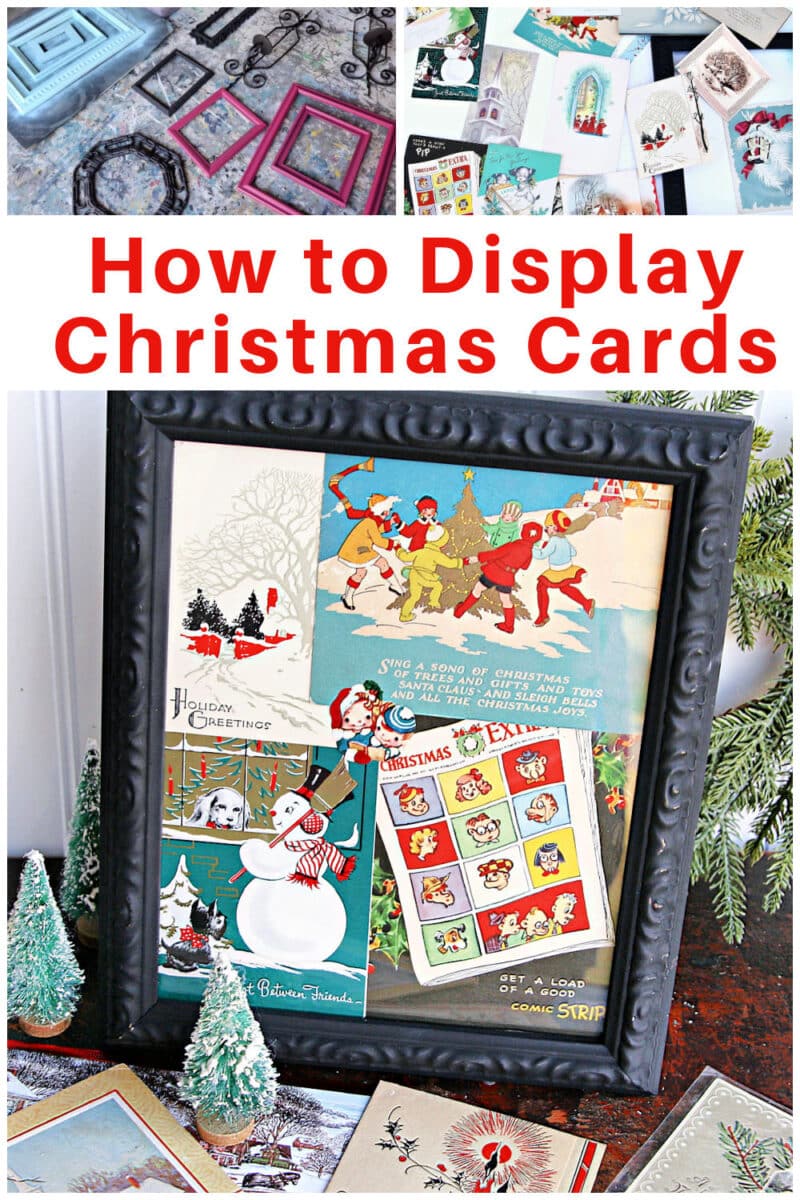
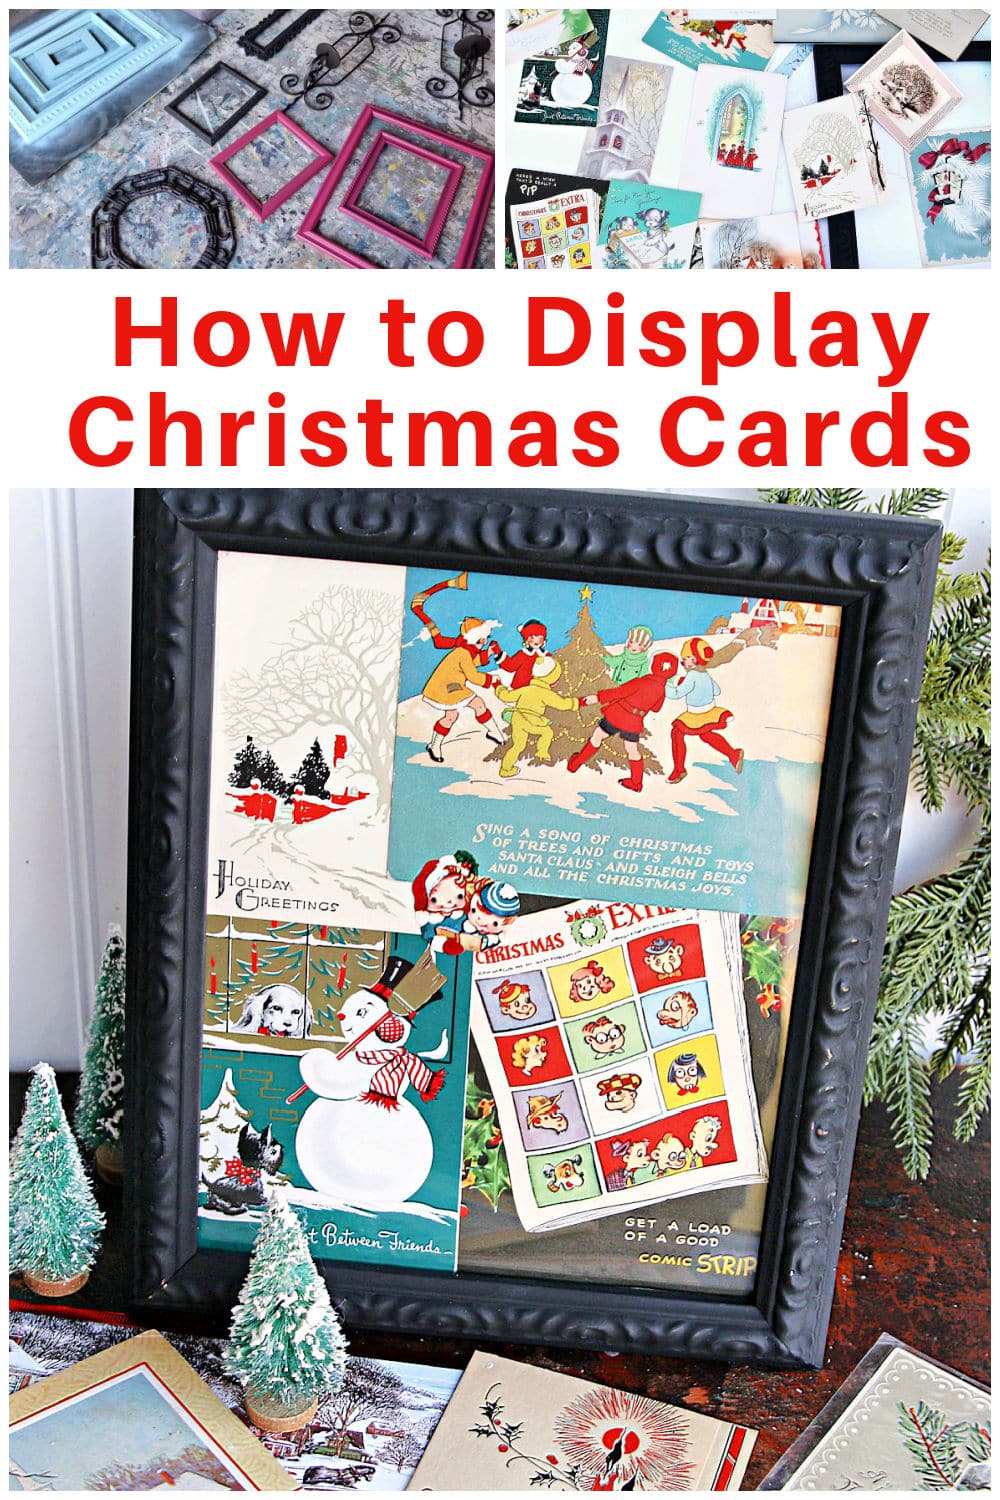
It’s fun to display beautiful Christmas cards from friends and family, but we need a more creative way to show them off than sticking them on the fridge! If you’re looking for a simple, budget-friendly idea, I’ve got one. All you need is a few old picture frames, spray paint, double-sided tape, and your favorite Christmas cards.

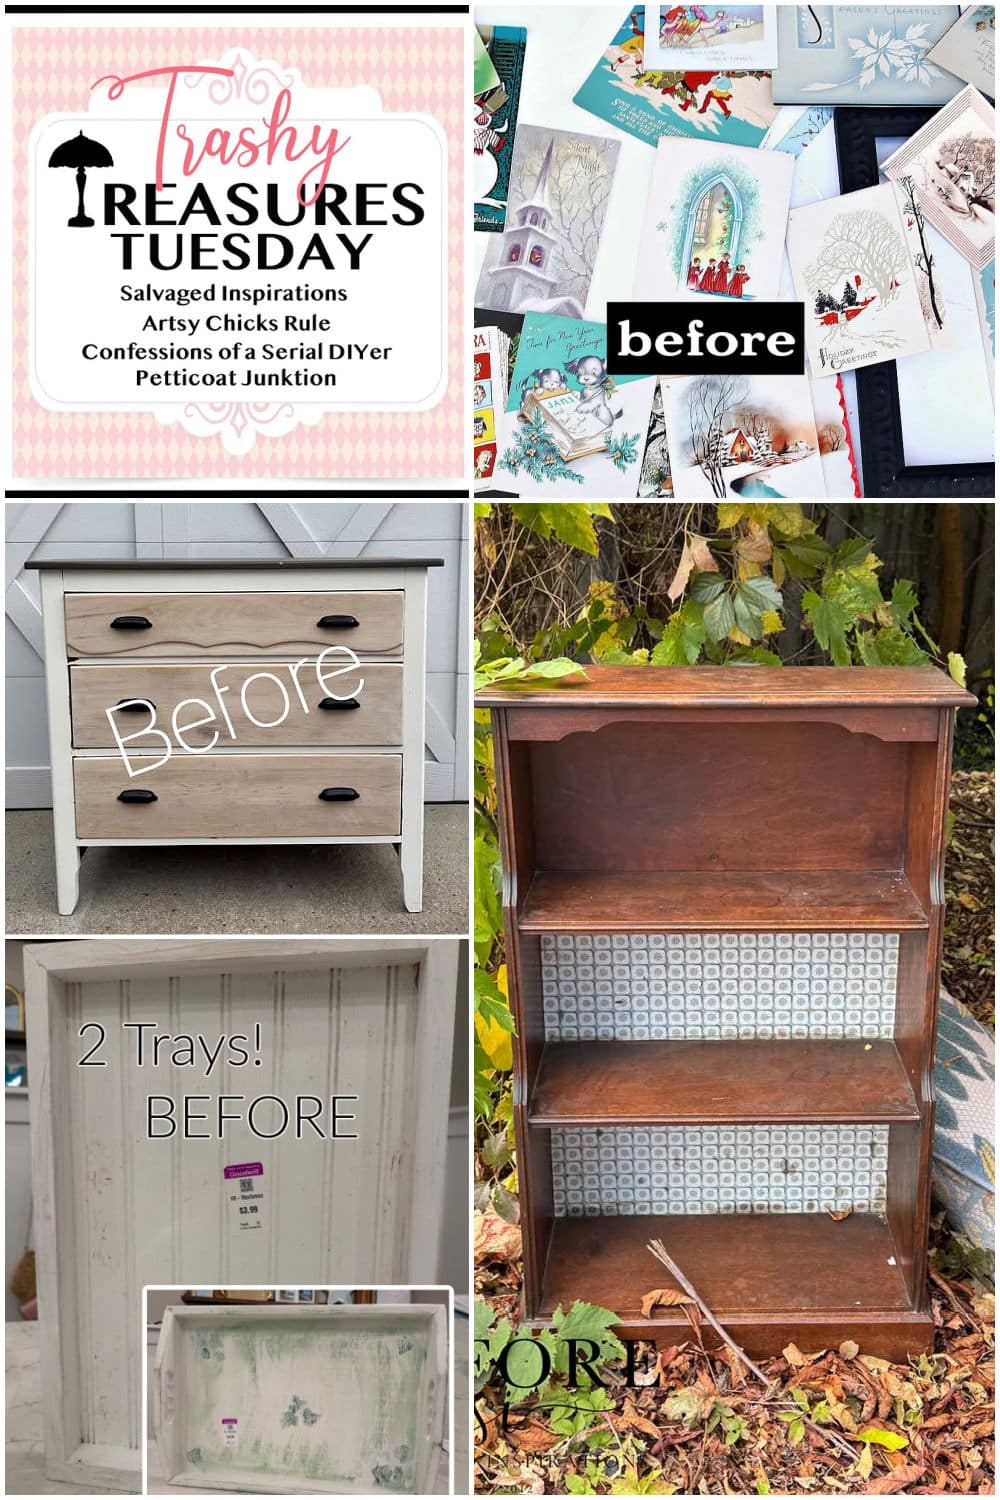
Today is Trashy Treasures Tuesday—don’t you just love that name? On the second Tuesday of every month, my friends and I take an old thrift store or yard sale find and give it a fresh, unique transformation. Once you check out my simple frame display below, make sure to take the tour of all the makeover ideas from the rest of the team. You’ll find all of their links at the bottom of this post!
DIY Christmas Card Display Idea
Project Supplies
Christmas cards
picture frames
spray paint
gilding wax
photo frame stands
double-sided tape
Shipping tape
Gather the Christmas Cards
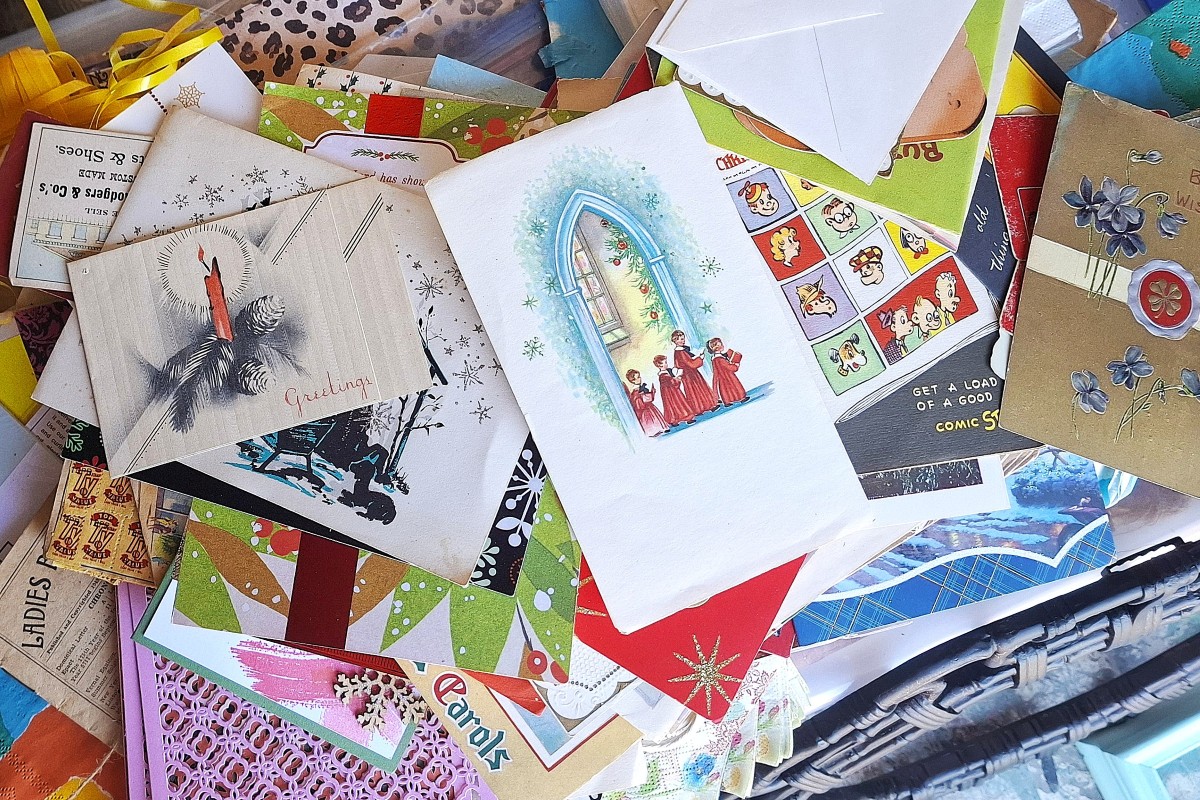
A few years ago I found some vintage Christmas cards at a local thrift/antique store. I loved them so much, I ordered more from eBay. I’ve made various displays using the cards and it’s time for a new one.
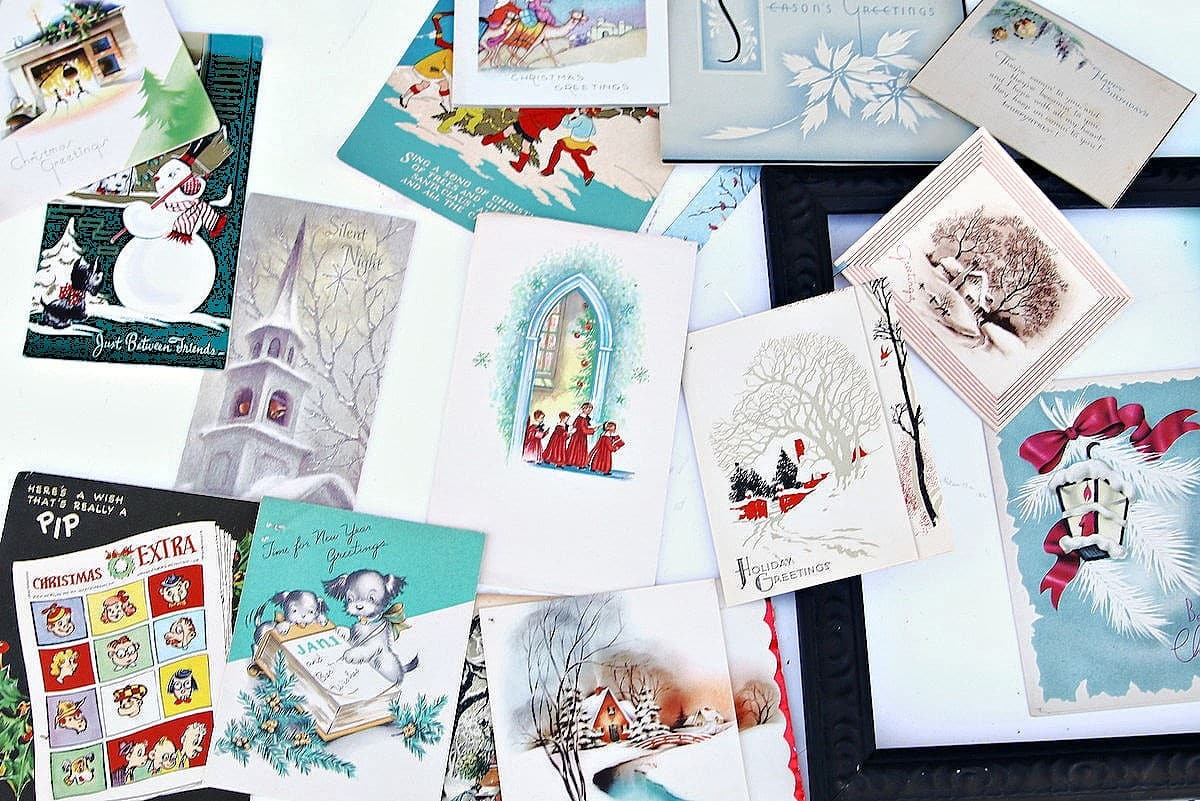
I picked a few of my favorites with similar colors for the display.
Gather the Photo Frames
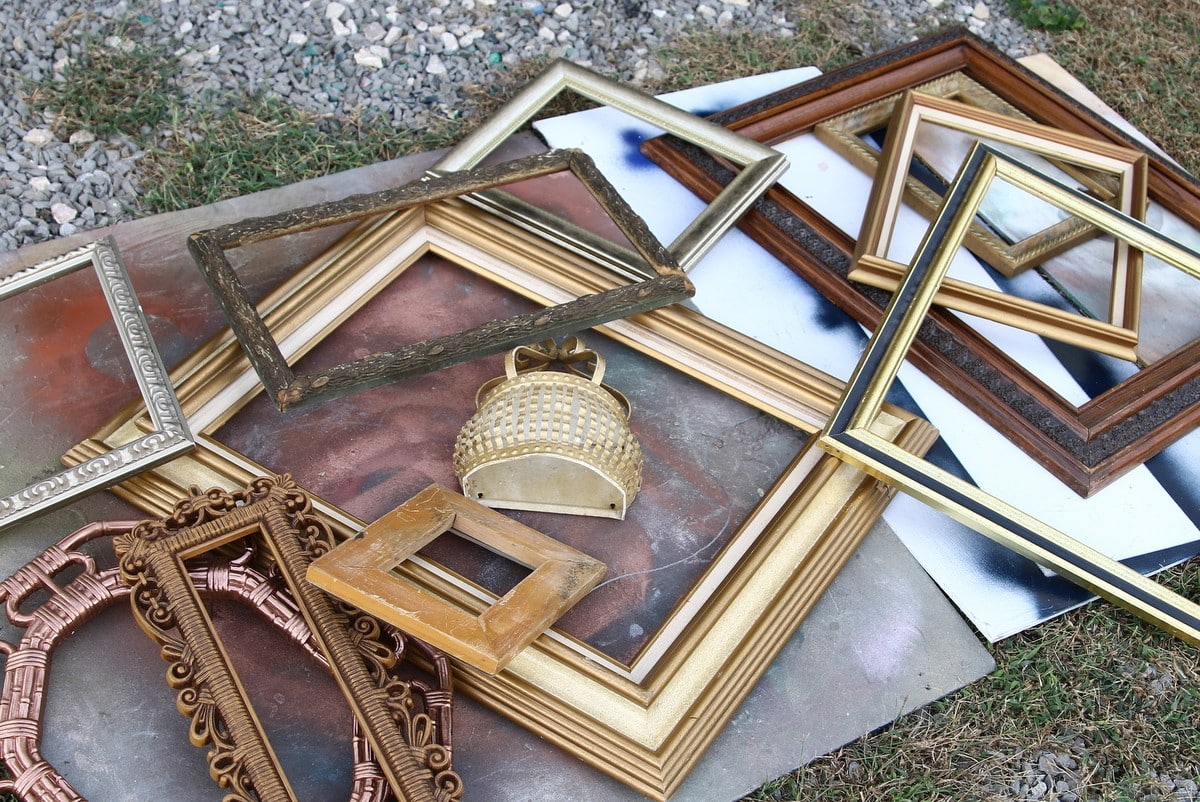
Frames of all kinds look great painted. I often hang the empty frames in a grouping but first I paint them. And usually I paint a bunch at one time.
Spray Paint the Frames
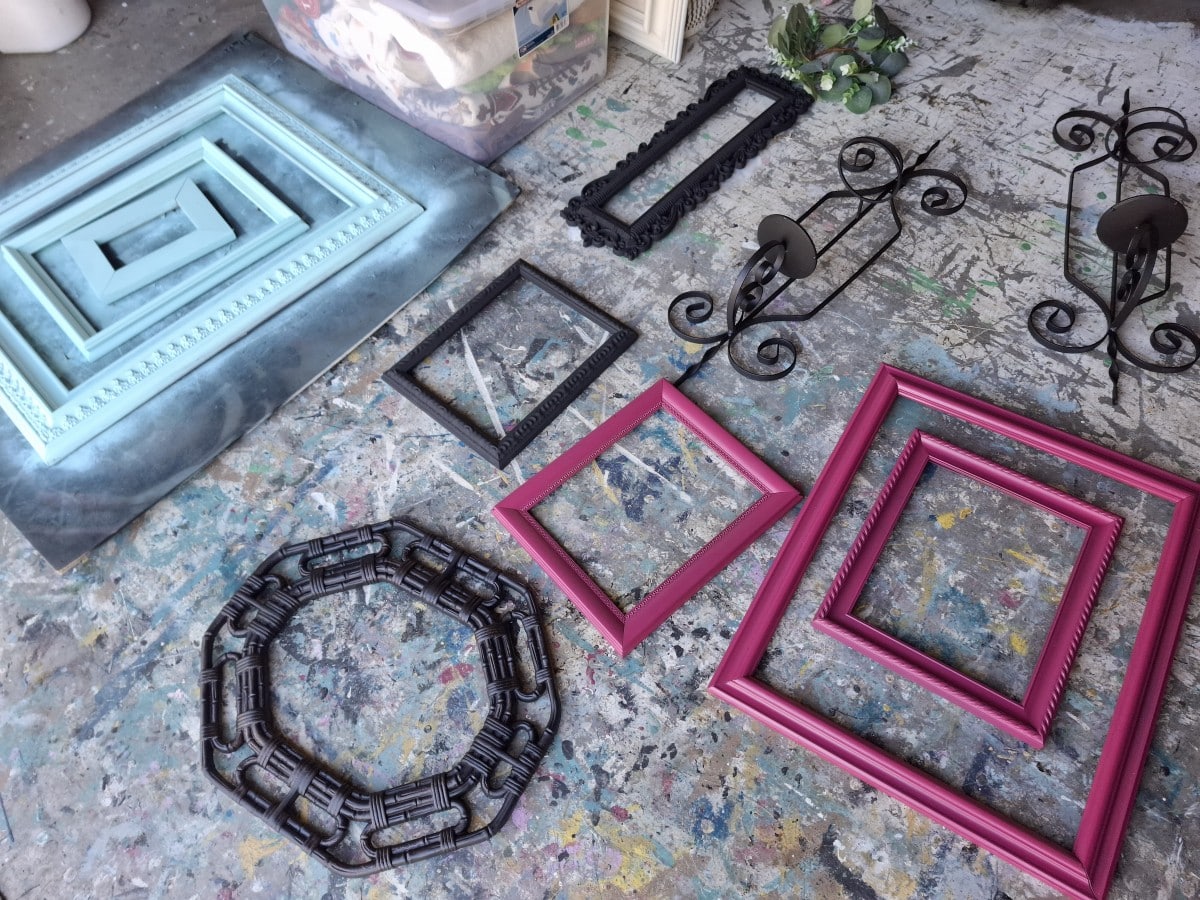
I go through my shop and gather everything that could use a simple coat of spray paint.
Pro Tip: Look for frames with interesting wood carvings, detail work, or ornate profiles. Spray paint really highlights those raised elements, turning cheap thrift store frames into high-end holiday decor!
Select the Frames for the Project
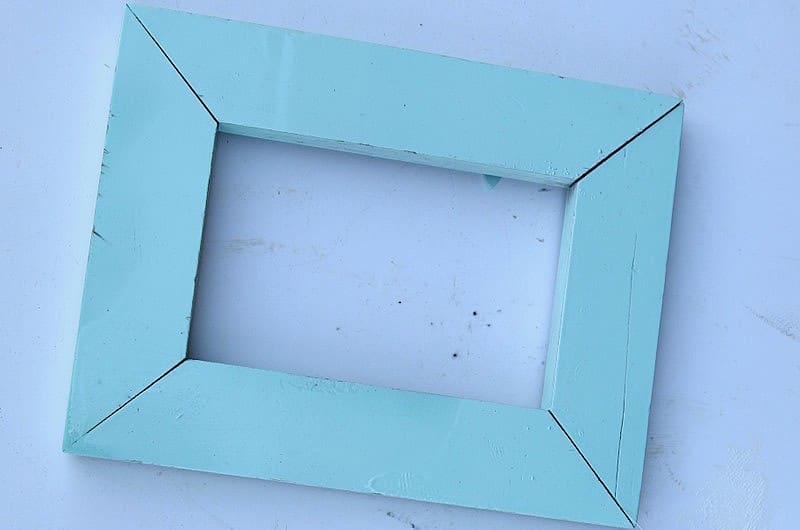
I painted a few of the frames with Rust-Oleum Gloss Ocean Mist to add a soft pop of color, selecting a small one for a single vintage card.
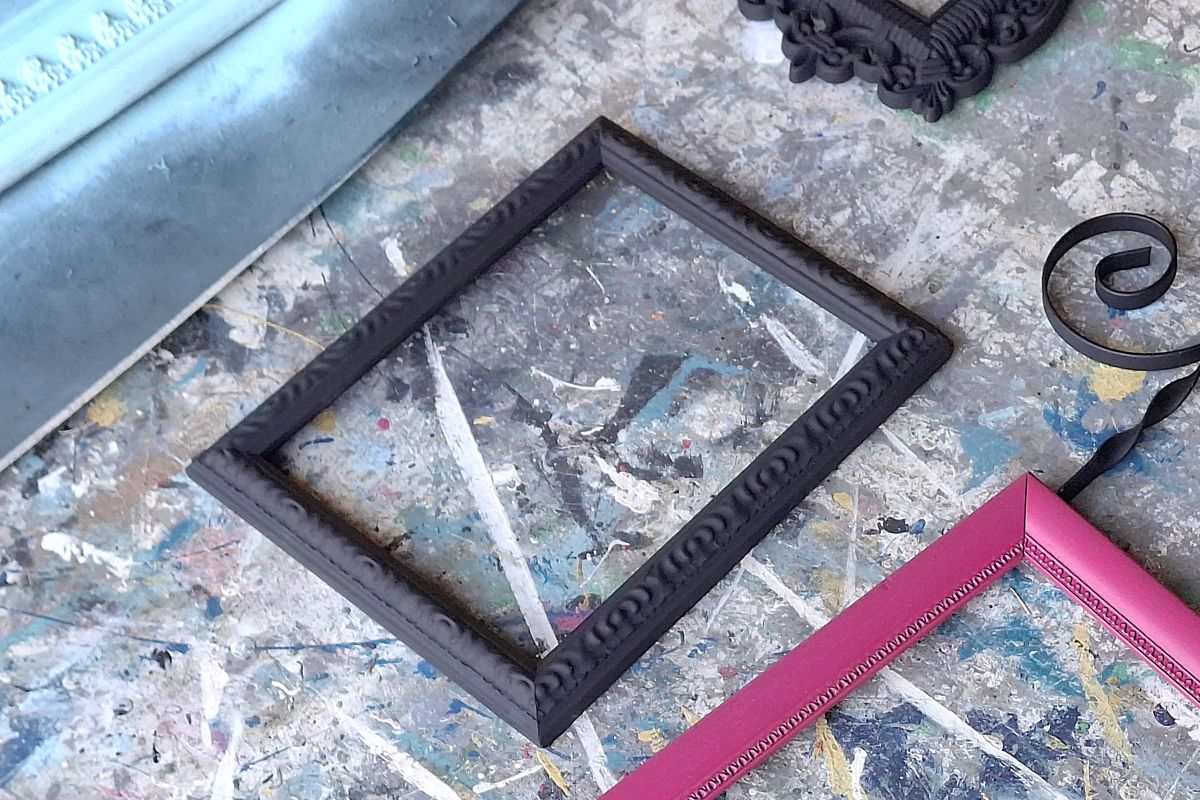
For the larger display, I grabbed a frame coated in Rust-Oleum flat black primer—it happened to be the only black paint on my shelf, but the flat finish worked out beautifully!
Match the Christmas Cards to the Frames
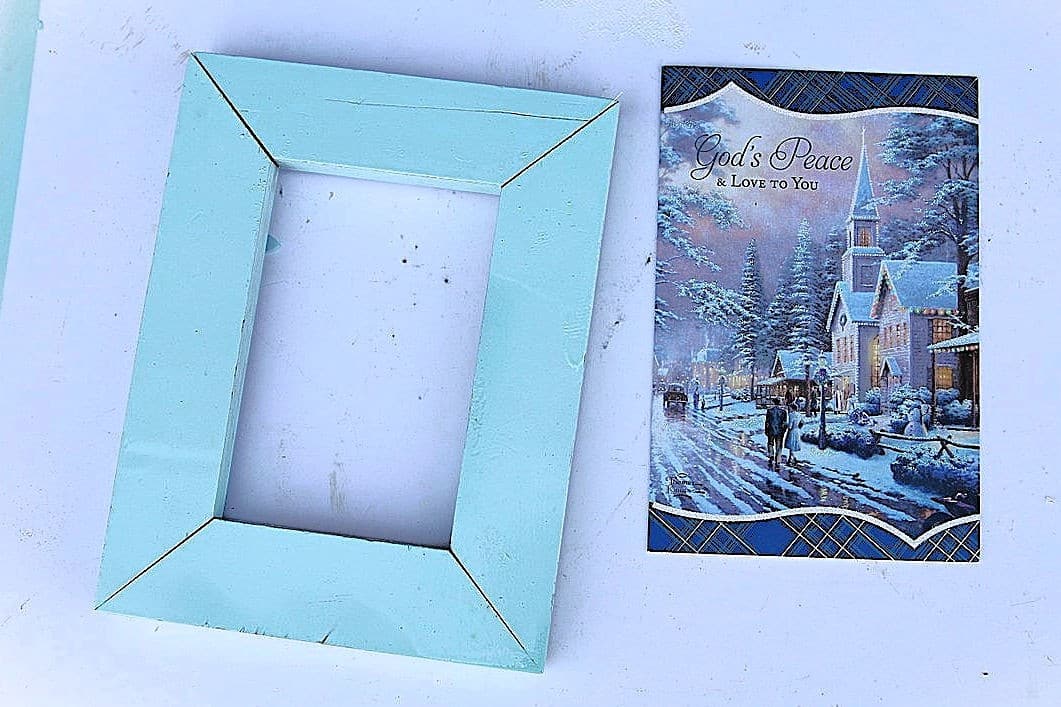
The peaceful winter scene on the single card was was my favorite for the turquoise frame.
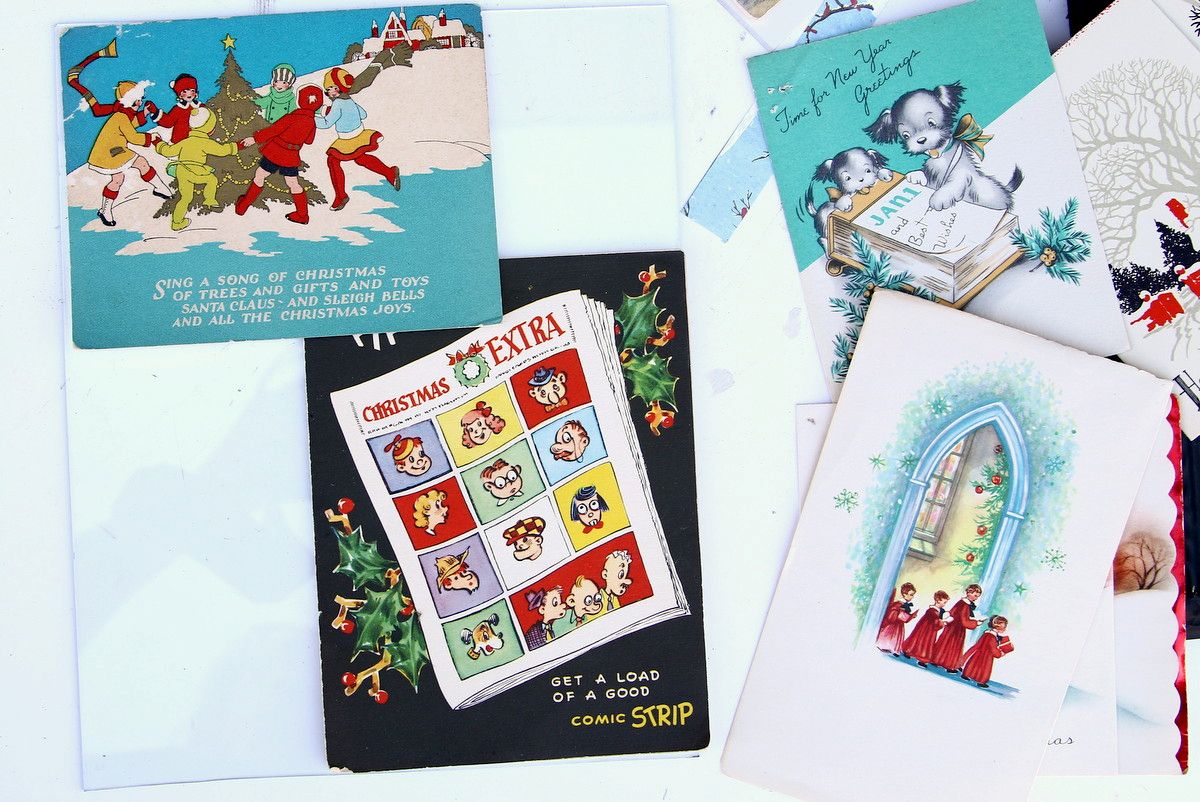
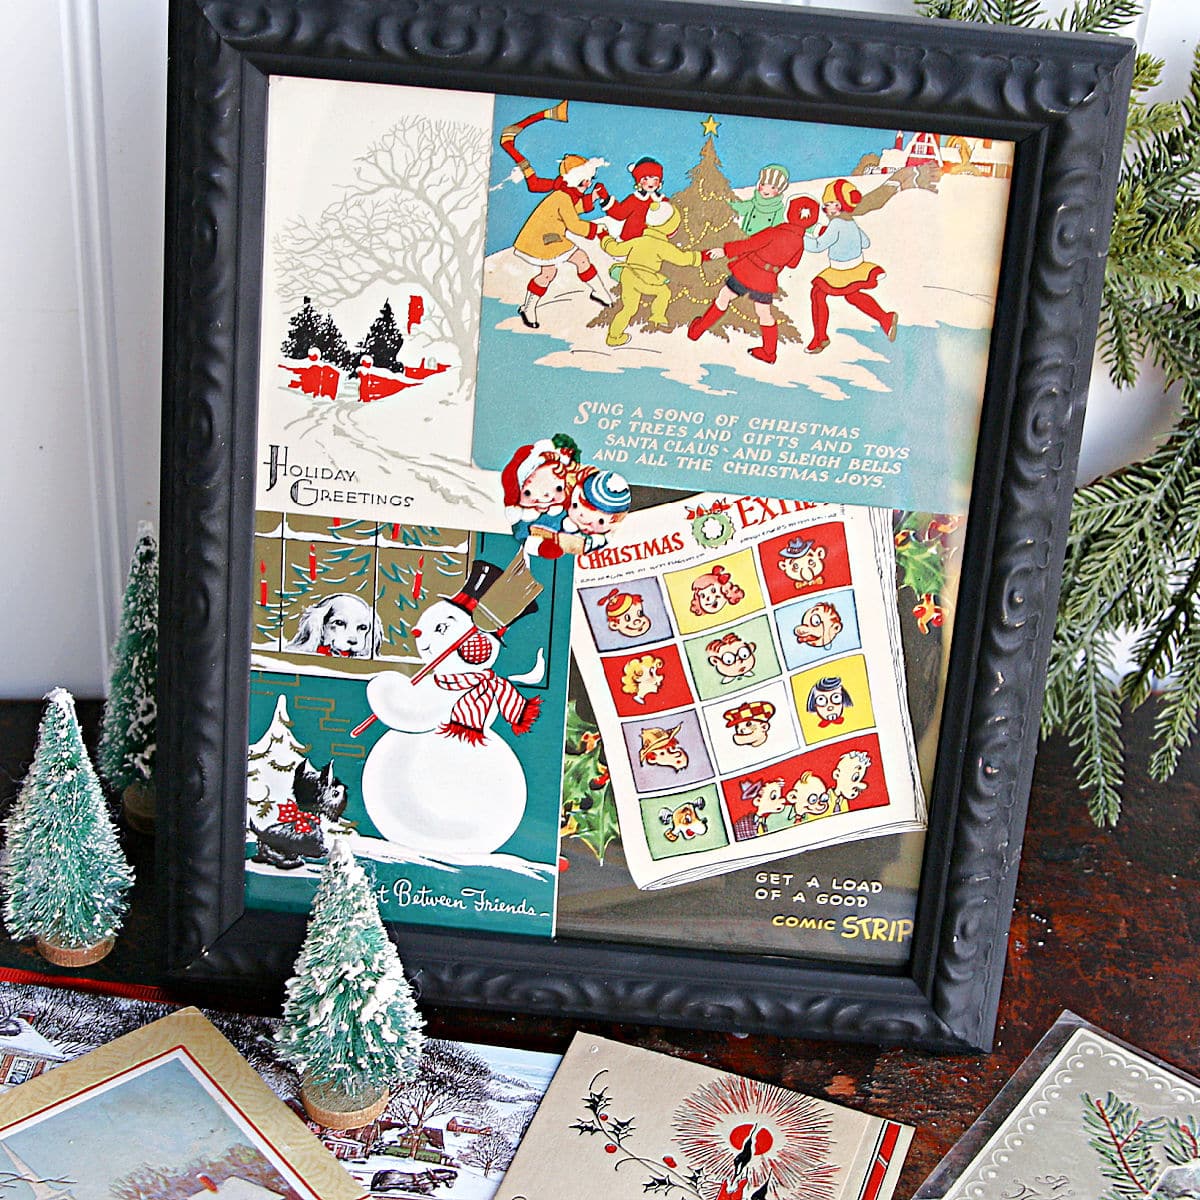
Choosing cards for the multi-picture black frame took a little more arranging, because I wanted colors that complemented one another and shapes that fit together inside the opening.
Place Christmas Card In The Turquoise Frame
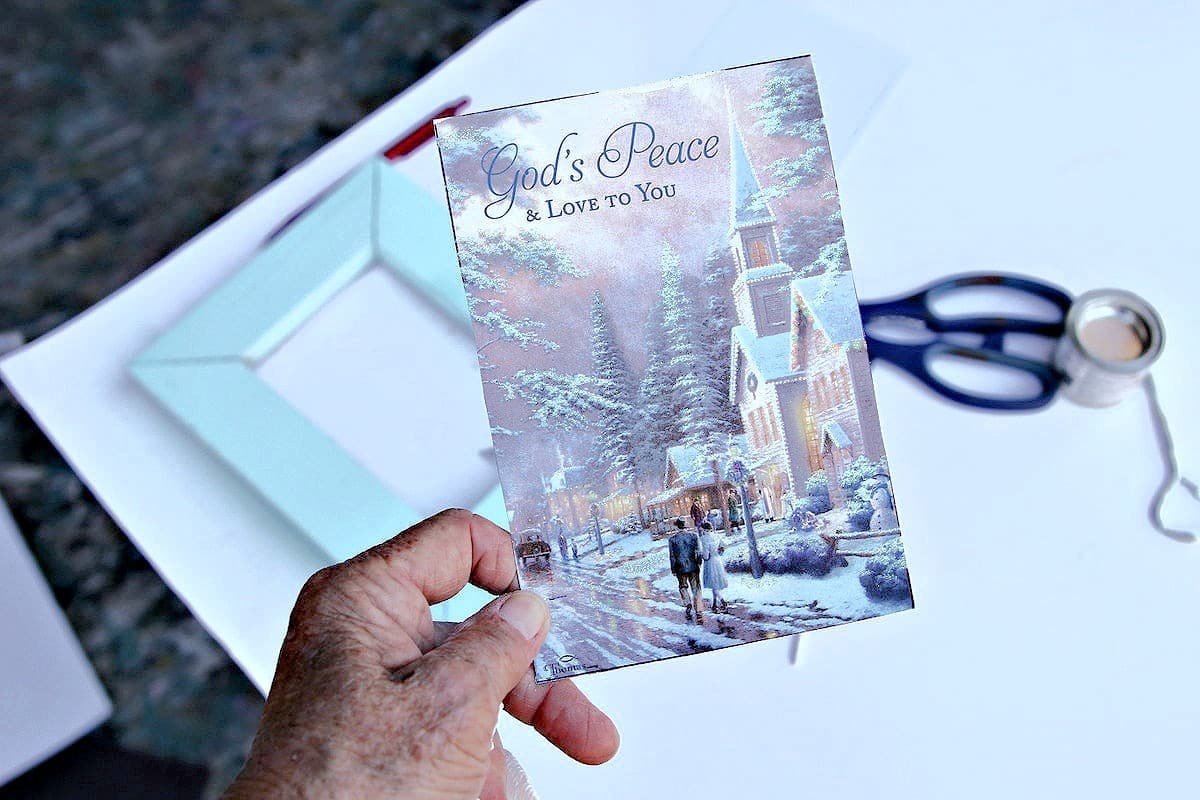
The card for the turquoise frame was a little too large, so I laid the glass from the frame over the card to cut it to size, choosing the best part of the card.
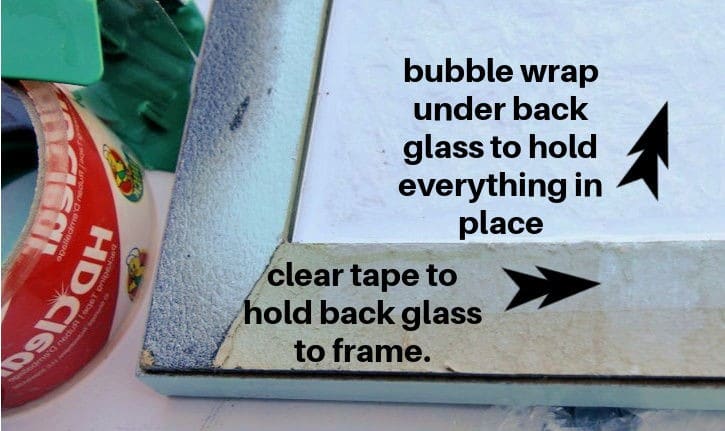
When I painted all the frames, I removed the glass and backing, and in most cases I threw the backing away.
Instead of the paper backing and stand, I placed the frame glass on the back side of the frame, but I needed filler between the glass and the card to hold it snugly in place. Bubble wrap was the perfect solution. I then taped it all in place with clear packing tape.
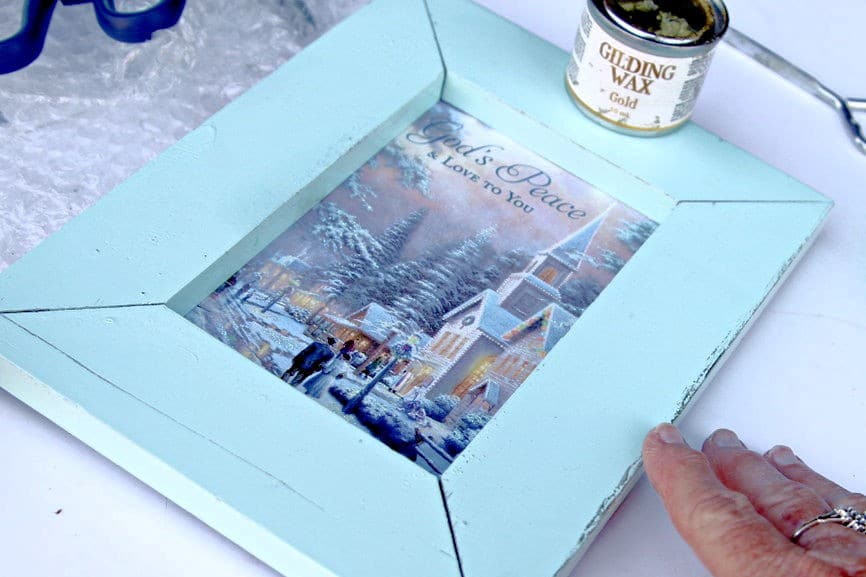
To add just a bit of spice I detailed the frame a bit with gold gilding wax. It is as simple as dipping my finger in the wax and running it over the edges of the frame.
Place Multiple Christmas Cards in the Black Frame
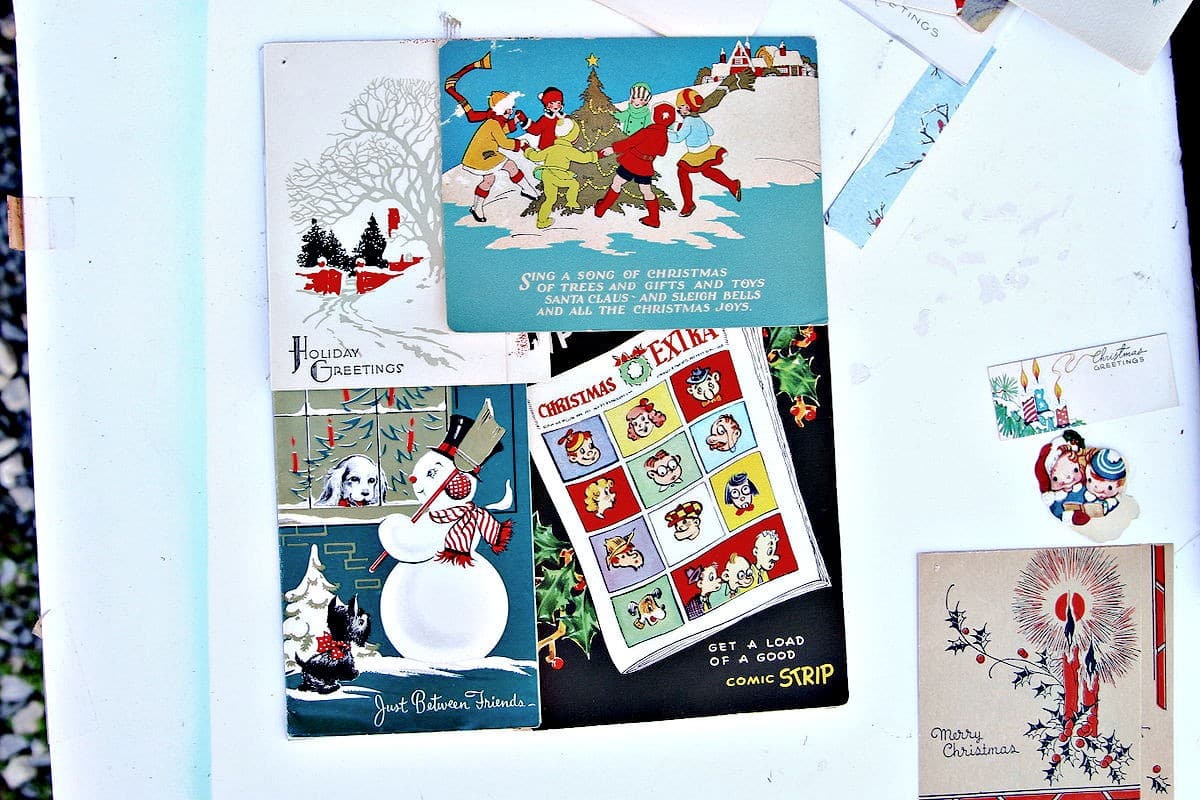
I placed cards in various configurations on the 8×10 glass for the black frame and finally settled on a layout I liked. But the middle area where the cards met didn’t make me happy.
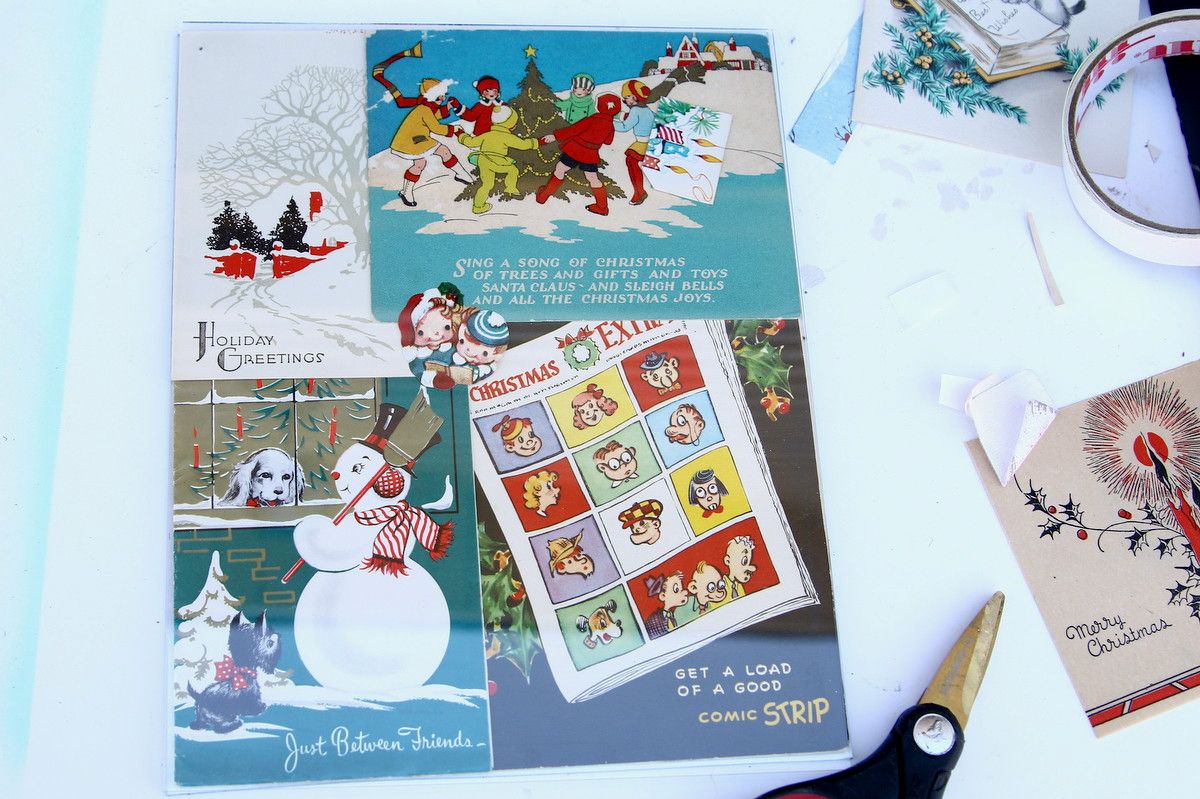
I tried several different pieces and love the little kids sticker I found in my stash. It was in a small envelope that contained vintage stickers. I think they were for sealing the back of Christmas card envelopes. Too cute.
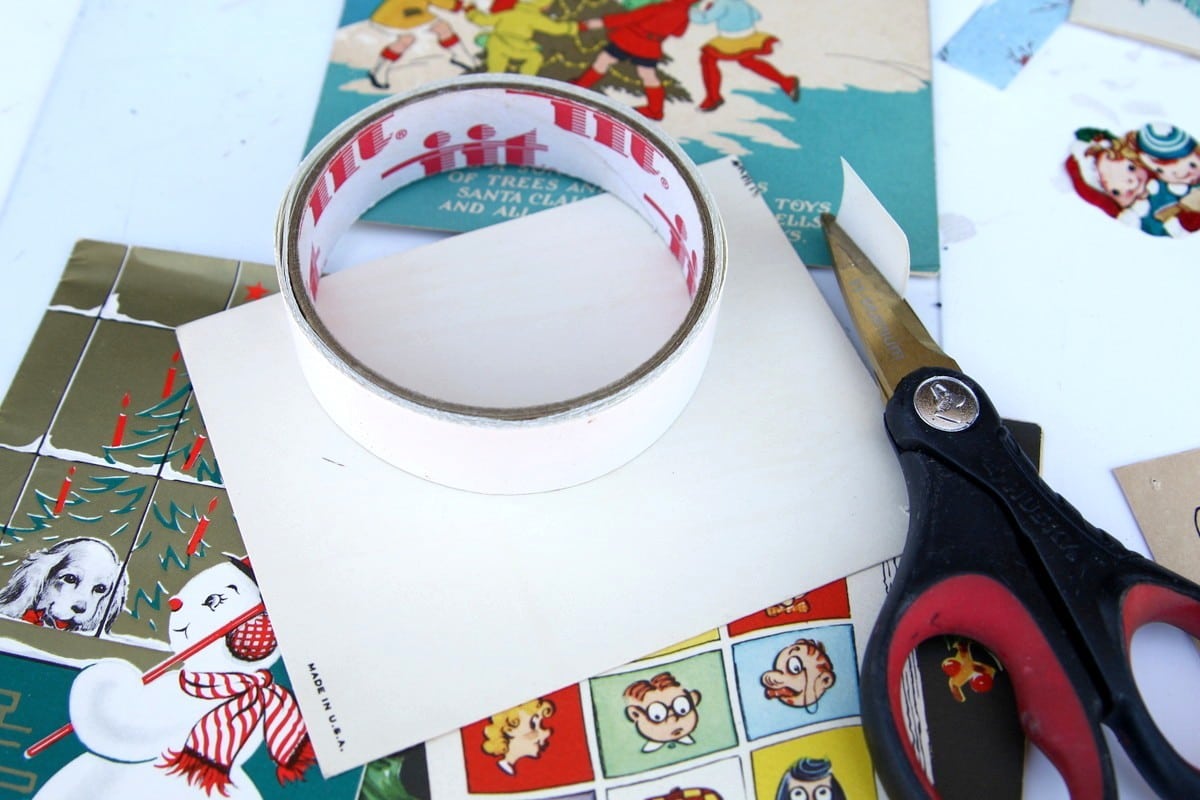
My original plan was to sandwich the cards between two sheets of 8×10 glass. It sounded easy, right? Every time I lowered the sheet of glass, the cards shifted out of place.
Before I lost all of my patience, I remembered the double-sided tape! A tiny bit of double-sided tape on the back of each card kept them adhered to the glass without damaging them.
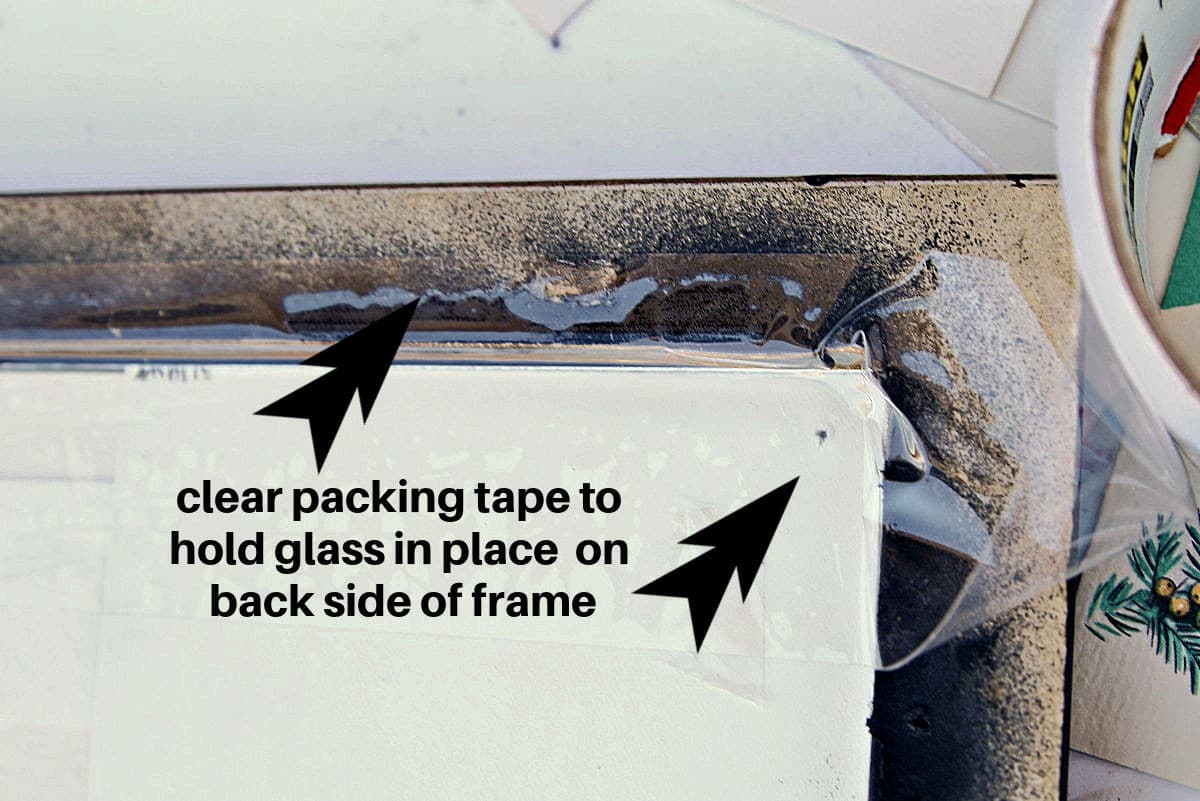
That worked. Then I set the glass-framed Christmas cards into the black frame and sealed the back closed with clear packing tape.
I mentioned how much I loved the vintage cards, and one reason is that some of them are a little risqué. Really.
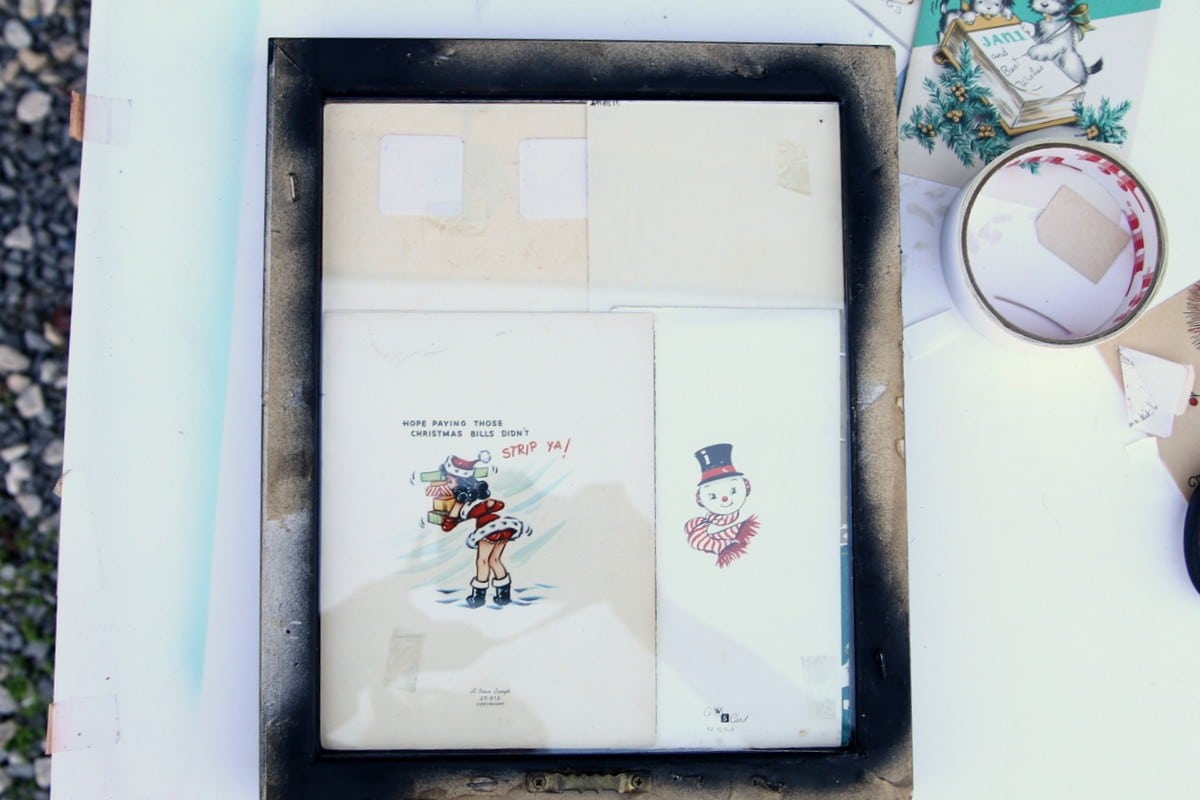
This is the back side of the framed cards.
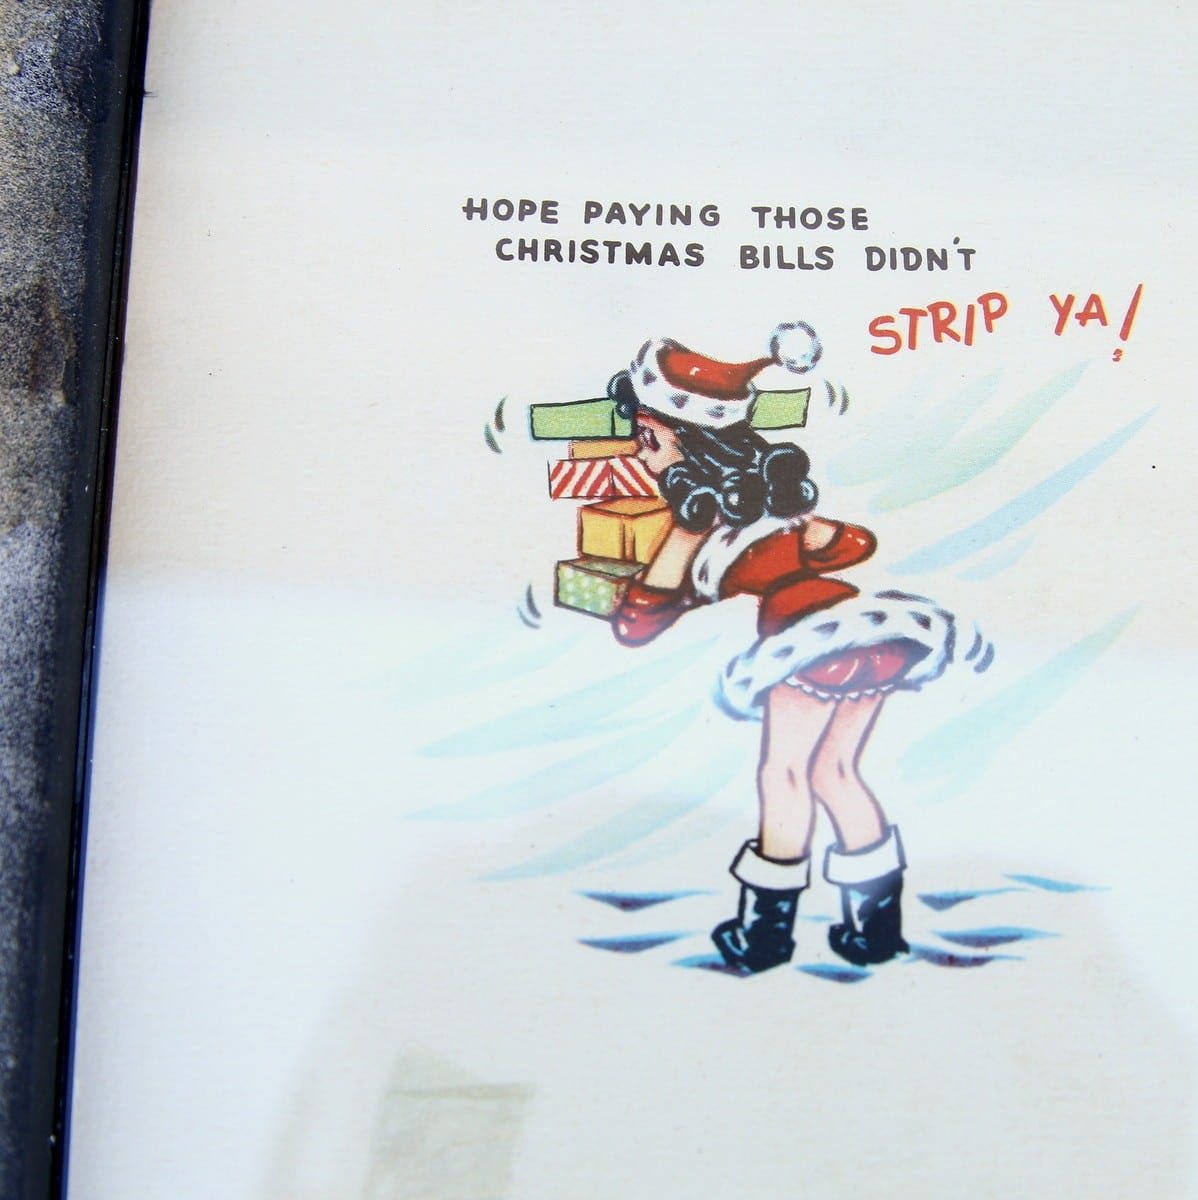
This is the back of the “black cartoon” card. I love it; how about you?
Attach Stands to the Back of Frames
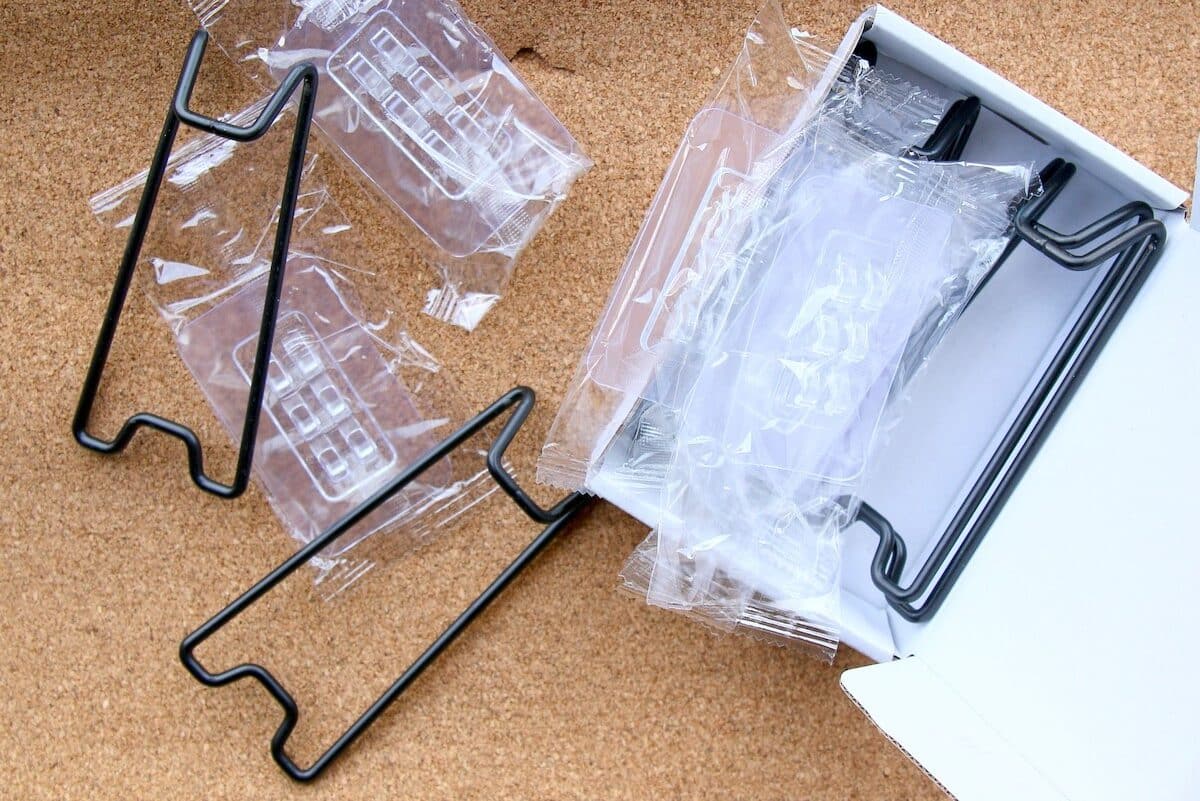
Since I threw out all of the frame backs, I ordered some stands from Amazon.
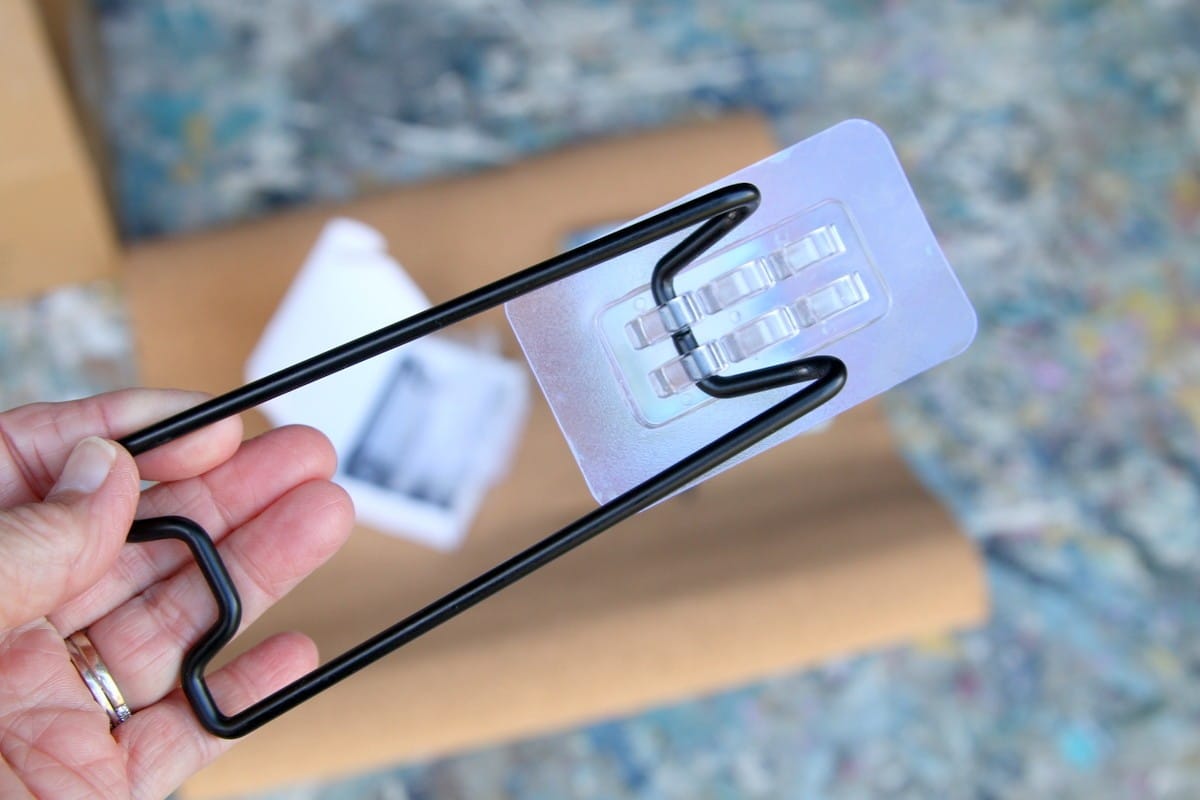
The black stand attaches to a sticky-backed plastic rectangle that adheres to the frame back.
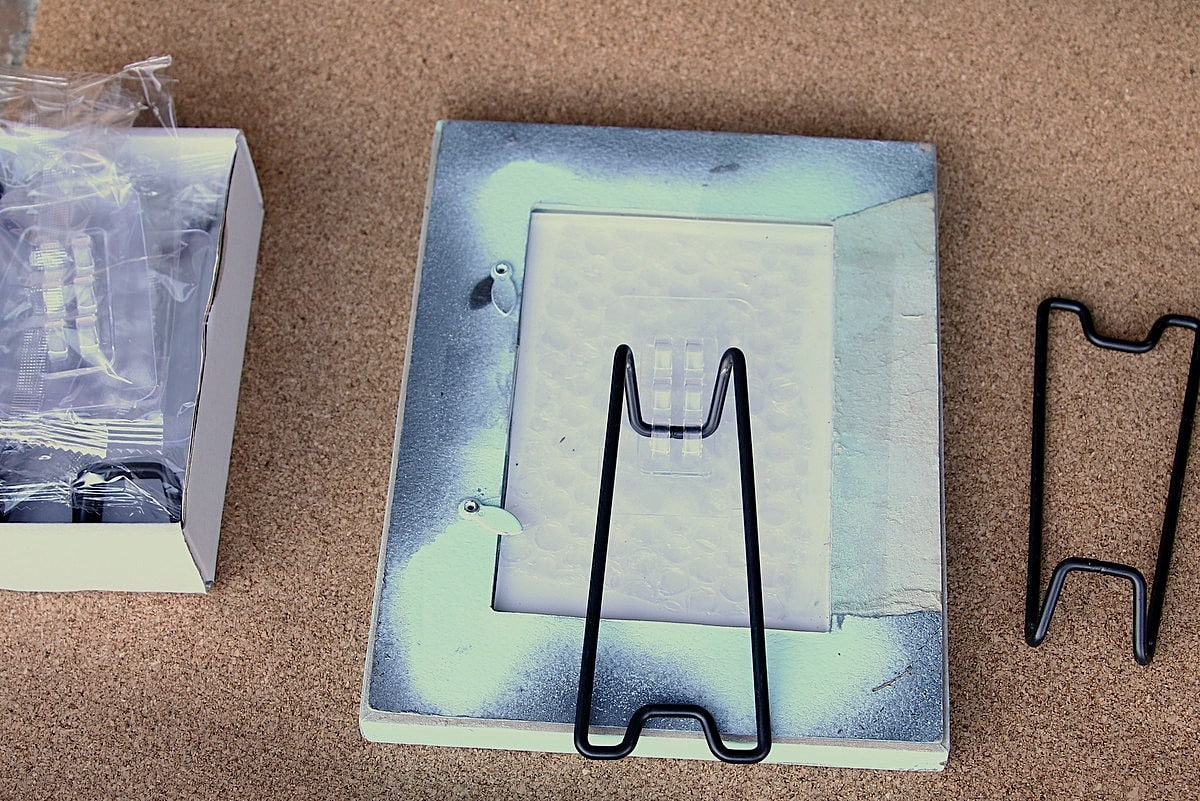
The stands were perfect.
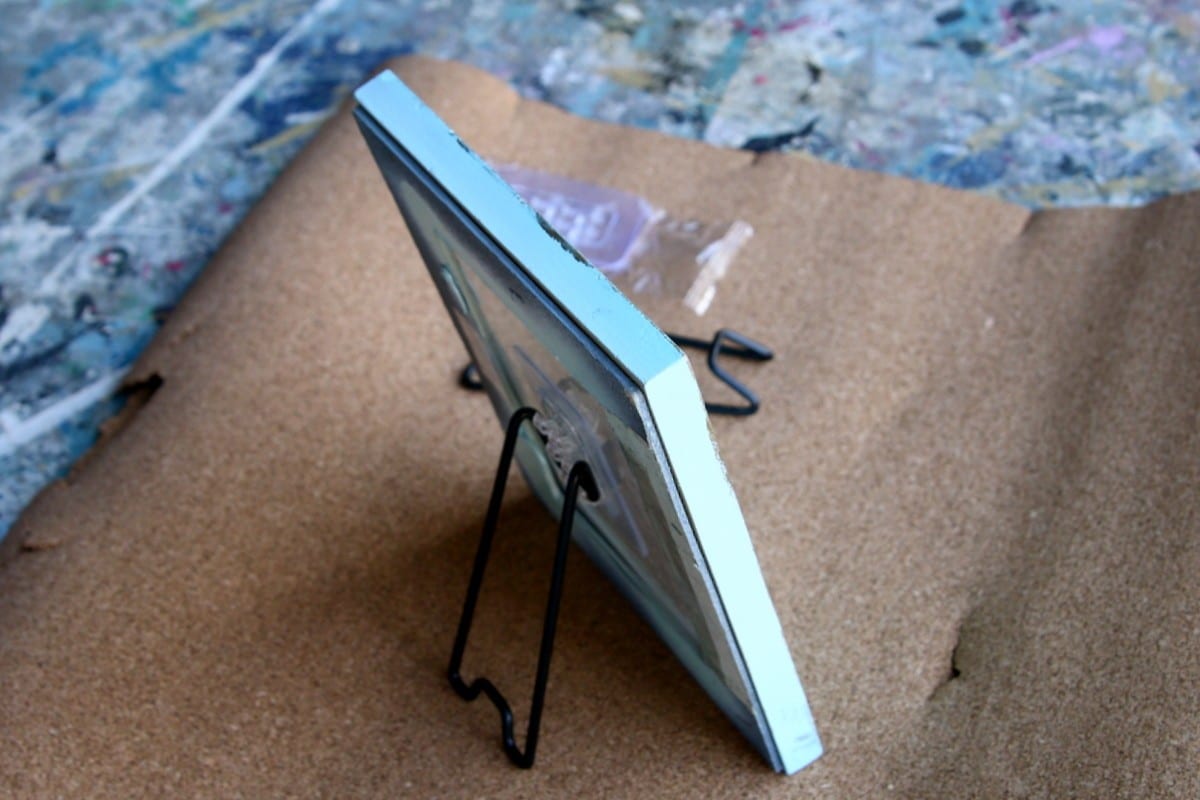
They are available in sizes for small and large frames.
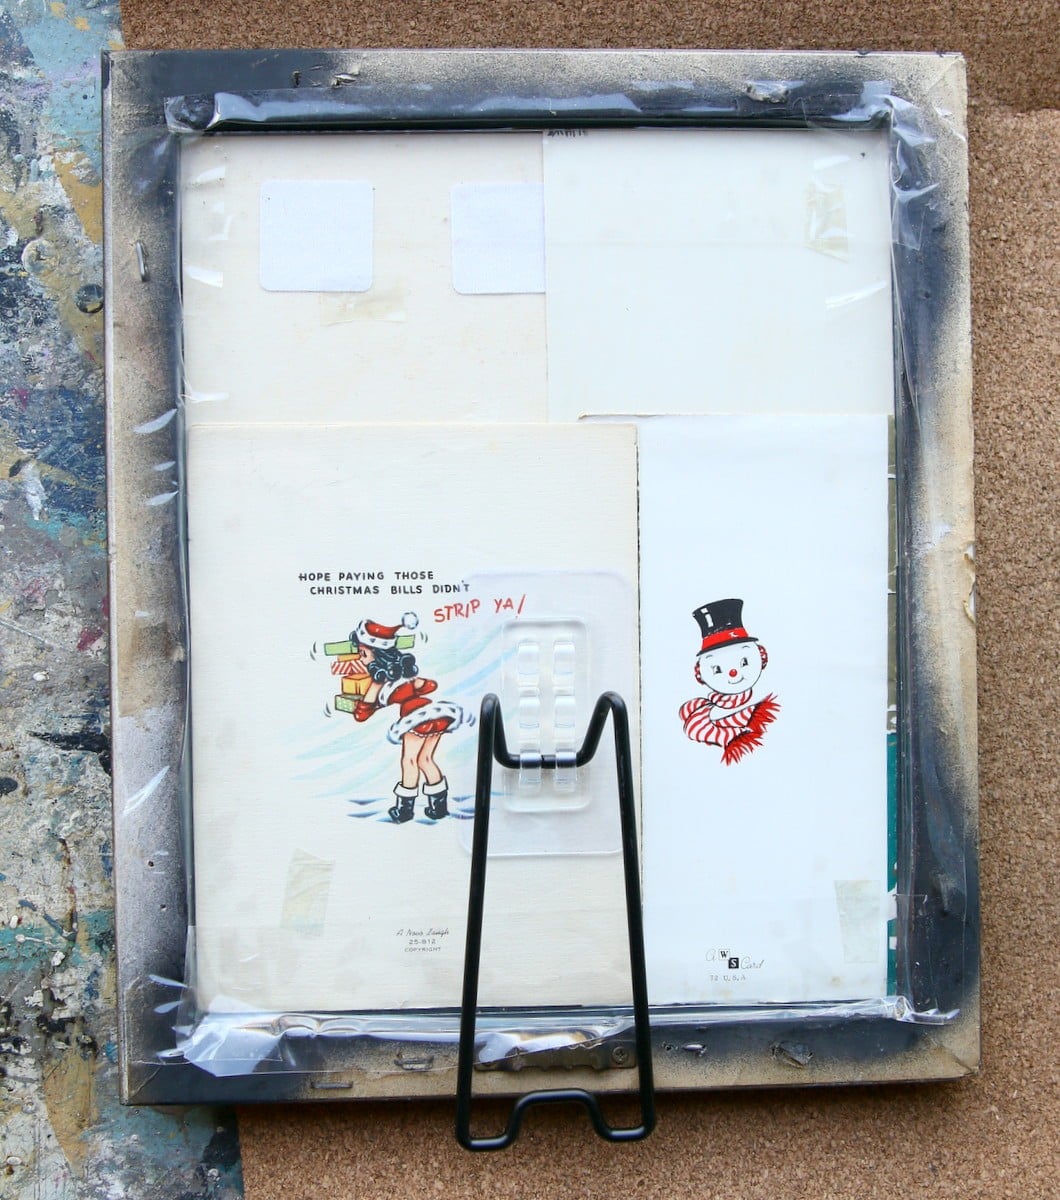
Being budget minded like I am, I just ordered one size and they worked for the small and large frame.
Finished Christmas Card Displays
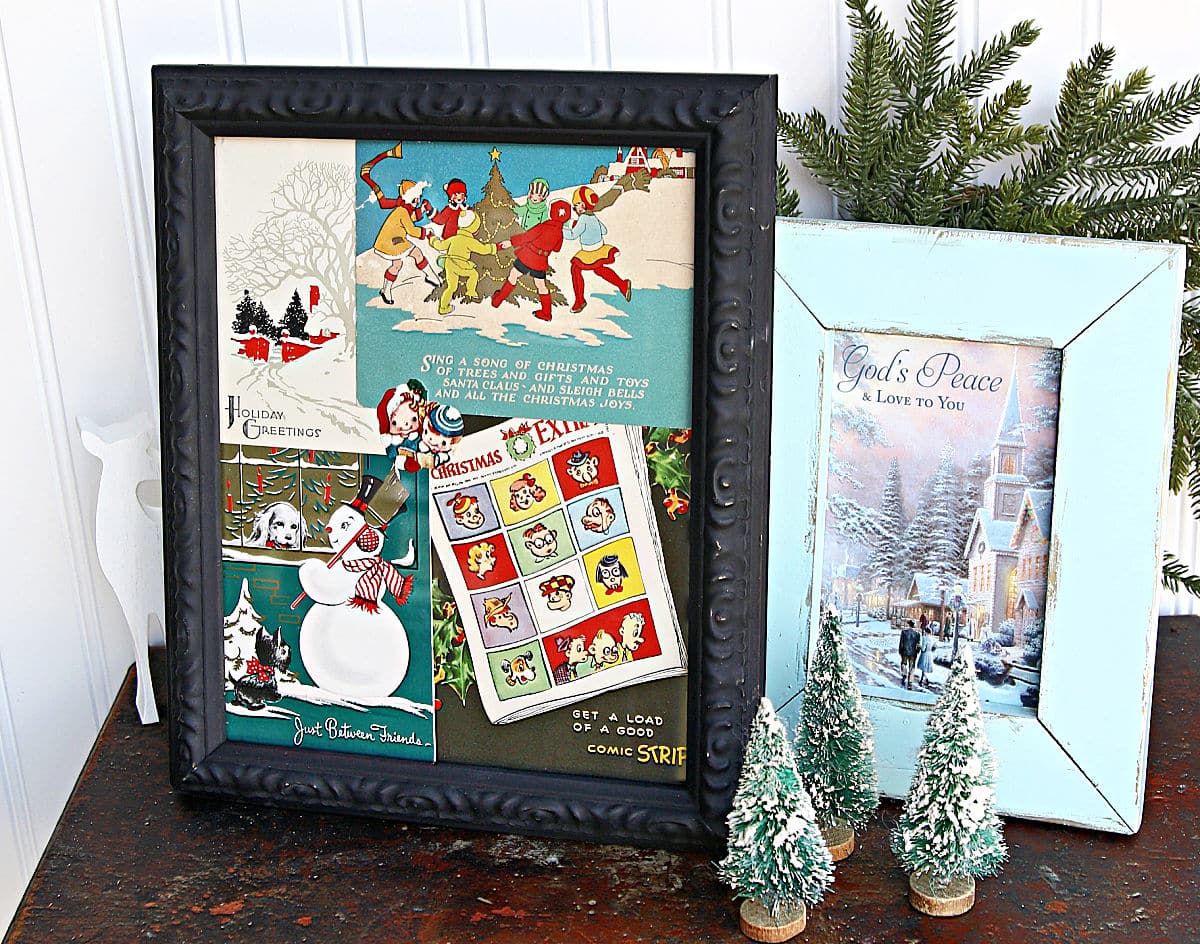
How about that display. I particularly love the black frame display.
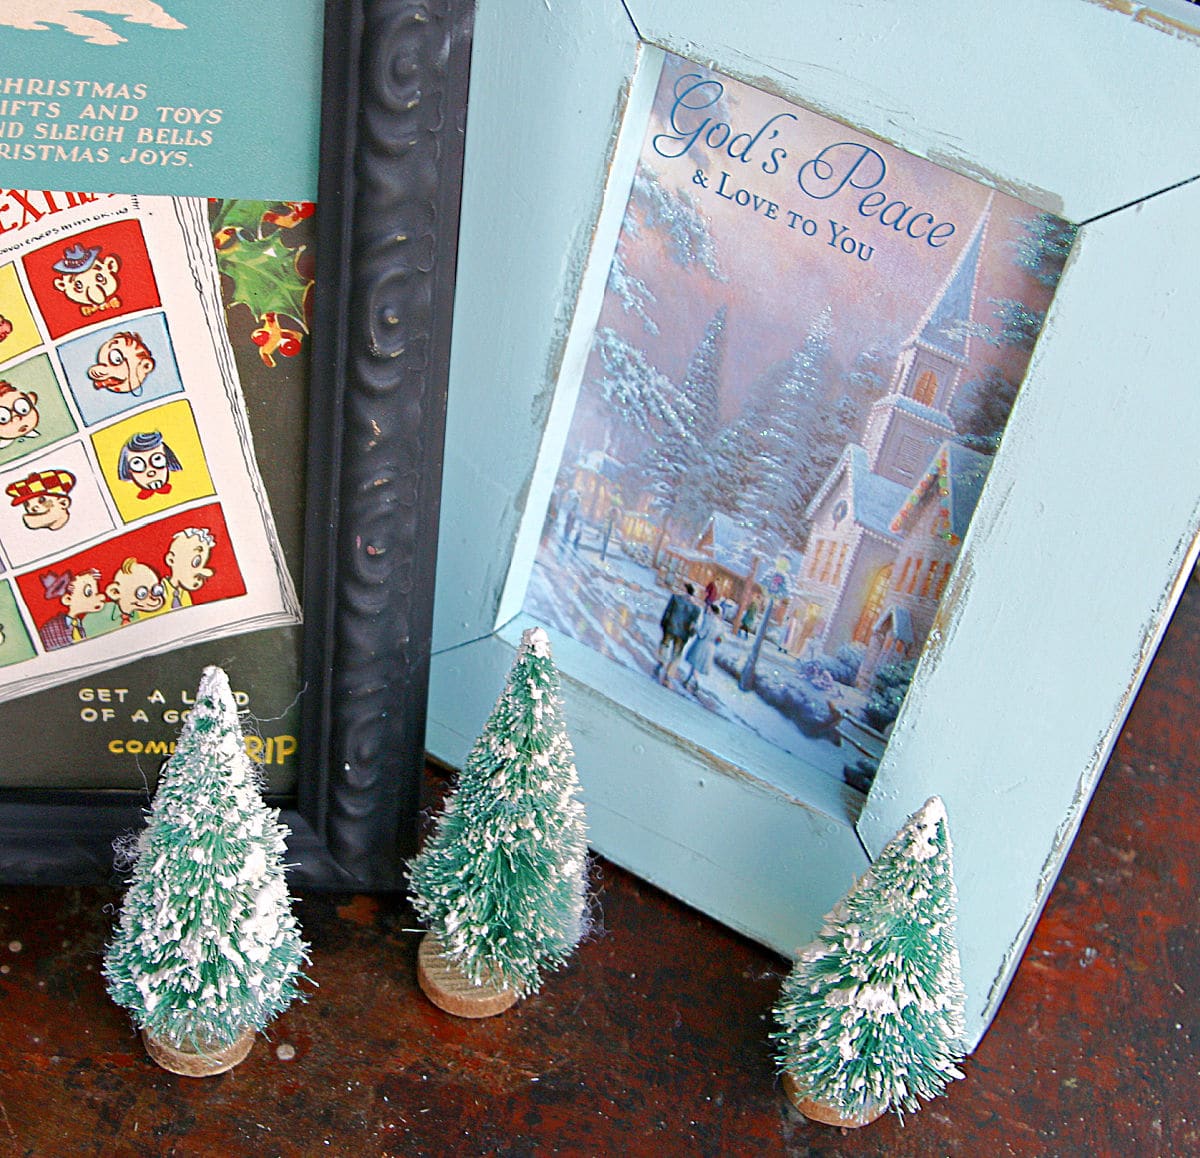
The turquoise frame and card are sweet.
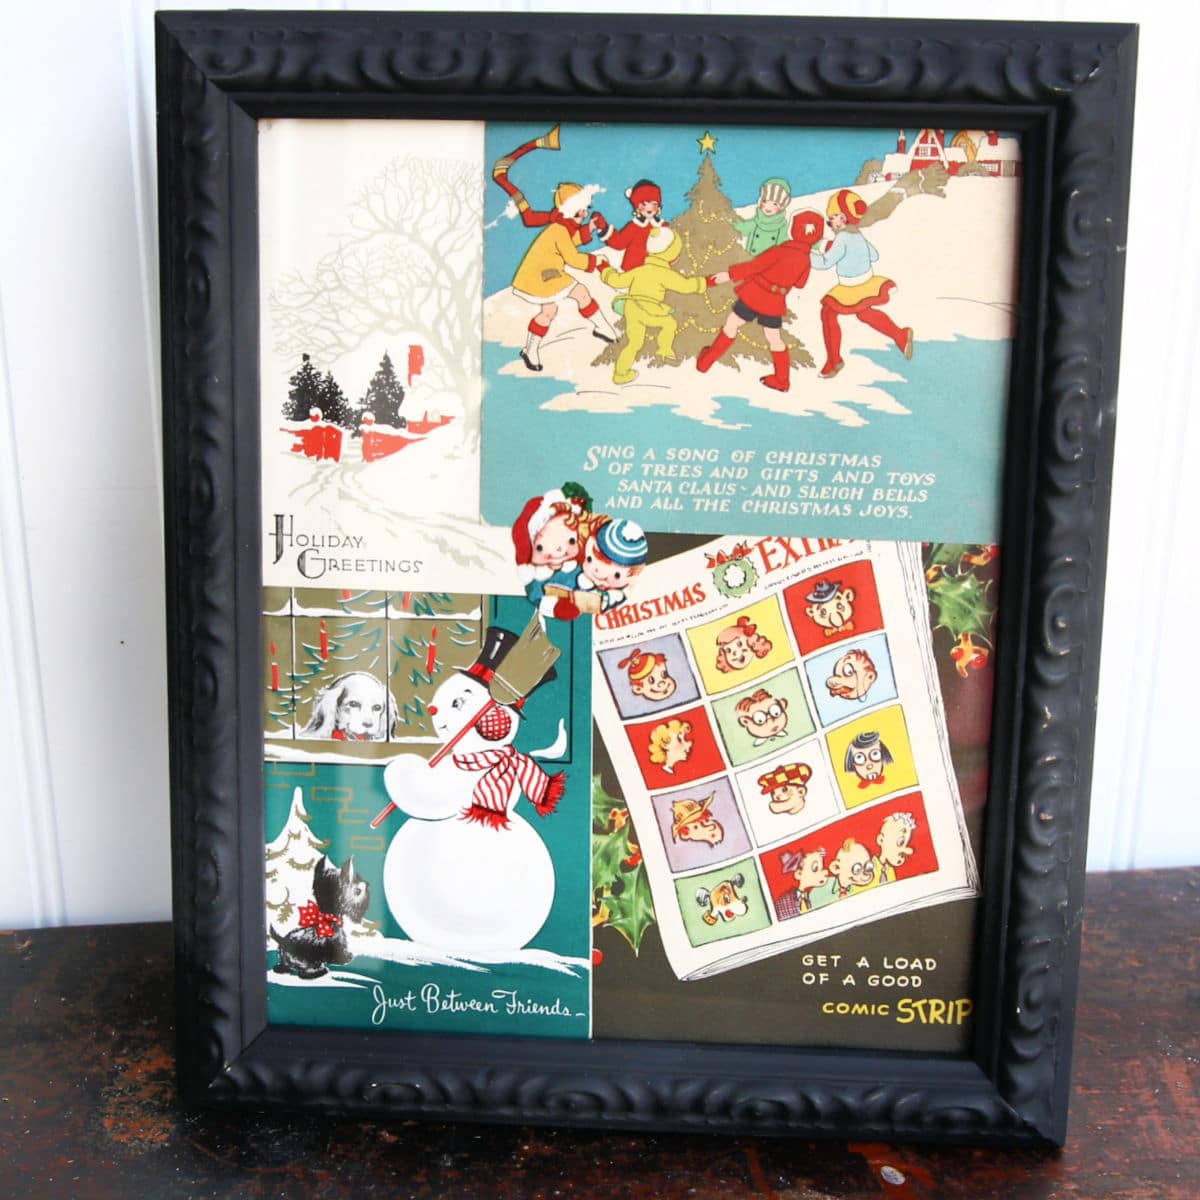
But you guys know me, I like the bold colors here.
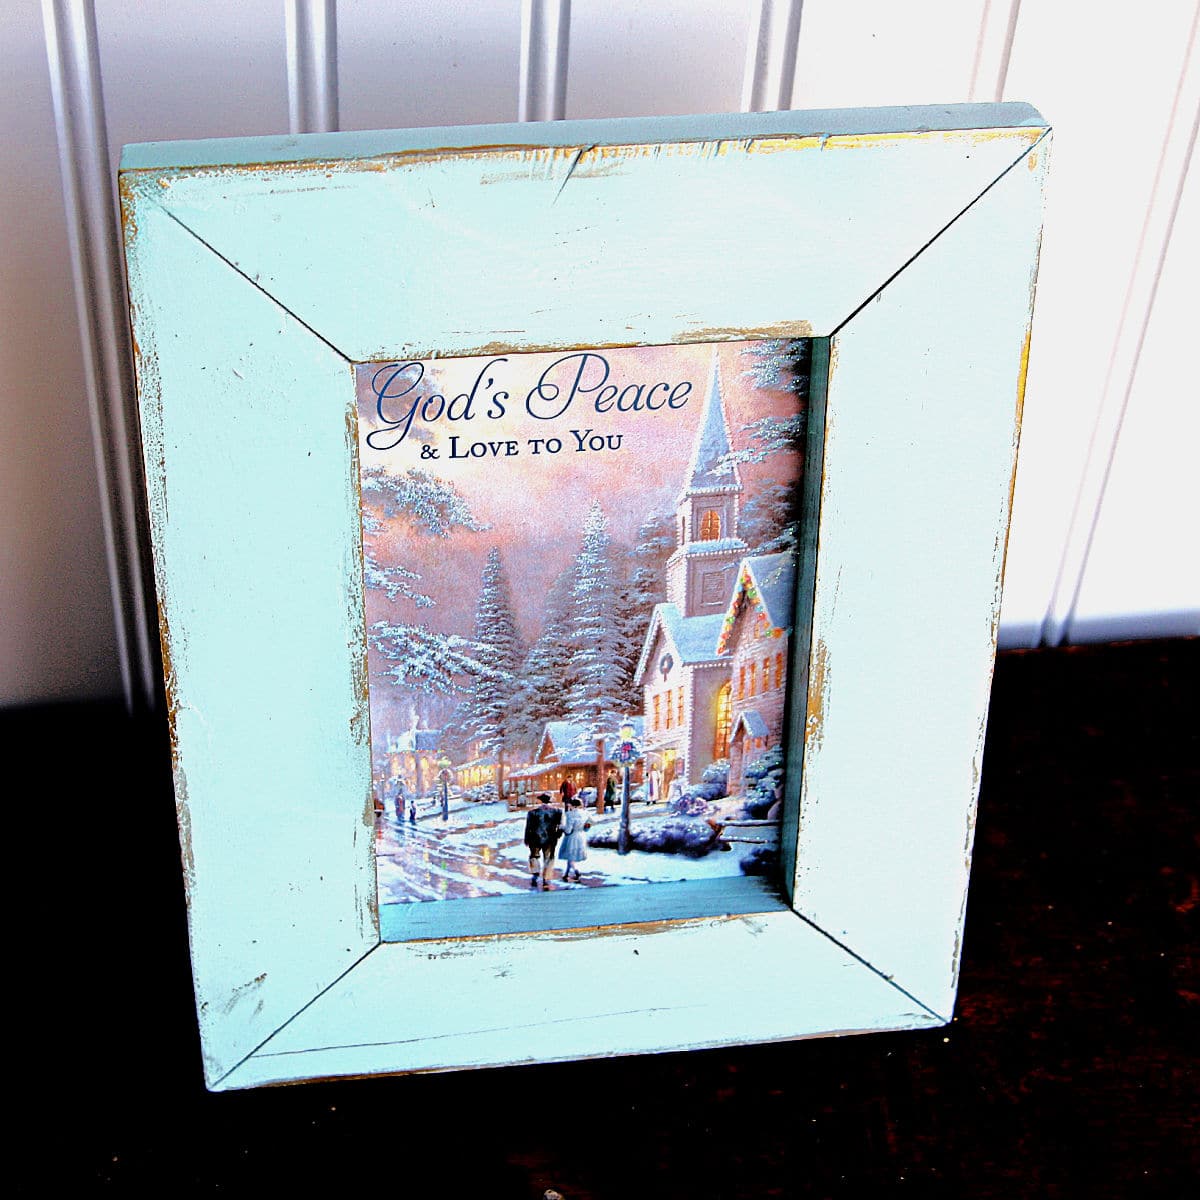
You can see the gold gilding wax around the edges of the frame.
Placing the double-sided tape on the back of the cards shouldn’t damage them and I cbudget-mindedisplay a part after this season is ,over ituse the cards again.
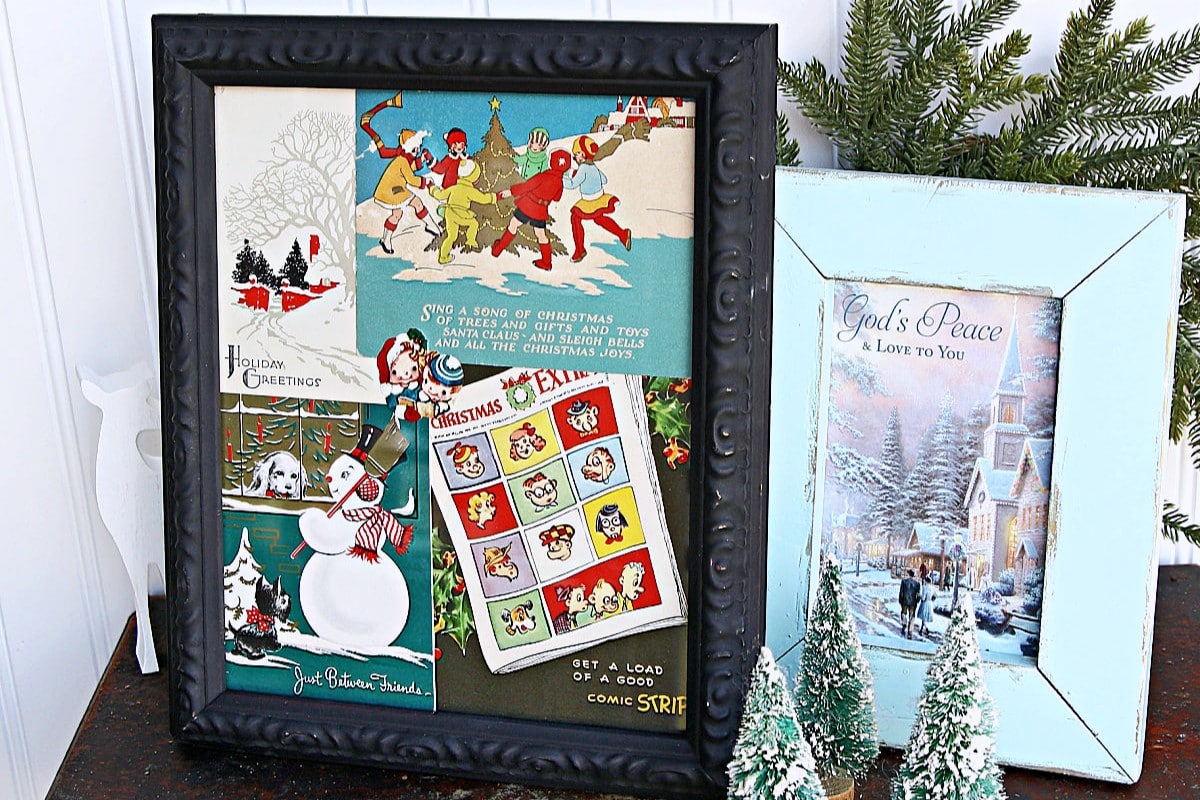
What do you think of this simple holiday makeover? I love how both styles turned out, but that bold black frame with the vibrant vintage cards is definitely my favorite! The best part is that using double-sided tape makes it easy to take the display apart after the holidays so the cards can be reused next year.
Trashy Treasures Tuesday
Now it’s time to check out the rest of the Trashy Treasures Tuesday transformations! Click the links below to visit my talented blogger friends and see what thrifted treasures they upcycled this month…..
Trashy Treasures Tuesday Tour:
$20 Yard Sale Dresser Redo – Confessions of a Serial DIYer
Wintery Floral Bookcase Makeover – Salvaged Inspirations
Christmas Trays with Decoupage Fibers – Artsy Chicks Rule
Christmas Card Display Idea – Petticoat Junktion
Thanks for stopping by! Let me know in the comments below if you prefer the subtle turquoise frame or the bold black frame.
Have a great day, Kathy