
Use The Vaseline Layered Paint Method To Save A Trashed Table
This trashed table needed repair and a distressed paint finish that fit its age and condition. The Vaseline layered paint technique gave the table the detailed look it needed.
I paid $5 for this old table at my favorite junk shop, and once I got it home, I wondered what I was thinking. It was filthy, several joints were loose, and someone had tried to hold it together with nails. Lots of nails.
But I was ready to fix it up. After a good cleaning and quite a few repairs, I gave the table a two-tone distressed finish using the Vaseline layered paint method. The technique lets you reveal one paint color beneath another without sanding down to the original finish.
This makeover took a little more work than I expected, but the finished table was worth it. I’m sharing the repairs, the painting process, and plenty of photos so you can try the technique on your own furniture.

Today is the Furniture Fixer Upper Tour, one of my favorite days of the month. Four of my furniture-flipping friends and I each share a new furniture makeover. Click the links at the bottom of the post to see all the terrific makeovers.
How To Save A Trashed Table
Supplies and Tools for the Table Makeover
I used a combination of cleaning supplies, repair tools, and paint products to bring this old table back to life. You may not need all the repair supplies, depending on the condition of your furniture.
Cleaning and Repair Supplies
- Shop vacuum
- Paint scraper
- Paint can key (for cleaning grooves)
- Simple Green cleaner
- Cleaning rags
- Hammer and nail-removal tools
- Ryobi brad nailer and brad nails
- Wood glue
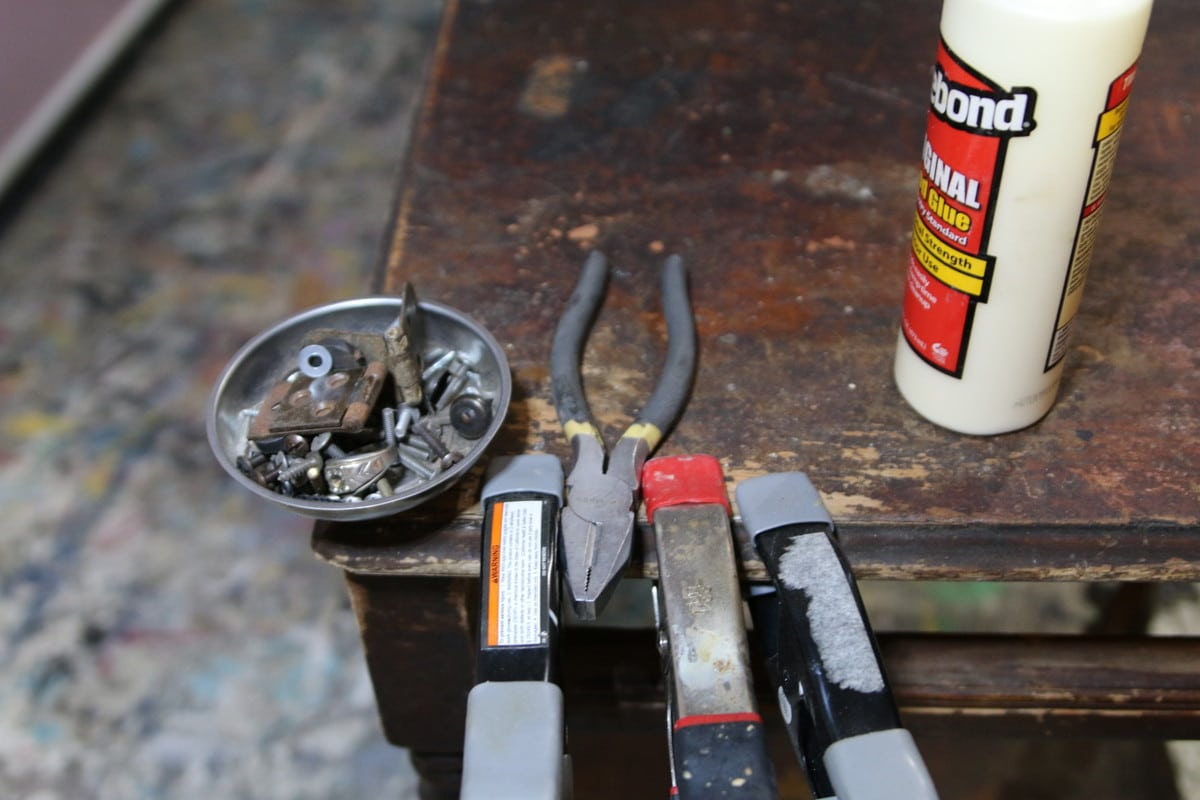
- Wood clamps
- Wood filler
- Sandpaper
Painting and Distressing Supplies
- Dixie Belle Chalk Mineral Paint – Spanish Moss
- Dixie Belle Chalk Mineral Paint – Sand Bar
- Paintbrush
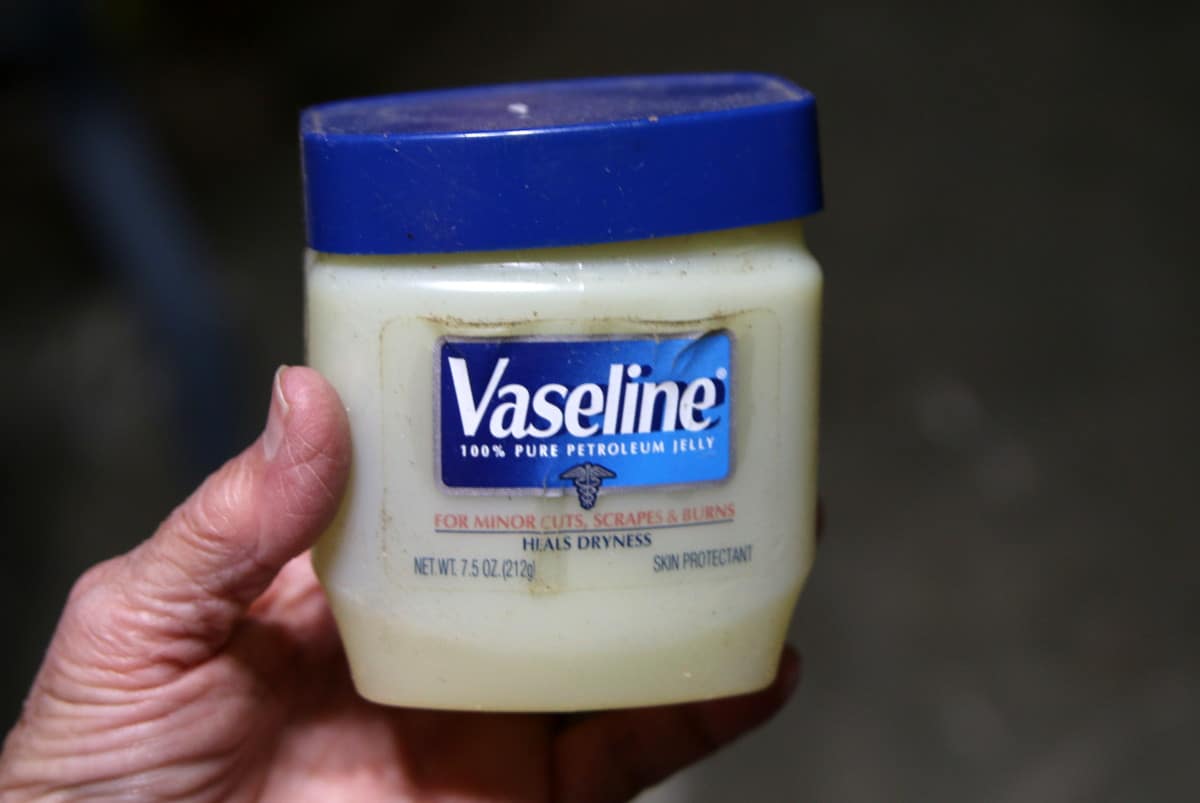
- Vaseline (petroleum jelly)
- Damp rag or wet wipes
- Replacement drawer knob
Table From the Junk Shop
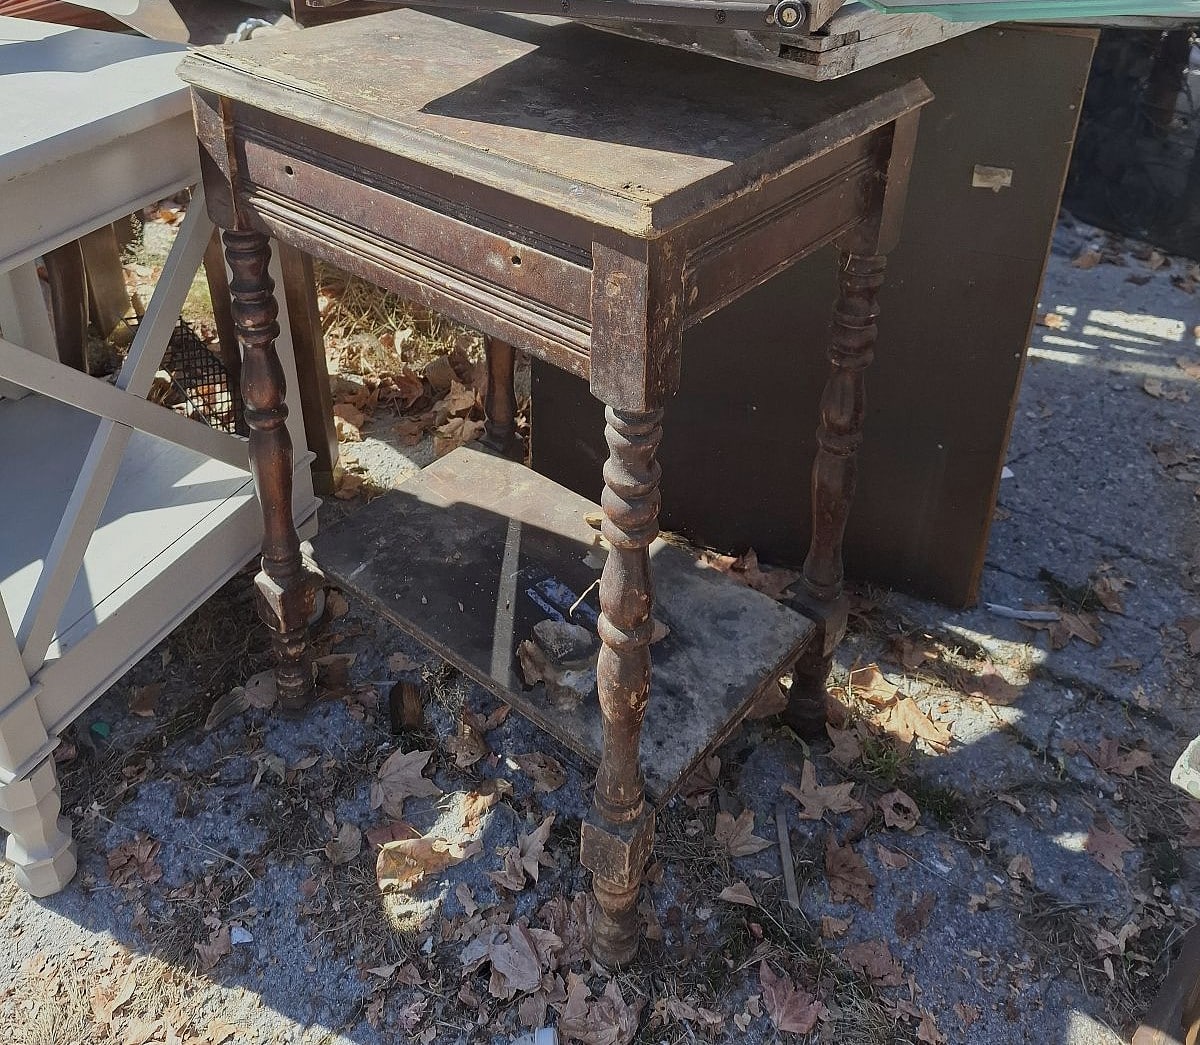
I found the table at my favorite junk shop in Hopkinsville, Ky. The price was $5.
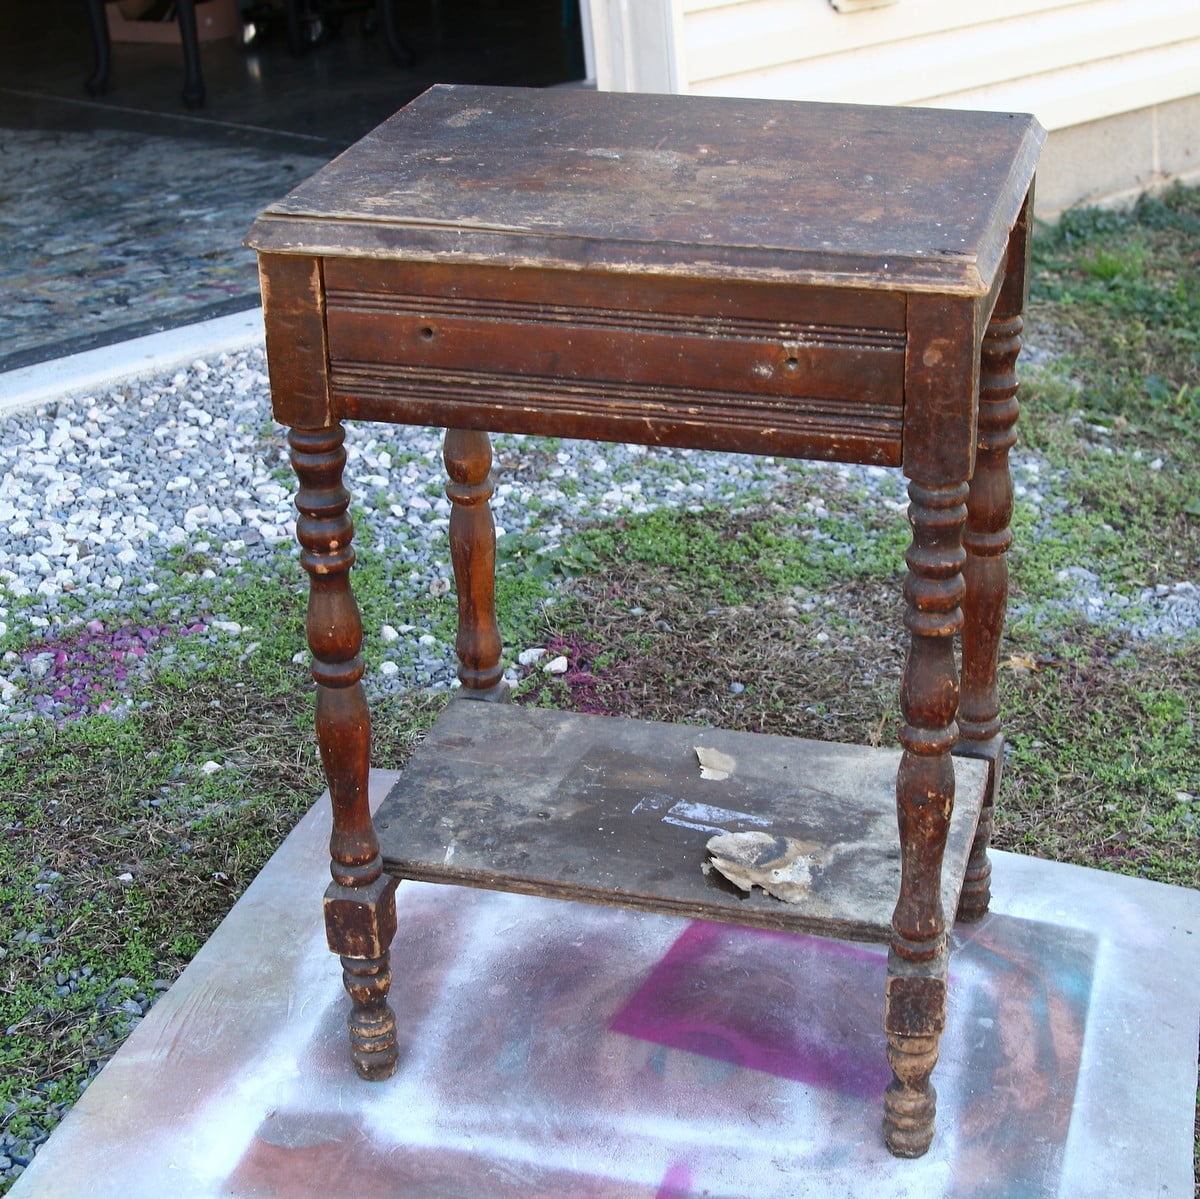
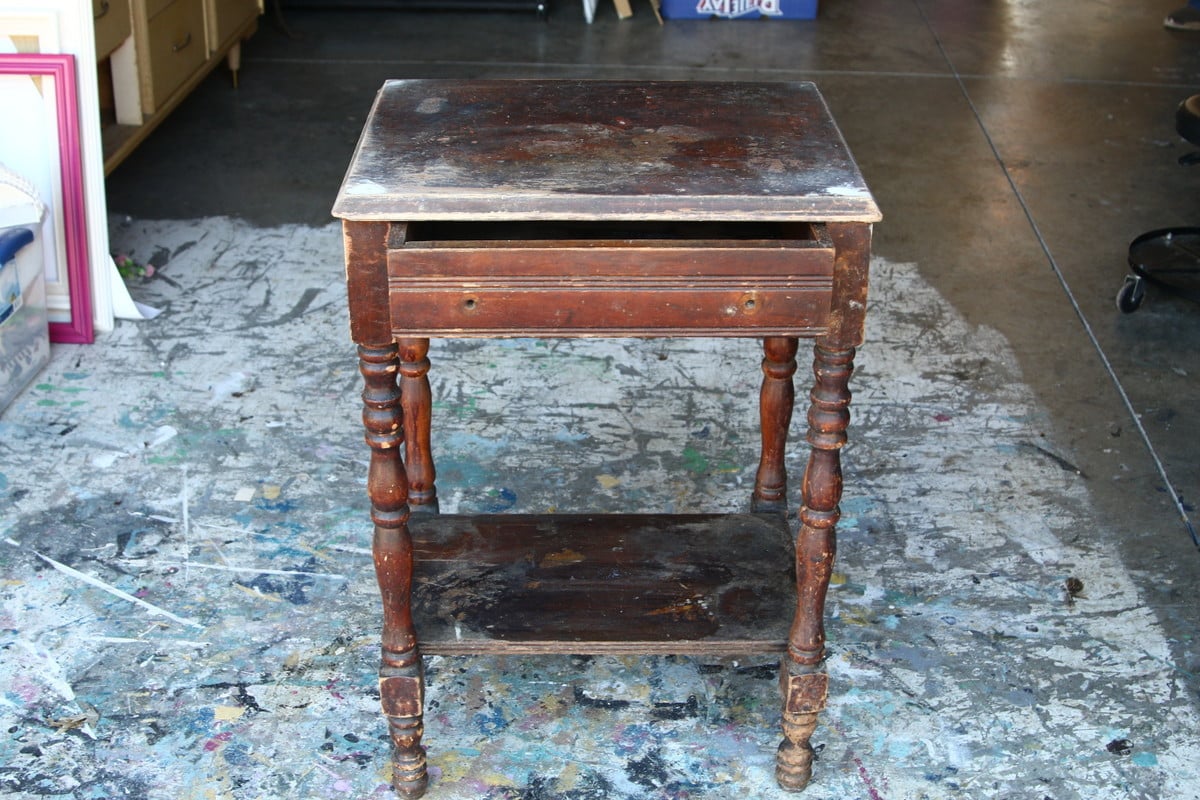
I took another look at it when I got it home and wondered why I bought it.
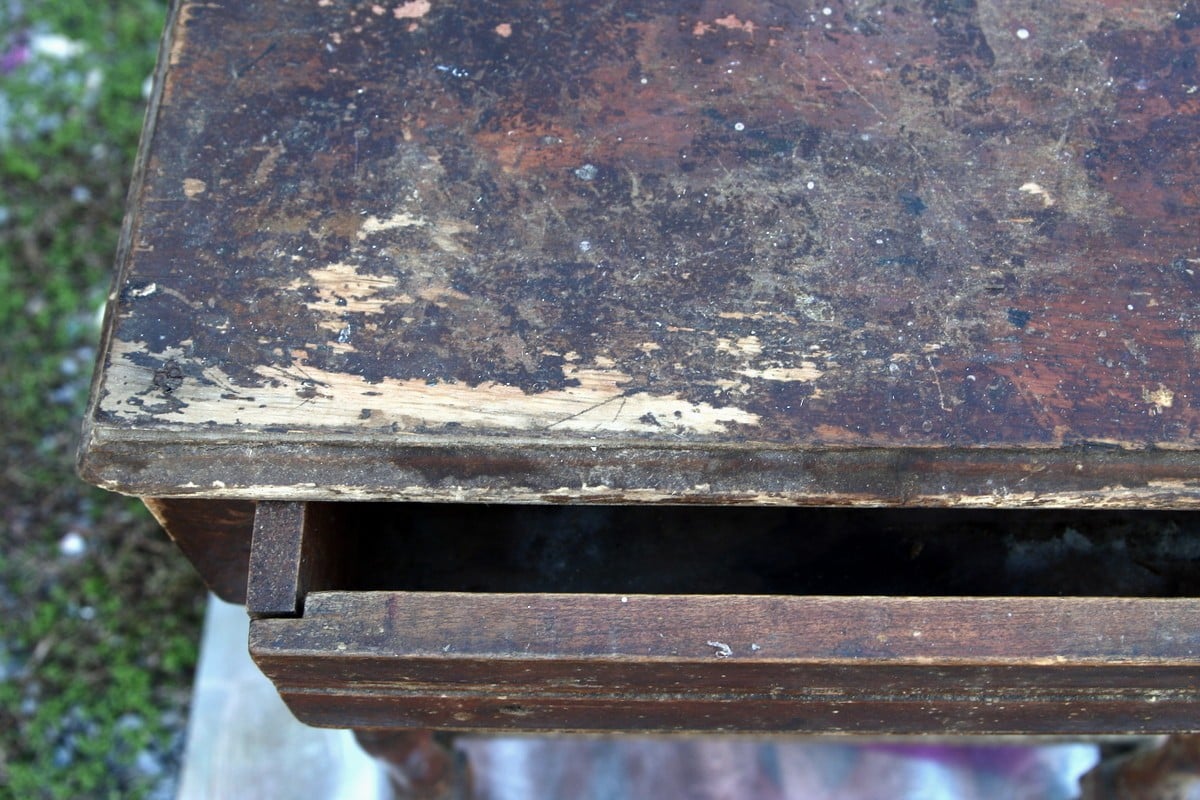
The table was a total mess.
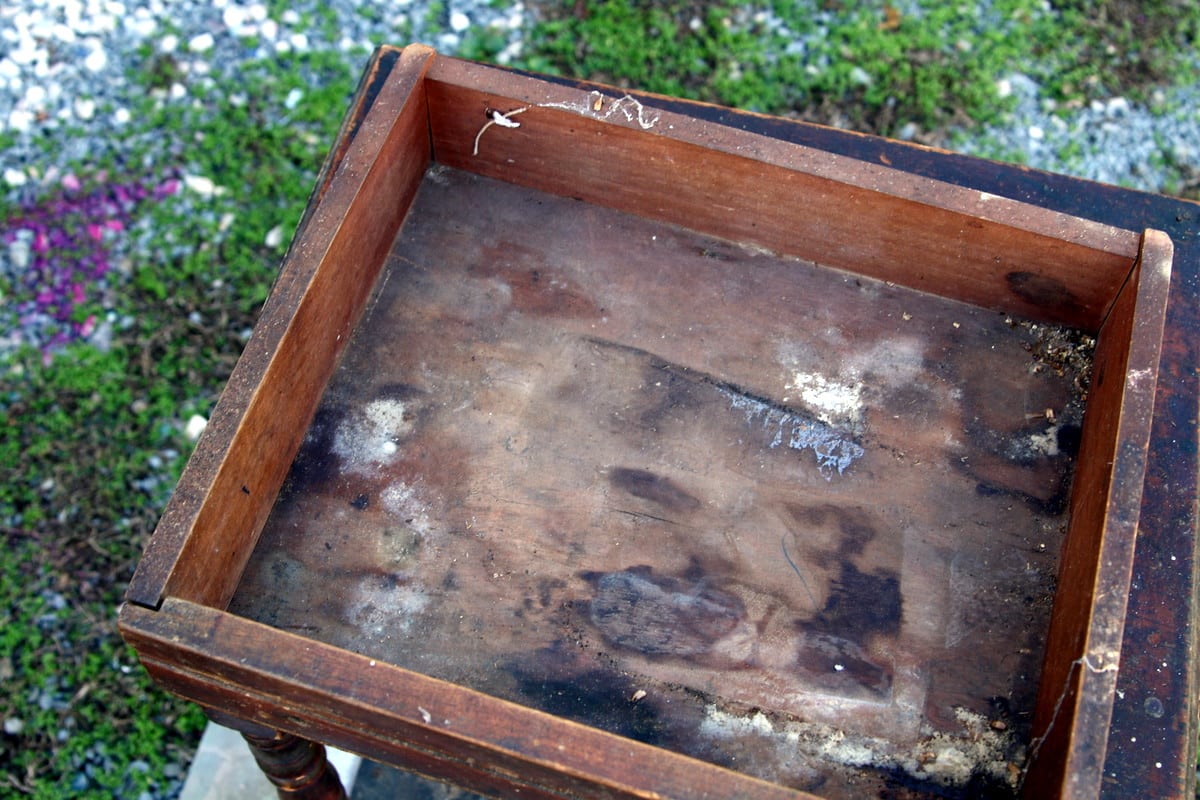
The drawer was a mess too.
Clean the Table
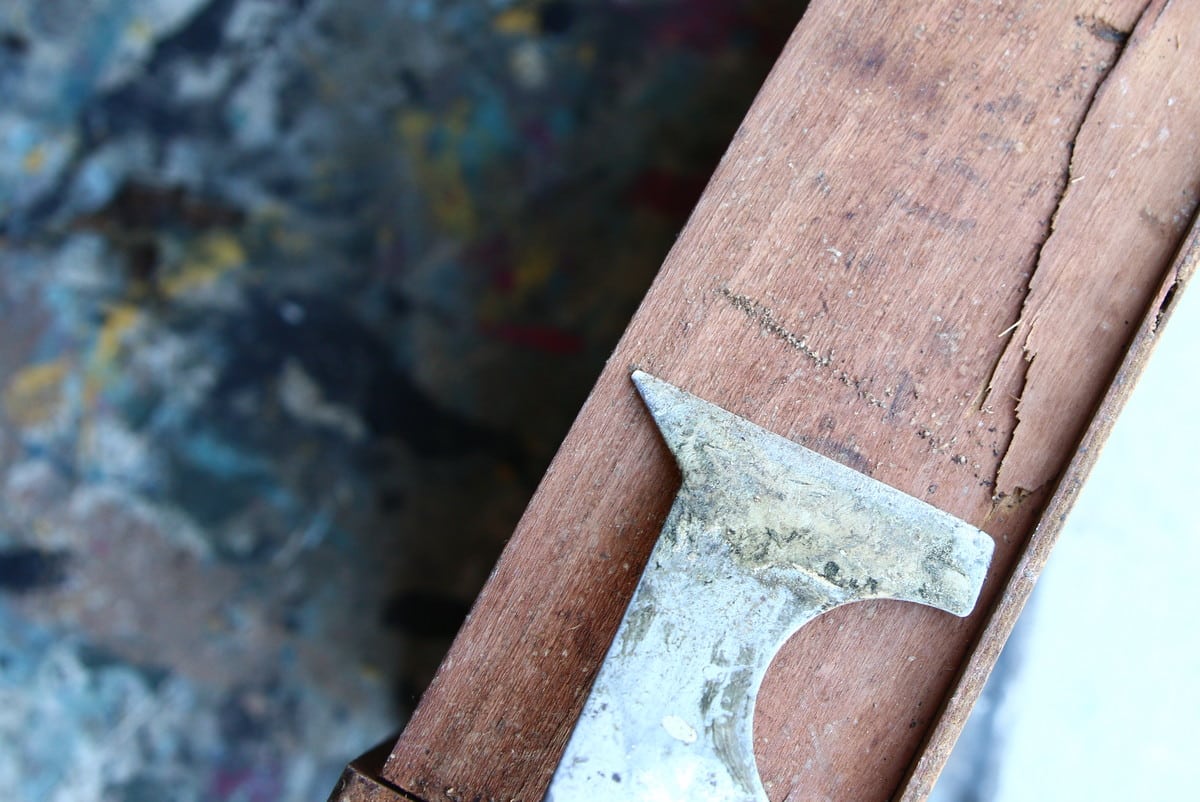
I started by cleaning off years of dirt and grime. Little did I know I’d be cleaning the table again after making all the repairs.
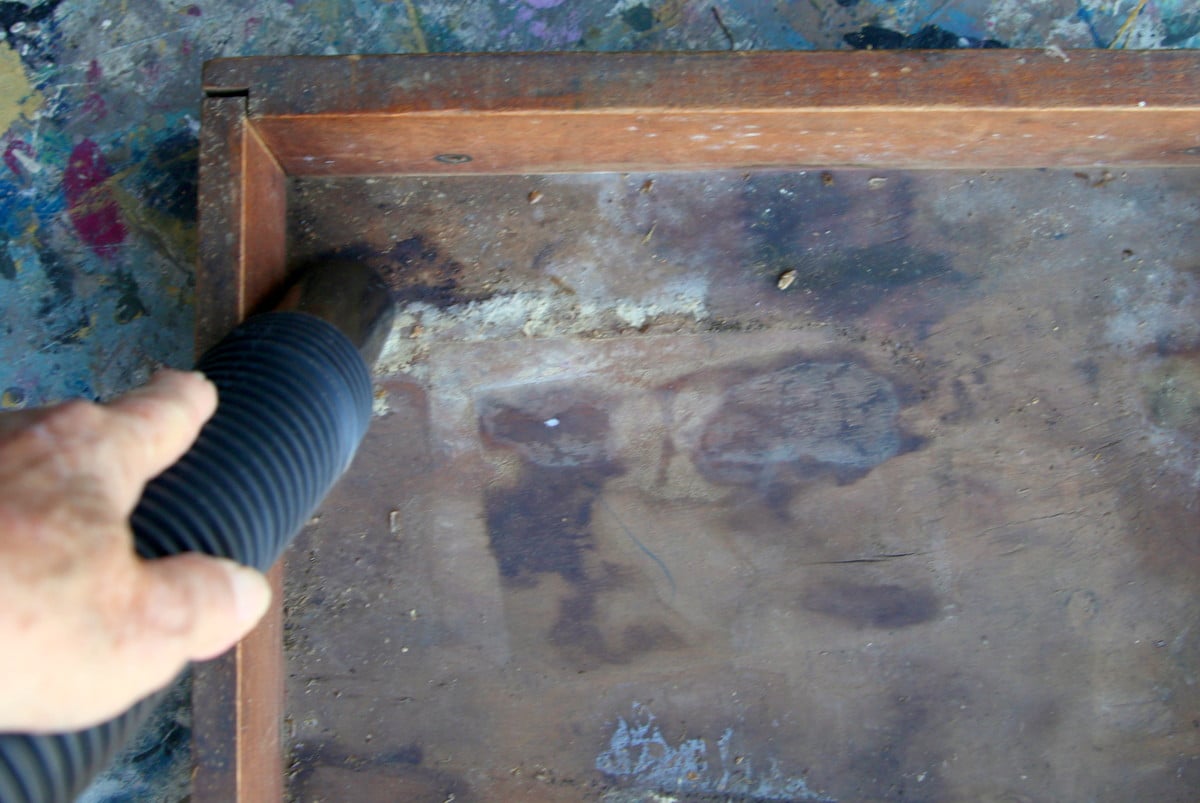
I used the shop vac and removed what I could.
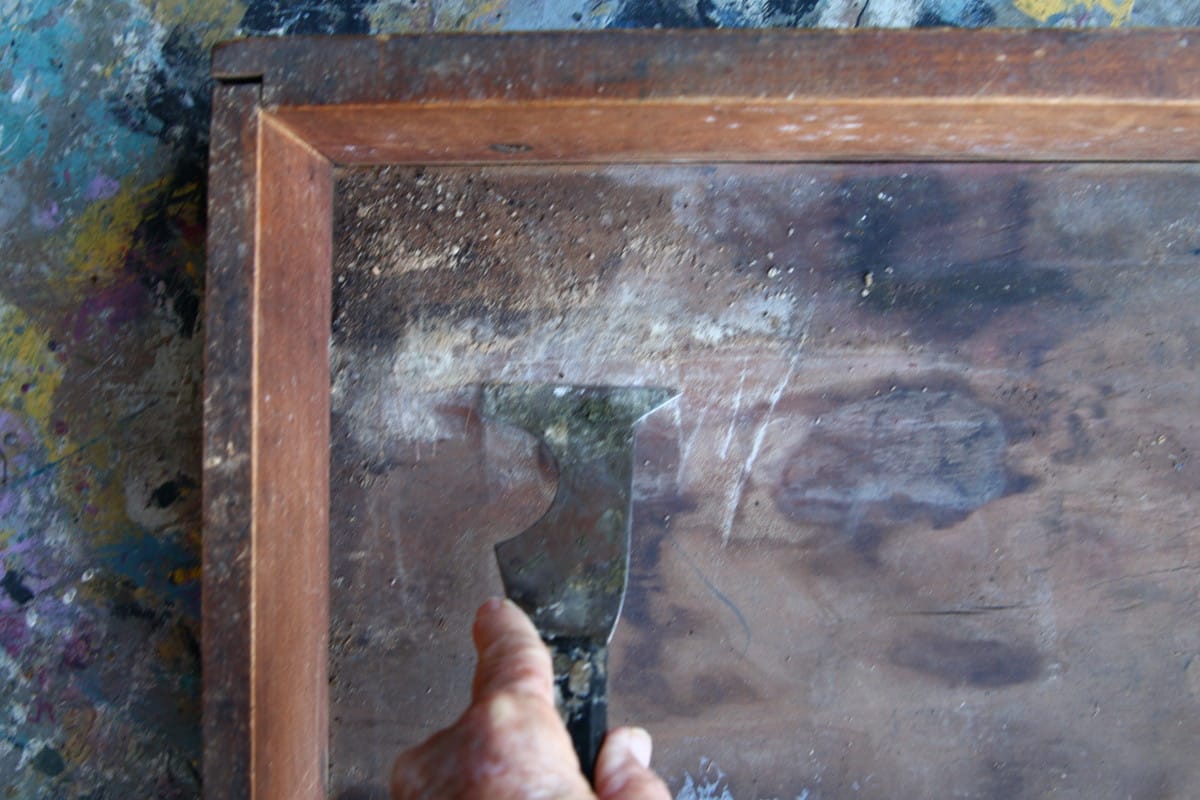
Then I used a paint scraper to remove the junk stuck to the drawer.
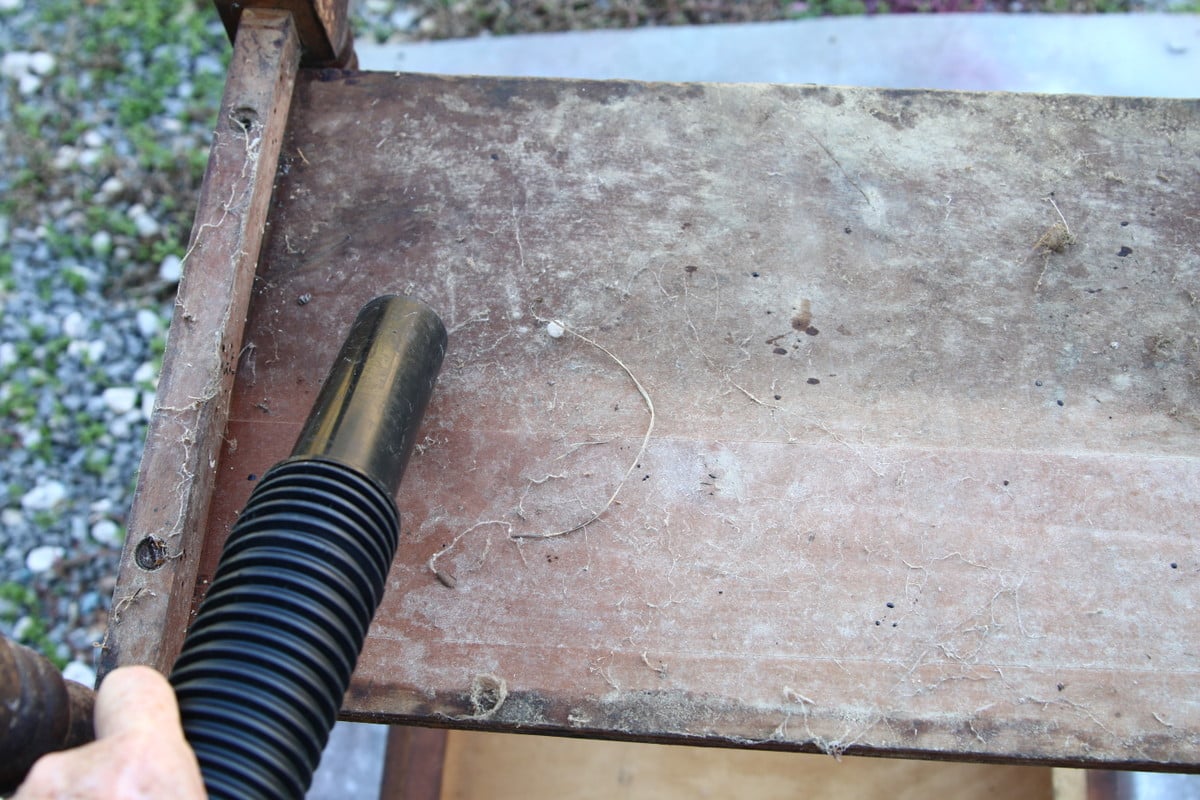
The bottom of the table was covered in spider eggs and gunk.
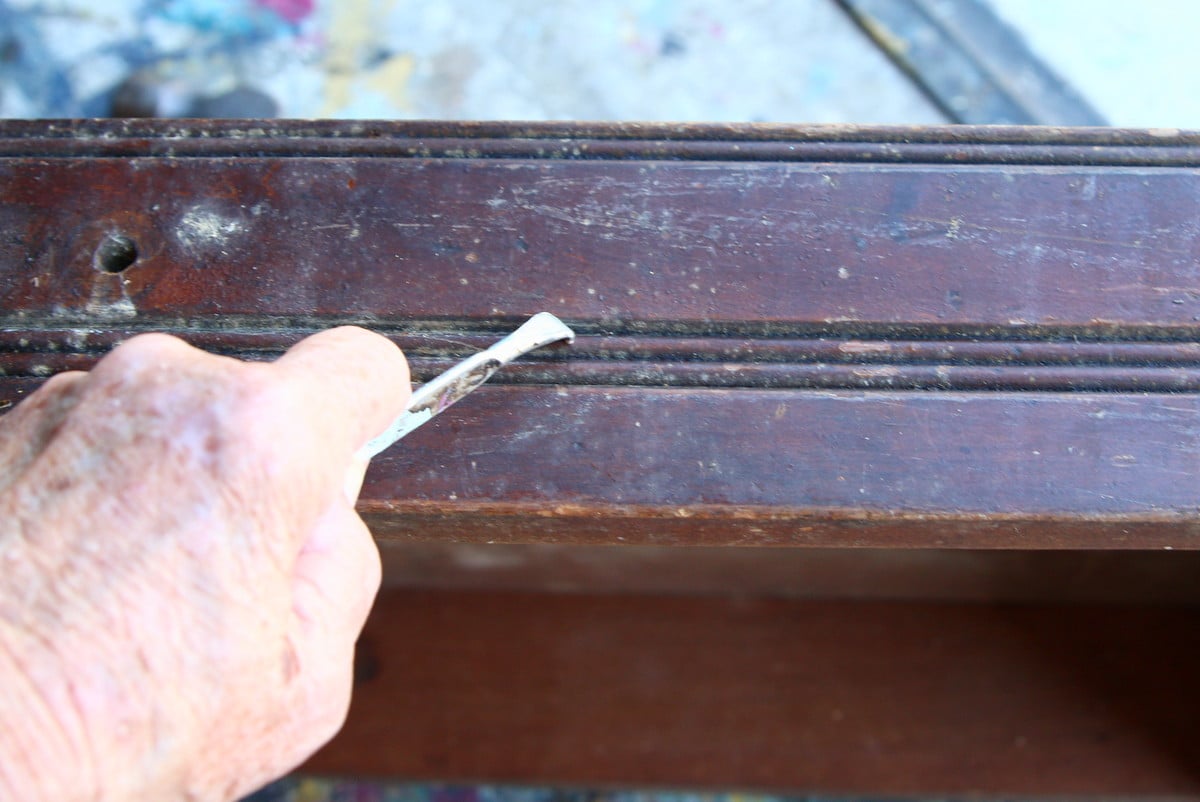
I used a paint can key to get the worst of the dirt from the grooves cut into the front of the drawer.
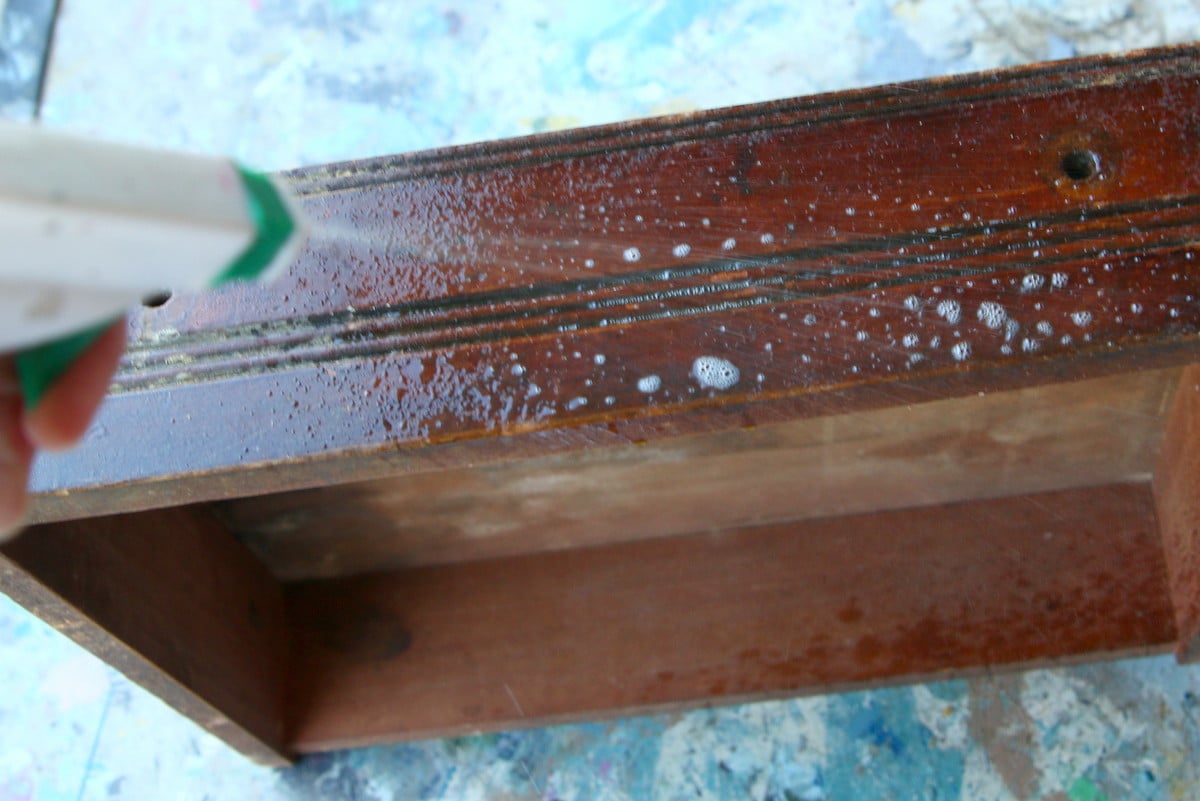
Then I sprayed the whole table down with Simple Green and wiped it off with a clean rag. You don’t have to worry about wetting real wood as long as you wipe it down right away.
I sprayed Simple Green over the table surface. I didn’t worry about wetting the real wood because I wiped it down immediately and it would have time to completely dry before I started painting.
Repair the Table
Remove Nails from Prior Repairs
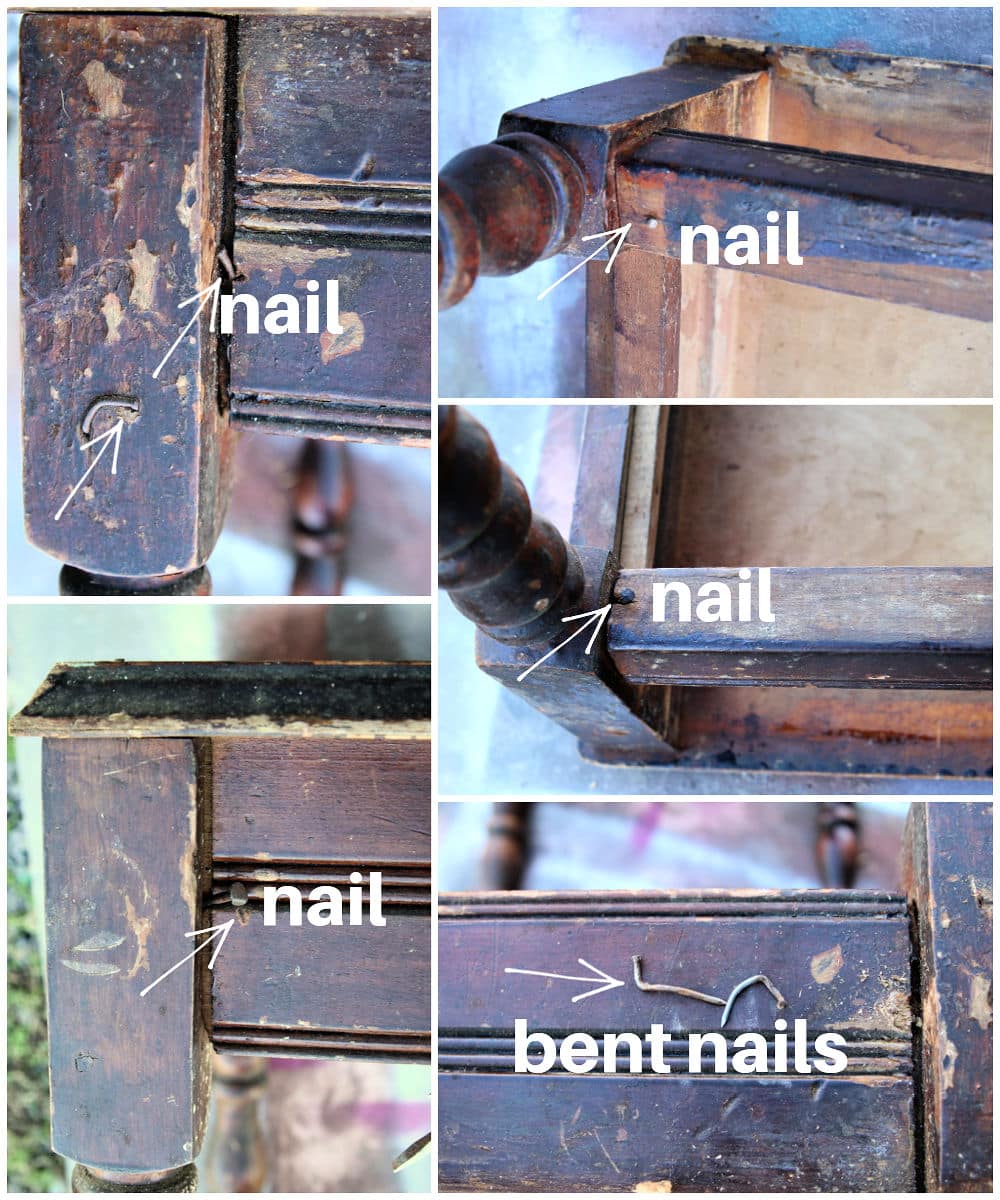
I found a nail holding the side in place and removed it. After that, I found I don’t know how many more. I lost count.
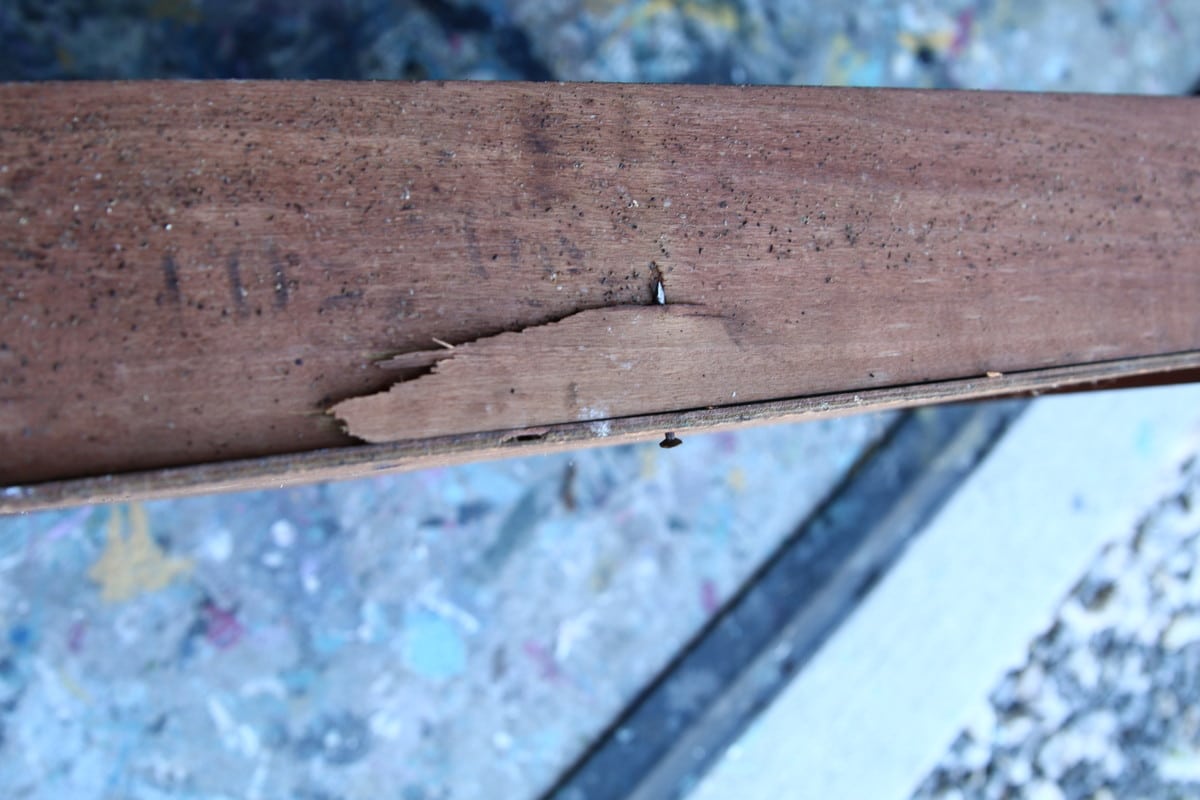
The nail holding the drawer bottom in place had to be removed too. Whoever nailed the drawer bottom in place missed the wood along the back of the drawer
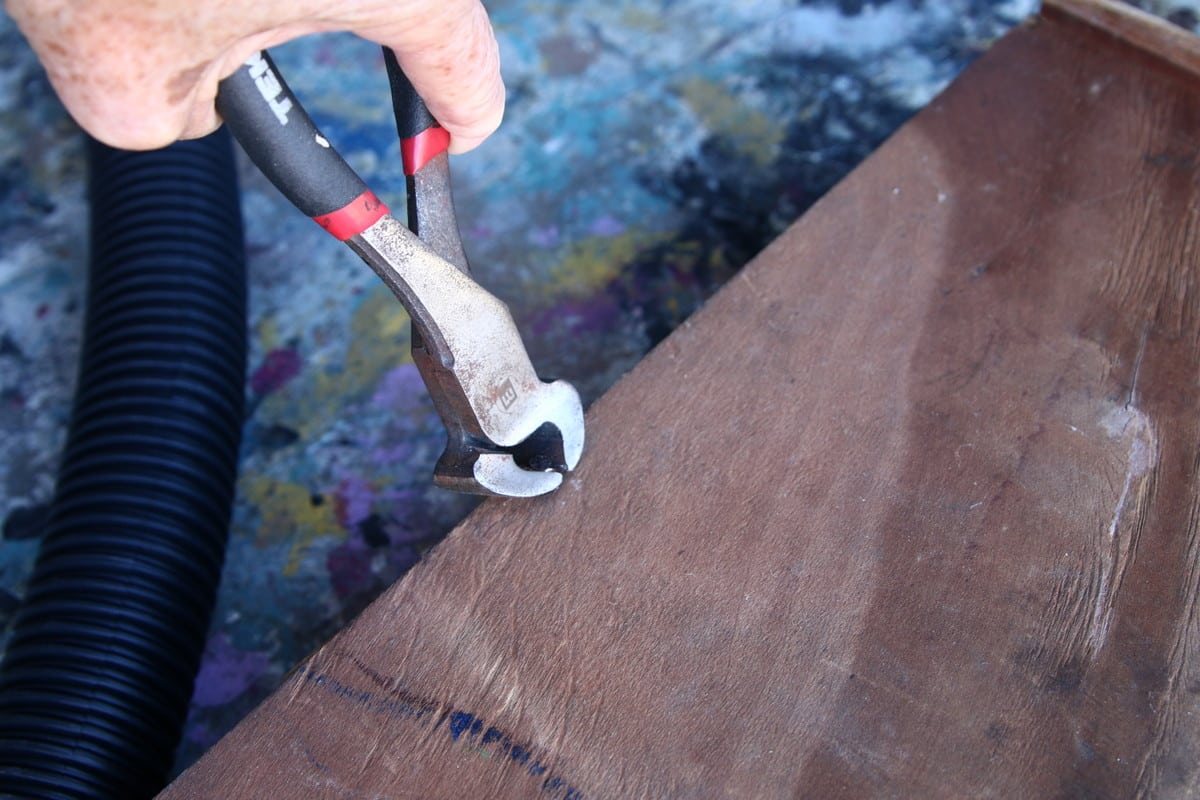
I don’t know why people do stuff like that.
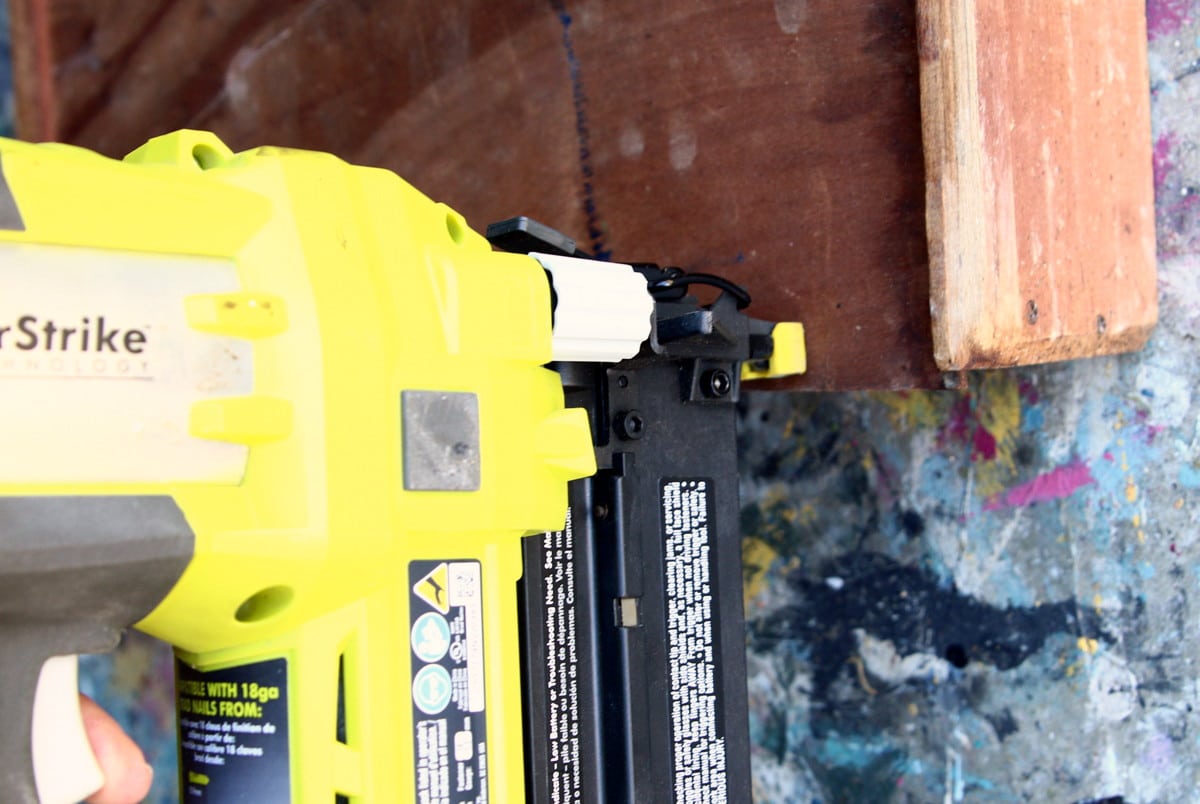
Once I removed the nail, I used my Ryobi brad nailer to shoot nails into the drawer bottom up through the drawer back. I did a great job because my nails went where they were supposed to.
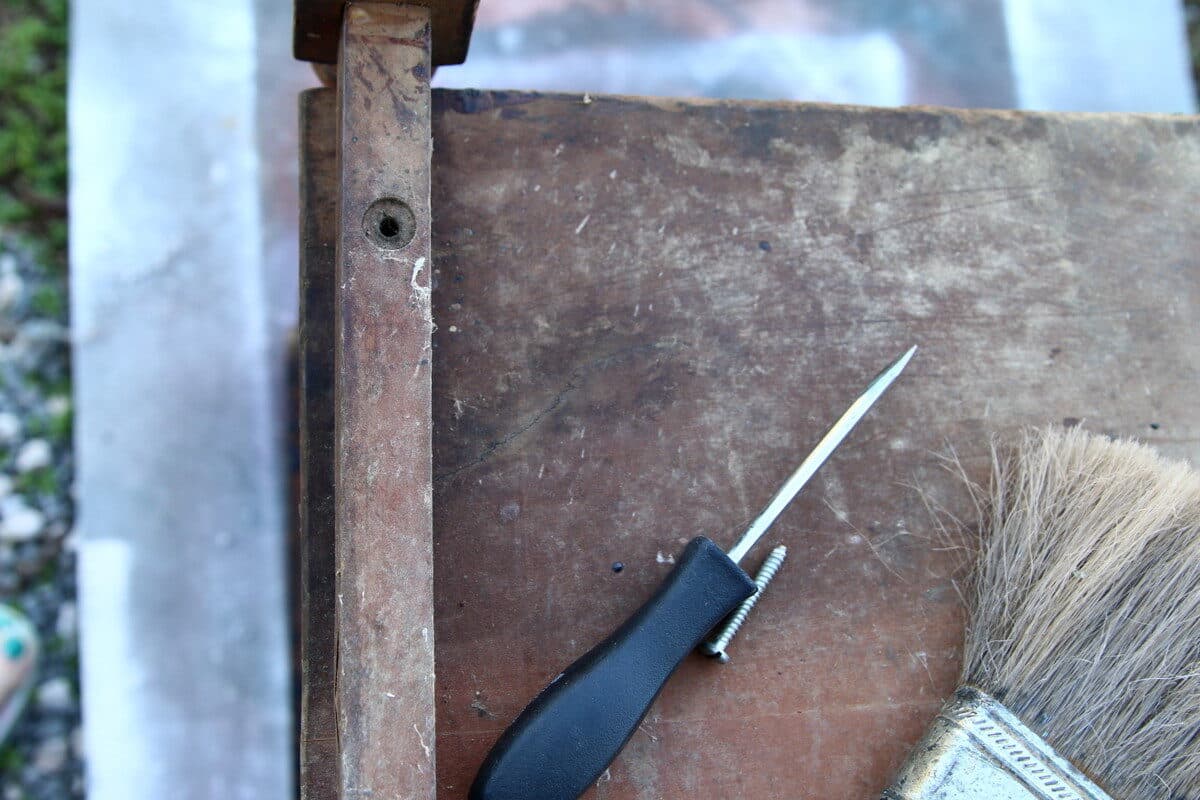
I replaced missing nails in the bottom shelf.
Glue Loose Joints
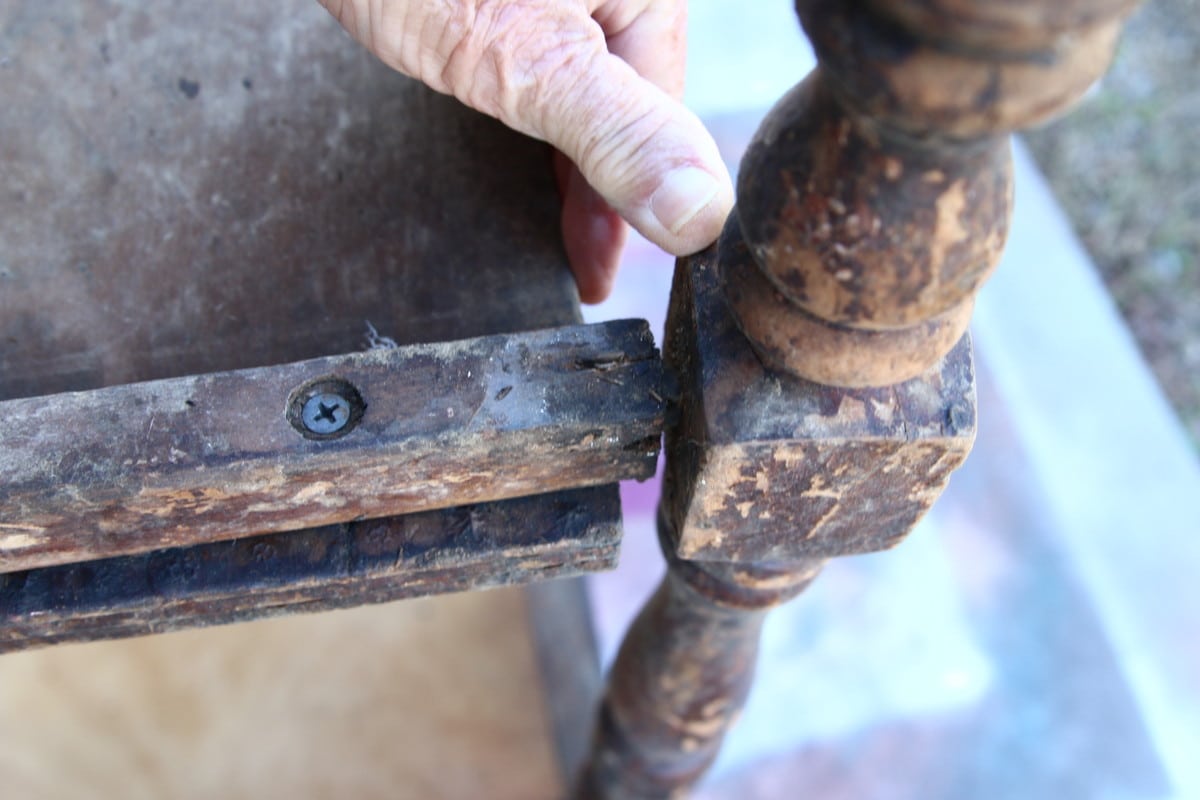
Several of the joints were loose, and even the ones that were previously nailed were loose.
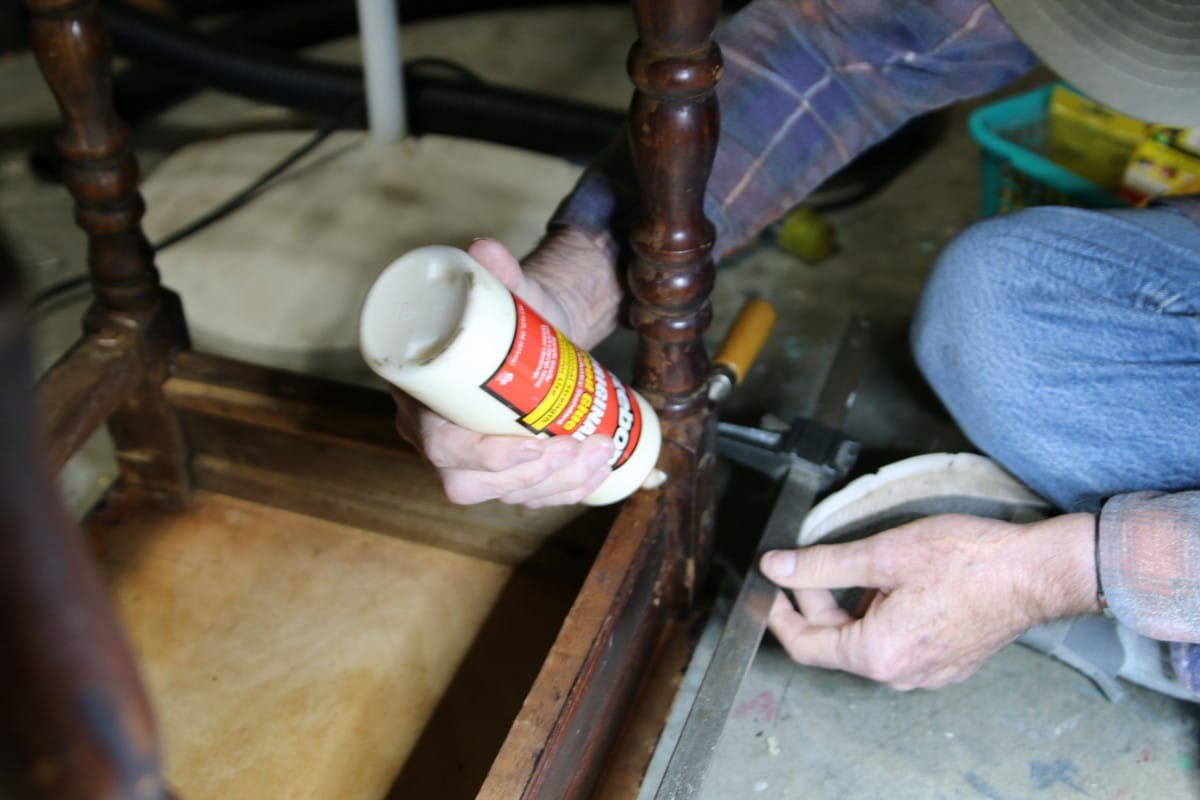
The hubby used wood glue to set the joints in place.
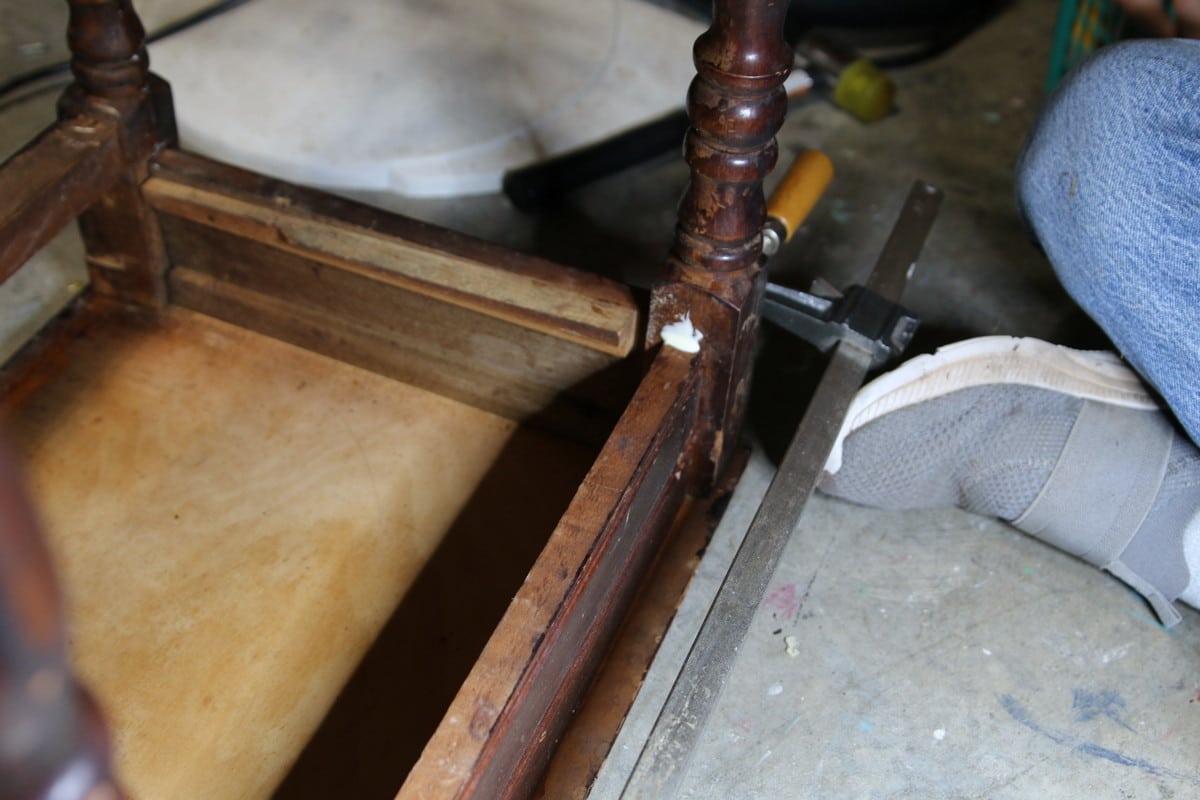
He clamped the joints tightly, and I left them alone until the glue dried.
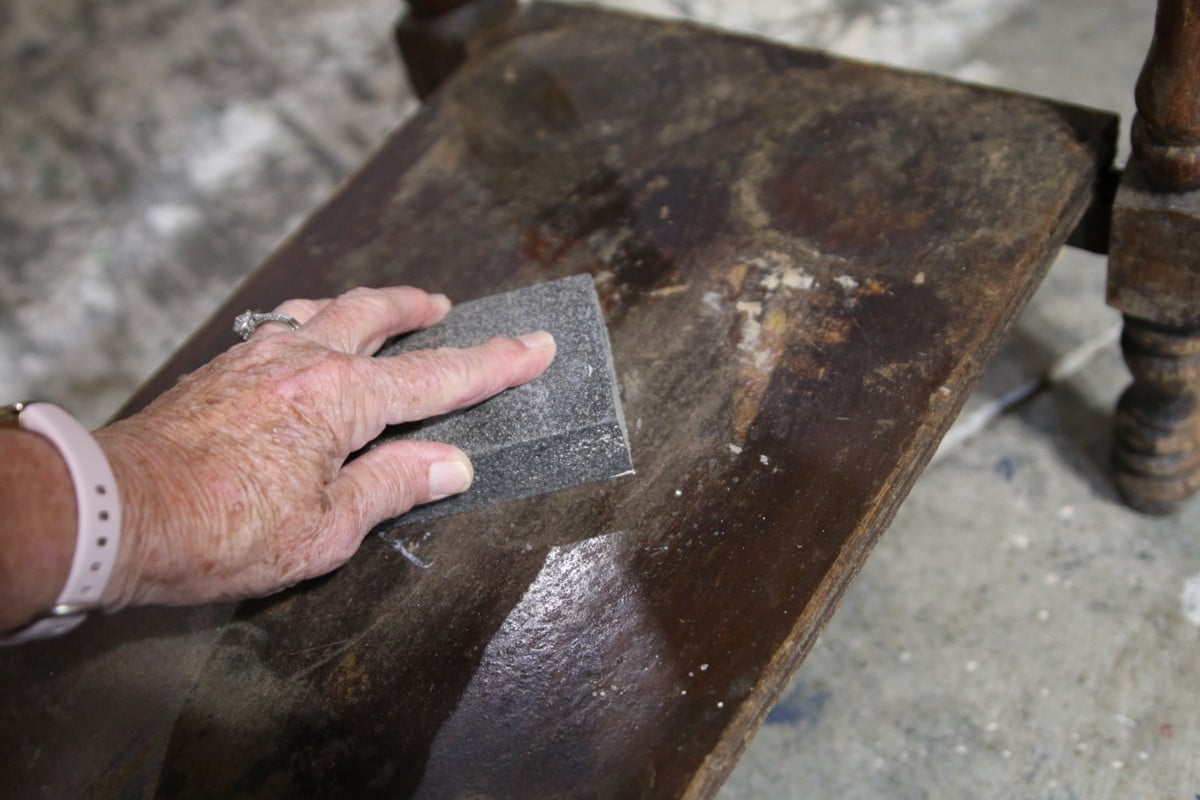
I thought we were finished with the glue and clamps, but while sanding the table, I noticed one more loose joint.
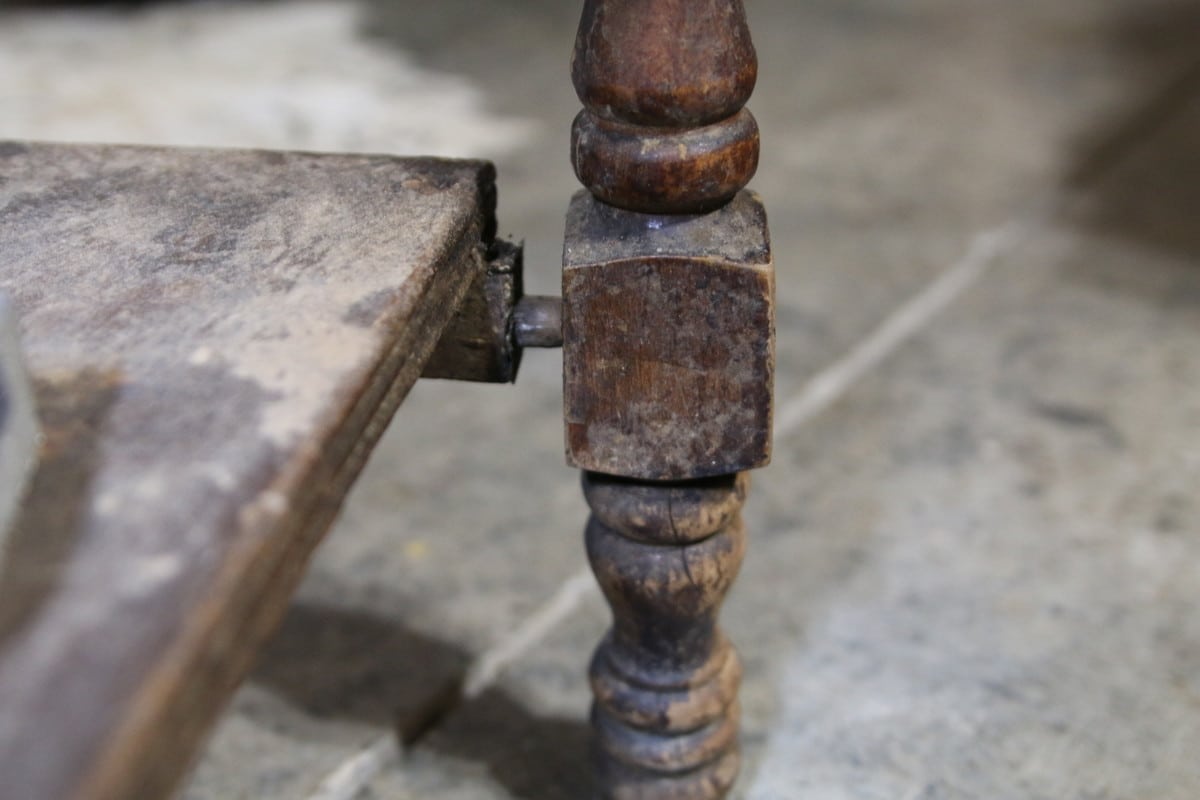
The hubby repeated the glue and clamp process.
The veneer on the front of the tabletop was loose, so I glued it myself. Don’t you just love the weights I used to hold it down while the glue dried?
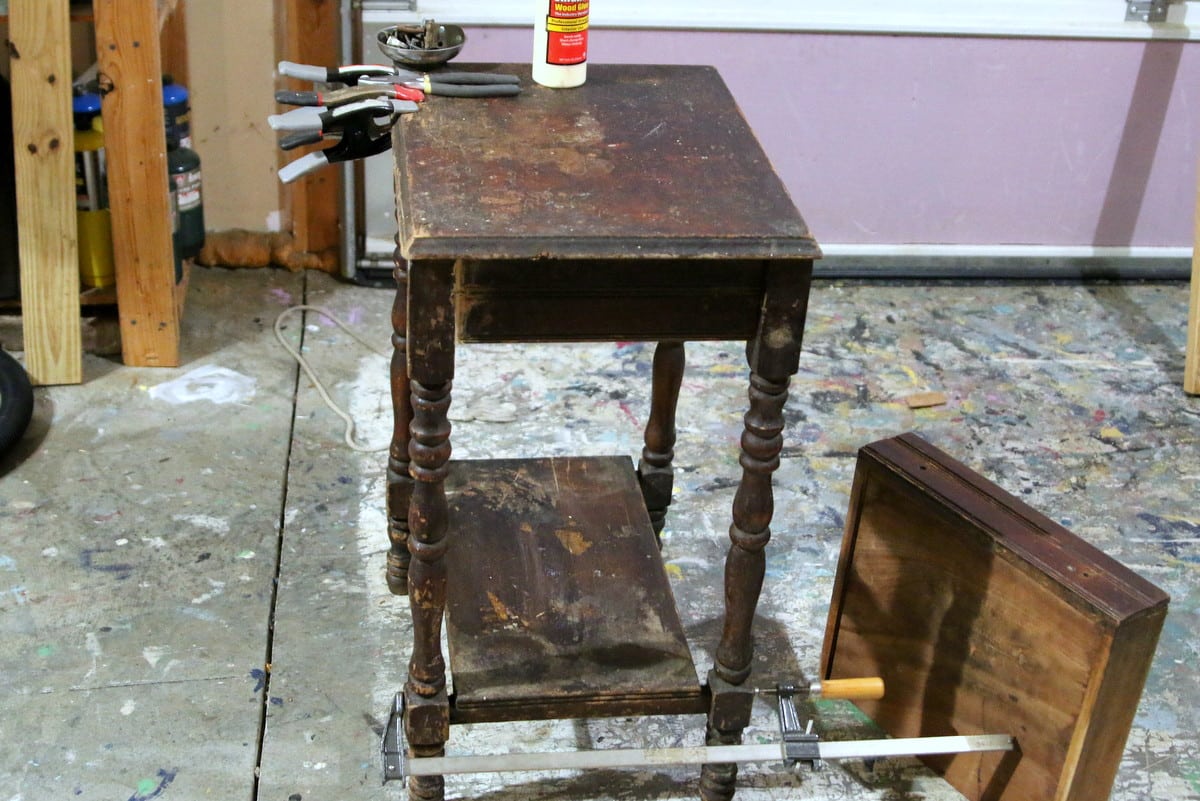
The worst part of making repairs is waiting for glue or wood putty to dry.
I also filled holes on each side of the tabletop with wood filler and sanded it smooth when dry. Then I cleaned the table once again.
Decide on the Paint Technique for the Table
The table was ready to paint, but I wasn’t sure of the plan. I first planned to use crackle medium and give the table a really old-looking finish. But the more I thought about it, the less I wanted to. I’m not that crazy about the crackle finish anymore.
The table needed a look that said it had been around a while. But not the beat-up look it had when I picked it up. So I decided on the Vaseling layered paint technique for the top of the table only. Give it a kind of two tone worn look.
How the Vaseline Resist Technique Works
The Vaseline resist technique is an easy way to create a layered, distressed paint finish without sanding. The petroleum jelly acts as a barrier between two paint colors, keeping the top coat from adhering well wherever you apply it.
Once the top coat dries, you can wipe away the paint over those areas to reveal the color underneath.
The Vaseline should be applied along furniture edges, corners, and other spots where paint would naturally wear away over time. I also like using it on larger flat surfaces when I want an uneven, worn finish.
The trick is to use just a little Vaseline. Too much makes a gummy mess, and nobody wants that.
Select the Paint Colors
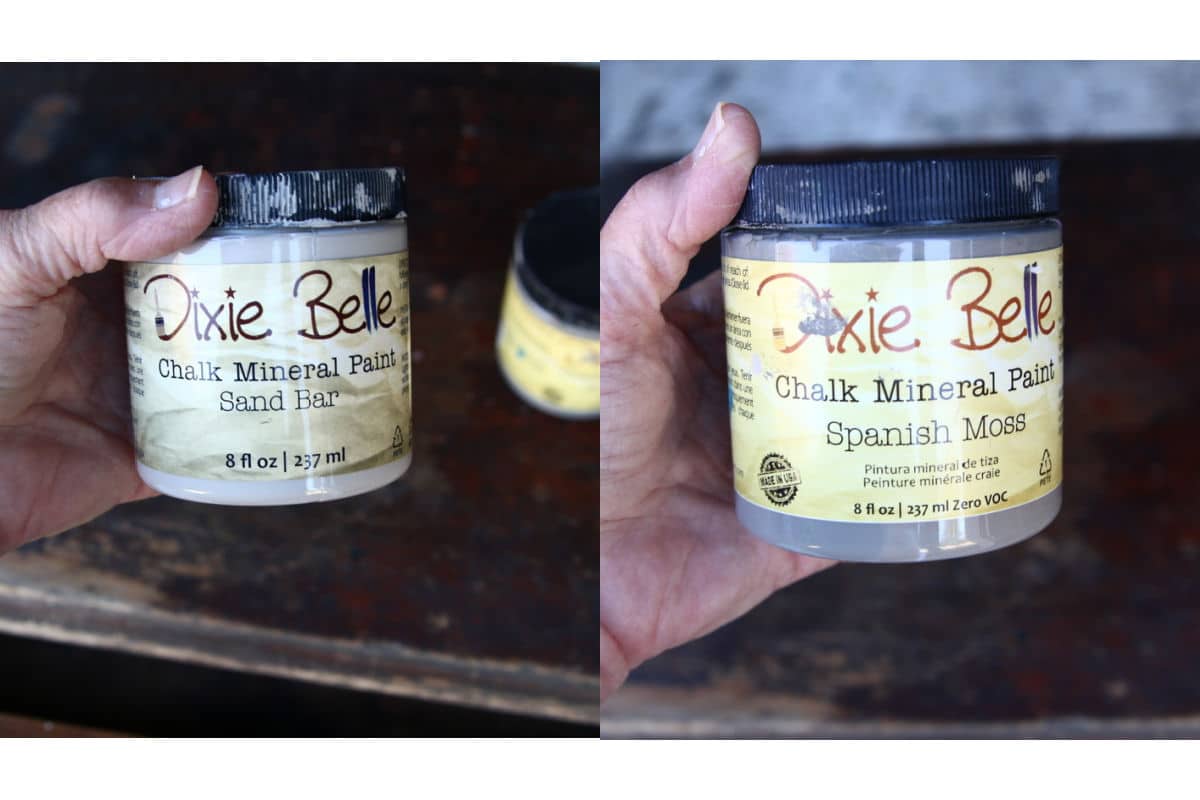
The layered paint technique requires two paint colors. For the base color on the tabletop, I chose Dixie Belle Chalk Mineral Paint, color Spanish Moss. For the top color and the base of the table itself, I chose another Dixie Belle color: Sand Bar.
Paint the Table
I painted the legs and base of the table first.
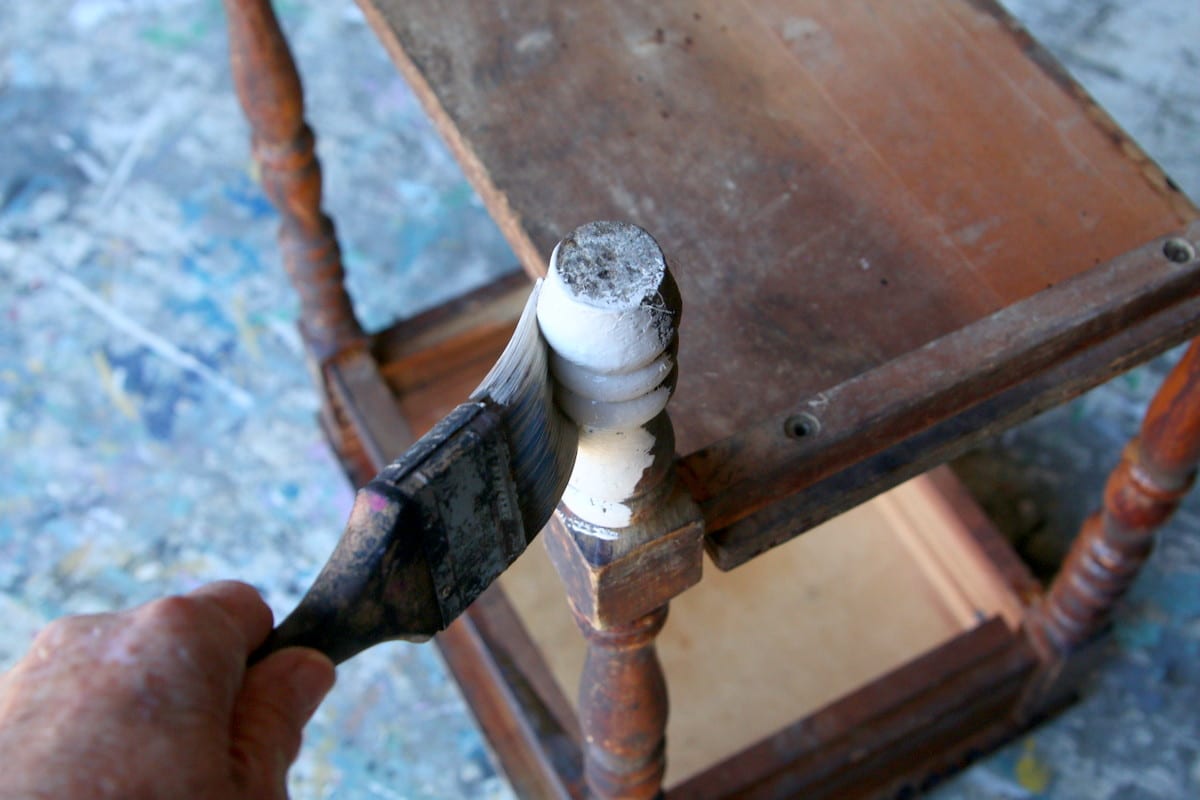
I like to start with a small piece like this, turned upside down. It is easy to miss areas around those curved legs. And even though I turn it upside down, then right side up, I still miss areas.
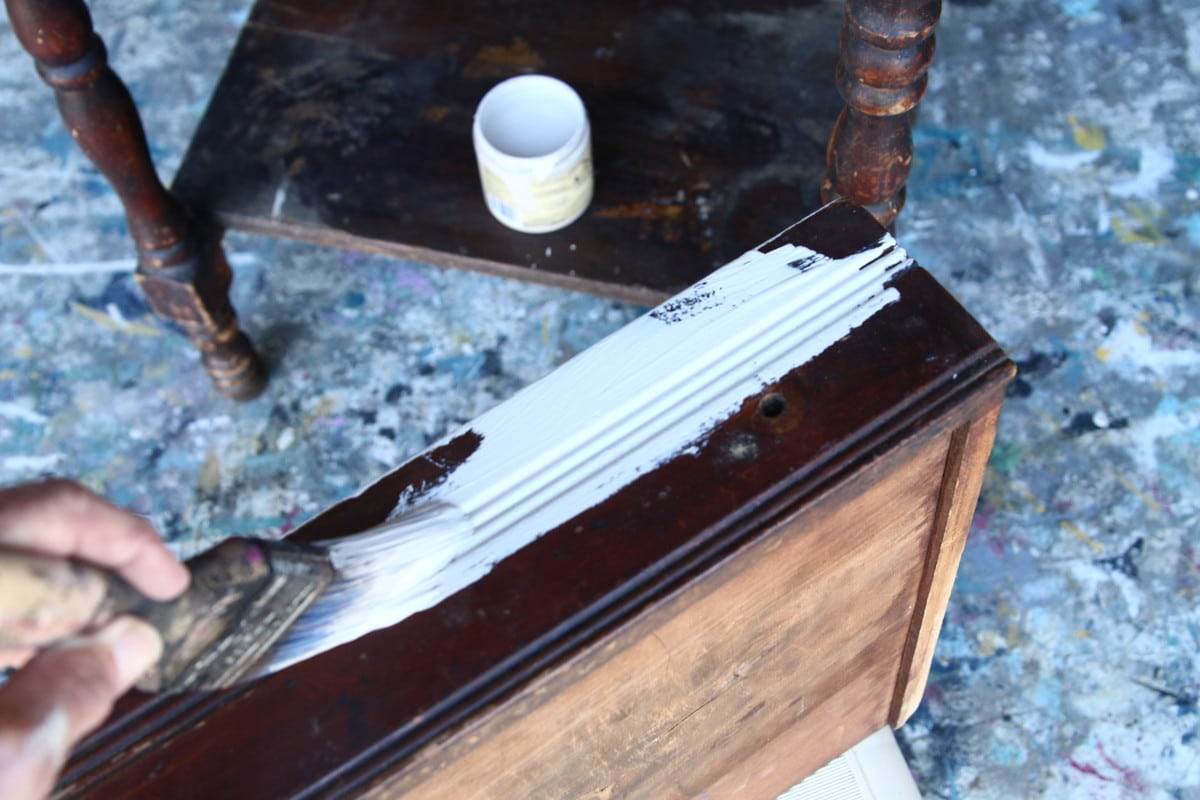
I applied two coats of Sand Bar to the table base and drawer. I also painted the inside of the drawer since it was so ugly-looking.
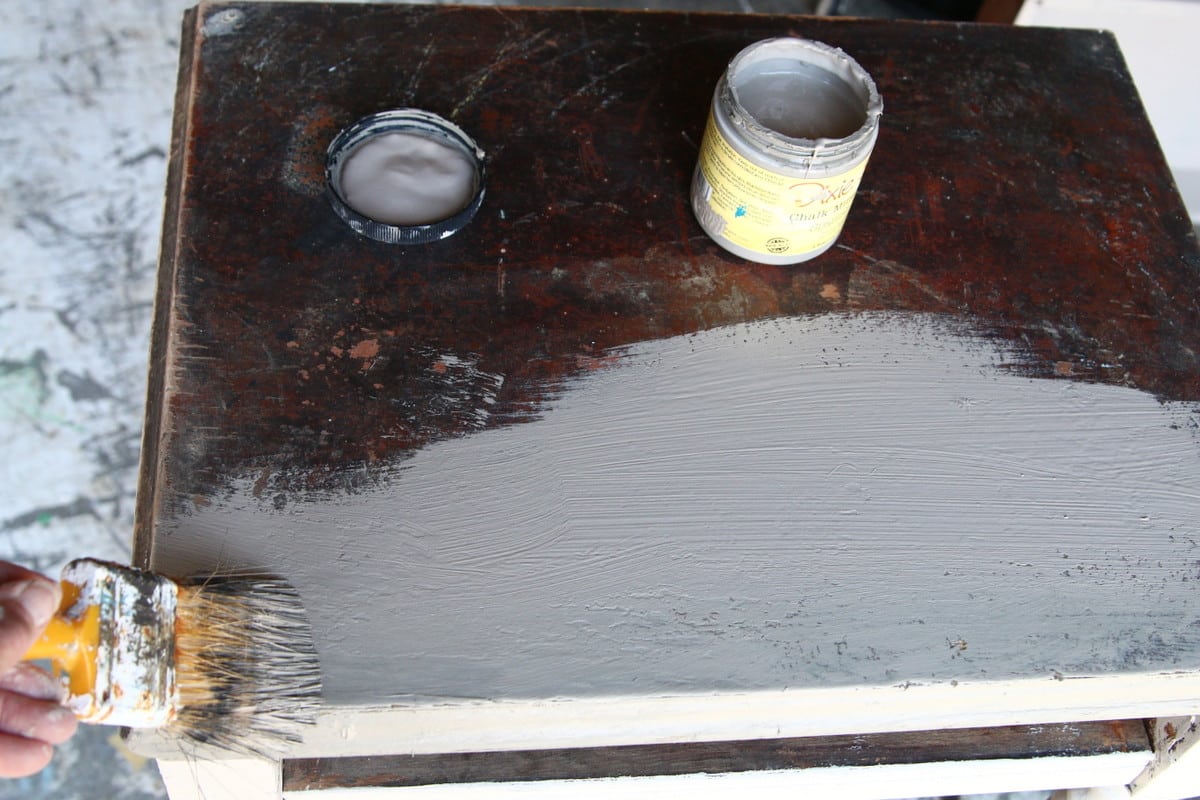
Then I applied one coat of Spanish Moss to the tabletop. This paint covers really well.
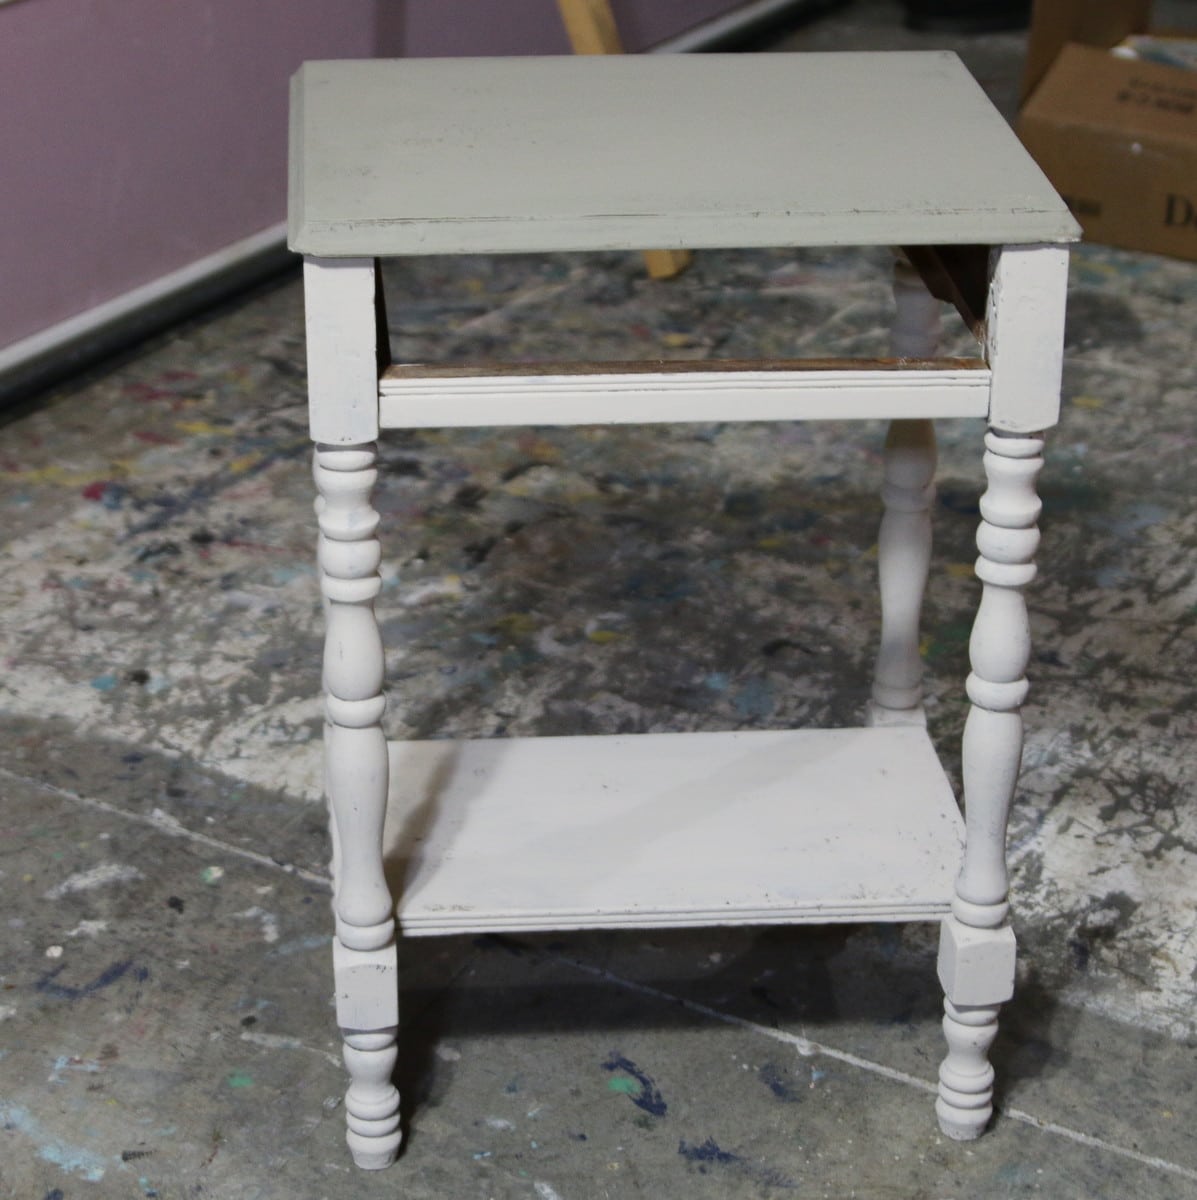
This is how the table looked after it was painted.
Apply the Vaseline
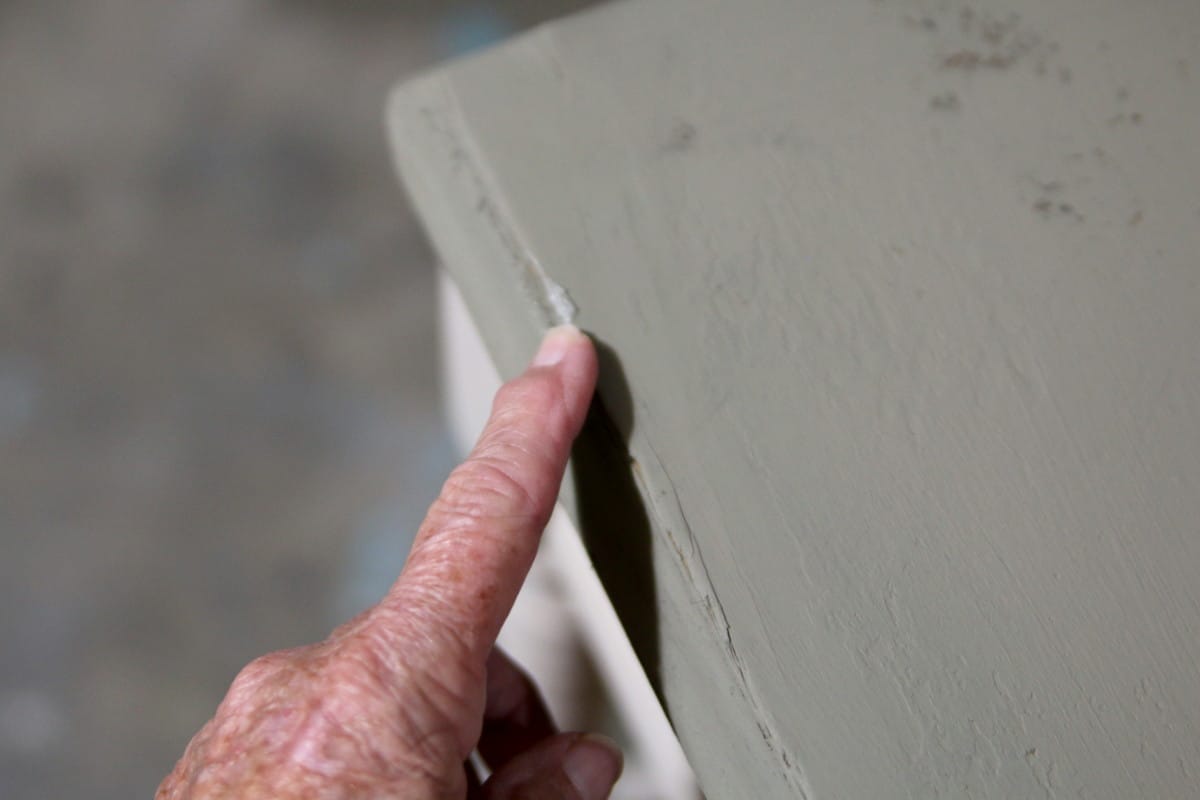
Once the Spanish Moss paint was dry, it was time for the Vaseline. I used my finger to apply a thin layer in the areas where I wanted the darker green paint to show through.
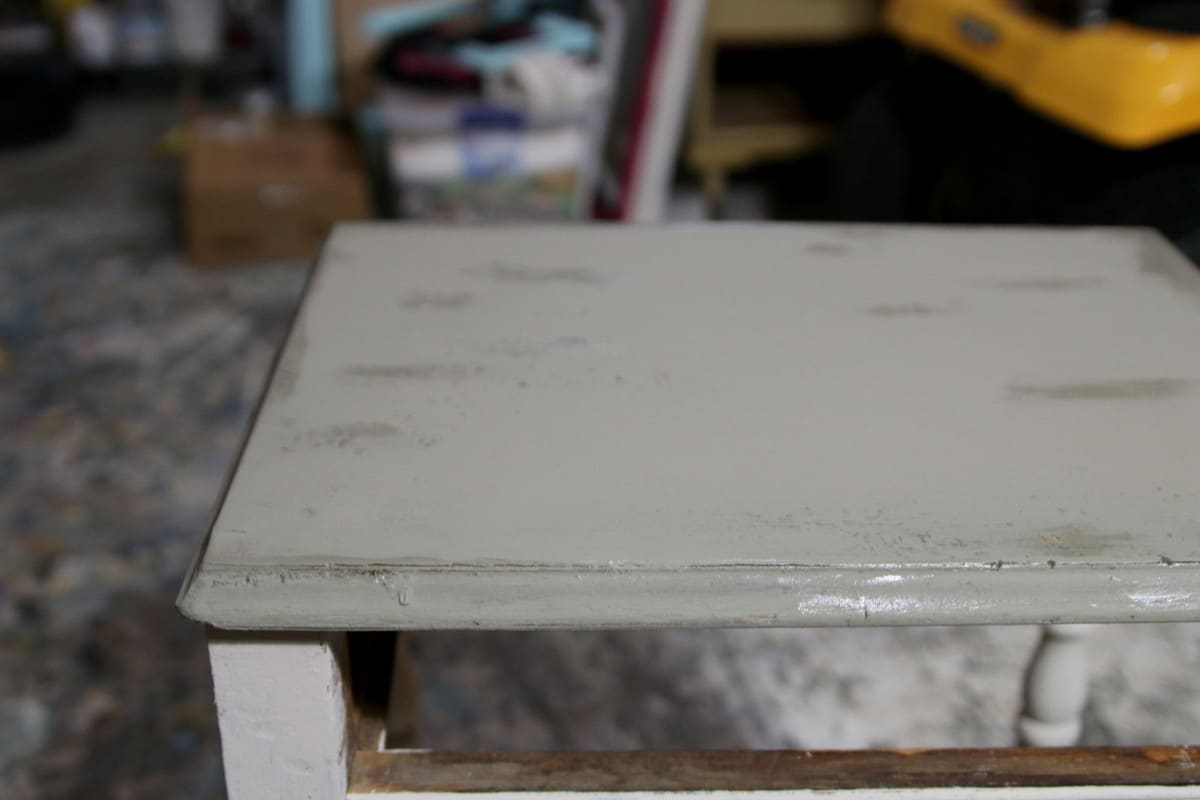
I didn’t try to make the pattern even. An old piece of furniture wouldn’t wear the same way in every spot, and I wanted the distressed finish to look natural.
Be careful not to spread the Vaseline over too much of the surface. A little goes a long way.
Apply the Top Coat of Paint
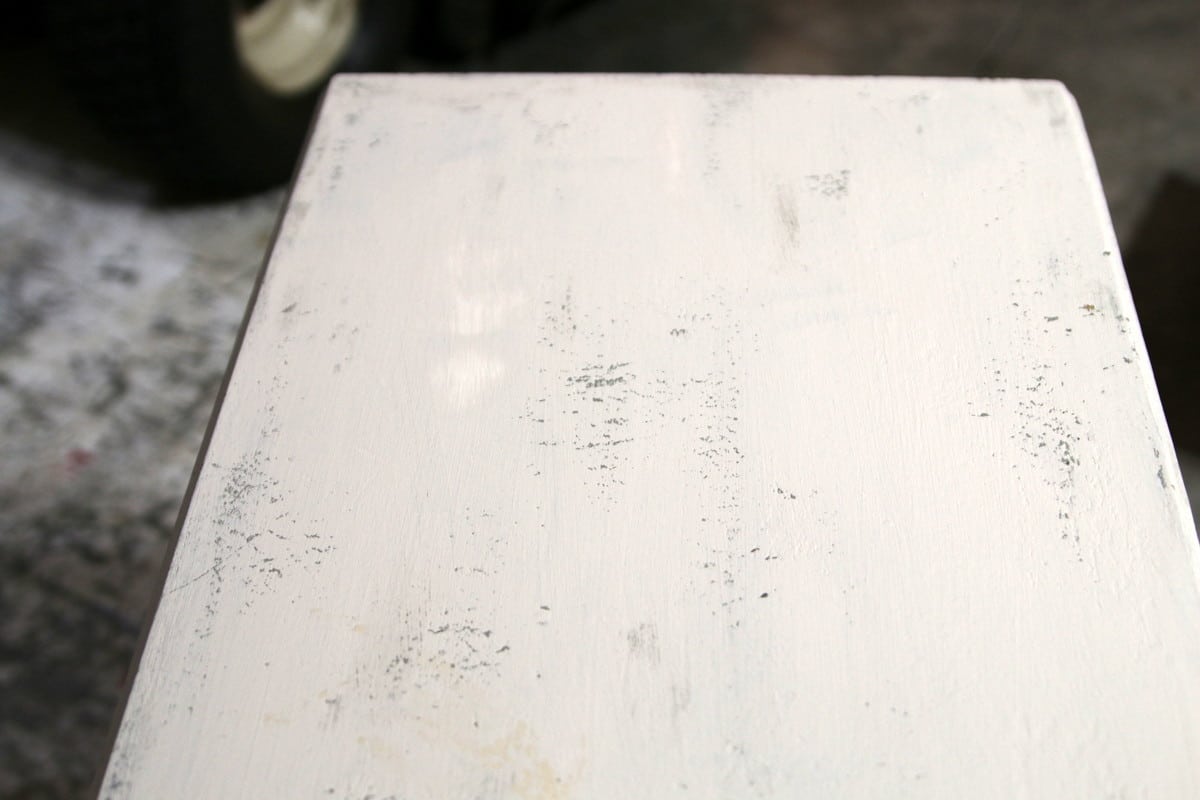
Next came the Sand Bar paint. I brushed it over the tabletop, covering the Spanish Moss base color and the areas where I had applied Vaseline.
The paint won’t adhere properly where the Vaseline is, and that’s exactly what we want. Those are the spots where the darker color will show through when you remove the top layer.
Don’t worry if the paint looks a little uneven over the Vaseline. That’s part of the process.
Remove the Paint to Reveal the Base Color
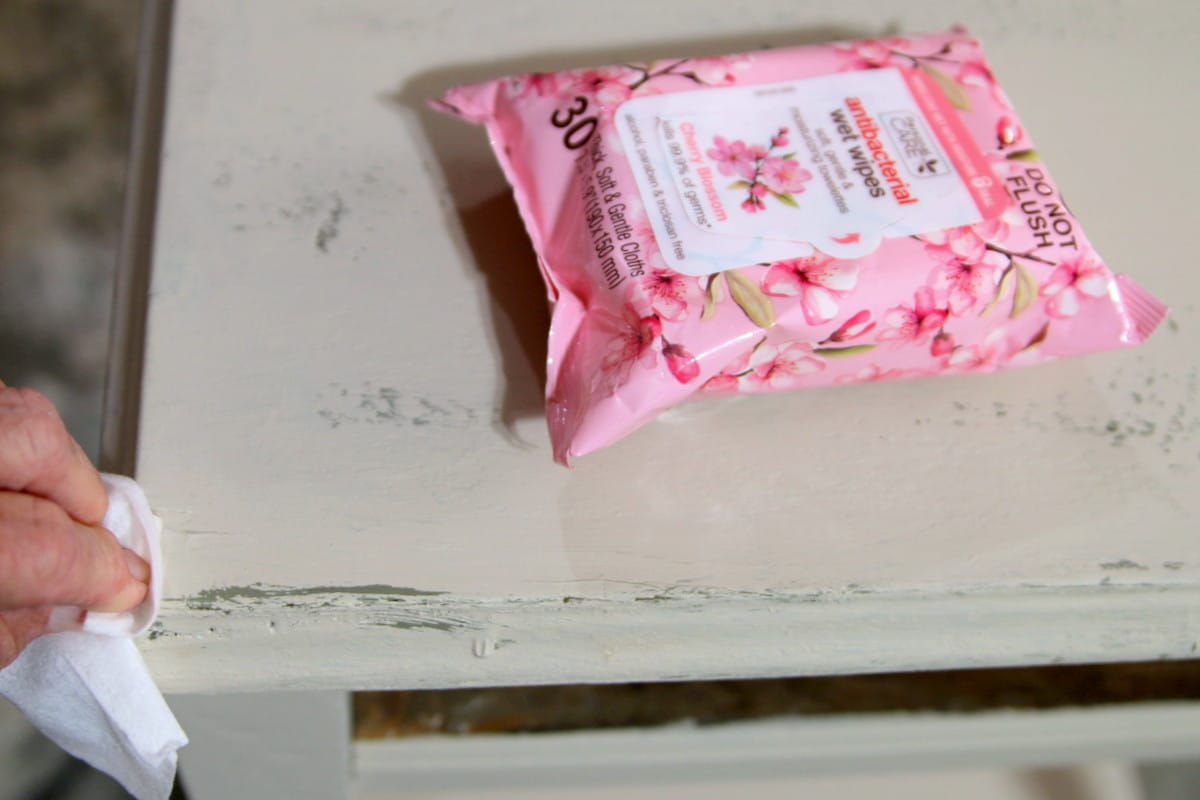
Once the top coat was dry, I started removing the paint from the areas where I had applied Vaseline.
A damp rag or wet wipe works well for this. Gently rub the painted surface, and the top layer should come away where the Vaseline was applied, revealing the darker paint underneath.
Start with light pressure. You can always remove more paint, but you can’t put it back without touching up the finish.
The result is a worn, layered look without having to sand through the paint.
Removing the Paint from the Table Base
The base only had the Sand Bar coat of paint and I wanted to distress the paint in random areas to reveal the original stained finish.
I sprayed the base one section at a time with Simple Green and rubbed over it with a damp rag to remove the paint. I had to wait a minute or so after spraying with Simple Green to make it easier to rub the paint off.
To Seal the Paint or Not?
Chalk mineral paint does not require a sealer, but you can use one if you want a slight sheen and extra protection. A layer of clear wax on this table would give the paint a soft sheen.
I decided against a wax finish on the table because it should look old and a little worn.
Select the Furniture Knobs
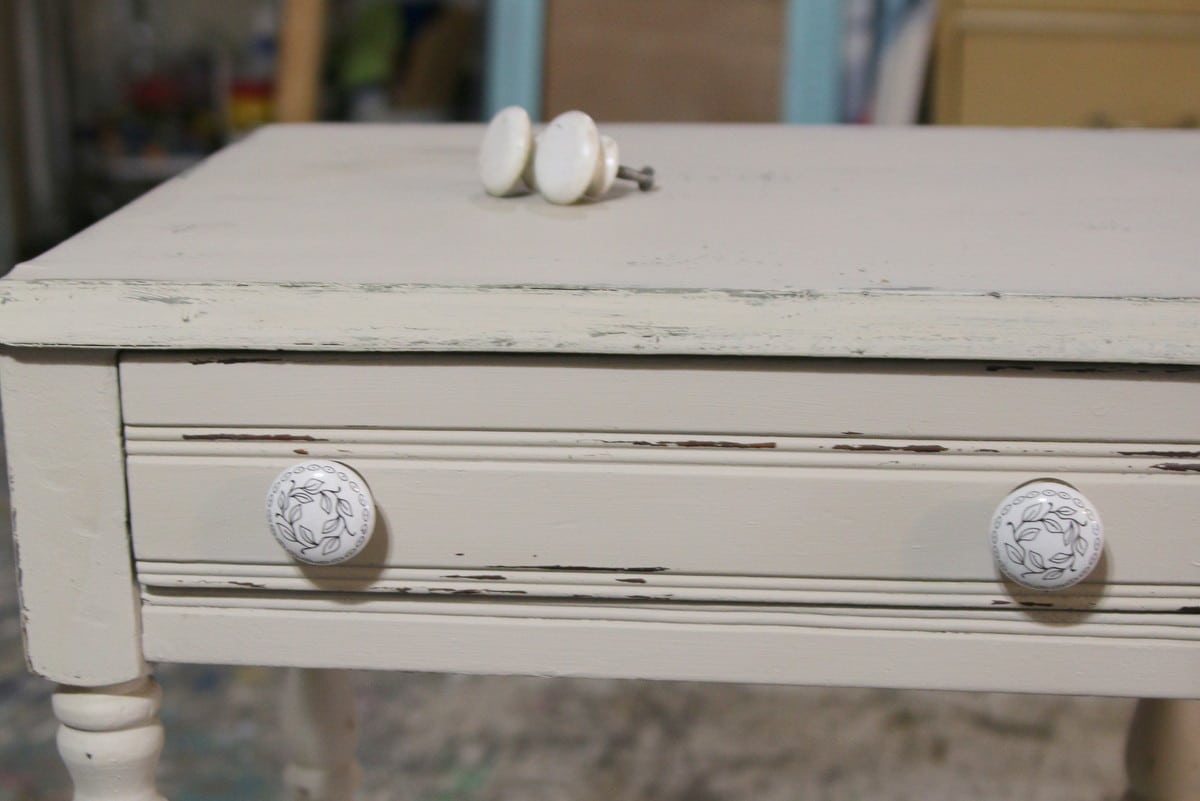
The finishing touch was choosing knobs for the drawer. It’s amazing how much difference two little pieces of hardware can make.
I wanted something that worked with the age of the table and its new distressed finish. Nothing too fancy or modern. The paint already gave the table plenty of character, so the knob just needed to complement the look.
I have a huge stash of new and used knobs, and after sorting through them, I decided on the off-white knobs with the leaf design. I thought they were perfect.
On second thought, I didn’t like them that much. I found two wood knobs in my stash and painted them Sand Bar to match the drawer. Much better.
The Finished Table
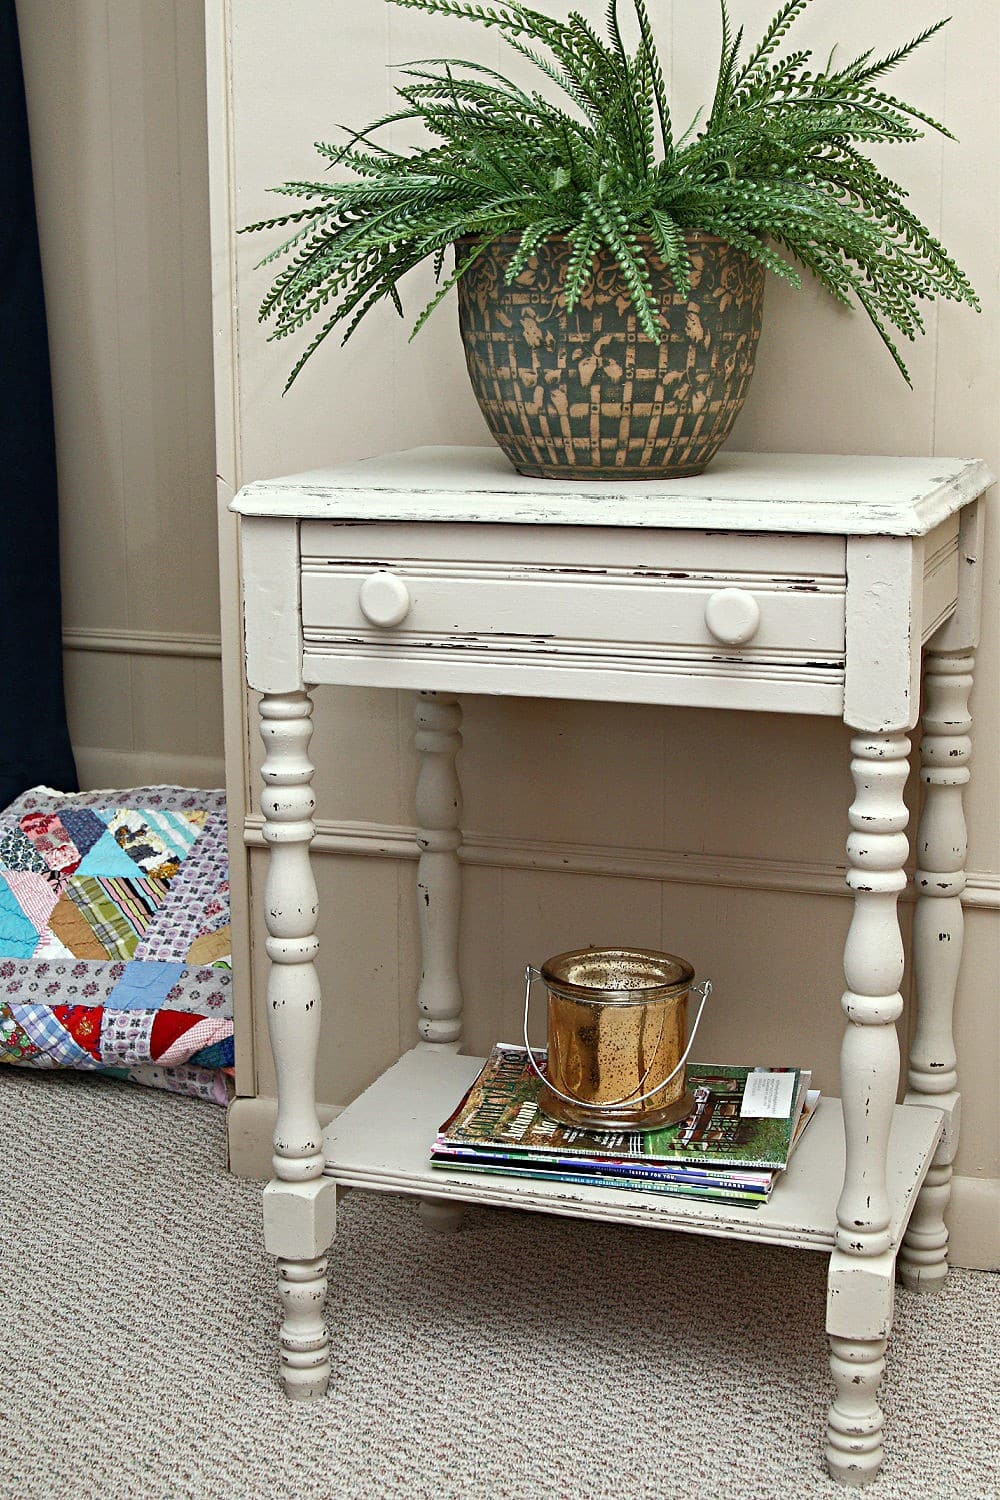
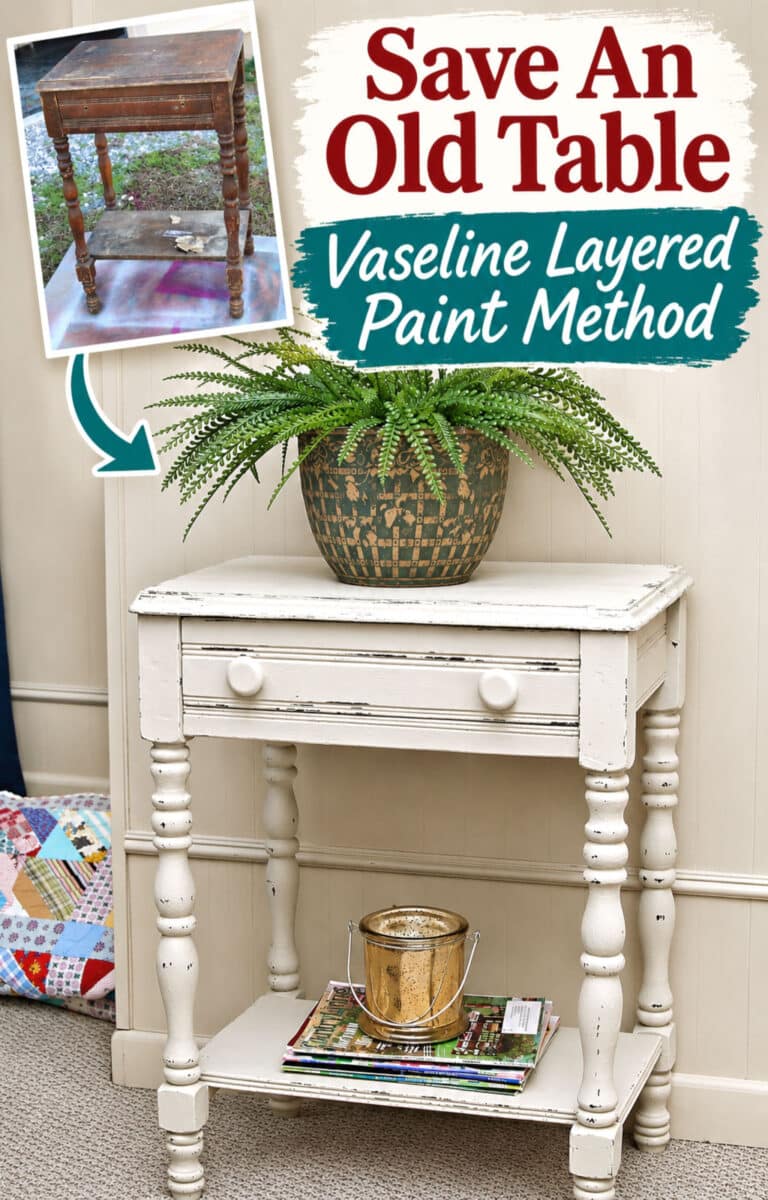
Well, what do you think? It’s hard to believe this is the same $5 table I brought home from the junk shop.
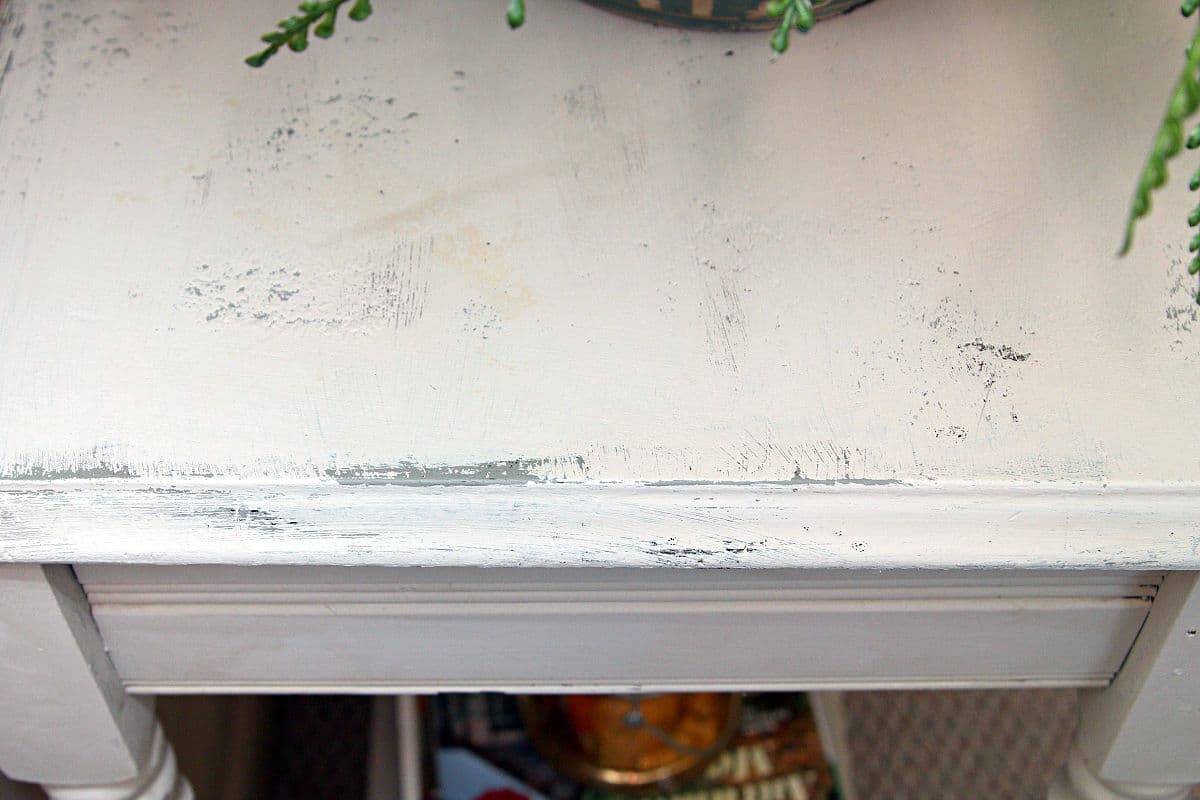
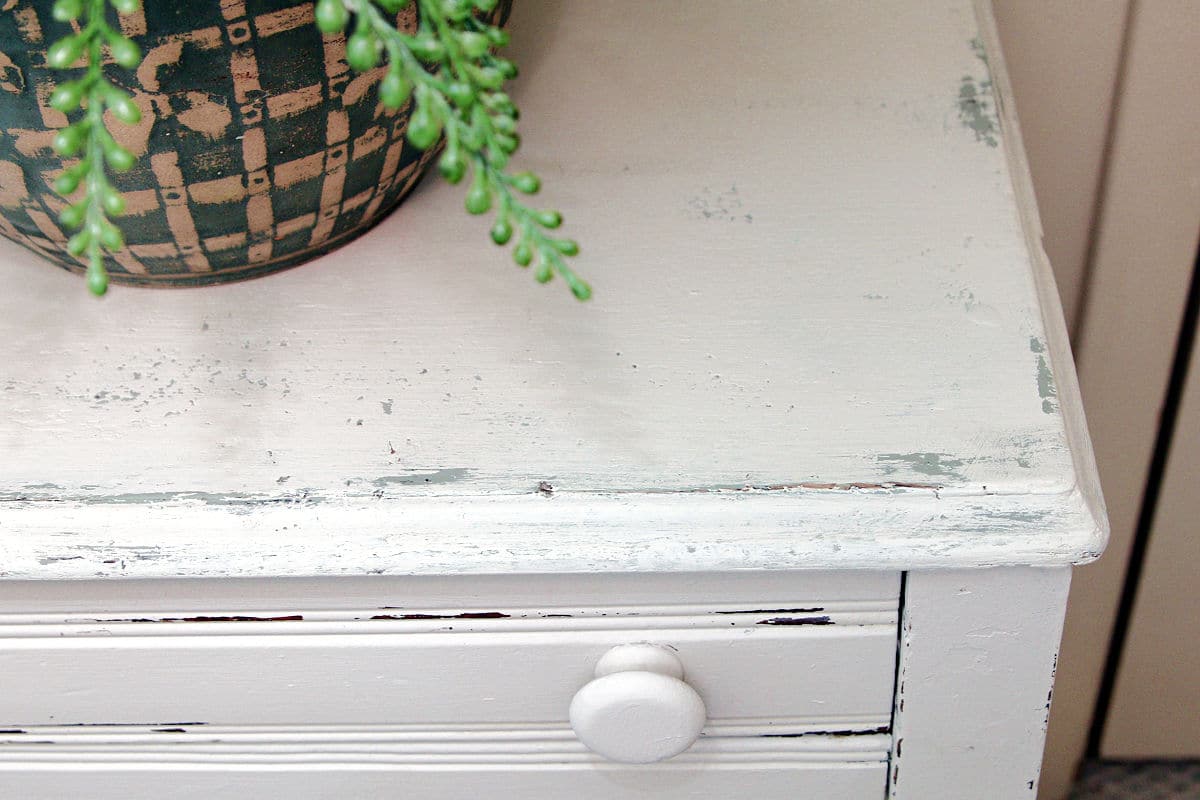
The Sand Bar paint gave the table a fresh look, while the Spanish Moss peeking through the distressed areas added some age and character. I especially like the contrast between the lighter table base and the worn finish on top.
The tabletop still has its imperfections, but I think they fit the piece. I wasn’t trying to make this old table look new. I just wanted to give it another chance.
And after all that cleaning, pulling nails, gluing, clamping, and painting, I think we did just that.
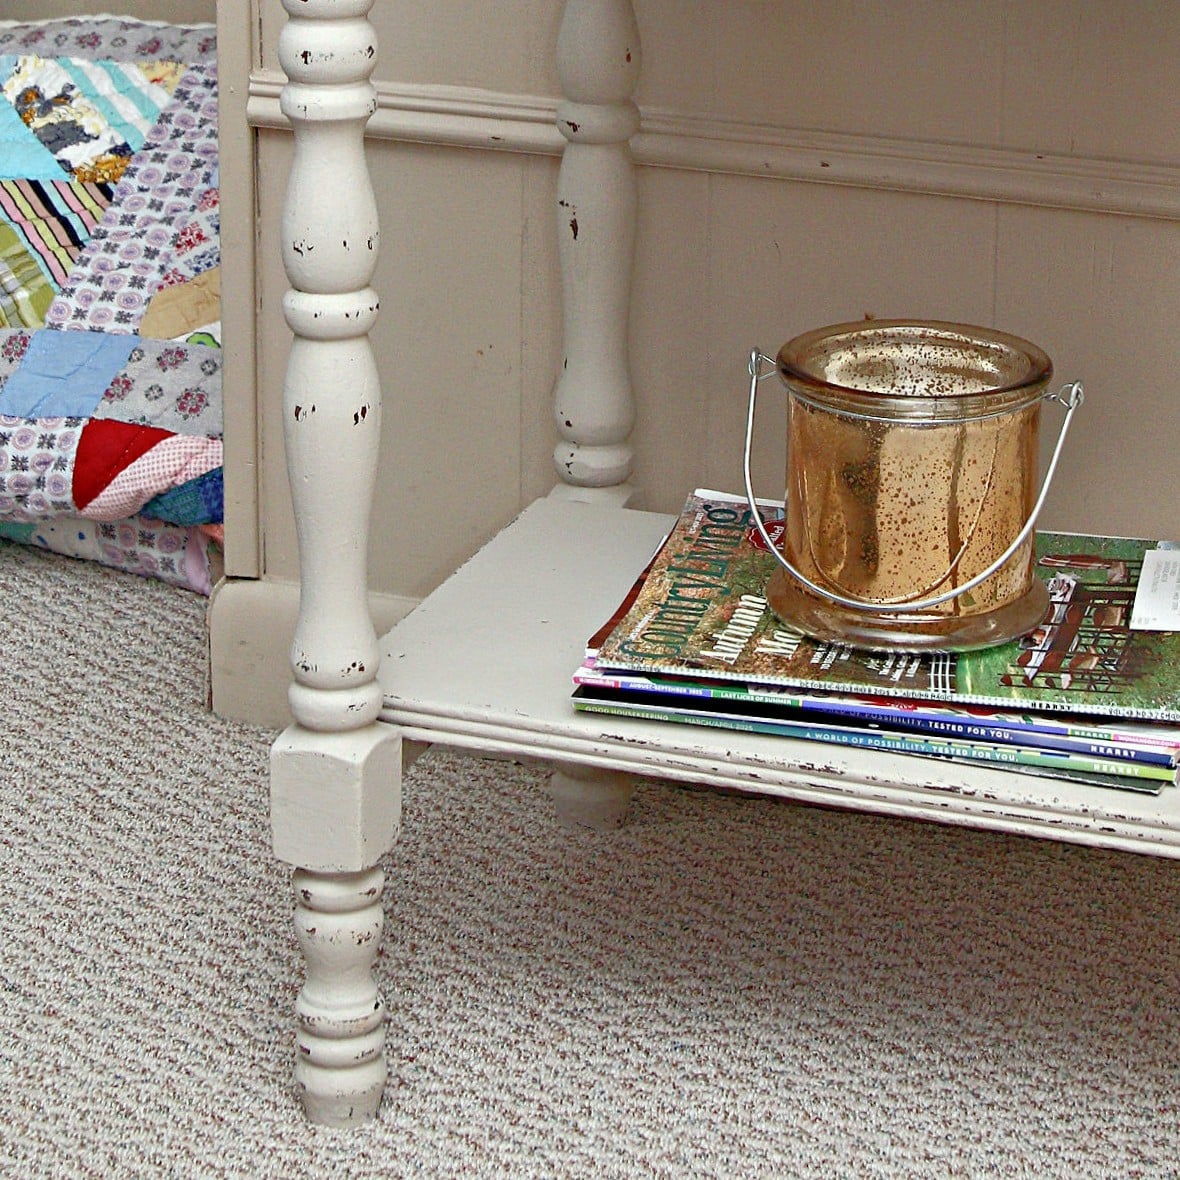
I love the light distressing on the legs.
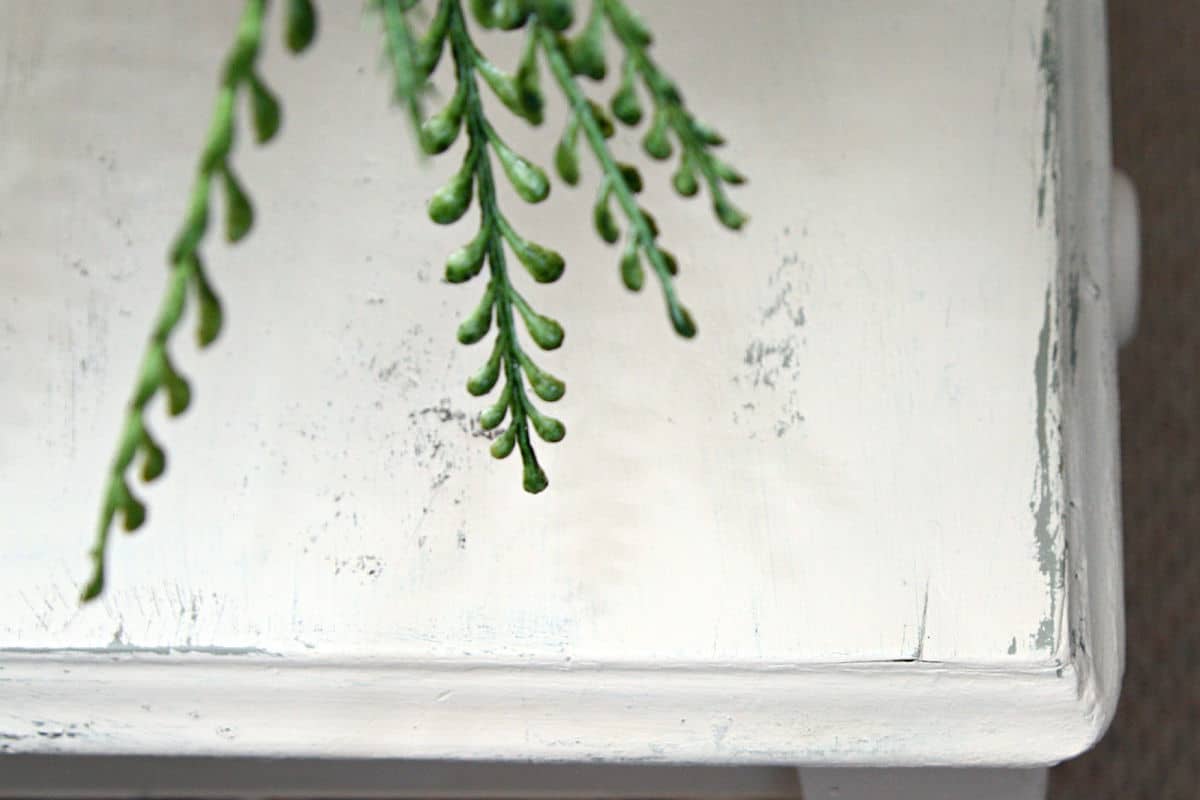
The two paint colors compliment each other perfectly.
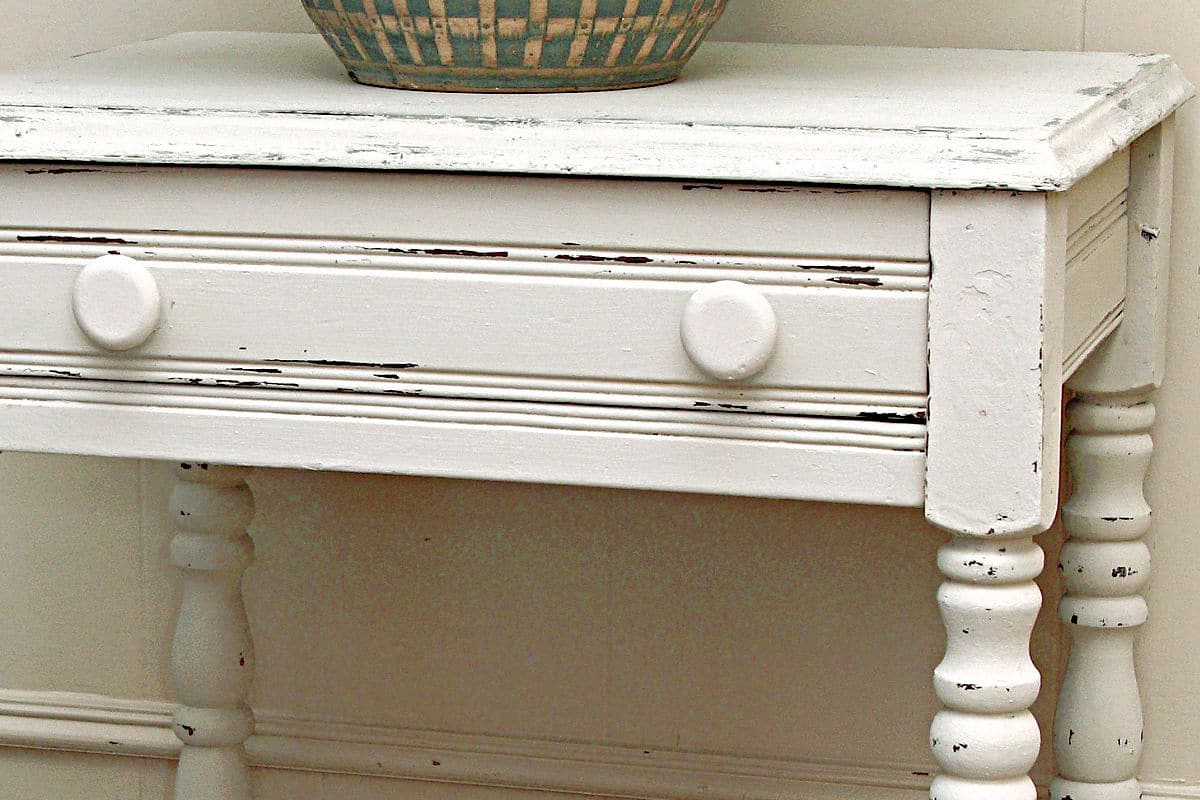
I’m glad I changed the knobs! They needed to be simple with all the distressing and details on the drawer and legs.
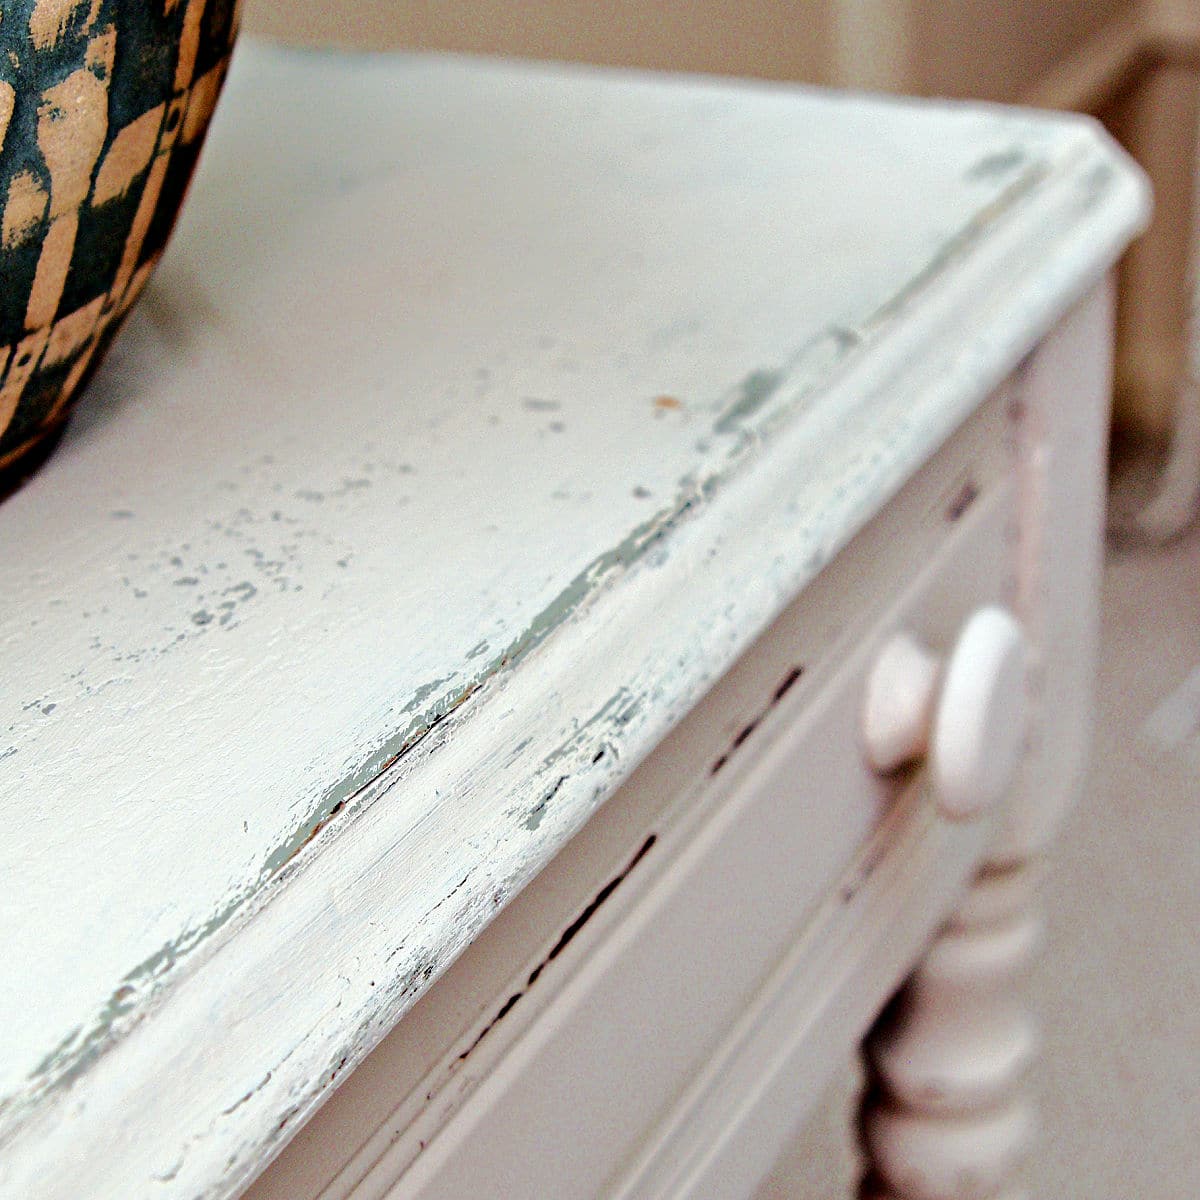
The front area of the veneer on the table top was rough and I just played that up with the layered look.
Tips for Distressing Paint With Vaseline
Here are a few things to keep in mind if you want to try this paint technique on your own furniture.
- Choose contrasting paint colors. You’ll see more of the layered effect when the base and top colors are noticeably different.
- Let the base coat dry. You don’t want to pull up the first layer of paint while applying the Vaseline.
- Use a small amount of Vaseline. Too much can spread into areas where you want the paint to stick.
- Don’t make the distressing too uniform. Random areas of wear give the furniture a more natural-looking finish.
- Work gently when removing the topcoat. Paint that’s only recently dried will generally be easier to remove than paint that has had several days to cure.
- Remove any petroleum jelly residue. Clean the distressed areas carefully before applying a protective topcoat, and allow the surface to dry.
I’ve rescued plenty of furniture over the years, but this little table was one of the rougher pieces I’ve tackled. I’m glad I didn’t give up on it.
Have you ever tried the Vaseline resist technique for distressing paint? It’s a fun way to get a layered finish, especially when you’re working with an old piece of furniture that already has a little character.
Let me know what you think of the makeover. Would you have brought this $5 table home?
Now, don’t forget to visit my Furniture Fixer Upper friends and see what they’ve been working on this month!
Furniture Fixer Upper Tour
My lovely friends have worked hard on their furniture projects this month. They always go the extra mile, and I’m often in awe of their talent. Click the links below the “before makeovers” photo collage to take the tour.
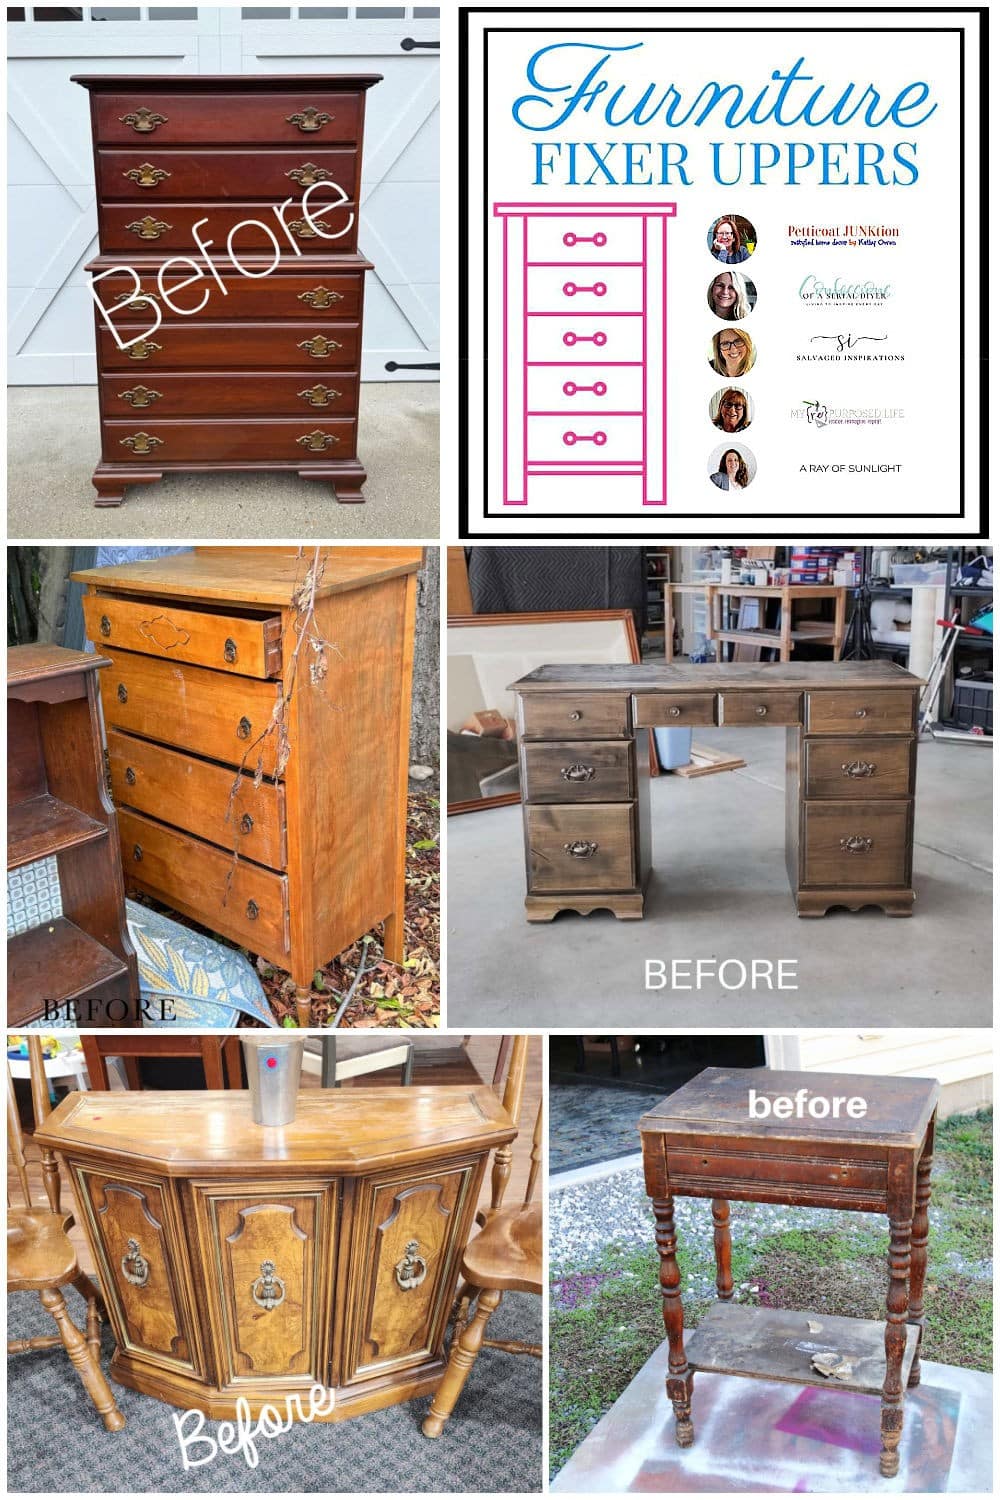
Furniture Fixer Upper Tour:’
Elegant Black Dresser Makeover – Confessions of a Serial DIY’er
Trashed Dresser Makeover – Salvaged Inspirations
Vintage Cabinet Makeover – My Repurposed Life
Make 2 Nightstands Out Of A Cheap Desk– A Ray Of Sunlight
How To Save A Trashed Table – Petticoat Junktion (you are here)
As always thanks for being here, Kathy