Repurpose Furniture: Beverage Cabinet Tutorial
As an Amazon Associate, I earn from qualifying purchases.
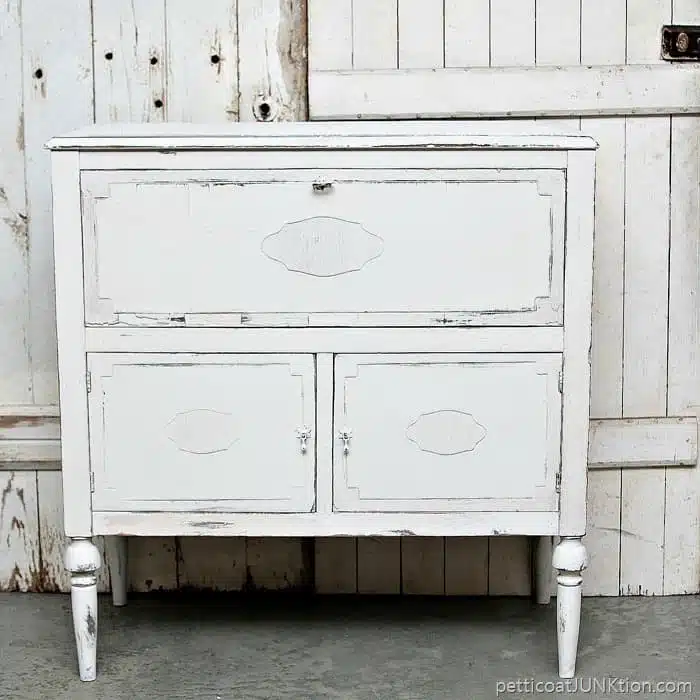
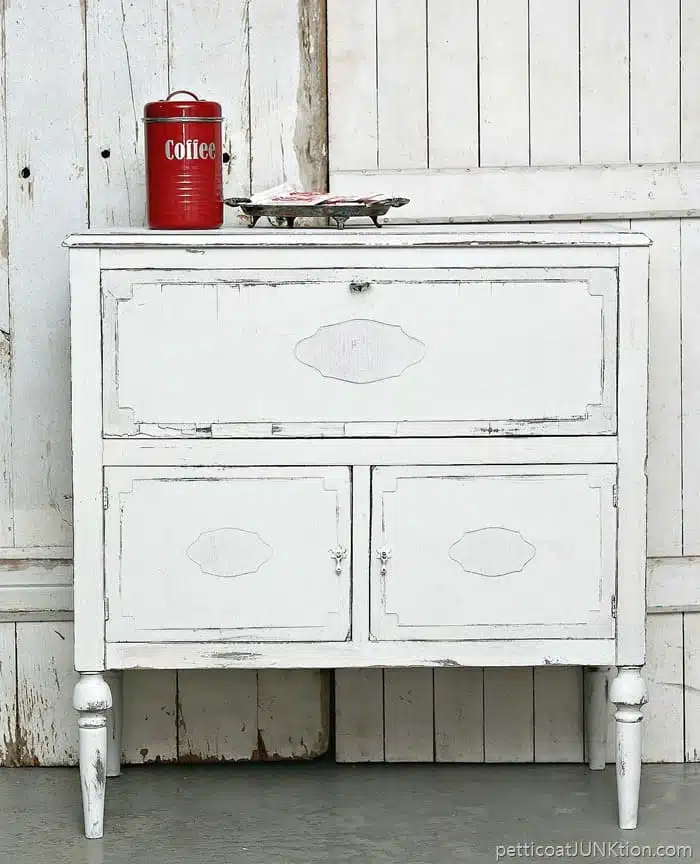
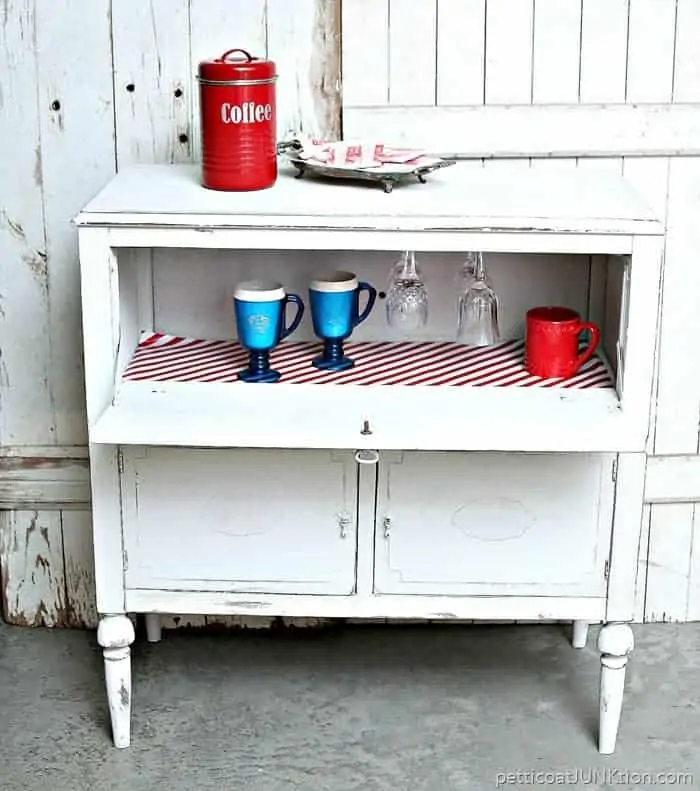
Tutorial showing how to make a beverage cabinet from a vintage radio cabinet. The old cabinet now opens up to reveal a shelf with a wine glass holder and lots of room to display all of your drinkware. The cabinet area below the shelf is just the right size for storing all of your beverages.
This furniture makeover included a lot of planning and redesign. I did the planning and redesign and the JTS (aka, hubby or Junktion Technical Specialist) made it all work. I couldn’t be happier with the way the Beverage Cabinet came together. Thanks honey.
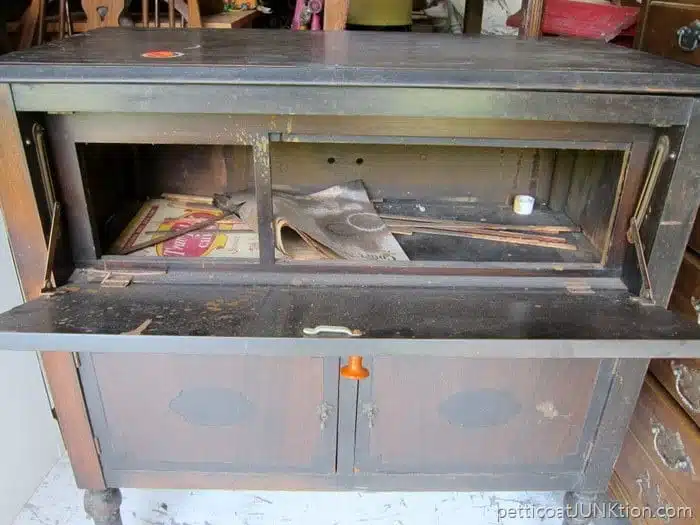
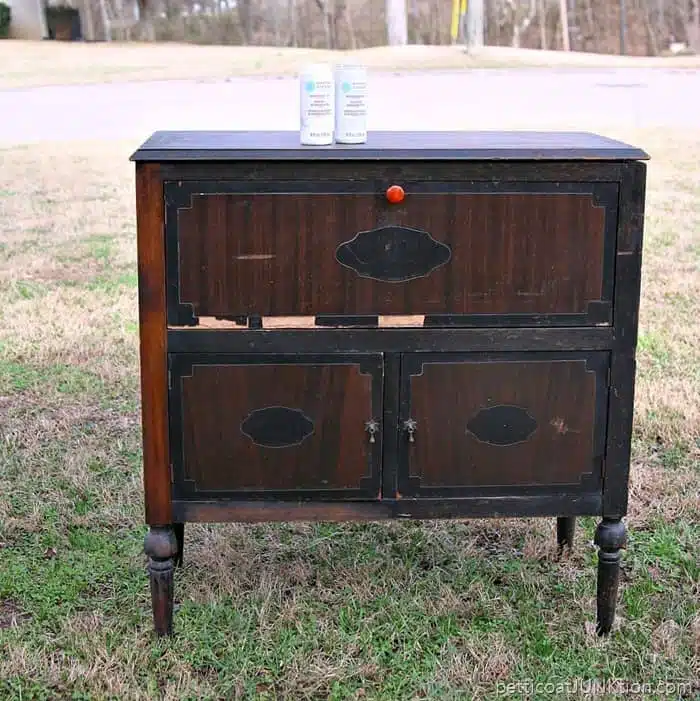
The cabinet came from the Nashville Flea Market. I think the price was $40 but don’t quote me on that. The cabinet was a radio in it’s former life. Right now it’s just a mess.
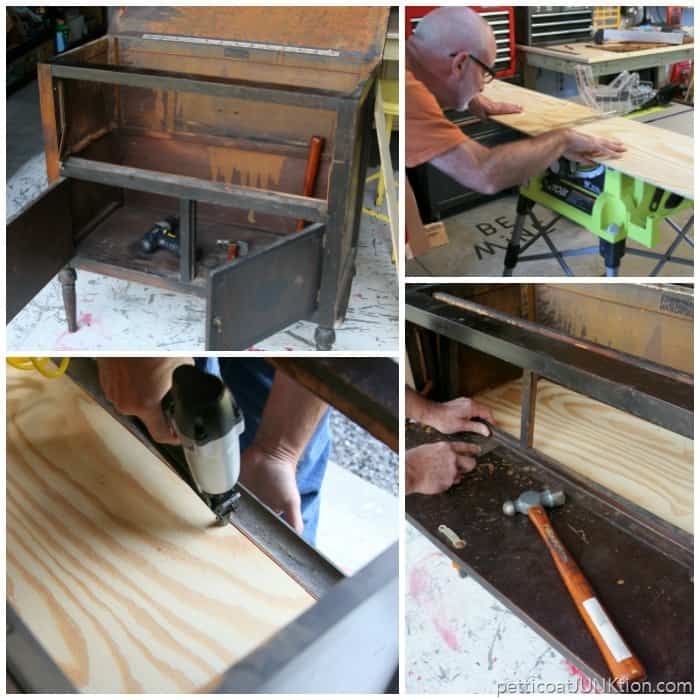
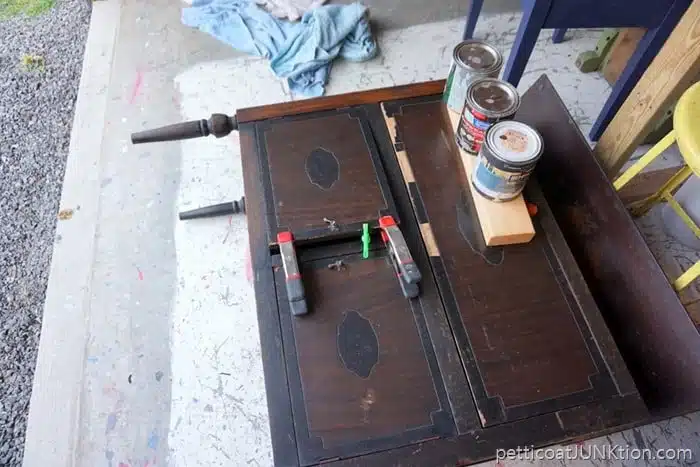
The JTS spent several days on and off working on the project. He took all the insides out, cut a new shelf, and put the fold down door back on. Then I decided I wanted to make a beverage cabinet out of it. That meant a little more work, like taking out the front divider thingy (technical term). He basically gutted everything inside the cabinet and added a sturdy shelf.
Then there was a bunch of loose veneer to glue down. In a few places the veneer had chipped off completely. But that’s okay because the little ripples and edges will look great distressed. I gave the cabinet a good cleaning before getting into the paint process.
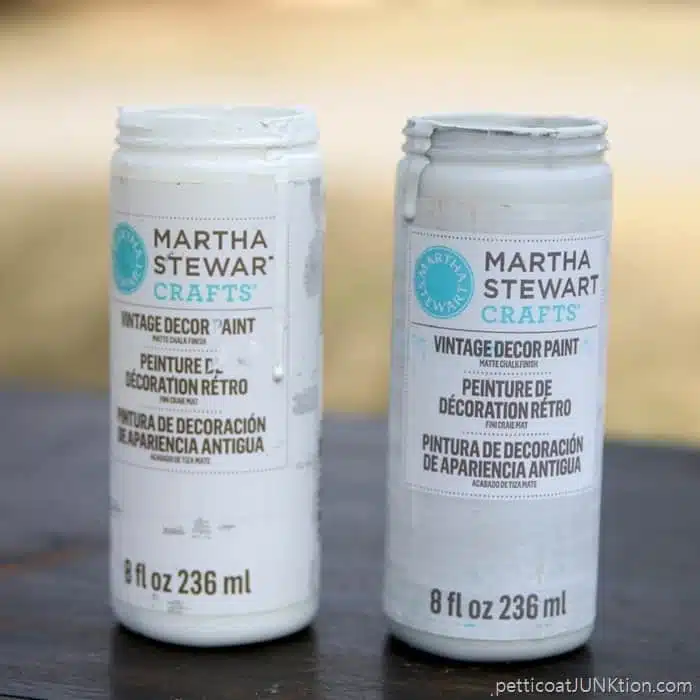
You guys, I have a ton of paint on my shelves. I’ve been trying to use what I have instead of buying any more. I didn’t have the perfect flat white so I combined Martha Stewart Paint colors to get an off white. I mixed together Wedding Cake, Smoke, and at the last minute…..Linen.
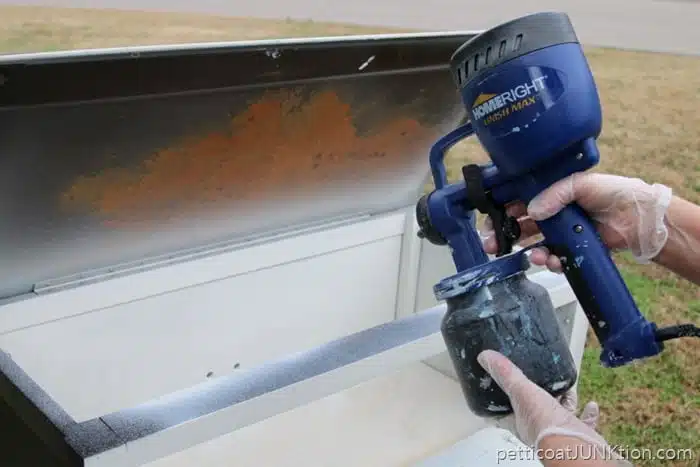
After mixing the paint I thinned it and poured it into my HomeRight Finish Max Paint Sprayer. I love this thing. There was no way I was going to brush paint the inside of that cabinet. Painting china cabinets, bookshelves, the interiors of buffets and cabinets, is hard work and time consuming. Work smarter, not harder.
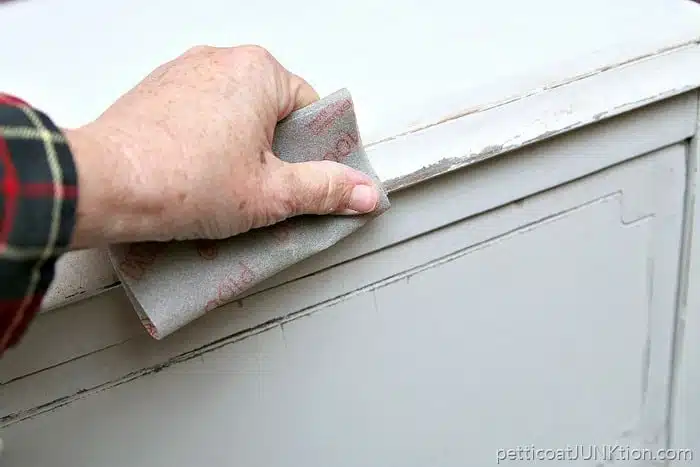
Once the paint was dry I distressed the edges and details with 3m Flexible Sandpaper 100 grit.
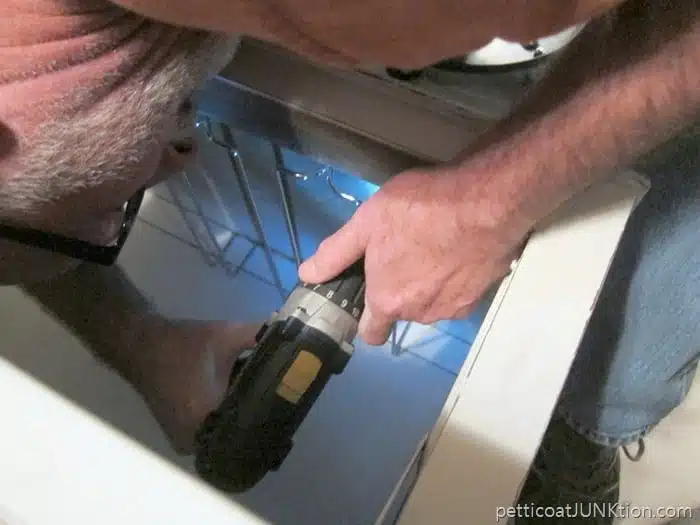
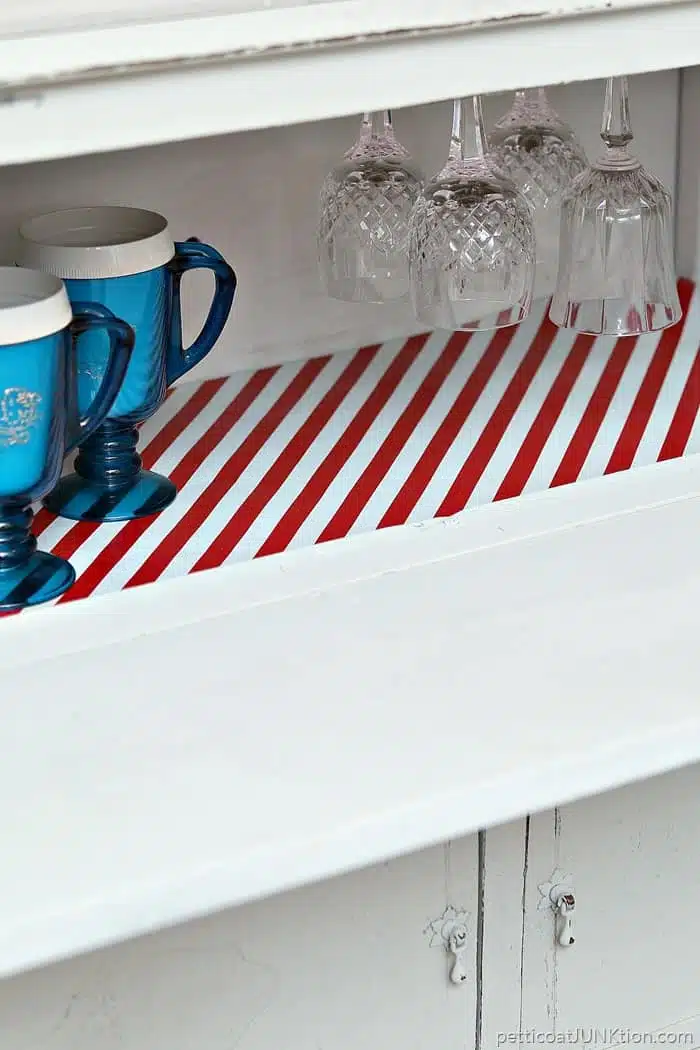
At the last minute I decided to add a metal wine glass holder to the cabinet. The JTS had to do the hard work. He did all kinds of contortions trying to put the rack in that tight space.
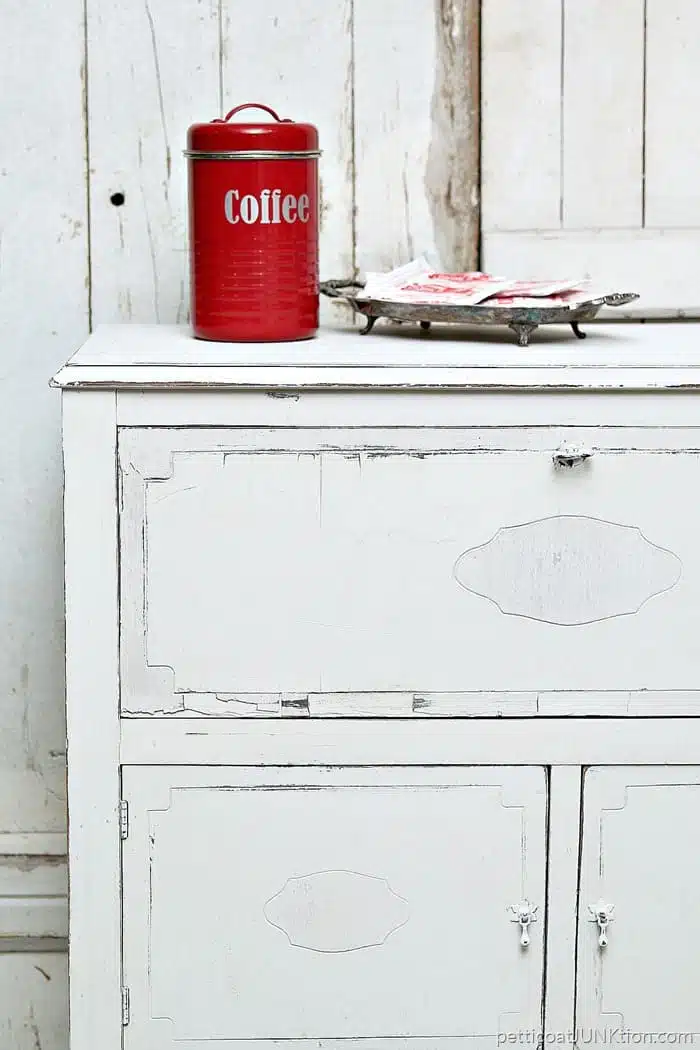
Sometimes projects turn out a little differently than expected. Notice how the pretty detailed insets are still obvious and the outer edges of the doors contrast with the rest of the door? I decided not to continue putting layers of paint on the cabinet with the sprayer because I like the contrast.
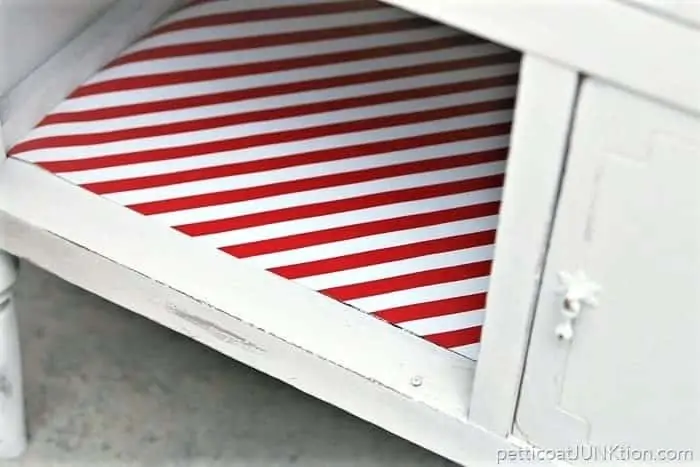
The shelf paper is wrapping paper I bought at Michael’s a few months ago. It was in the dollar section and who can resist red. Not me. I raided my china cabinet for the wine glasses that we never use. The pretty blue cups are finds from my favorite junk shop.
The cabinet can be used for all kinds of stuff….hot chocolate, coffee, water, wine, kid snacks and drinks. My friend Beth suggested using it as a TV cabinet.
I put the pretty red and white striped paper inside the cabinet to line the bottom shelf.
You may have noticed in the before makeover photos that the top of the cabinet lifted up. The JTS screwed it down so that doesn’t happen anymore. I covered the screw heads with wood filler and painted over them. The metal glass holder is attached to the bottom side of the top.
How To Make a Beverage Cabinet
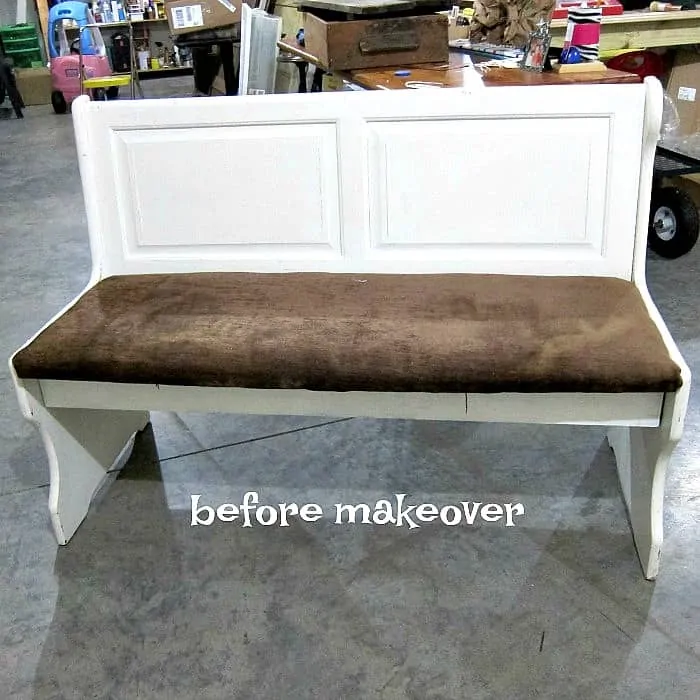
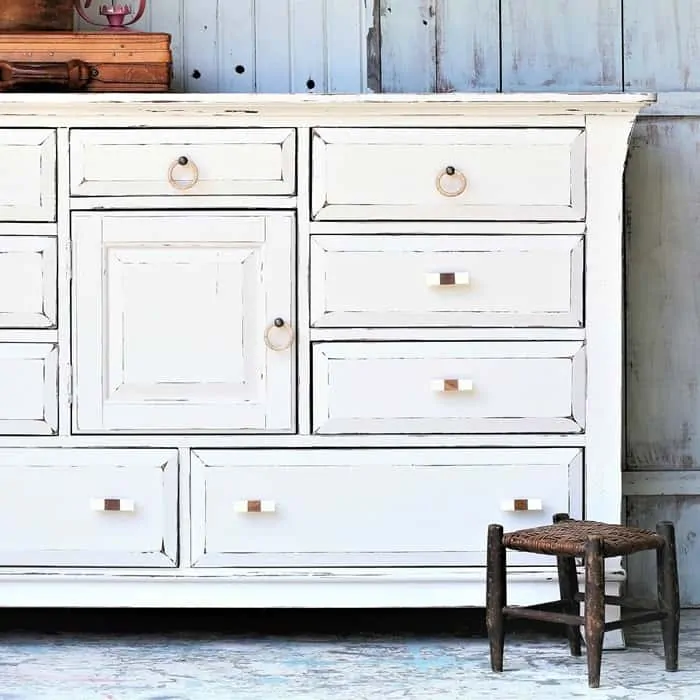
If you enjoyed this post you have to take a look at how I remade the white bench with janky seat in the photo above. See it here…..Farmhouse Style White Bench Makeover With Distressing Results
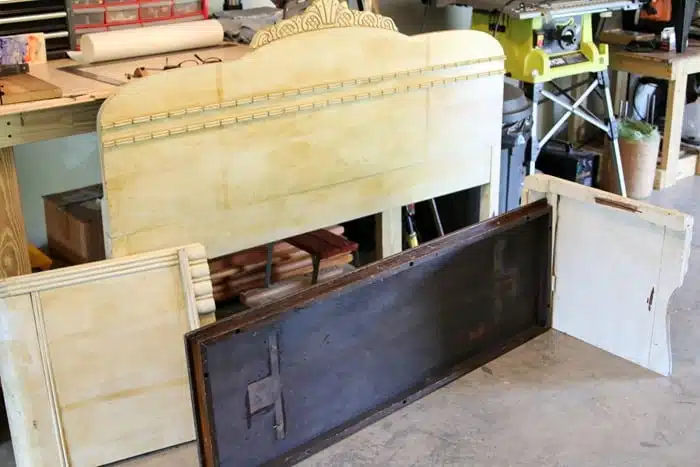
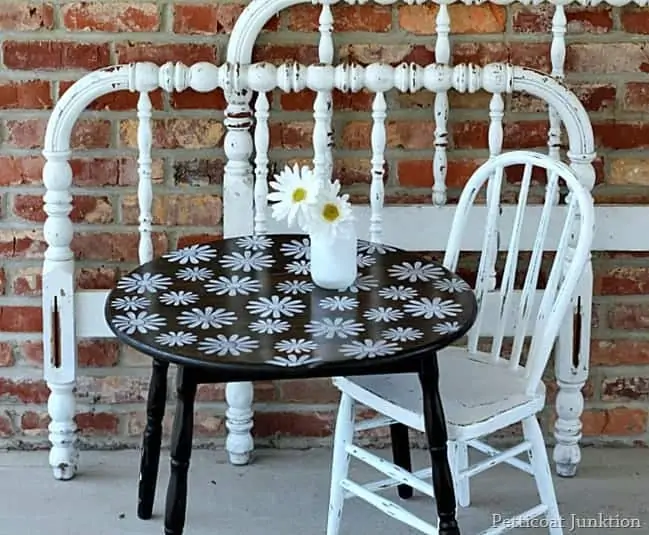
And….you can make the coolest bench using an old headboard and footboard. See how we put it together and the amazing paint color here….How To Make A Bench Using A Vintage Headboard And Footboard
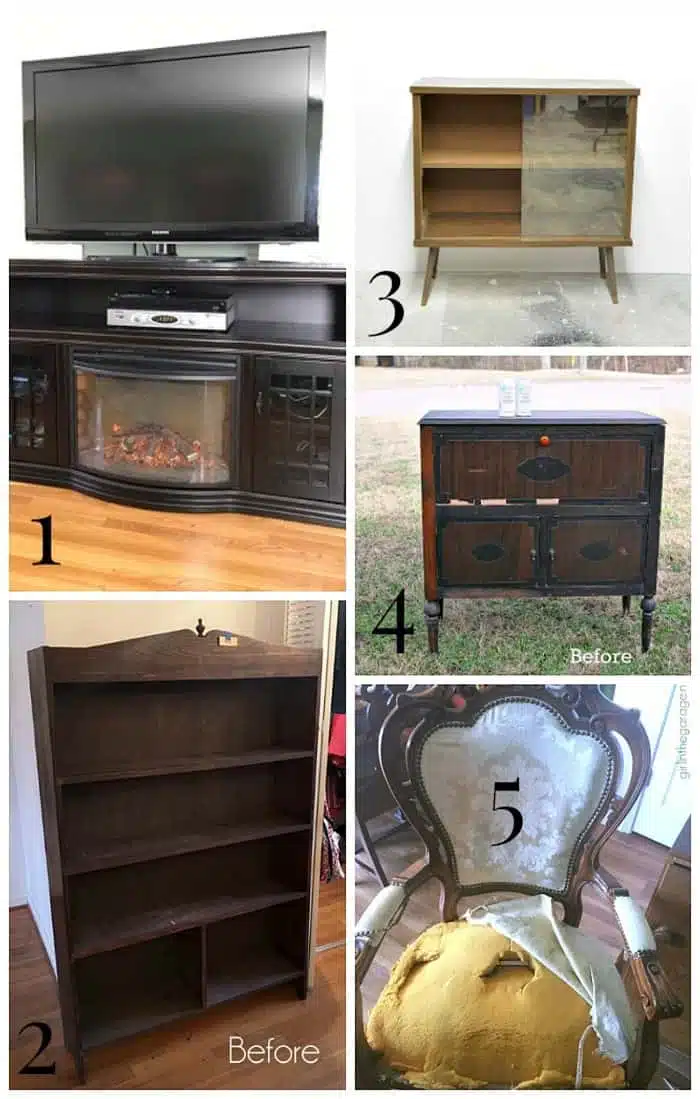
Be sure and take the Furniture Fixer Upper Tour by clicking the links below the “before” makeovers photo collage below…..
1. Just The Woods – Media Console
2. Confessions Of A Serial DIYer – Estate Sale Bookcase
3. The Interior Frugalista – Funky Bar
4. Petticoat JUNKtion – Beverage Cabinet
5. Girl In The Garage – From Chair to Throne
I bet you guys can think of other uses for the cabinet. Please share your ideas in the comments section. Have a great week, Kathy

I totally agree turned out awesome!
Thanks
love it!!! (as usual)
Angela (from NJ)
Really great makeover on an excellent find. It like how the 3 color paint mix came out. The stripes are cute in there even though I always avoid red at all costs!
Sounds like a good idea to me. Let me know how it turns out please!
I just was given a large, 4 drawer dresser that someone took the 2 center drawers out ( drawers are the same size) and tried t make a “cabinet” in the middle. All the drawer runners etc were disposed of and thin plywood sides and bottom put in the cabinet area. Even tho I have the drawers I think it might look nice to remove the drawer fronts and glue them together, then cut this in half vertically to make hinged doors and keep the cabinet area—curios, toys, beverage cabinet etc,etc. The green –ugh–they put on is just peeling off so some sanding and new paint would be in order. Does this sound feasible to you?
Thanks Sherry!
I just love this makeover! It’s the perfect cabinet. Thanks for linking up at Funtastic Friday.
Wow, that was one ugly cabinet! LOL Amazing transformation! You and your technician did a great job. Thanks for sharing, Cynthia
The beverage cabinet is so cool! Now I am going to be on the lookout for a piece I can makeover for my deck.
Nice makeover Kathy this piece went from trashy to shabby sassy! I love that satisfying feeling of using up that last bit of paint in the jar and making something fabulous with it!
Thanks Becky! I’ll be sure and visit.
It is wonderful and you are my featured pick for next week. Thanks for linking up at Talk of the Town !
this wasn’t a fixer upper, this was a full blown save!! holy moly it was a hot mess and you made it look great!!
What a job……but it turned out great!
I spent the day cleaning a shed out and putting Christmas boxes away. I’m ready for a fun project so hope to go junking next week.
Keep your ideas coming our way.
Blessings
The JTS should cut off the part of the screw that juts up on the top shelf. Someone will scrape their hand on it and may need a tetanus shot if one wasn’t had within the last few years. Just speaking from experience!! Otherwise the cabinet is very lovely. And I love the red and white paper. Once I used all my lovely wrapping paper to line the drawers of an antique dresser. I like being able to see the paper better. And I have a coffee can just like your red one except mine is a 30’s green. My kitchen is green and red and chickens!
Kathy,
Now this looks like fun. You have created magistrate once again with your keen eye for a purpose in a time worn piece.
Happy Creating my friend,
Karen Marie
Wow, you guys really transformed this cabinet! It could have so many different purposes now. I really love the slightly different shades of white on the front. Sooo pretty!
Love this cabinet now, Kathy! You (with your accomplice, the JTS) were brave to take all that on, but now this sweet cabinet will be enjoyed for many more years to come! ?
Great minds and all that 🙂
Haha, I’ll let you know. Have fun with the man cave.
Thanks Linda!
awesome
Absolutely love it! I live in north Alabama and my hubs makes wine as a hobby. We are currently working on a man-cave for him to make his wine in – want to sell that sweet cabinet? :o)
You and I were on the same wavelength with beverage bar makeovers. I love how yours turned out with all its shabby chic goodness – beautiful! If it were mine, I would keep it as a beverage bar but it would make a great dining sideboard too. It could also be used as a media cabinet but dang it’s just too pretty for that.