How To Make DIY Teacup Christmas Ornaments
As an Amazon Associate, I earn from qualifying purchases.
Make one-of-a-kind teacup Christmas ornaments to hang on your tree or for gift-giving. The ornaments can be personalized to fit your decor style or the gift recipient’s occupation, hobbies, etc. Thrift store shelves are usually overflowing with teacups if you need a few for projects like this one. My tutorial includes a video of the process.
How To Make DIY Teacup Christmas Ornaments
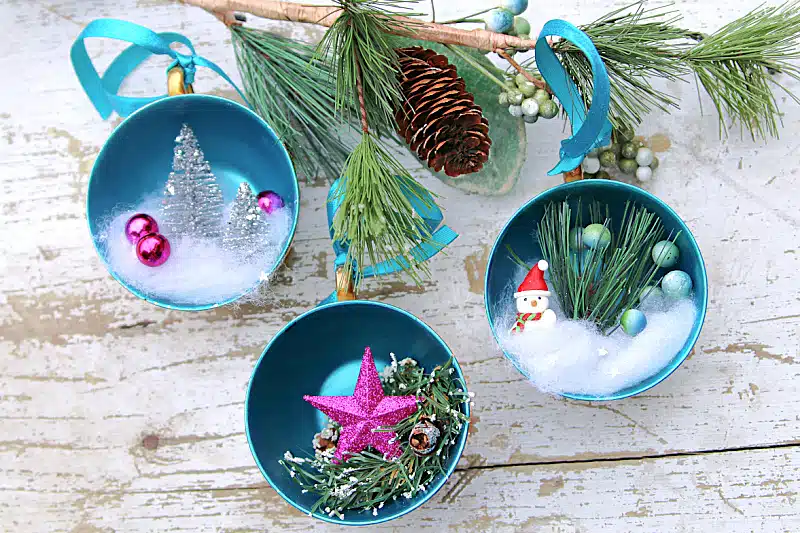
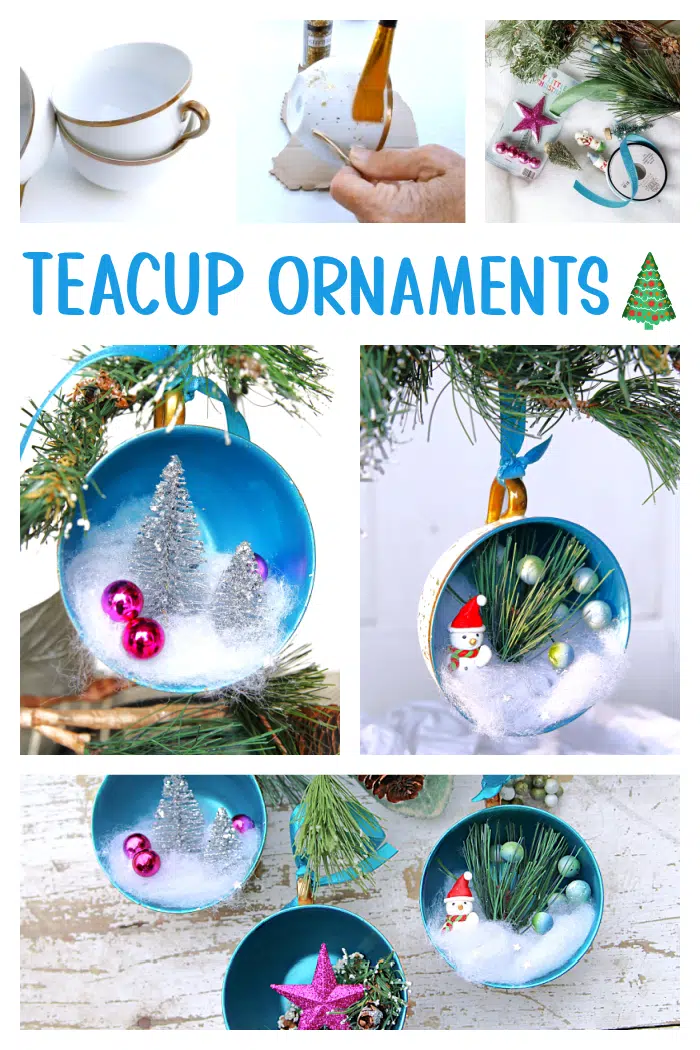
I made three teacup ornaments, and they are all different. I painted the teacups first then added small Christmas items. Personalize the ornaments……get as creative or crazy as you like.
1. Choose Your Teacups
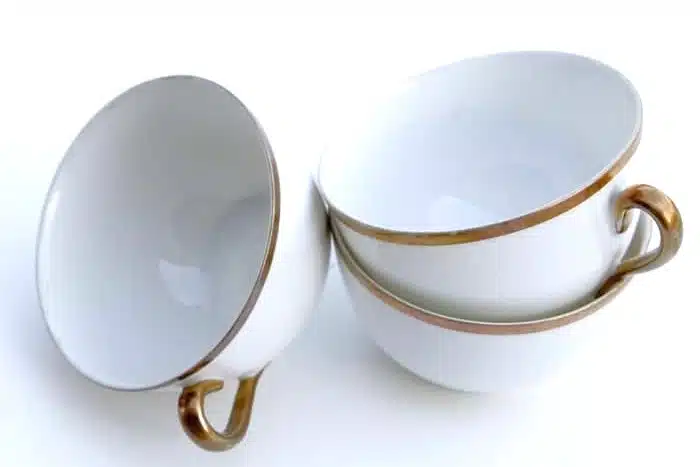
I bought my teacups at the Salvation Army Thrift Store. There were three teacups of the same kind, perfect for my needs. I got lucky with these because they were mostly white and only .50 cents each. It’s always good to have a plain slate to work with.
While talking to a friend about the ornaments, she mentioned that she had some teacups passed down from her grandmother. How cool would it be to make teacup ornaments out of heirlooms? Her teacups were packed away in a box. She could enjoy them during the Christmas season…..or all year long if they were cute ornaments.
2. Select Paint For The Inside Of The Teacup
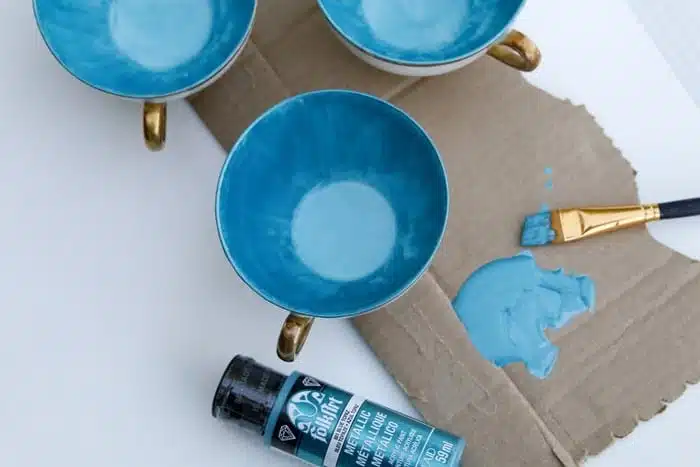
I chose FolkArt® Metallic Acrylic, color Blue Topaz, to paint the inside of the cup. The metallic color is so pretty. You have to have shimmer and shine during the holidays.
3. Apply The Paint To The Teacup Ornament
I brushed on two coats of the metallic paint. The instructions say the paint can be used on porous surfaces such as wood, canvas, tin, terracotta, fabric, and paper mache. I was still a little leery, especially since the fine China teacups had such a smooth, slick finish. But let me tell you. The metallic paint covered well and stuck well! No worries.
4. Select Paint For The Outer Surface Of The Teacup Ornament
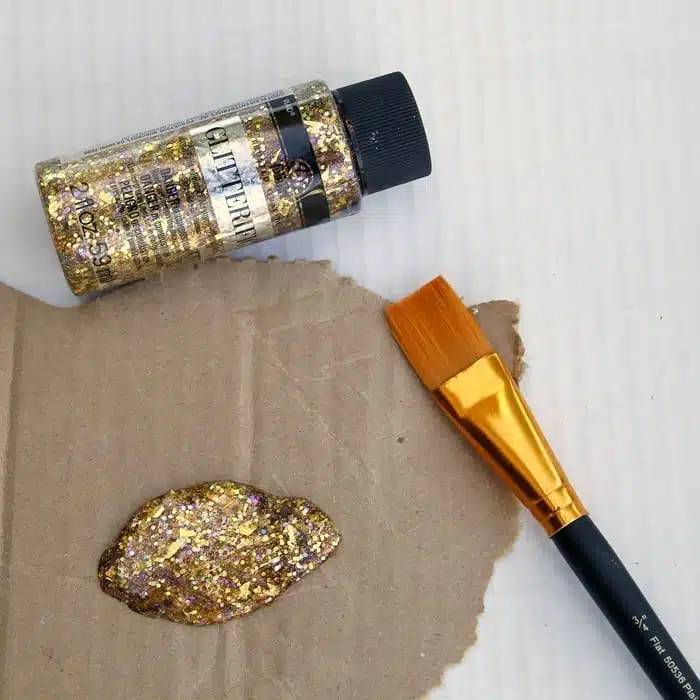
For the outside of the teacup, I went all out with FolkArt ® Glitterific™ Acrylic Paint, color Gold. The name for the paint says it all: glitter overload. It contains multiple-sized glitter particles in a clear base. You don’t have to worry about a glitter explosion like you do with loose glitter. My son has banned glitter from his house because my granddaughters get a little crazy with the glitter. This paint would be perfect for them.
5. How To Use The Glitterific Paint
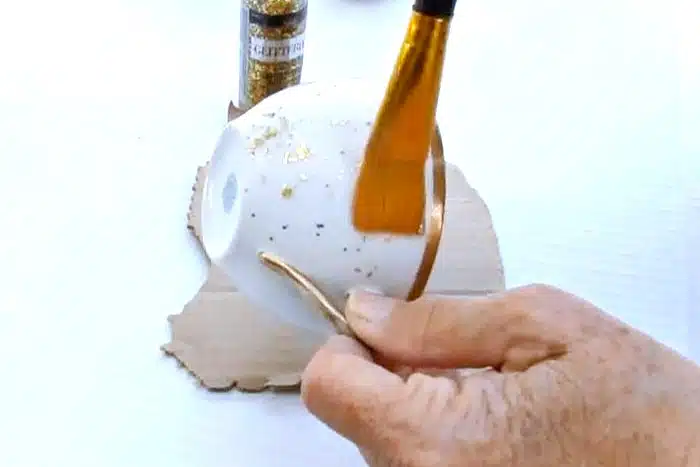
I used a Taklon brush to apply the glittery paint. I’m not sure about using a foam brush with this paint. I built up the glittery particles by dabbing a lot of it on the teacup. The paint dried in a couple of hours.
6. Add Embellishments To The Painted Teacups
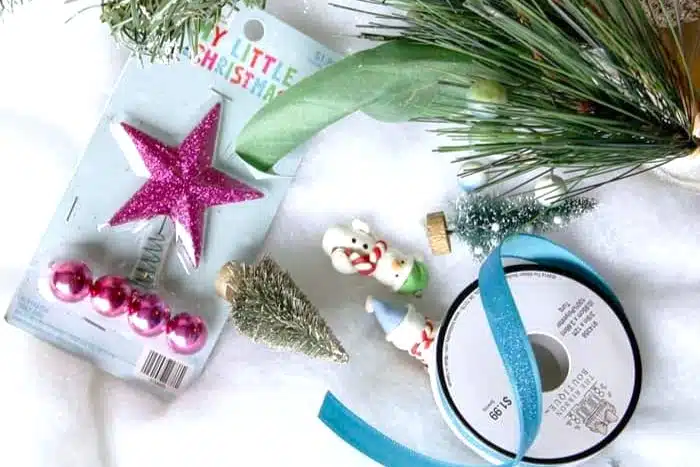
It’s time to decorate the inside of the cups. I wasn’t sure exactly what I would put in each teacup. A pile of stuff to work with is always good. I gathered a few items I had in my Christmas stash, plus I picked up a couple of new items to use.
I looked for soft, velvety ribbon to make the ornament hanger but had no luck. The velvet, with it’s soft feel, would have added another texture element to the ornament.
Try Out Placement Ideas With The Miniature Pieces
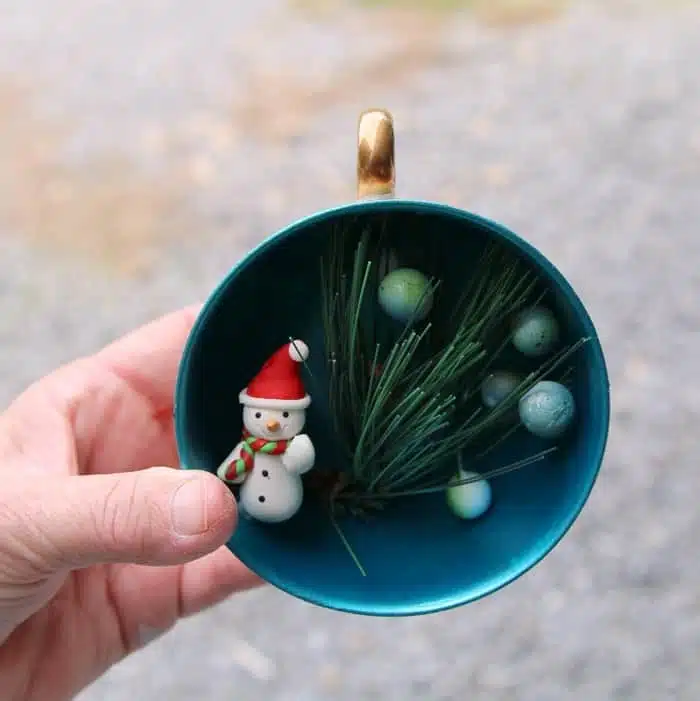
I tried a variety of items and set up different scenes in the cups. Once I decided what to put in each cup, I grabbed the hot glue gun and went to work.
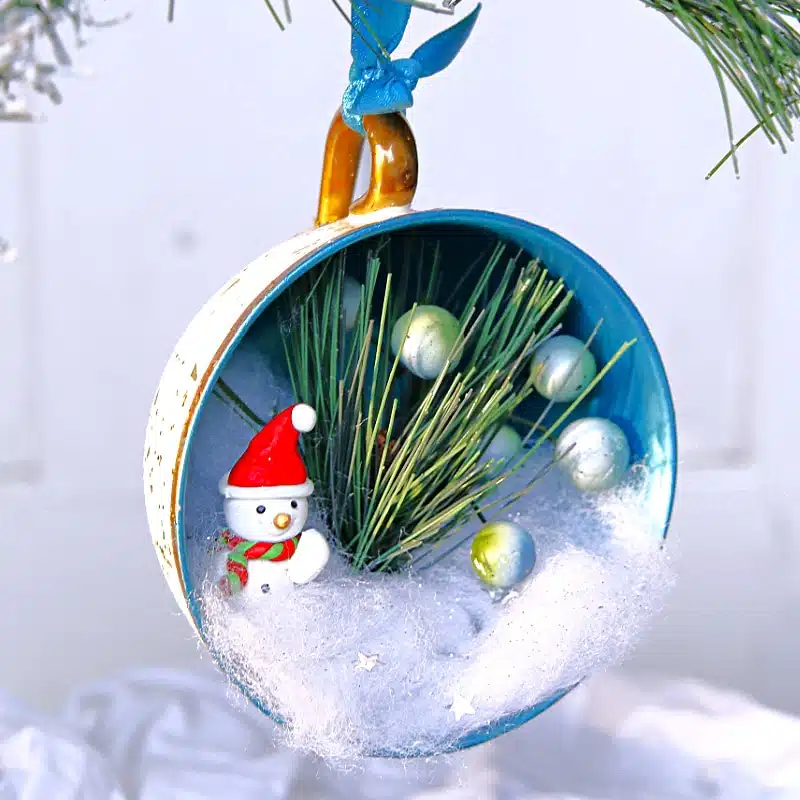
That little snowman is the cutest thing. He was leftover from Christmas past projects. I bought a roll of snow mat stuff, not sure what the name of it was, to use as a filler in the teacup.
Get Creative With The Ornament Styling
I first cut a small piece of the snow mat for the cups. After working with it for a while, I figured out it was best to pull pieces of the mat off and use them that way. There was an issue with the hot glue and the fluffy stuff. That fluffy stuff is as bad as hot glue about sticking to your fingers. I finally got it in place.
7. Three DIY Teacup Ornaments
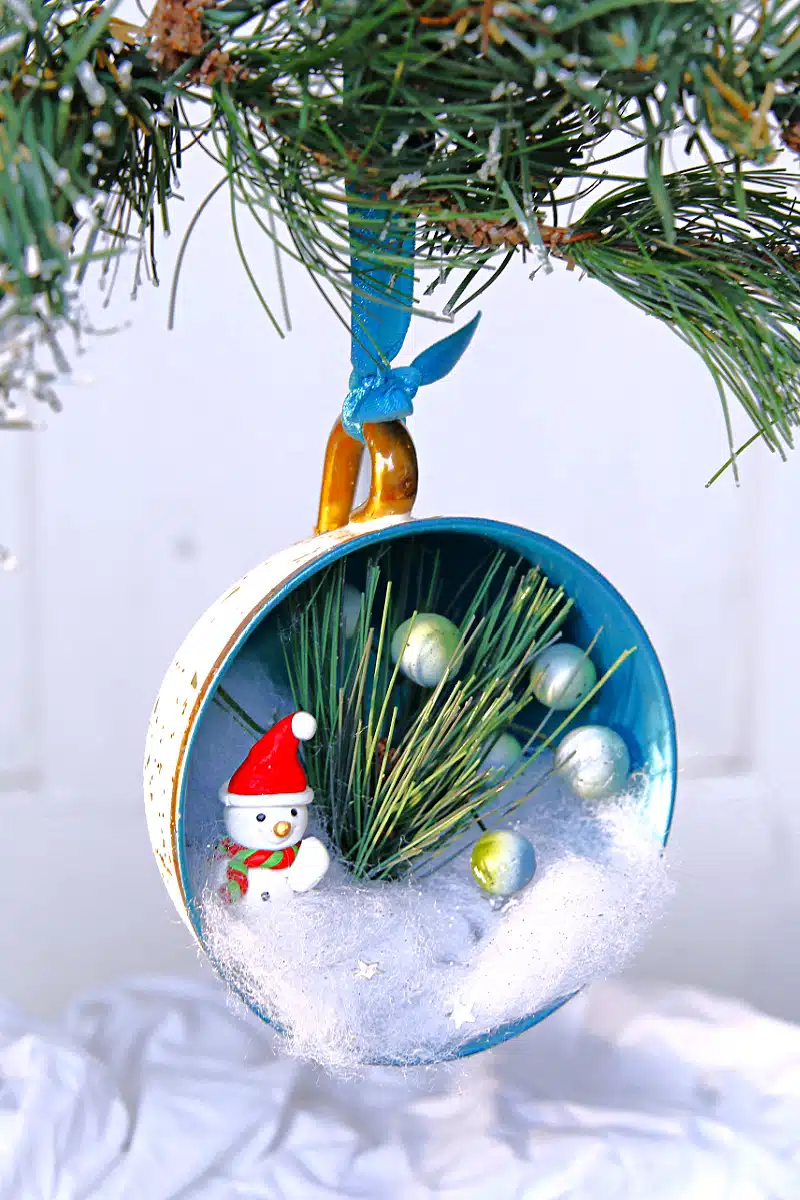
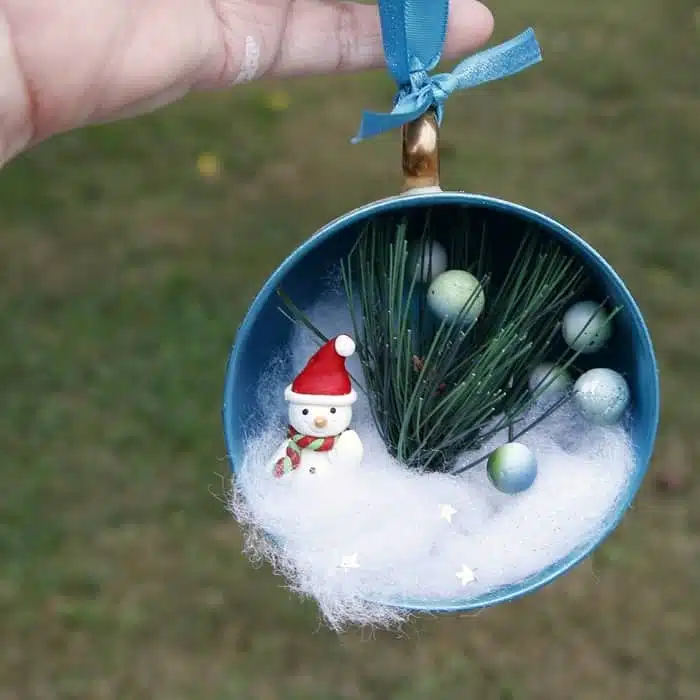
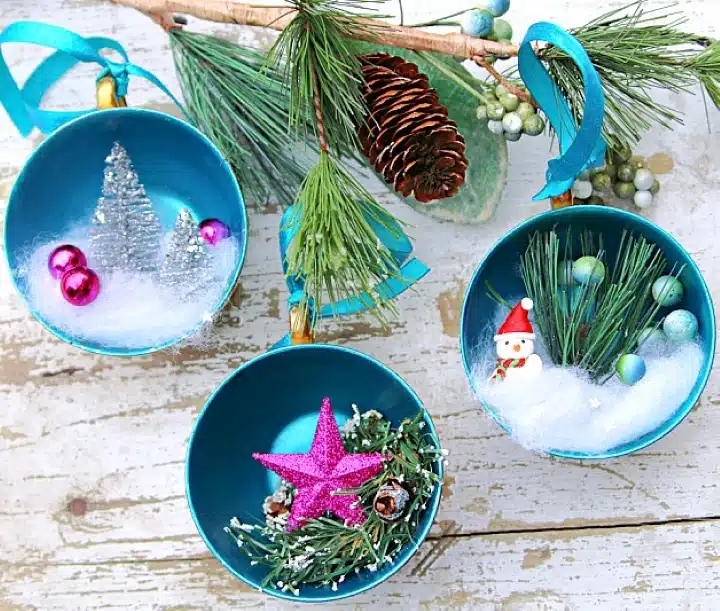
The Snowman Teacup Ornament
The fluffy stuff had little silver stars on it. You can never have enough glitz. The greenery and berries are small pieces of stuff I had in my stash.
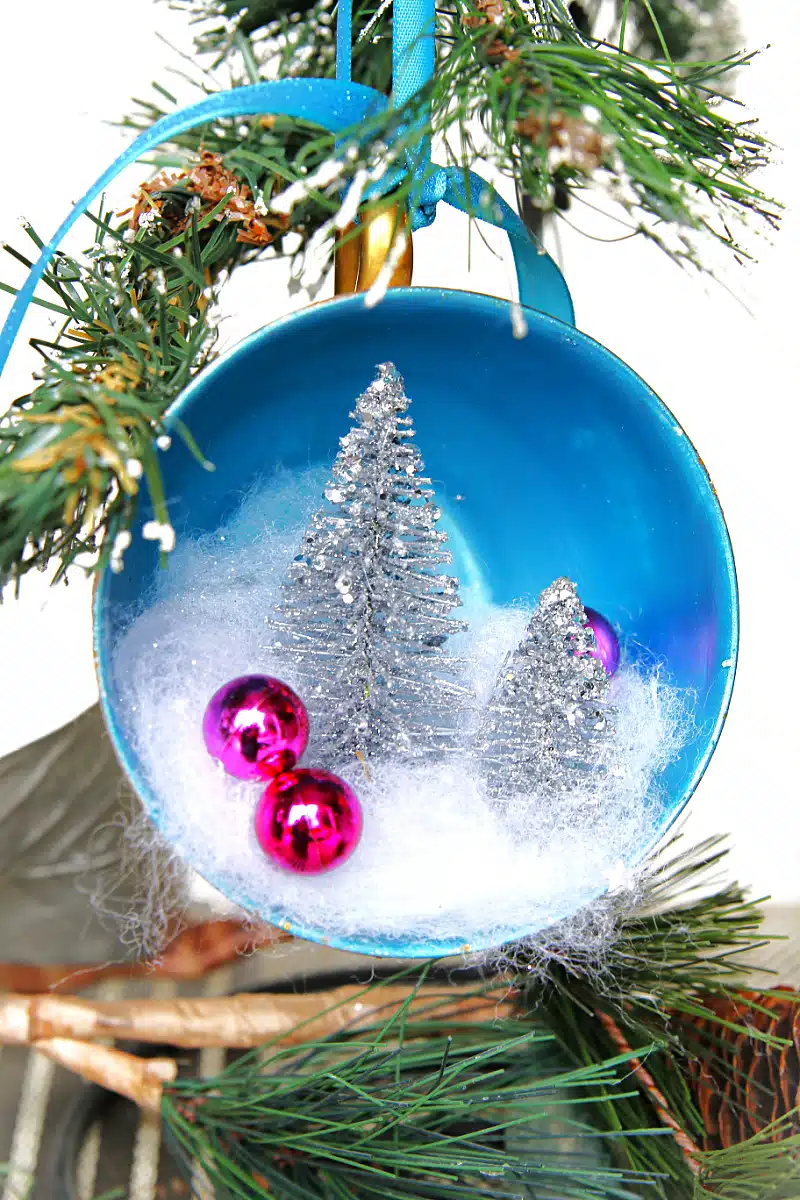
The Silver Tree Teacup Ornament
The green trees I bought to go in the cups were not working and I scrounged through my Christmas stuff again. I bought a bunch of little sparkly silver trees on clearance last Christmas, but they were too big for the cup. No problem, I just snipped off the tops and used those. The trees were only.25 cents each. I love a good clearance sale.
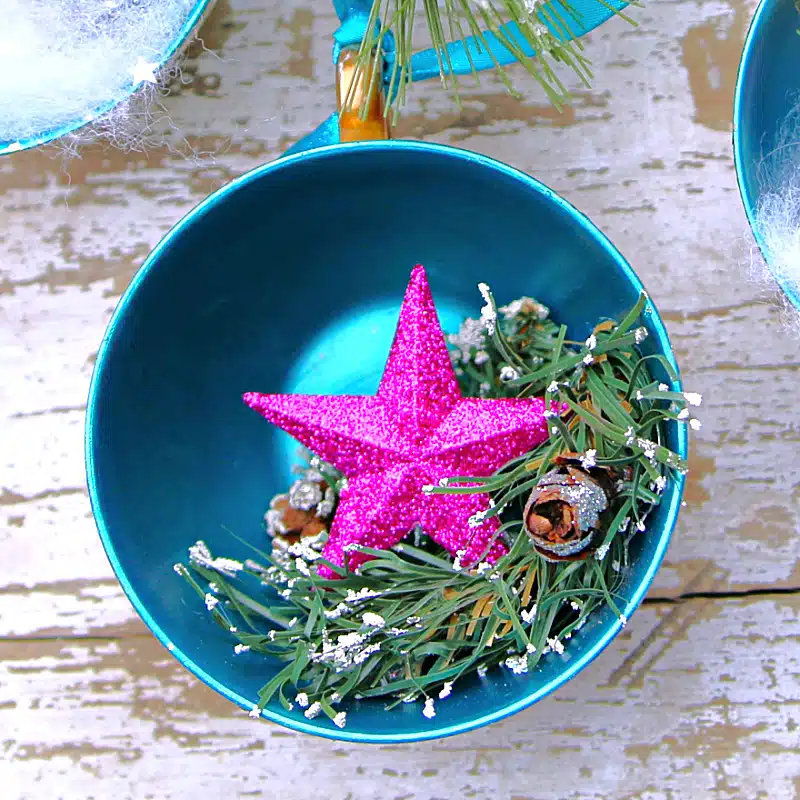
The Star Teacup Christmas Ornament
Teacup number 3 has a fuchsia star and a bit of faux greenery. I wish you could see the teacup ornaments in person. The metallic blue paint is so shiny, and the gold glitterific paint is very glittery.
You can’t buy ornaments like these in the store. The ornaments cost less than $3 each to make and that includes the paint.
If you like these ornaments, you must see the ones I made using vintage Christmas cards. Talk about sentimental…….Vintage Christmas Card Ornaments.
Make snowman ornaments from things in your junk drawer like checkers, jar lids, door hardware, etc. See all of the different kinds of snowman ornaments here.
DIY Teacup Christmas Ornament Video….
[adthrive-in-post-video-player video-id=”k4H7R6ZI” upload-date=”2018-11-23T01:49:28.000Z” name=”DIY Teacup Christmas Tree Ornaments” description=”Make Teacup Christmas Tree Ornaments” player-type=”default” override-embed=”default”]
How To Make Teacup Christmas Tree Ornaments
Thanks for being here, and have a great day, Kathy




I have been searching for a pattern to make a nativity set in a teacup. I found one on Pinterest but didn’t bookmark it and now I can’t find it. Can you help me out?
Those are great ideas plus you could also customize them by year!
This is such a cute idea, I thought these would be cute for your grandchildren as you could add small favorite toy characters from their favorite movies. I’m not sure if Happy Meals have toys but they might be small enough. Thanks for sharing.
Sweet ornaments to make out of unused cups (that could have sentimental value to you)!
I can’t believe I have never thought of these, they are so cute. Thank you I’m gonna get crafting.
love,love,love!
Oh, I will be stealing this idea. Mark my words. You do the most fabulous things. I follow you on facebook and email so I never miss anything you do.
Now there is something I would do-Very cute. Where did you get the idea?
They are all cute. The one I like the best is the silver trees with the fuchsia ball ornaments! You come up with the best ideas.
I love these! Of course, you would do this just as I had decided to get rid of a bunch of miscellaneous junky Christmas craft supplies from years past! Thankfully, that mission hasn’t been accomplished yet.
Cute idea!
Thanks Jane! How sweet.
Good one! I have all that I need to do this! Just never thought of it. That’s why You are my special blogger!
Very cute ! I love the snowman cup.
I really love this idea as well as your finished ornaments. I was thinking that this would also work for any stray teacup that have lost its plate mat but still has sentimental value to you.