How To Age An Urn Using Paint As An Antiquing Glaze
As an Amazon Associate, I earn from qualifying purchases.
This urn is all whomper-jawed and had a small hole in the side but was definitely worth saving. All it needed was a fresh coat of paint and then a dark antique finish using paint. I have all the details for you plus a video of the antiquing or aging process. And….today is Thrift Store Decor Day so you know what that means!
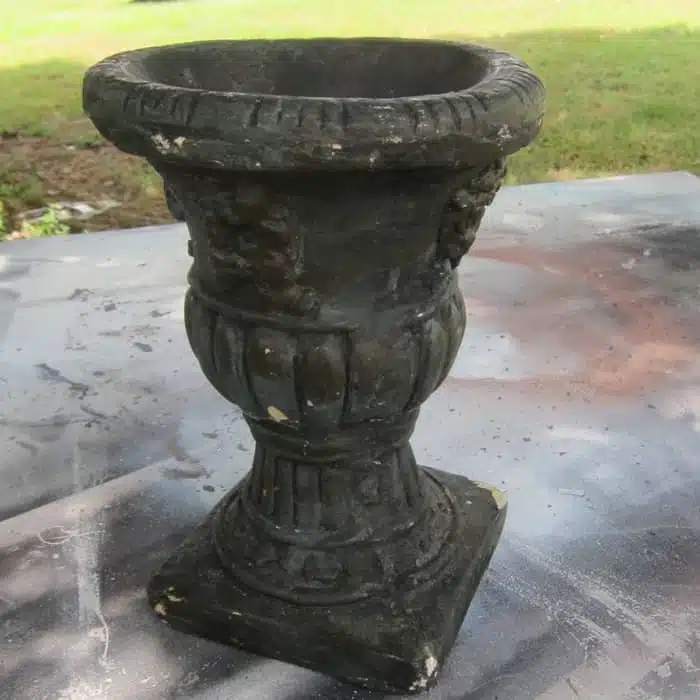
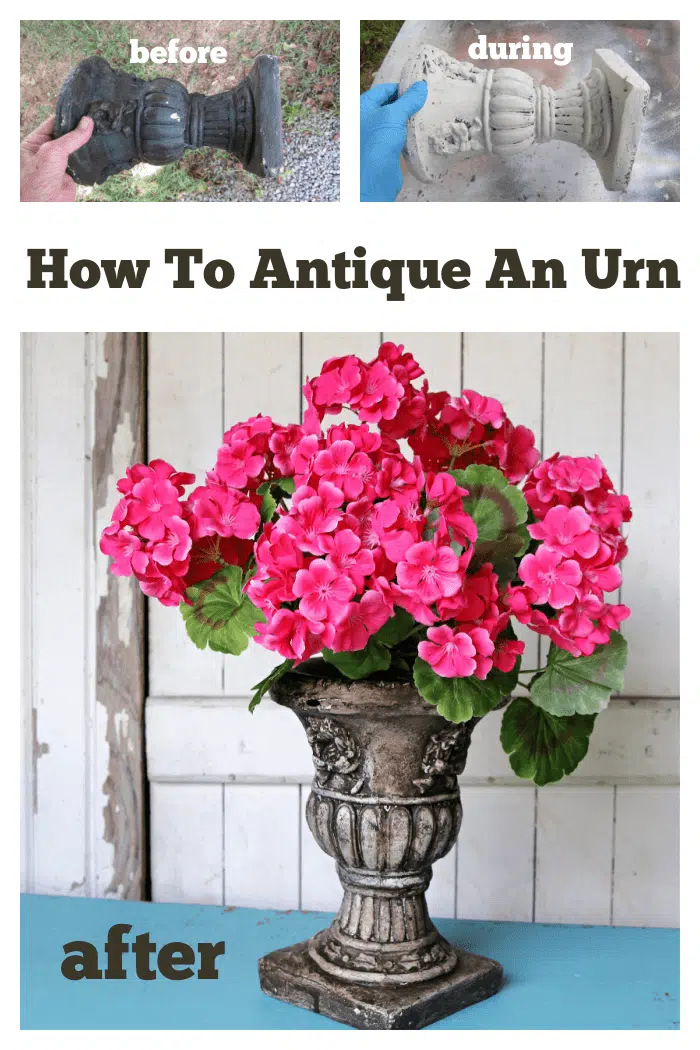
I bought the vase at the thrift store for $1. It doesn’t look like much now but trust me…..it will.
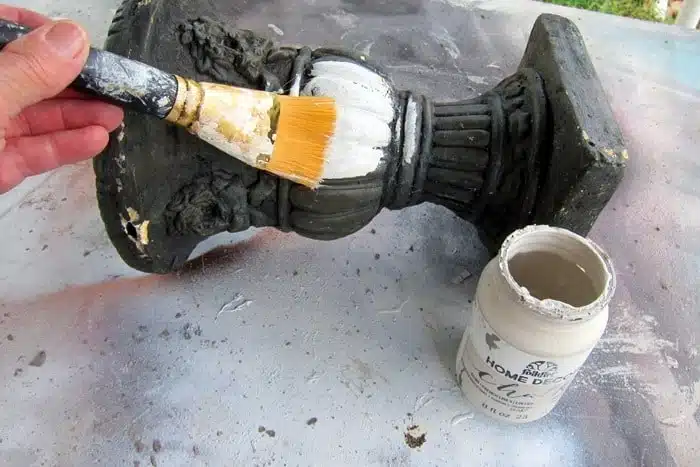
I first painted the urn with FolkArt Home Decor Chalk, color Linen.
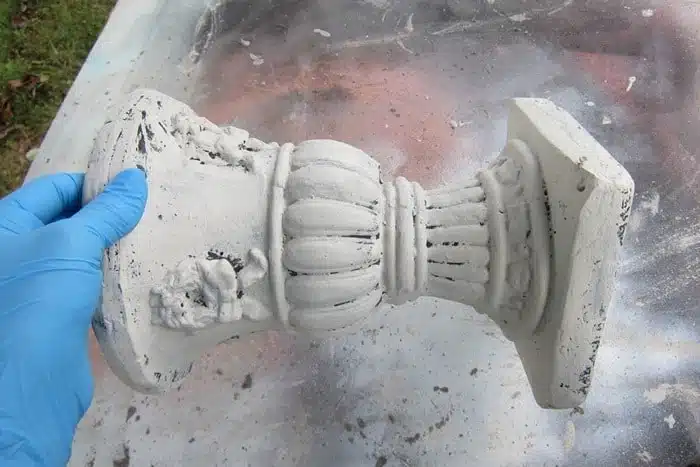
I applied two coats of paint not worrying if I covered every nook and cranny. The photo above shows how the urn looked after drying for an hour.
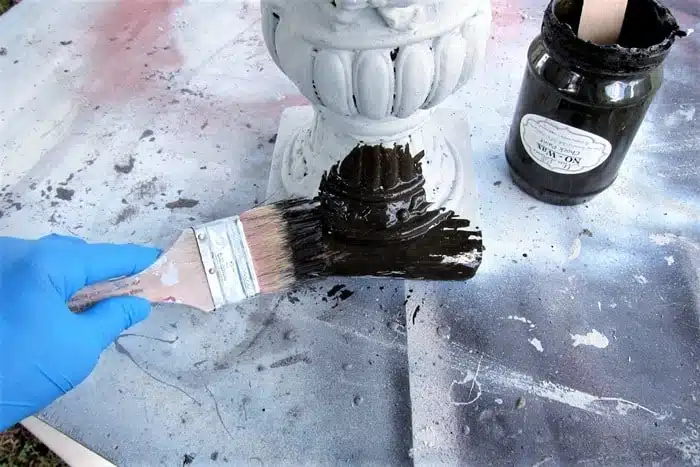
Now to make the urn look old in a good way. I mixed the dark brownish-black paint with water about 50/50. Using paint as an antiquing glaze is a budget saver. The dark paint is Miss Lillian’s No-Wax Chock Paint. The paint is leftover from a furniture project. After adding water to the paint, I brushed it on the painted urn using a small, inexpensive chip brush. I worked with small areas not the whole urn at once.
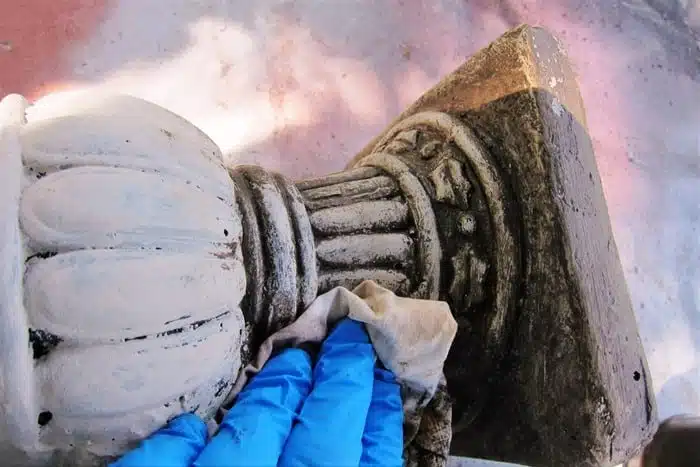
As soon as I covered the urn with the dark wash/glaze I began wiping it off with a damp rag. I removed or wiped back the dark paint until I had the antiqued finish I was looking for.
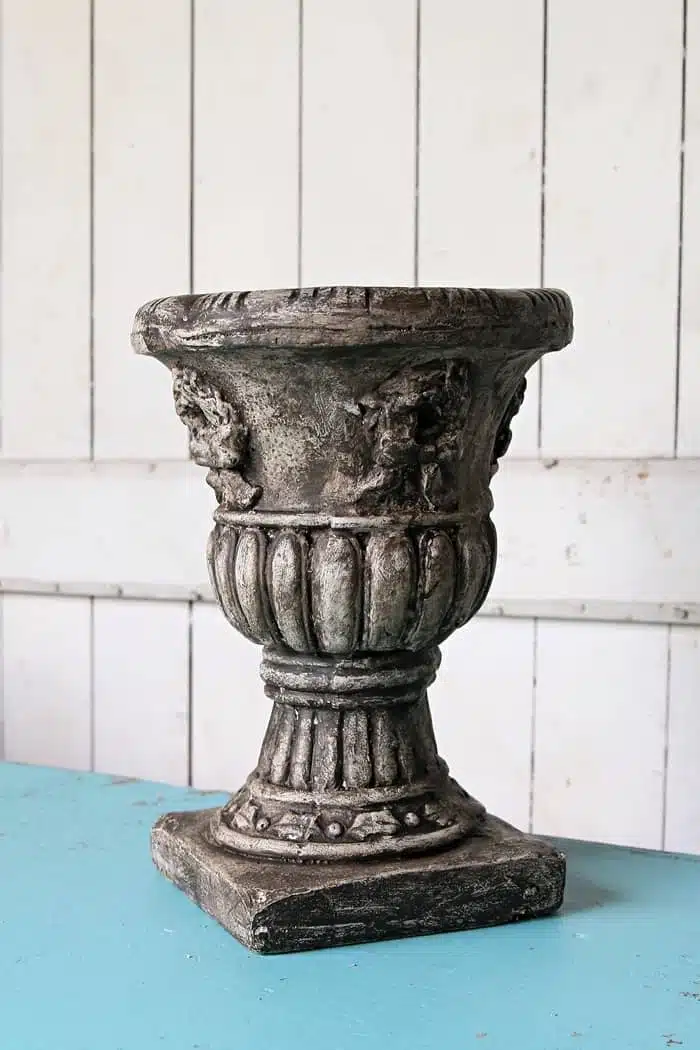
As you can see, it didn’t take a lot of time or energy to give the urn a cool new look. The original dark finish was soooo flat. The new finish has depth to it. Perfect. Take a look at the short 30-second video tutorial of me brushing on the dark paint and wiping it off with a damp rag…..
[adthrive-in-post-video-player video-id=”UbXy6DOP” upload-date=”2022-07-11T15:39:06.000Z” name=”How to paint and antique an urn using paint as a glaze for an old world finish.” description=”an old urn painted white and antiqued with a paint wash glaze in dark brown” player-type=”default” override-embed=”default”]
Paint As An Antiquing Glaze
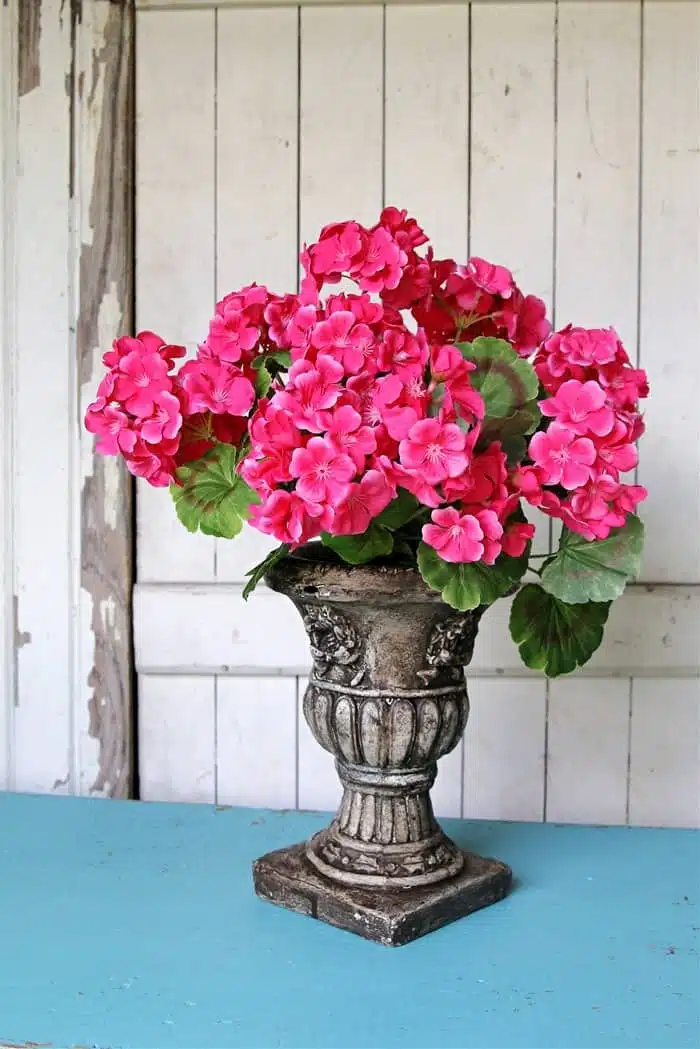
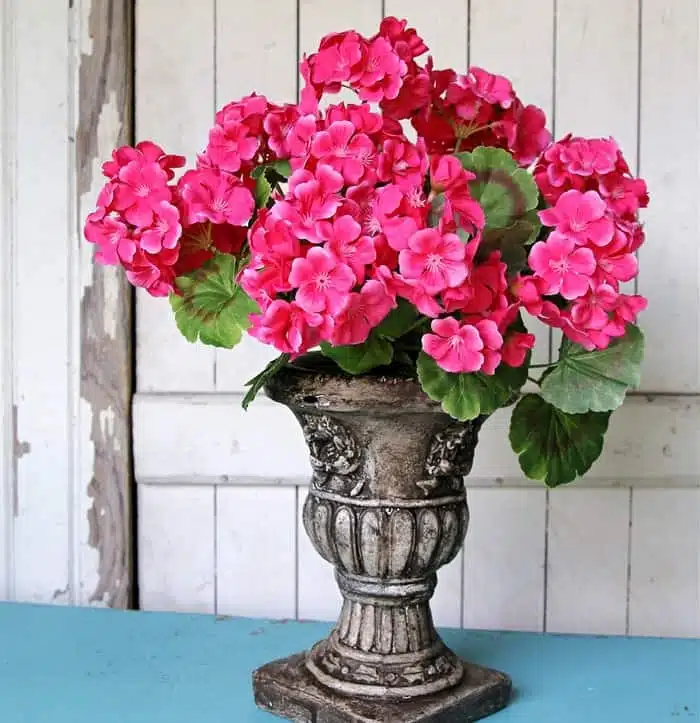
I like how the urn looks with the faux flower bush but it also makes a great display all by it’s lonesome.
See how the dark paint sits in the hollows and dips of the urn or vase? That’s how you want it to look. The raised areas are lighter and stand out against the dark areas giving the urn an aged or old-world look.
Now it’s time to take a look at the always great makeovers from our Thrift Store Decor Team. Just click the text links below the “before” makeovers photo collage…….
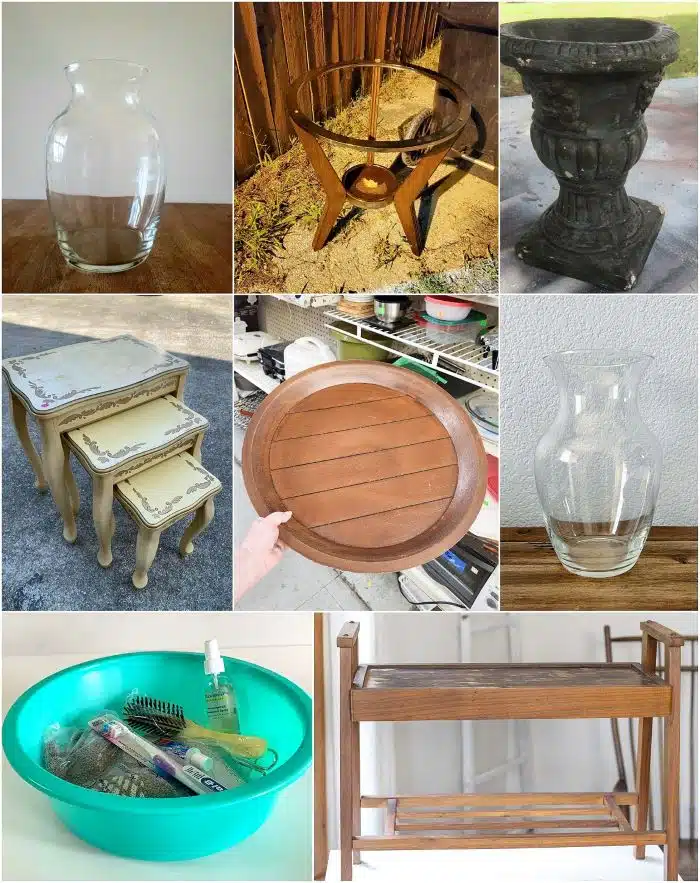
Take the Thrift Store Decor Tour.…
DIY Color Block Vase – Domestically Speaking
Three Legged Table Makeover – My Repurposed Life
Painted And Antiqued Urn – Petticoat Junktion (you are here)
Coastal-Inspired Coffee Table Tray Makeover – Sadie Seasongoods
DIY Aged Vase Using Coffee And Baking Soda – My Uncommon Slice of Suburbia
DIY Faux Enamelware Basin – House Of Hawthornes
DIY Boho Painted Furniture Idea – Reinvented Delaware
Upcycled Vintage Nesting Tables – Shop At Blu
Leave a note if you have time telling me what you thought of the urn makeover. As always, thanks for being here, Kathy



Kathy,
I really am amazed at the difference in the urn. Starting dark, and ending mostly dark, you wouldn’t think it would make such a statement. But it does!
Pinned!
gail
Looked like it did take dome work. The pink bush added so much to it.
That looks great! And Iove the video you did for it! I always forget to make a video when I’m redoing something!
I’ve never glazed with paint… definitely keeping that in mind for future projects. Love the way it turned out.
I love how this turned out, such a beautiful piece with those gorgeous flowers!
Kathy, this urn looks so much better!! I love to make things look old in a good way too! Pinned!