How to Revamp A Tacky Pink Flamingo Wood Planter
As an Amazon Associate, I earn from qualifying purchases.
Here is how to revamp a tacky pink flamingo wood planter.
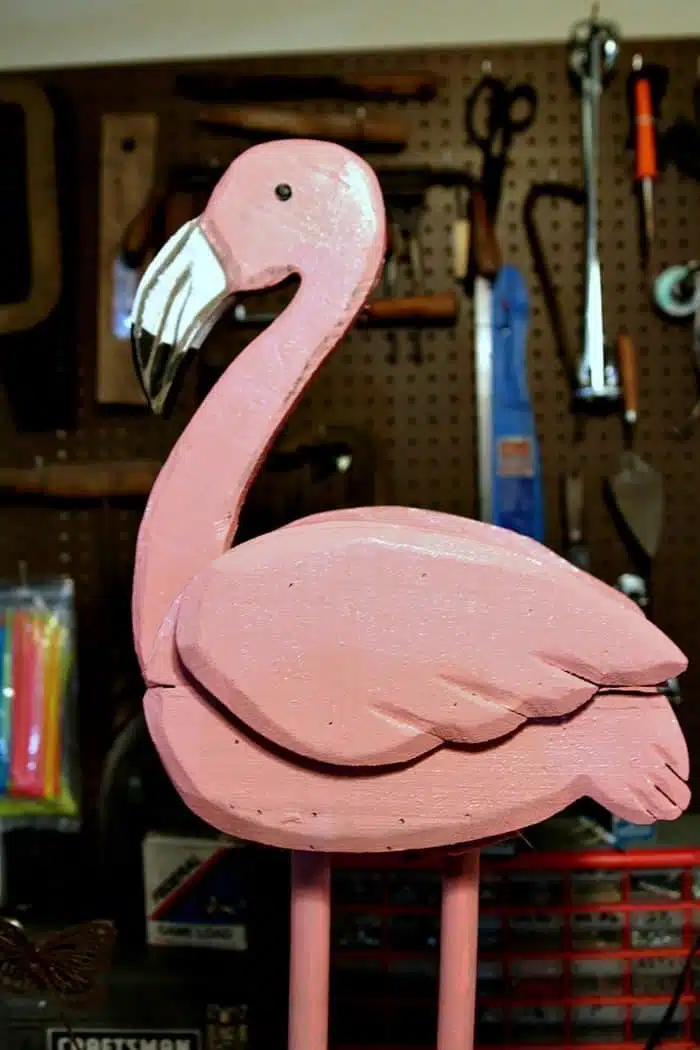
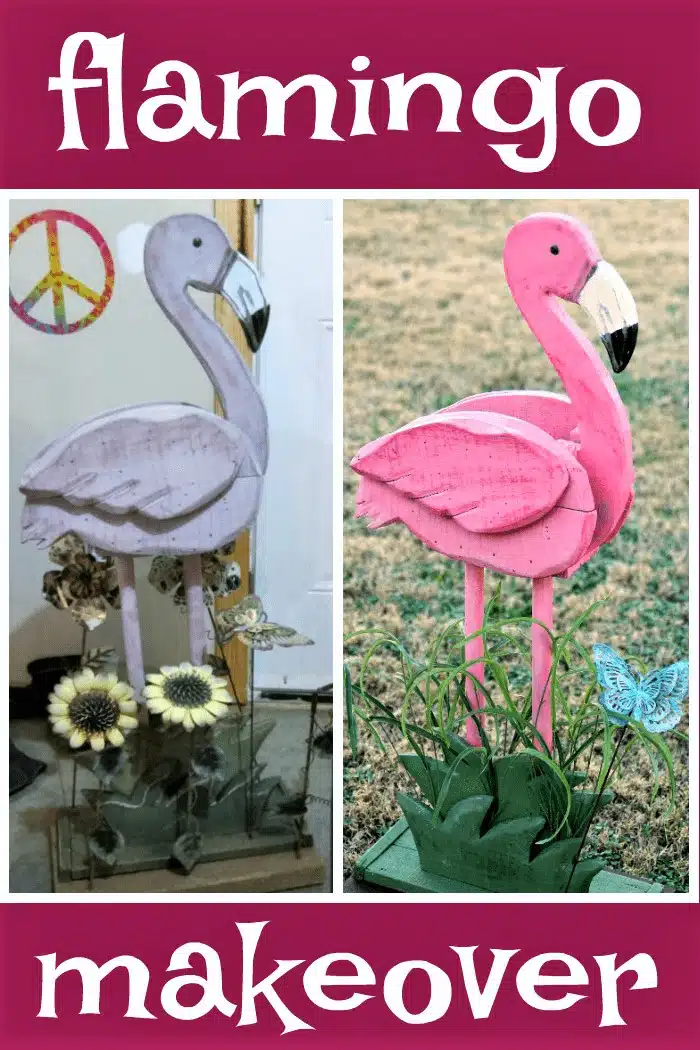
I found the cutest pink flamingo wood planter but it needed work, a lot of work. It was old and faded and just begged to be modernized. I spotted the pink flamingo planter online and knew I had to have it. I was also planning the makeover in my head. Bold paint and one simple addition took this cute flamingo to a whole ‘nother level.
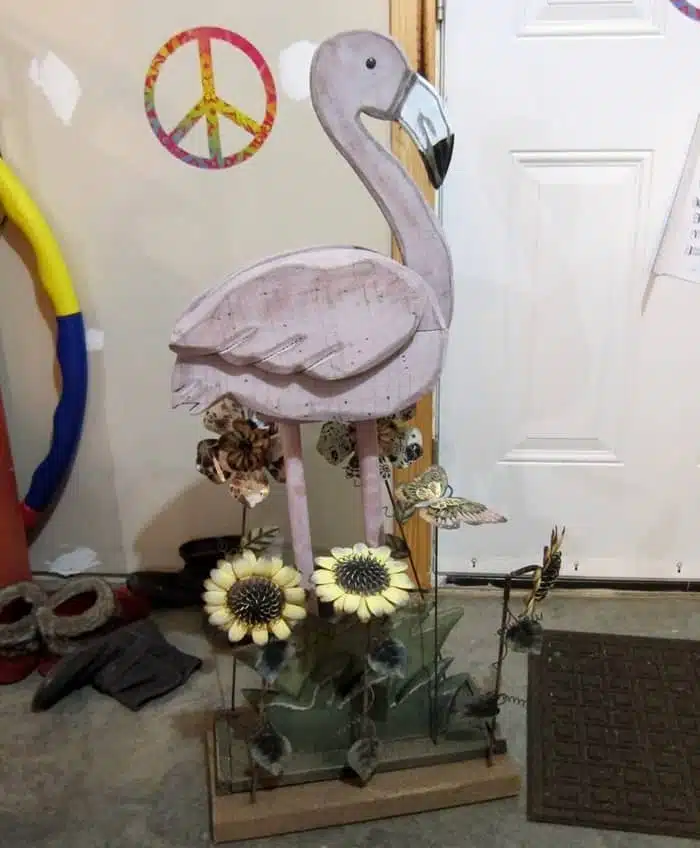
This flamingo was not bold and bright and I have to say the metal flowers were a bit tacky or trashy, whatever. Maybe tacky is not the right word or a very nice description. I would just say the flowers are not my style.
Well, I took care of that. Or I should say the JTS took care of that. I pulled out one of the metal flowers but couldn’t get the rest of them out of the stand. Too hard for me but not for hubby. I asked him to leave the metal butterfly.
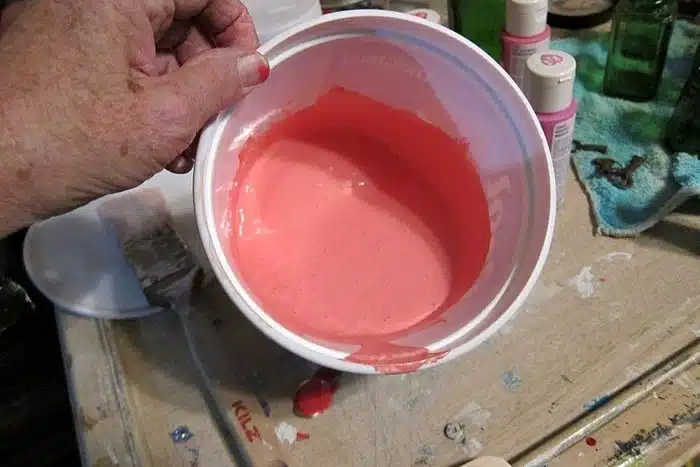
The next step was to paint the flamingo. I didn’t have the right paint color so I grabbed paints and started mixing. A pretty corally pink was the color I was going for.
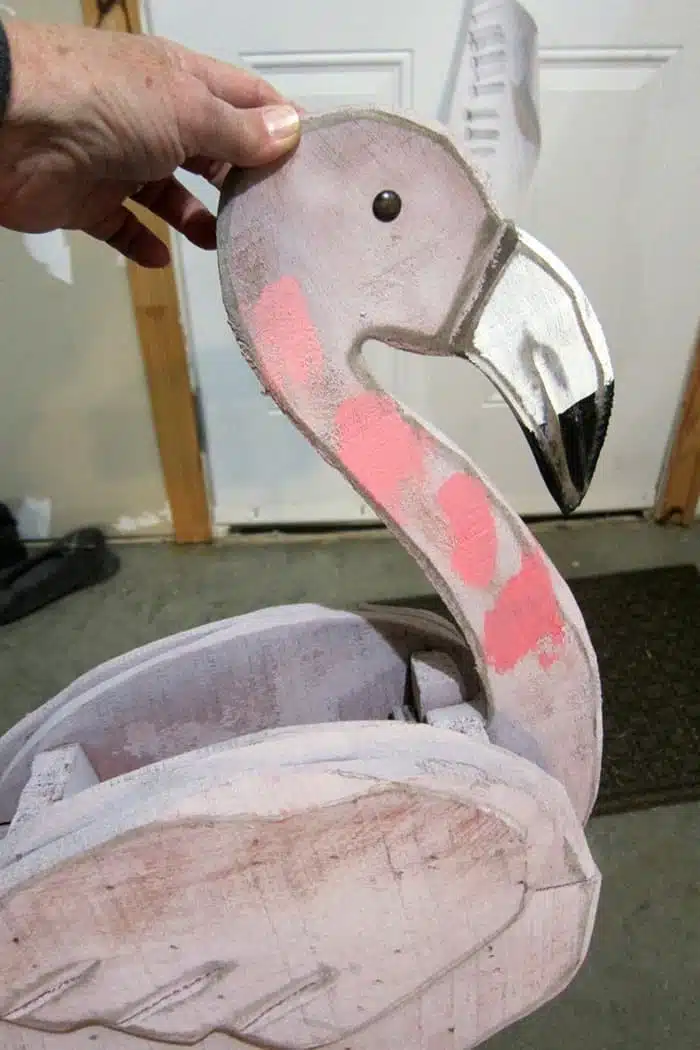
It took a few tries to get the color just right. I kept mixing the paint until it looked about right. The first color swatch on the neck of the flamingo was too light and the sample on the bottom is the color of the final mix. Don’t be afraid to mix paints to make your own custom colors. I try to use the paint I have before going out and buying more.
This is how the flamingo looked after one coat of the coral/pink paint. You can see it looks a little flat. After all, it is just one paint color, no shading, no distressing, to break up the solid color paint.
Adding Depth To Paint With Shading
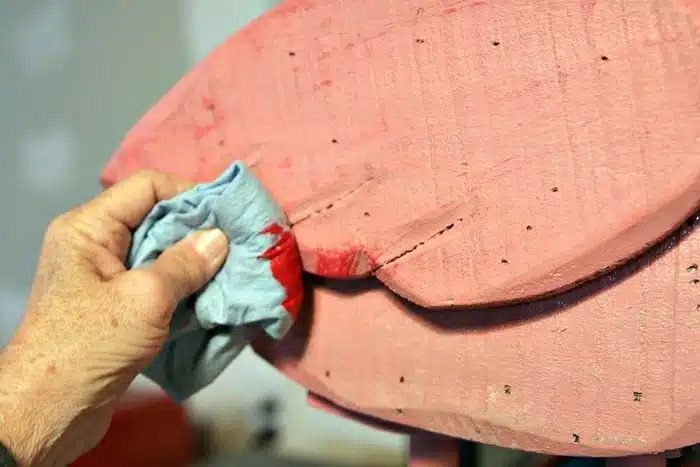
I grabbed a small bottle of red paint and started wiping it on the flamingo’s body with a paper shop towel. I rubbed and rubbed to blend the red in with the coral. On small areas of the lower half of the body, I wiped a flesh-colored paint for shading.
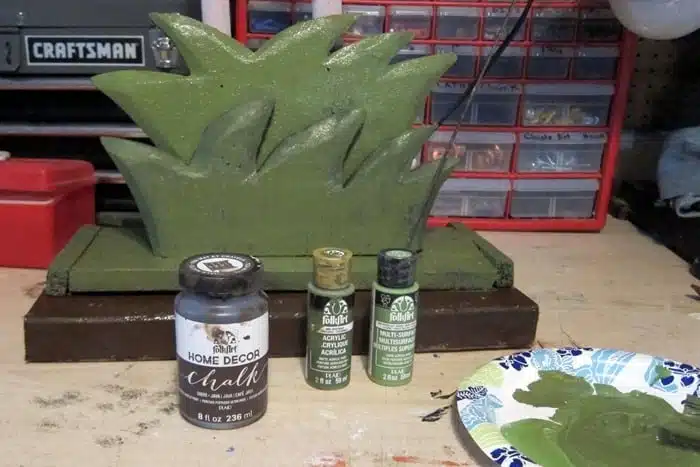
The base and the grass needed painting too. I mixed two green paint colors together to get the perfect green and did a bit of shading on the grass just as I did on the flamingo.
Now that flamingo looks a heck of a lot better. But it still needs something.
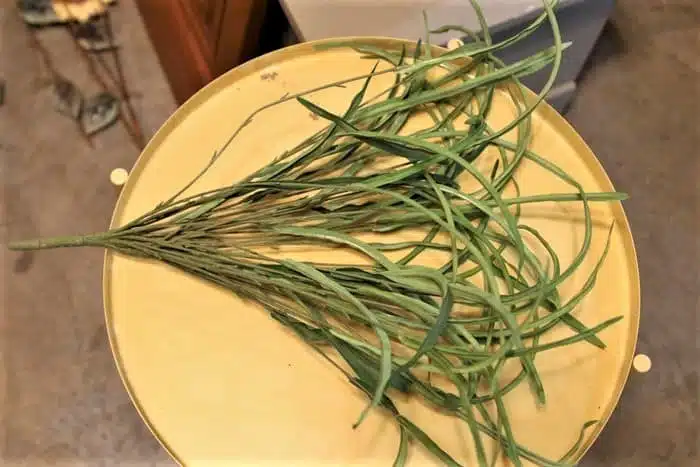
It needs…..artificial greenery. This bush has been around longer than my kids…..and they are grown and have kids of their own. Seriously, I don’t know how old this thing is.
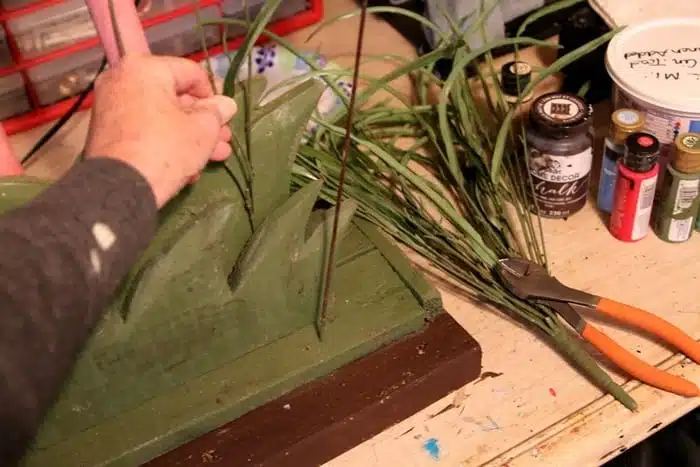
I cut pieces from the bush and stuck a few down into the crevasse between the two grass layers. There was just a bit of an opening, so I had to figure out how to add more grass.
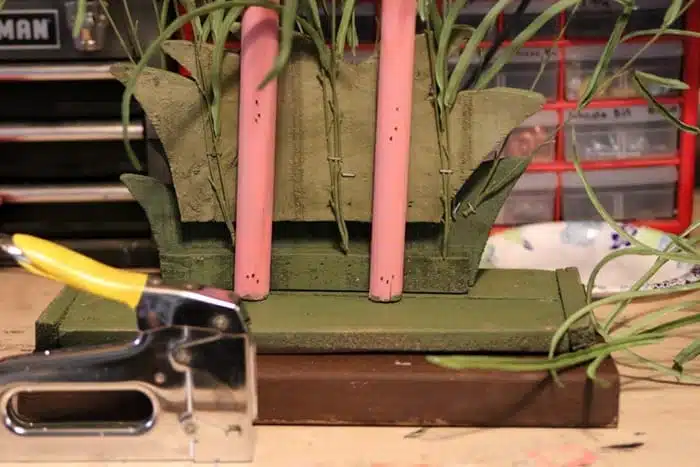
I turned the pink flamingo around to the backside and stapled the artificial grass to the wood grass (insert Kathy smiley face).
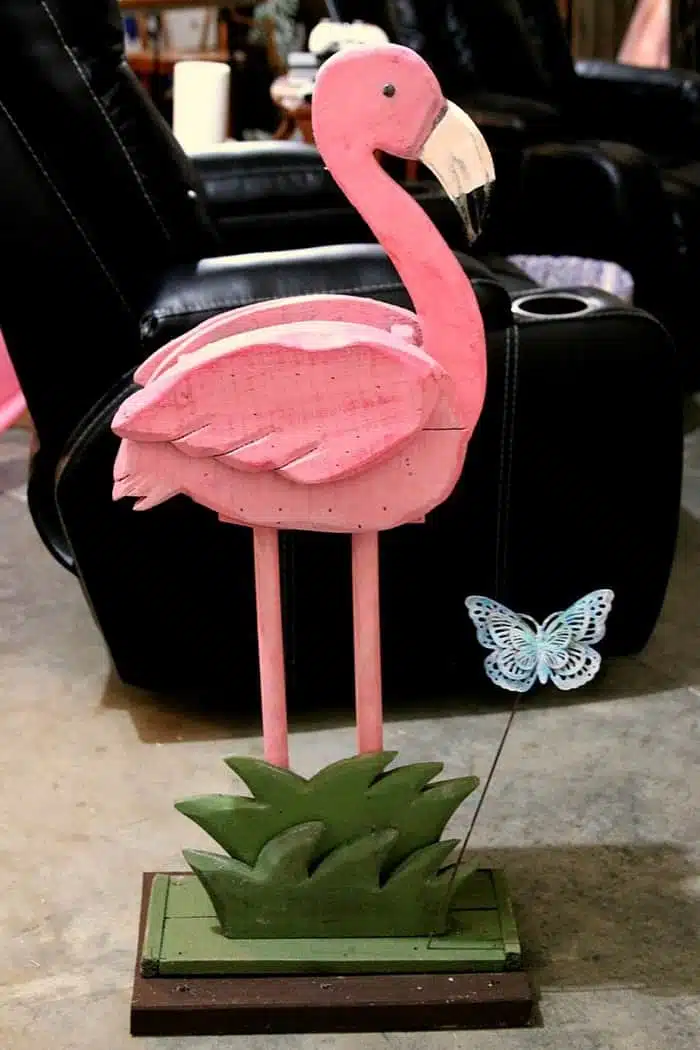
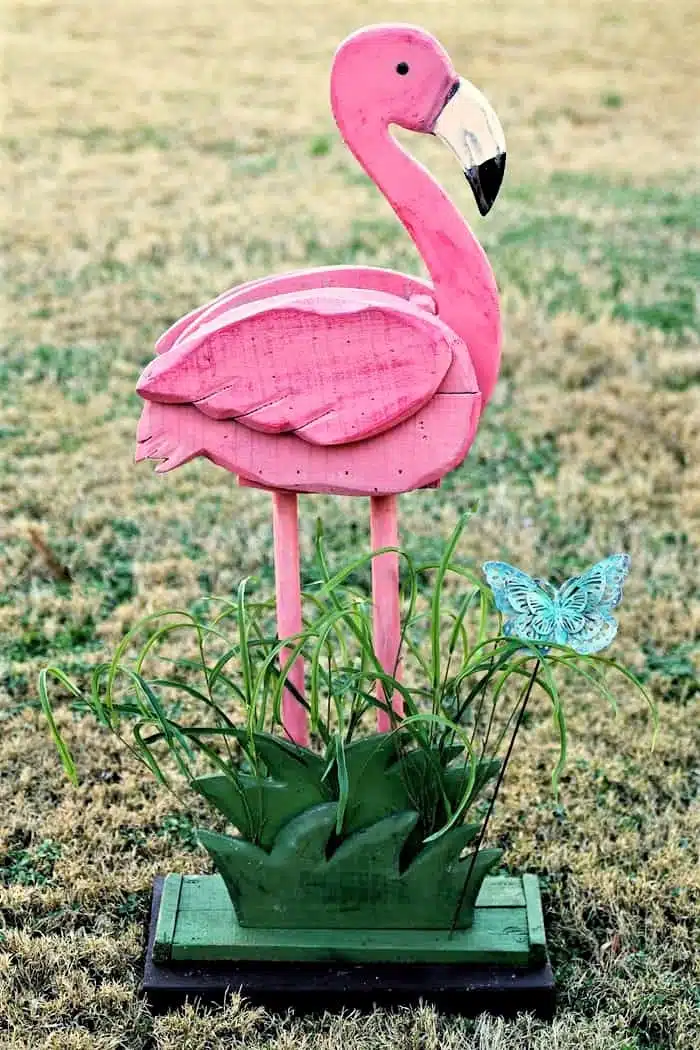
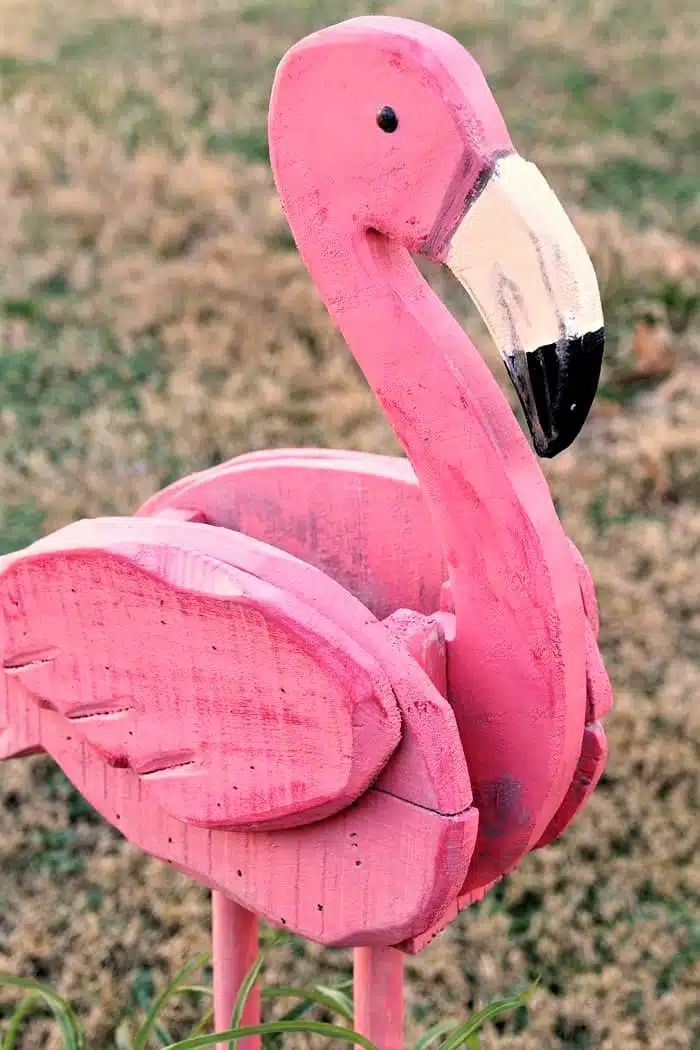
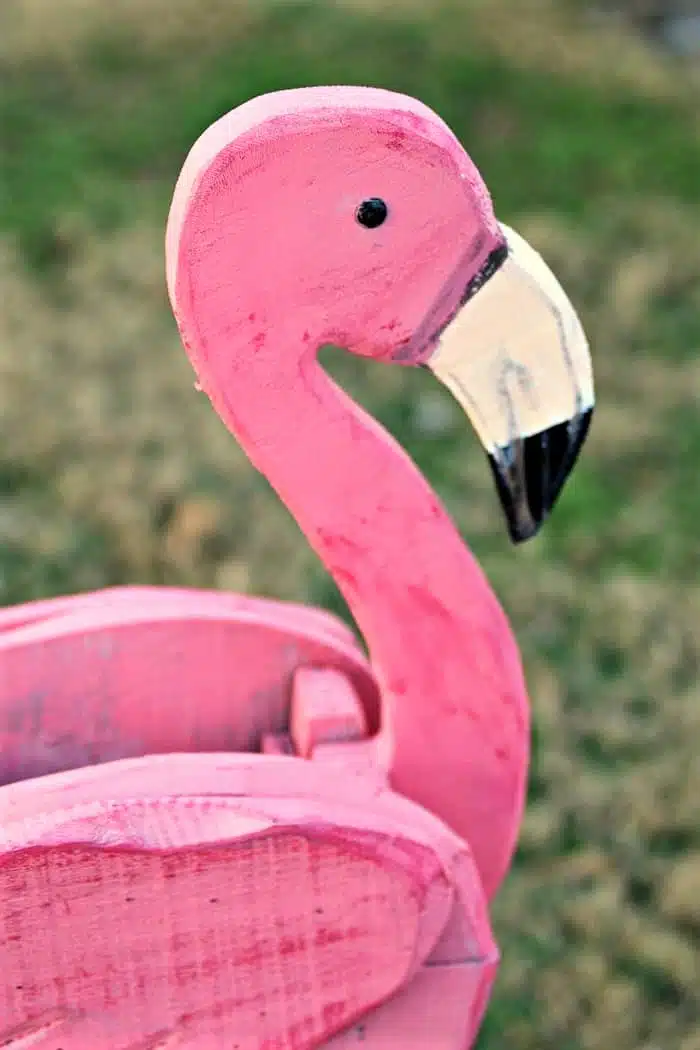
The top part of the beak was too white and I brushed a bit of soft flesh-colored paint over the white. The flamingo legsalso got just a bit of flesh-colored paint in some areas to provide a bit of contrast. I updated the butterfly by dry brushing it with two shades of blue paint and leaving some of the original glitter finish showing.
She’s a stunner now if I do say so myself. In a couple of weeks, I’ll be finding a pretty plant and moving the flamingo to the front porch.
You guys know I have a thing for pink flamingos. I always liked them and I was definitely hooked after our years in Florida. I don’t have any flamingo décor in the house now but when we lived in Florida, I sure did. Flamingo décor should be bold and bright or that’s my thinking anyway.
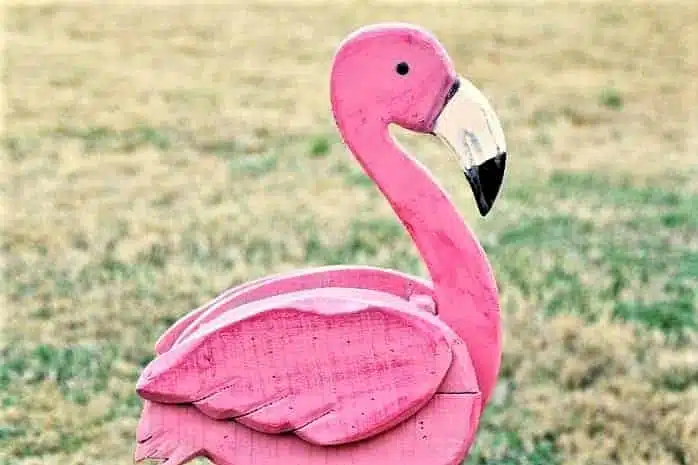
The flesh-colored beak looks a lot better than the glaring white. I didn’t touch up the black paint at all. And the gray-looking areas you see are the original distressed areas.
That’s a major difference huh? Do you think the flamingo looks better now? What’s your favorite part of the makeover? Leave a note because I read every single one. Thanks for being here, and have a great day, Kathy




She looks gorgeous!! I think the artificial grass just makes her look like she is standing in water!! Loved everything about her!
me too
Thanks Kathy – she really made me smile!
Thank you Angela!
I have a metal pink flamingo that sits by my little fish pond. and I have not touched ‘her’ up in a few years BUT….gonna do it this weekend!!! again, thanks for the inspiration. yours looks great and not so tacky!!! thanks!!!
Angela (from NJ)
I love flamingos!! I have my travel trailer decorated with them. They just make me smile!
I love the coral pink color. She looks beautiful!
This turned out so cute! 💕 Waaaayy better now! 😃
Now that Flamingo looks like it should. The color you mixed is perfect. I like Flamingos too but I have controlled myself in not buying everyone I see. Which isn’t easy living in SWFL😊
That’s much improved! Where will you perch him/her?