Make A Coastal Christmas Tree Sign With Wood And Beads
As an Amazon Associate, I earn from qualifying purchases.
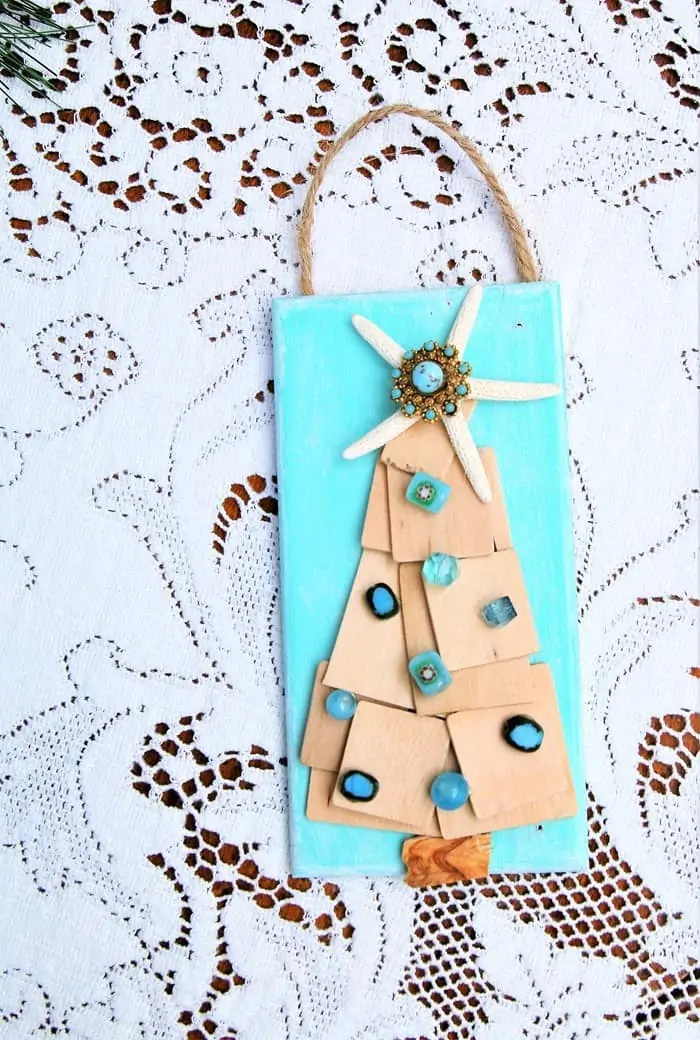
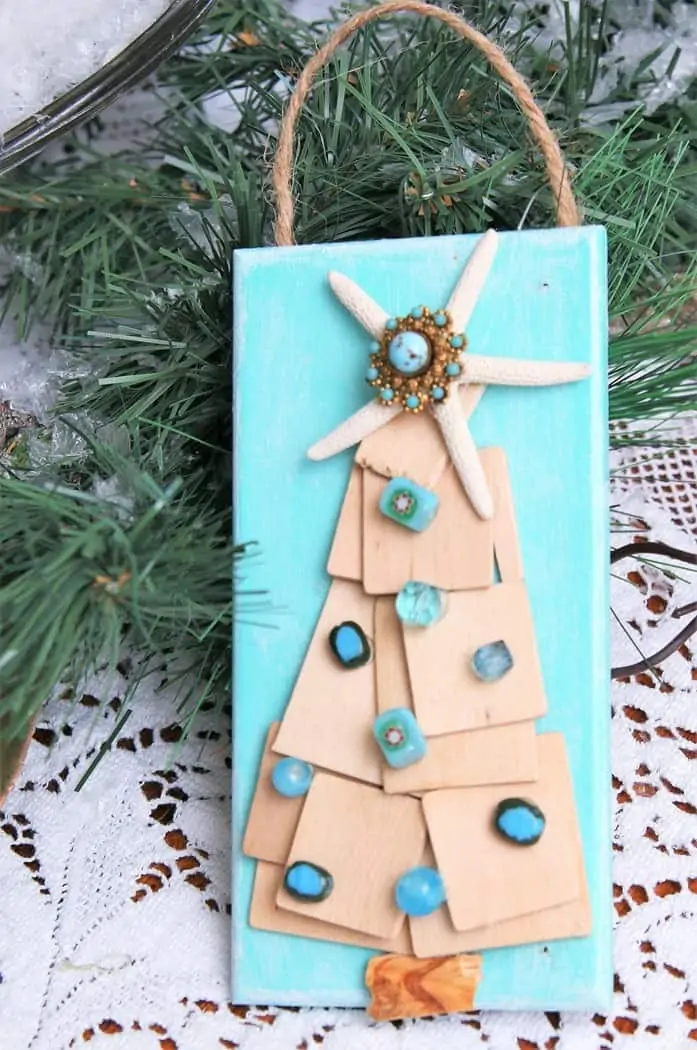
It’s easy to make Christmas tree wall decor using reclaimed items and a bit of new stuff. This is a coastal Christmas tree and I used some of my junk jewelry as ornaments on the tiny tree.
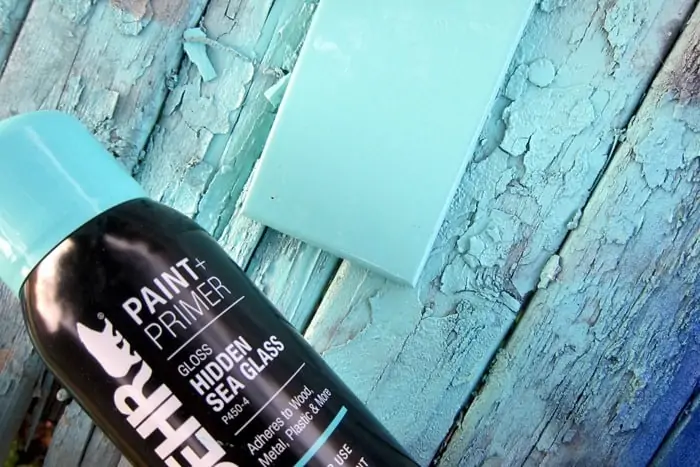
I started the project with a small unfinished board that was actually part of a craft kit I’ve had forever. The spray paint is by Behr, and the color is Hidden Sea Glass. The color definitely looks beachy to me.
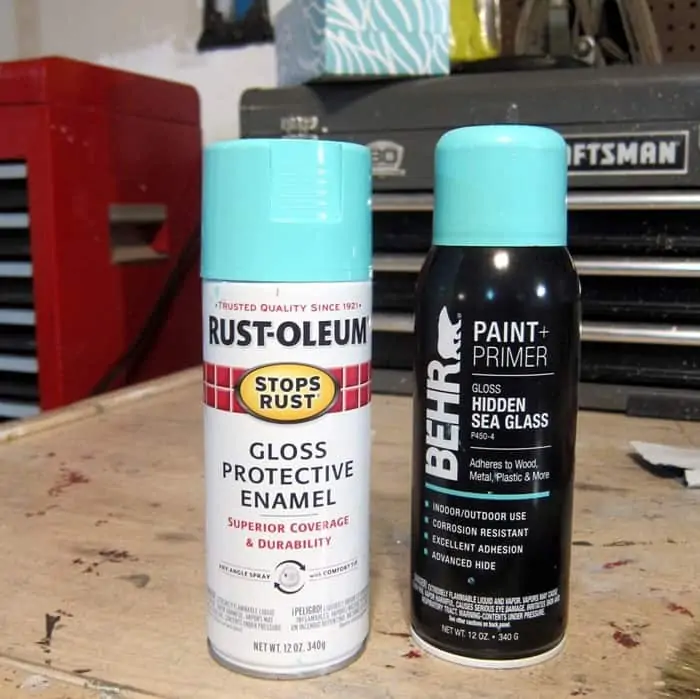
I was painting several pieces at once and I didn’t know if one can of spray paint would be enough so I found the Rust-Oleum turquoise color on my paint shelf. Guess what? The colors are identical. I sprayed the Rust-Oleum turquoise over the Behr paint on one piece, and it blended perfectly. It must be the very same formula, only a different brand name and color name—just an FYI.
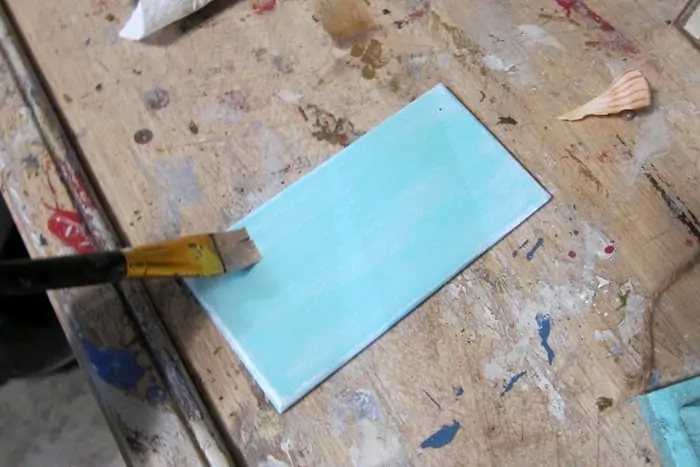
Just to really add to the coastal look I dry-brushed a bit of white paint over the turquoise.
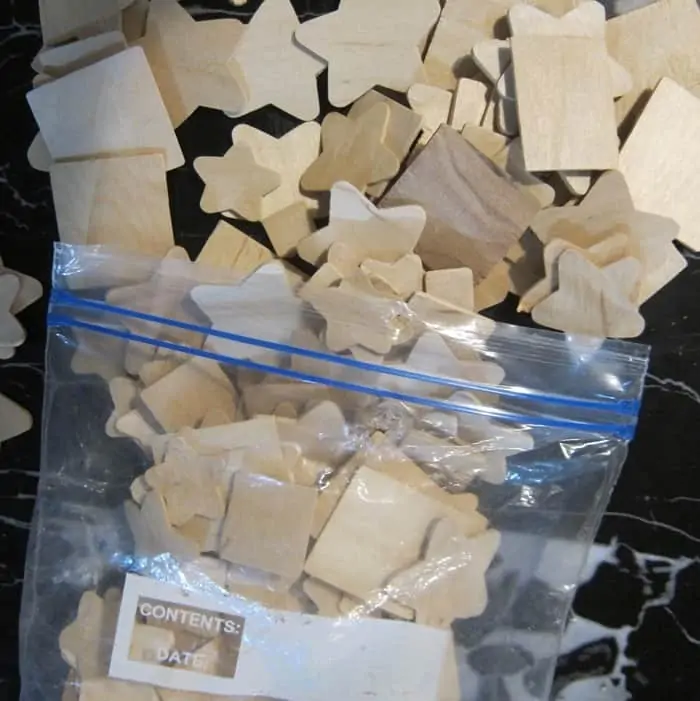
I had a wood tree in mind and found this bag of unfinished stars and square wood pieces in various sizes. I used these in previous projects like my Quilt Christmas Tree Banner.
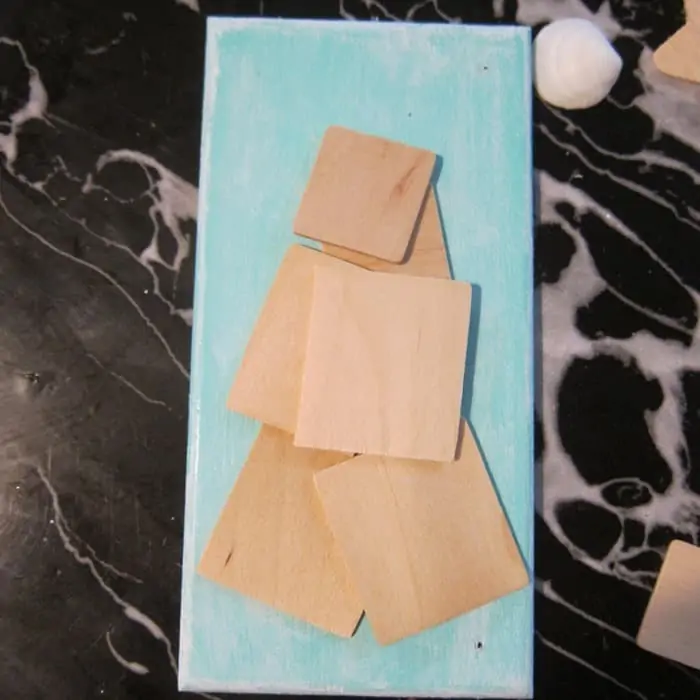
I started with a simple design using a minimum of the wood squares to make a tree shape.
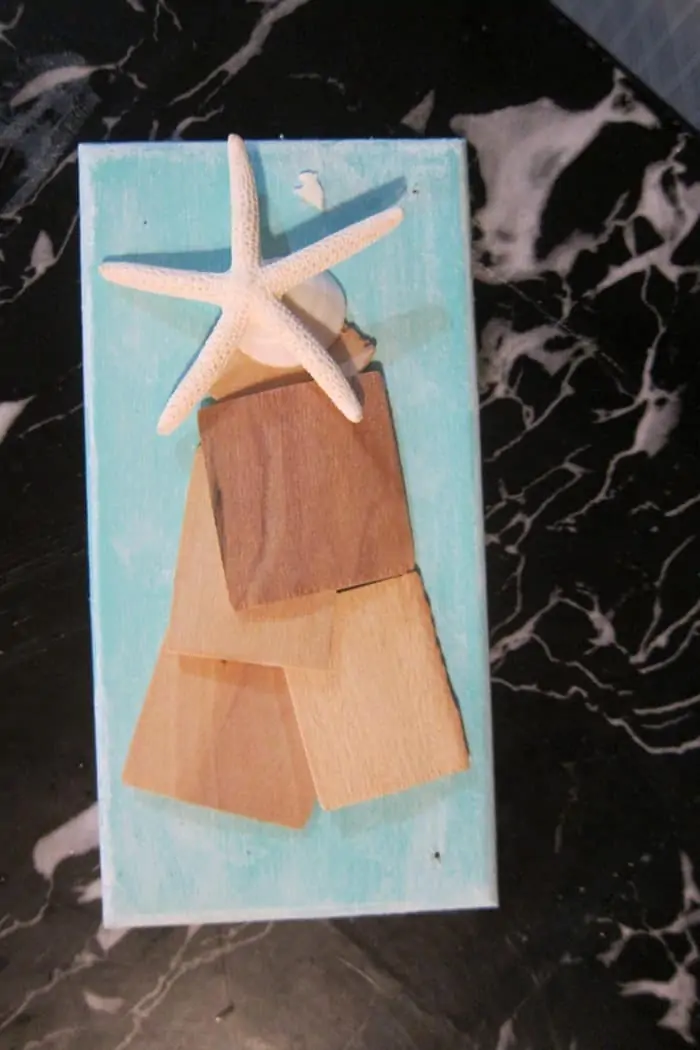
I changed up the wood squares a bit and laid the starfish topper over the top piece to see how it would look. The tree just didn’t feel right so I kept working.
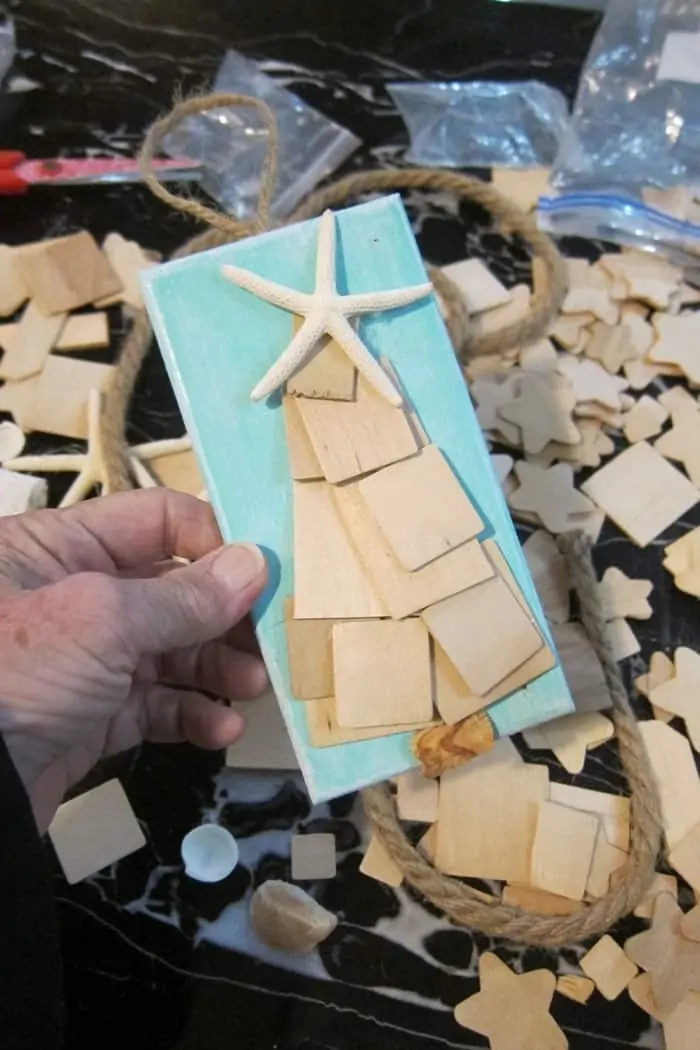
Next, I layered a bunch of wood squares to make the tree shape. I admit I had to play with it for a while before I was satisfied with the way the tree looked. Once I was happy with the layout, I hot glued everything in place.
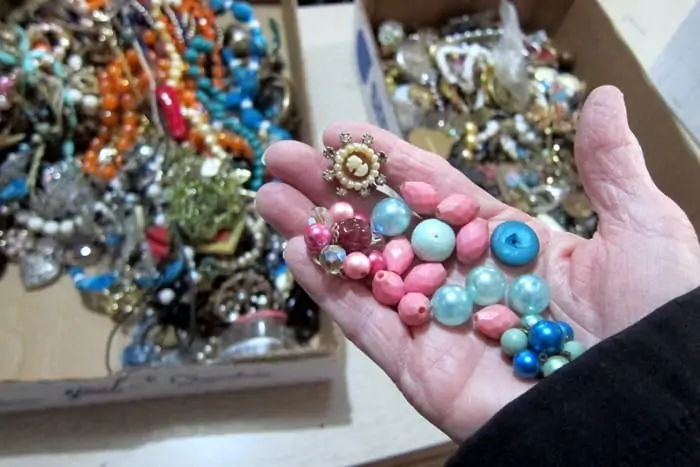
My first plan was to just make the wood tree and add the starfish topper. Keep it simple. My next thought was to add small beads as ornaments. I went through my large junk jewelry stash and pulled out a few pink and blue beads and small earrings.
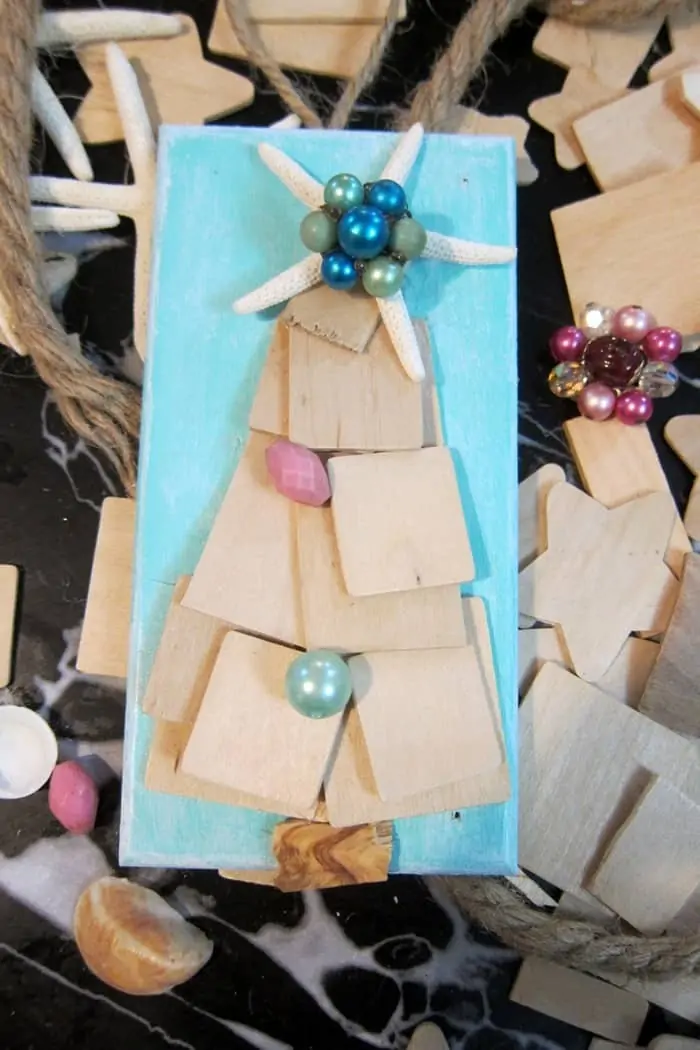
I laid a couple of the beads on the tree and then tried a vintage earring in blue for the tree topper.
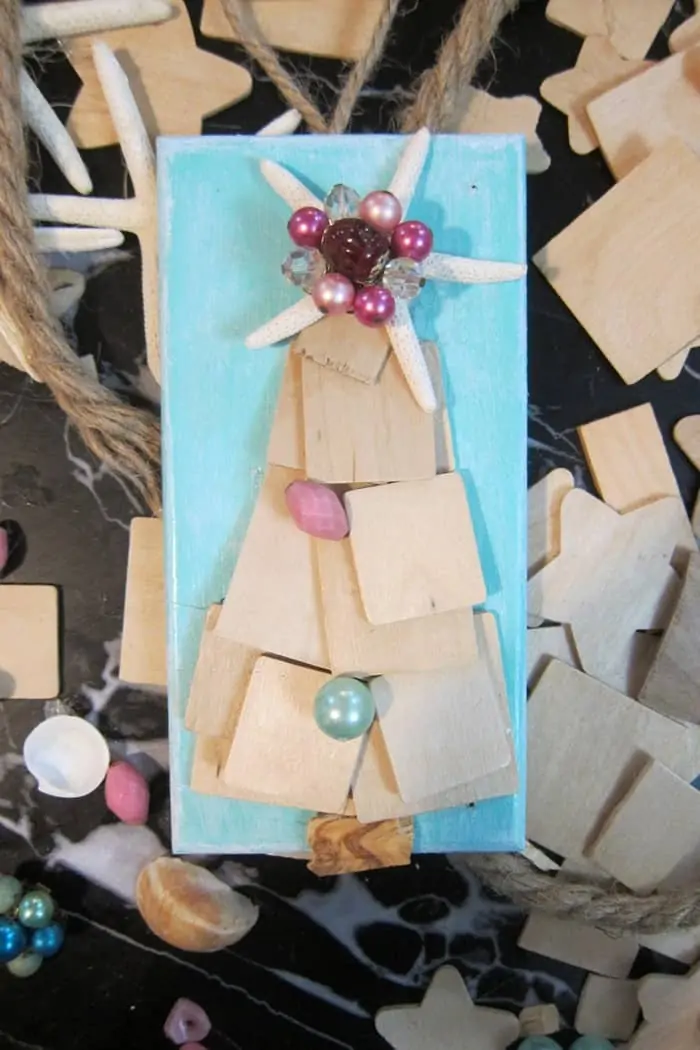
Then I tried a pink vintage earring for the topper. At this point, I was not feeling the blue and pink bead combo.
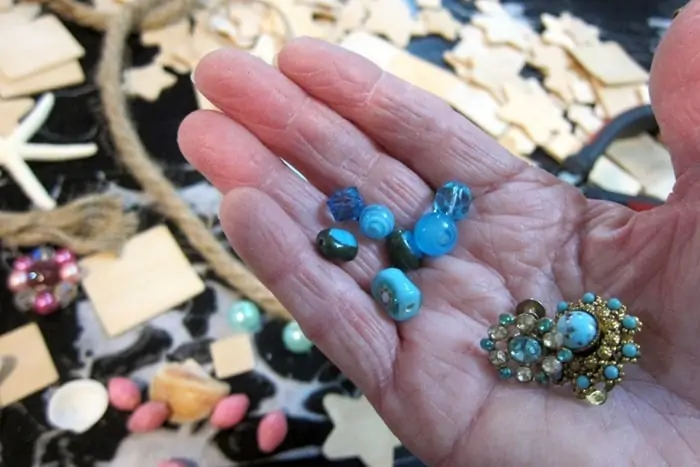
I went back through the jewelry and pulled out more blue beads, both dark and light and also a couple more earring pieces.
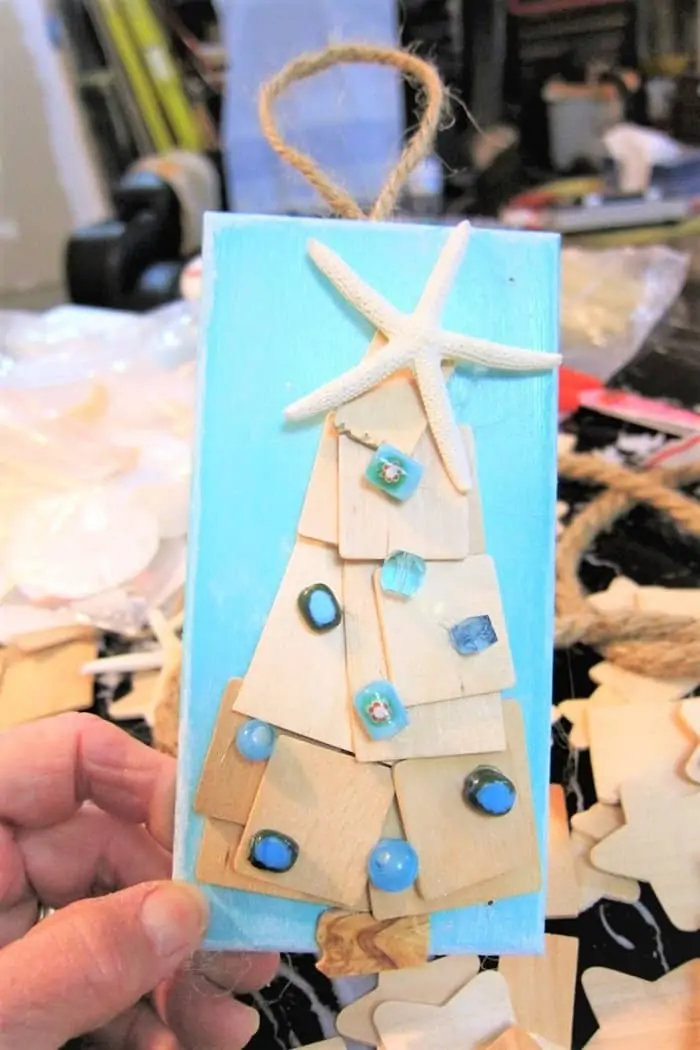
This look was much better, with the beads being the same color. I hot glued the beads in place then hot glued a twine hanger to the back.
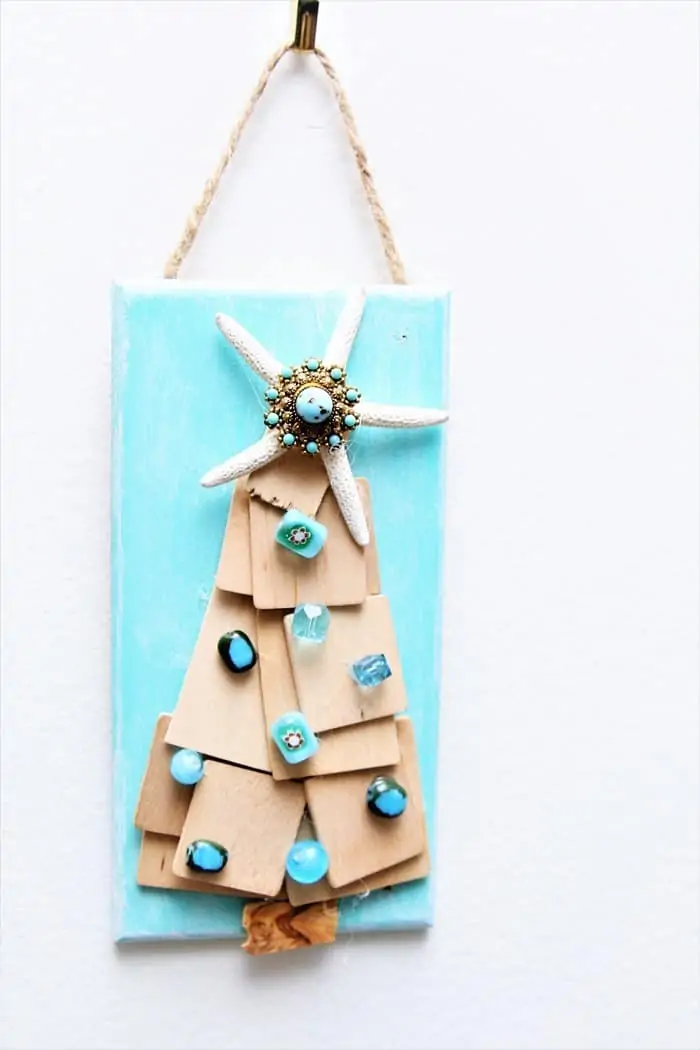
The last piece to go on the tree was the earring hot glued over the starfish. I didn’t really like the way the hanger looked so I changed it just a bit. Instead of a loop glued to the center back I hot glued the twine to each side of the board in the back. A minor thing but I like this look better.
Could just be me but I think the tree is the cutest thing ever. The white washed turquoise board with the unfinished wood pieces and the blue beads go together like peanut butter and chocolate.
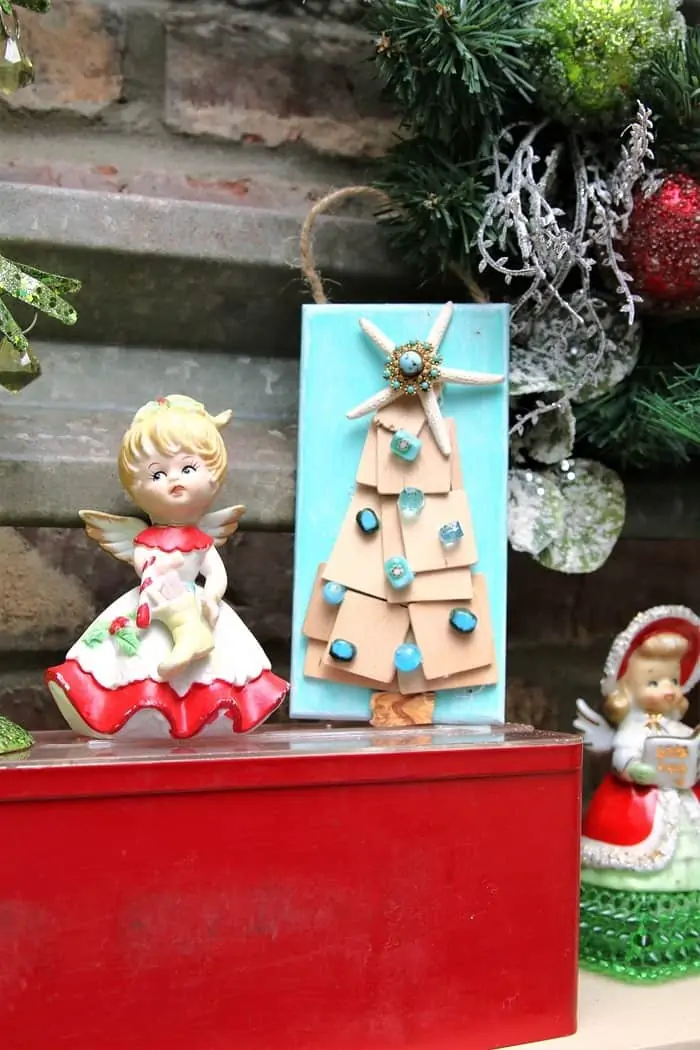
I moved the coastal tree all over the house. My house is not coastal but I don’t care. In the photo above the tree is sitting on the mantel. I hope to share all of my Christmas decorations sometime in the next few days. I just got the front porch decorated yesterday. I have to say it looks pretty good.
That’s it for me. Please let me know what you think of the Coastal Style Tree.
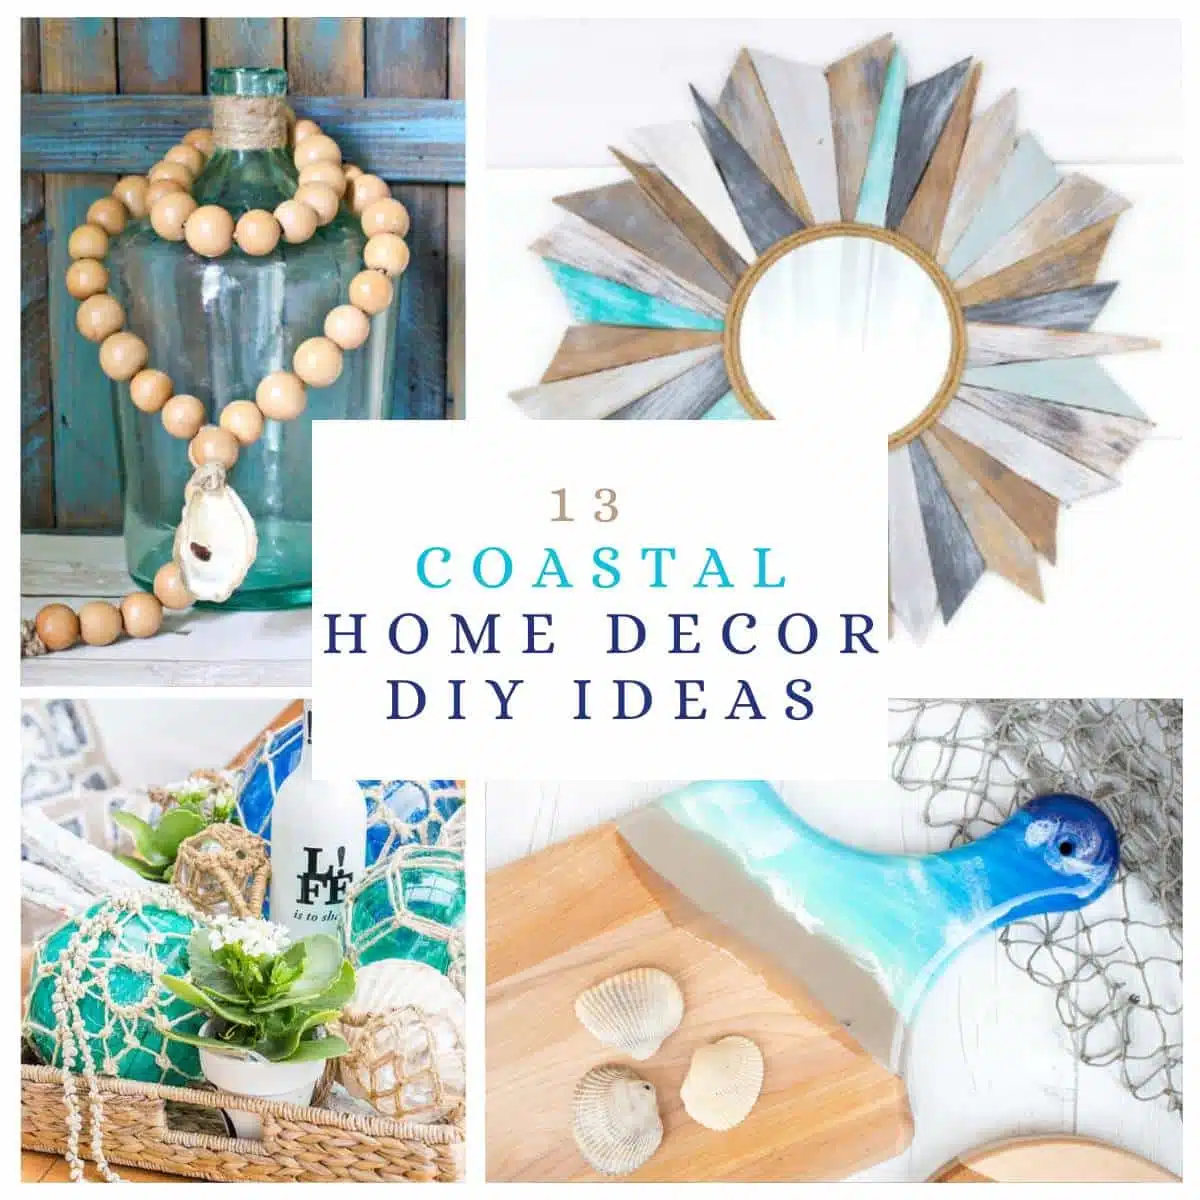
Find more coastal style decor her….13 DIY Coastal Style Decorating Ideas For Beach Lovers
Thanks for being here, Kathy

Love the tree and the colors!
Thank you!
Love the coastal tree w & w/o the bling!
Love the tree, an the turquoise color!
I love these craft ideas.
I have a coastal decorated home and this adorable tree would be perfect!
Thank you Kathy!
Very cute! I love the turquoise color.