How To Paint Pour Or Dirty Pour Acrylic Paint On A Clay Pot
As an Amazon Associate, I earn from qualifying purchases.
This paint pour technique requires no harsh chemicals like some do. You can use multiple colors and different color combos to make each project piece unique. I marbled a terra cotta or clay pot using this paint pour or dirty pour technique. This is one of those projects where a video is the best tutorial and I made one showing the whole process. I break the marbling technique down step-by-step in this post but there is nothing like seeing the paint pour in action.
Most of the faux marbling techniques start with acrylic paint and you add one or more chemicals to the paint. That’s a little scary for me. The FolkArt® Marbling Paint doesn’t have to be mixed with any chemicals. The mixing has already been done and the paint is non toxic. You simply pour on the specially-formulated acrylic paint and watch the magic happen.

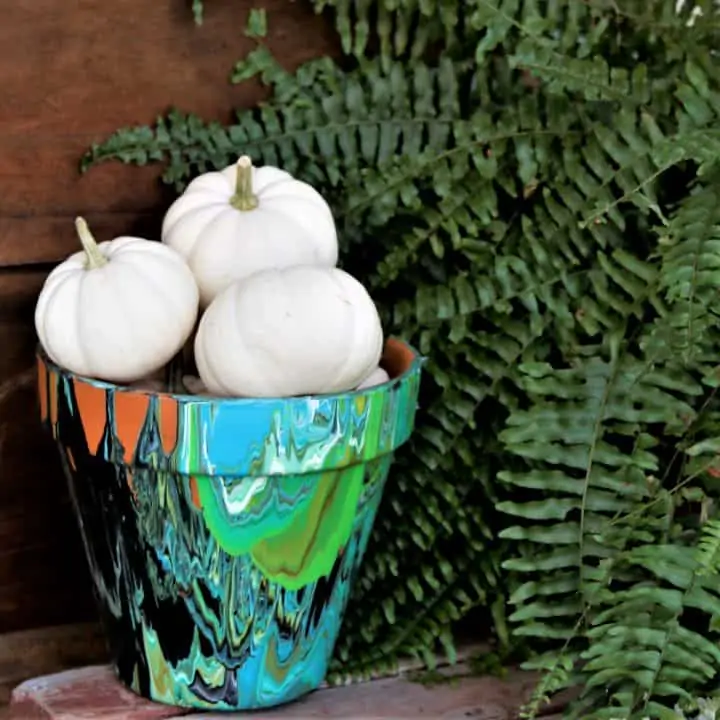
Are you smiling too? I thought so. The colors I selected for the pot works for all seasons and holidays. Since it’s Fall now (yay for cooler weather) I used the pot to showcase mums.

Because of the pouring technique I used and the color selection, the “marbling” looks different on all sides of the pot. You guys know how I love bold colors and the drab terra cotta pot never stood a chance.

How To Paint Pour Acrylic Paint On A Clay Pot
1. Select several FolkArt Marbling Paint colors for your pour.
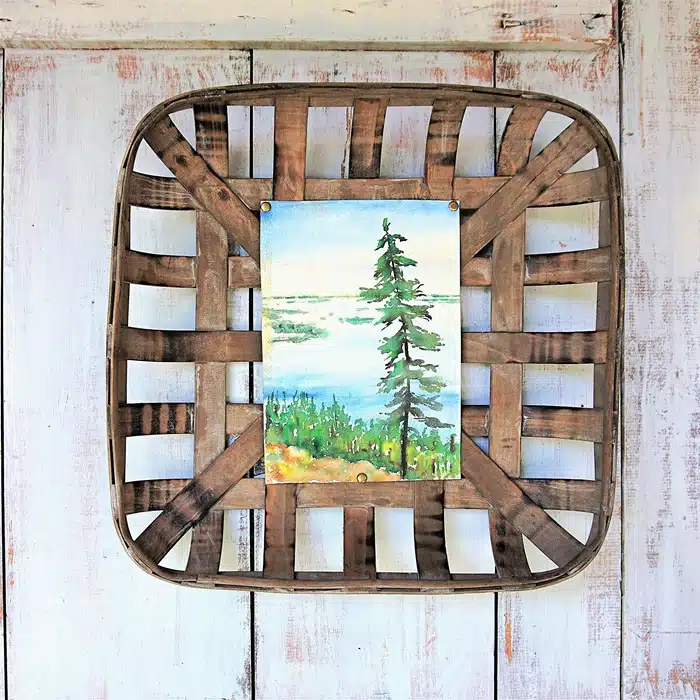
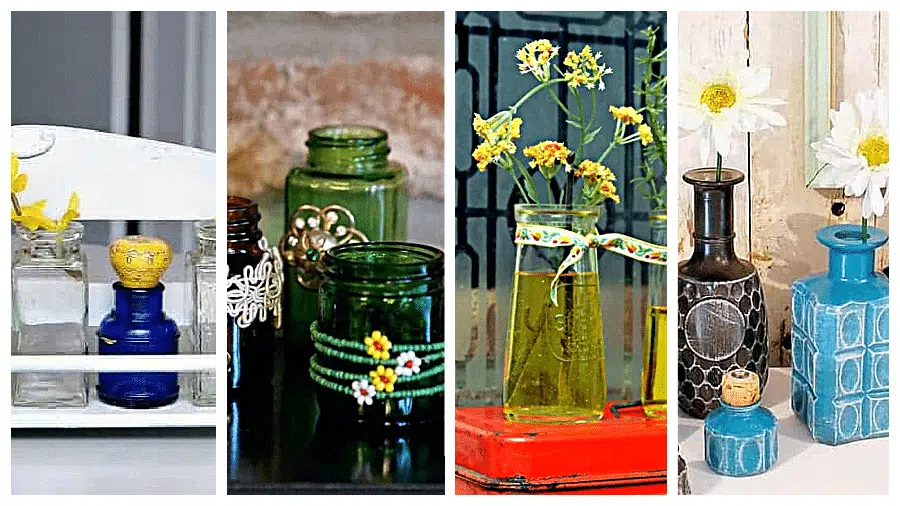
It’s best if you have 4 or more colors. I choose 5 paint colors one of them being white. It’s good to always have white in the mix. You get a totally different look without the white. The photo below shows 9 marbling projects by 9 bloggers.

This marbled project display gives you an idea how much the marbling can vary. There are an endless number of paint combinations and designs. My project is the middle one on the bottom row. The other elements in the projects are geode crystals and Glitterific paint.
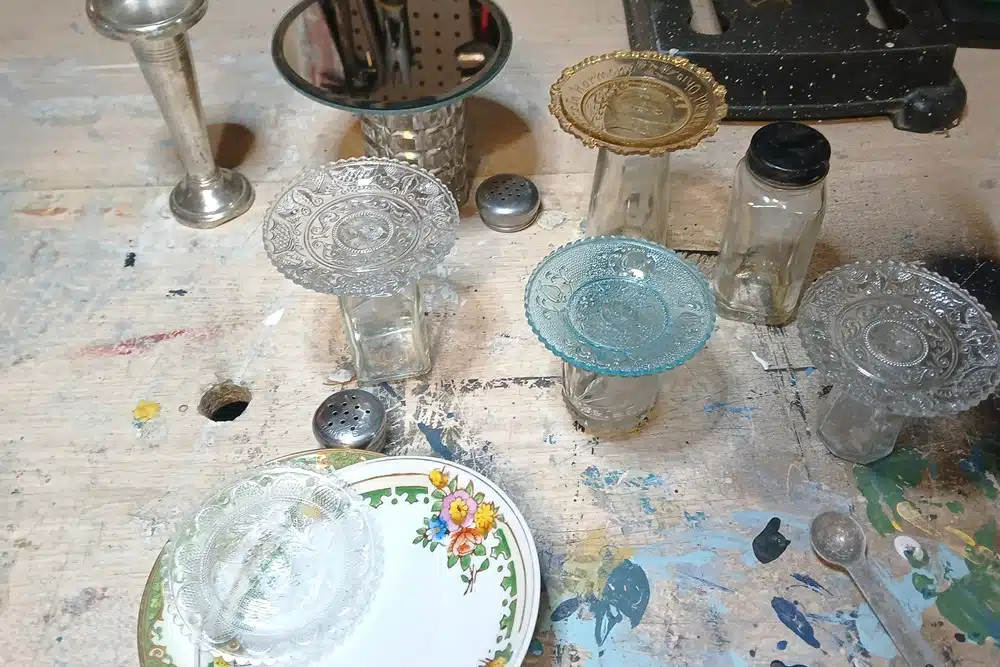
2. Set your paint pour project on a can, plastic paint pyramid, or something similar, to lift it off of the table surface.
The paints will need to drain off of the project and not pool around it. I turned the terra cotta pot upside down and set it over two stacked pint size paint cans. I also set everything inside a parchment lined cardboard box.
3. Pour the paints one by one into a plastic or paper cup.
Swirl them a little or use a popsicle stick ( or something similar) and stir just slightly. I didn’t really stir my paint I used the popsicle stick and basically just drew an x through the paints.
4. Pour the paint over your project.
I didn’t mix up enough paint the first time and had to do a second cup. Keep that in mind for your project. I just went around the pot pouring the paint. My pot isn’t completely covered on one side but that’s the way I wanted it. Once I was finished with the pour I let the paint drip off the rim until I couldn’t see any more drips then I ran my popsicle stick around the top of the rim to remove any excess paint.

5. Let the paint dry for 24 to 48 hours then seal.
Use FolkArt Acrylic Lacquers (Matte, Satin, or Gloss Finishes) or with FolkArt Artists’ Varnish (Satin or Gloss). I sealed my marbled pot with one coat each of Mod Podge Outdoor and Mod Podge Gloss.
 I guess it would be good to explain why you can’t use just any paint for the pour method. Most paints when poured together will mix with each other instead of staying separate. The FolkArt Marbling Paint (find it here on Amazon) is a fluid, medium-body paint that allows the colors to run separately and flow smoothly over a surface without over mixing or becoming muddy. Awesome.
Watch my video to see exactly how the paint pour works….
[adthrive-in-post-video-player video-id=”oCyTU8lj” upload-date=”2018-09-24T02:29:27.000Z” name=”How To Paint Pour For Marbled Look” description=”How to faux marble home decor.”]
How To Paint Pour Video Tutorial

The following information about paint pouring is from the FolkArt Marbling Faq sheet……..
Direct Pour Method: Using two or more colors, simply squeeze the paint onto the surface. Paints can be poured in puddles, swirled into designs or even striped in straight lines. Once the colors have been applied to the surface so that most of the top surface area is covered, lift the surface and tilt it slightly allowing the paints to flow or run into one another. Change the tilt pattern continually to allow paint to flow in all directions. Additional swirling effects can be added with a toothpick, wood skewer, or point of a stylus.
Dirty Pour Method: Working one color at a time, pour several colors into a plastic cup. Paints can be added in any desired color order and amount. Once enough paint to cover the project surface has been added to the cup, insert a craft stick or wood skewer into the cup and give the paint one quick stir. Simply pour the cupful of paint over the surface. Then lift the surface and tilt it slightly allowing the paints to flow or run over the surface and mingle with one another.

How To Paint Pour The Easy Way
That’s it. What do you think of the marbling craze? Are you ready to try this technique? What do you think of my mum pot? Did you watch the video? Leave a note for me please. If you like bold colors and 30 minute projects you will love this one…..Confetti Coasters.
As always thanks for being here and have a great day, Kathy
Disclosure: This post is sponsored by Plaid Crafts as part of the Plaid Creators program. All words, project ideas, and opinions are 100% my own.
I would love to see a photo of that bottle Naomi. What a nice keepsake from your grandmother.
This looks like a lot of fun to do, Kathy. It is actually a very old technique. I have a little bottle that belonged to my grandmother that was dip-painted. I believe she did it herself but am not certain. But I’m pretty sure that back then the paints used were oil-based which would make it quite a bit messier to clean up. I don’t think water-based paints were available at the time or not widely anyway. Anyway, it’s a pretty cool technique which I’d like to try.
This looks like the best fun ever!
Beautiful! Where did you find the Folk Art Marble Paint? I can’t find it online. Thanks!
Wow, I didn’t know about that. Will have to give it a try. Thanks
Nice!! You Can do this with nail polish as well. There are many videos on this. You drip polish into water and dip the object into polish and rotate. The polish adheres instantly and dries. If you make a mistake or don’t like results you use polish remover and start again. Can also do with spray paint in the water. It’s very cool!
Wow!! I love it!! I’ll be trying this soon.
I love this!! Need to add it to my projects pile