Painted Metal Caddy Is Handy For Just About Anything
As an Amazon Associate, I earn from qualifying purchases.
Painted Metal Caddy Or Anything Tote
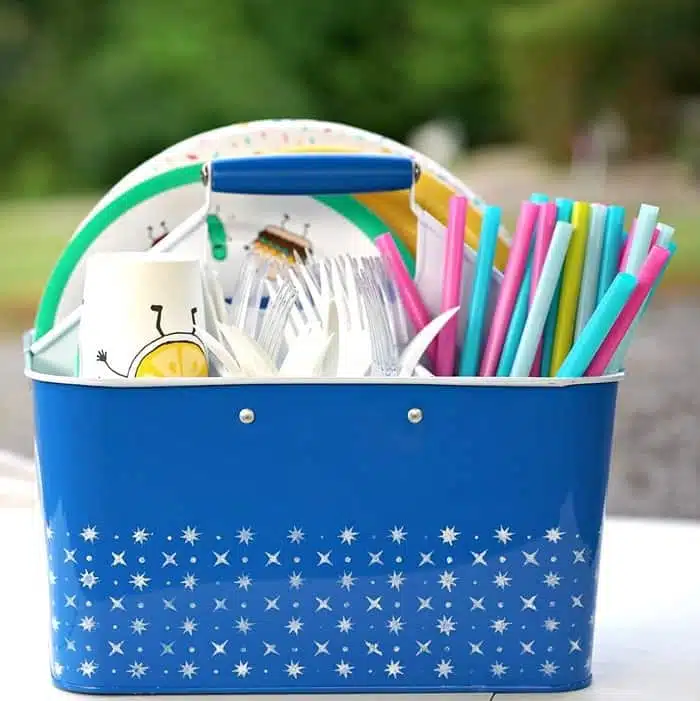
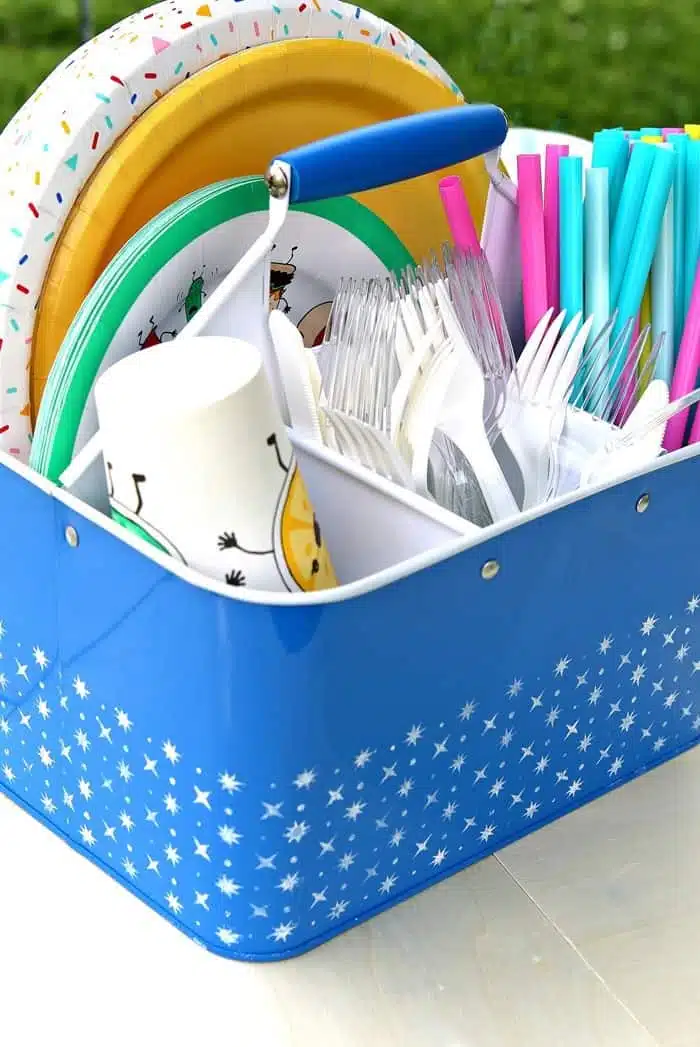
My newly painted metal caddy is the perfect storage/organizer for just about anything. I stenciled a pretty design on the blue and white caddy that compliments it perfectly. Did you know you can paint metal? You can, and I have the paint details for you.
Painted Metal Caddy
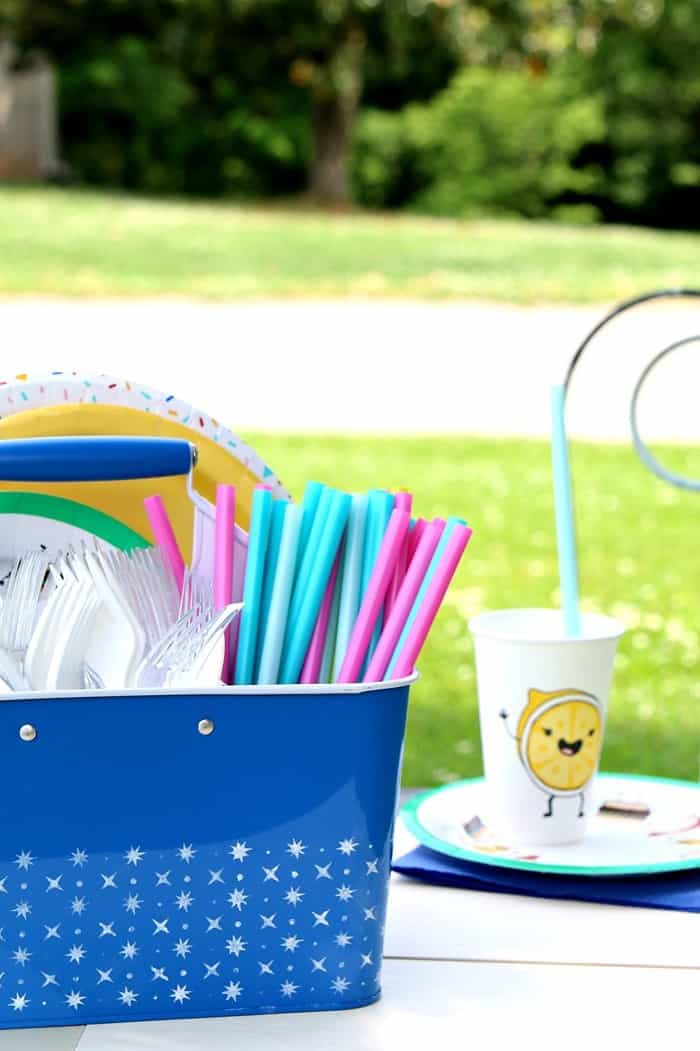
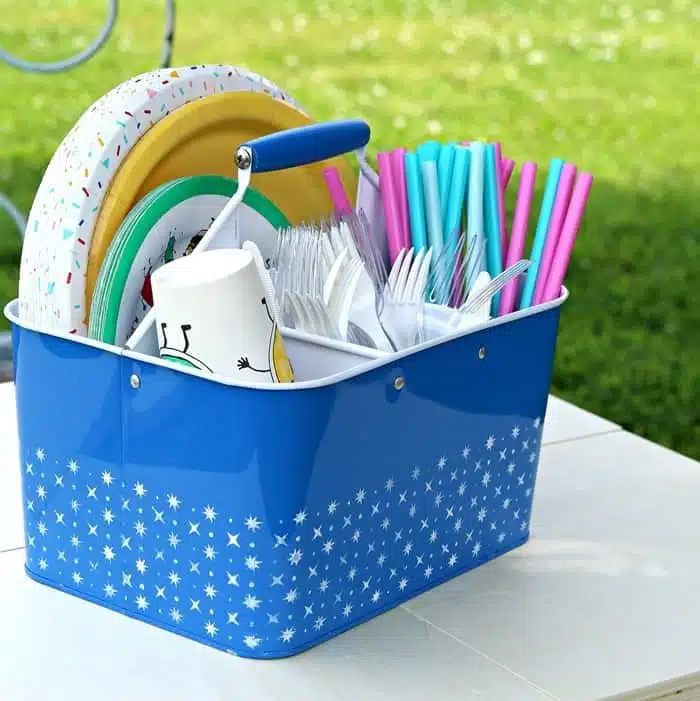
You can and it’s easy. I stenciled this caddy with acrylic paint and now It’s almost too pretty to use. Since it’s Summer picnic/party time I filled it up with paper plates, plastic ware, straws, and cups. It would also be the perfect keeper for coloring books (adult or kids), notepads, crayons, and pens. It could be used for keeping household tools or cleaning supplies corralled…….or for whatever. You tell me what you would use it for.
The caddy was pretty as is but it needed a little something. The blue and white color combination is hard to improve upon so I decided just to pump it up with a simple design in white.
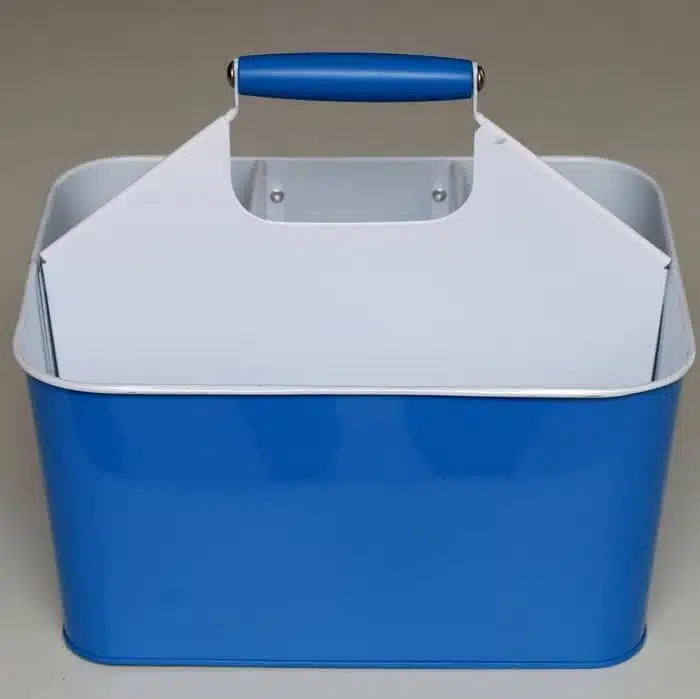
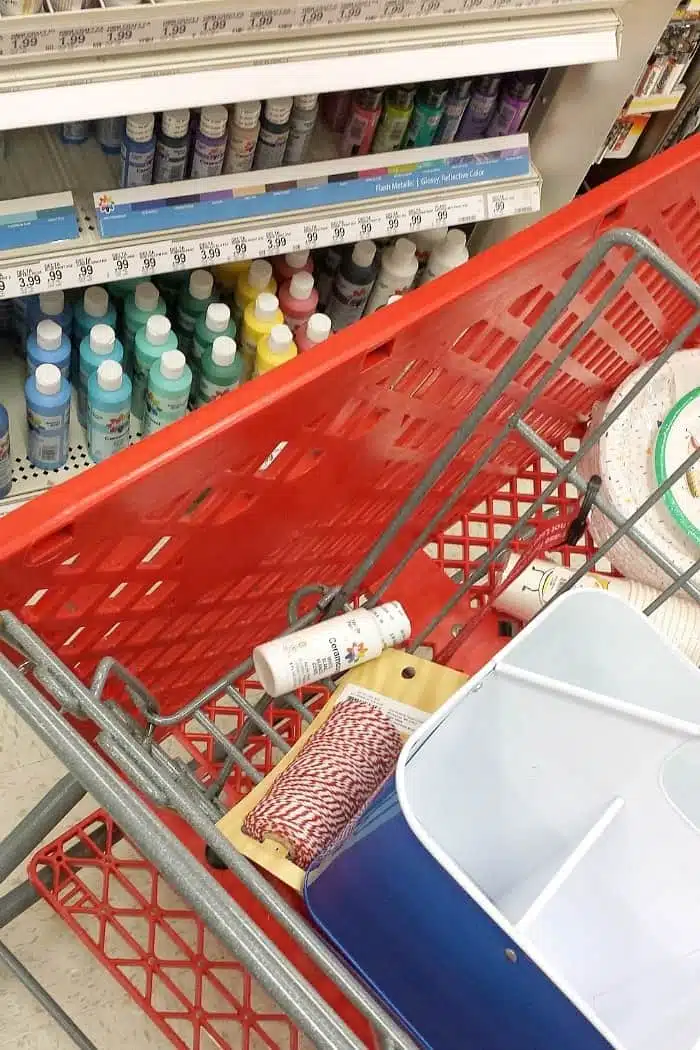
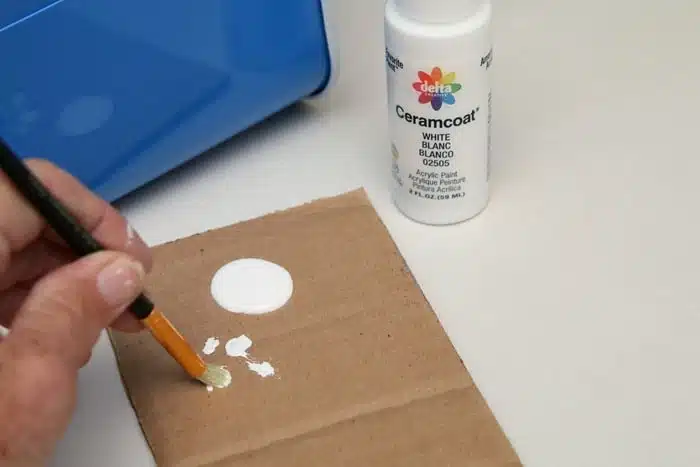
I bought the caddy and a bottle of White Delta Ceramcoat® Acrylic Paint at Target. I had a stencil at home that was perfect for the project and I knew I could use the acrylic paint on metal.
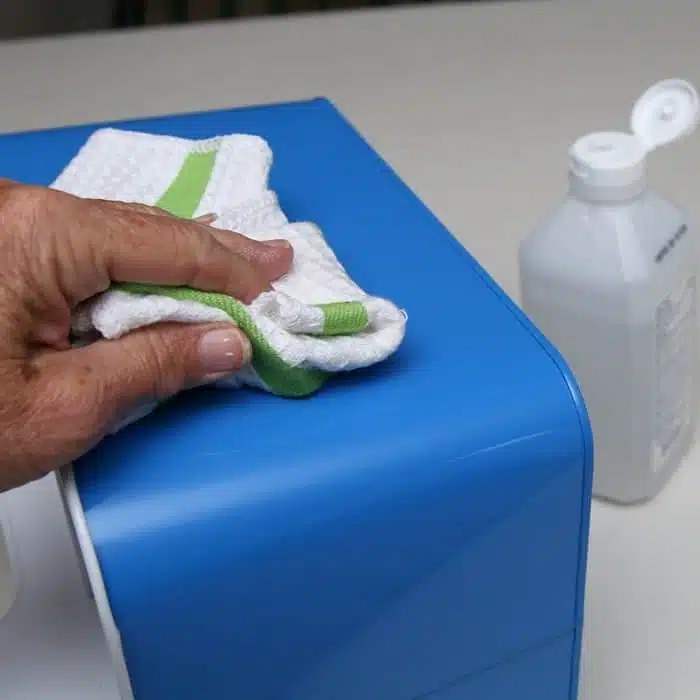
Before I started painting I wiped down the metal caddy with rubbing alcohol to remove any oil. That’s what the paint instructions said to do. You guys know I don’t always follow instructions to the tee but I wanted the paint to stick so this time I did!
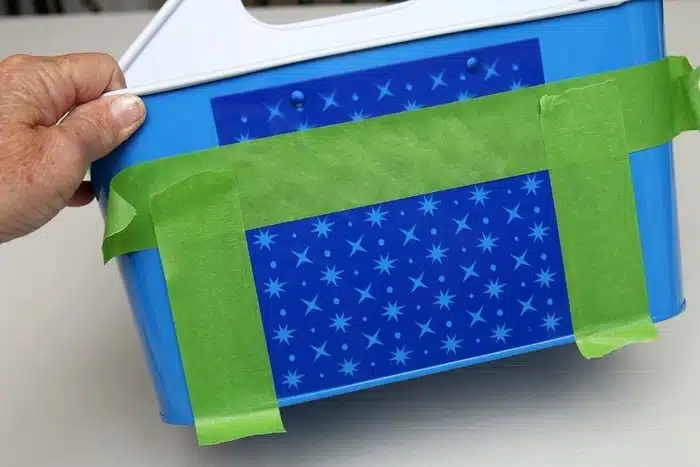
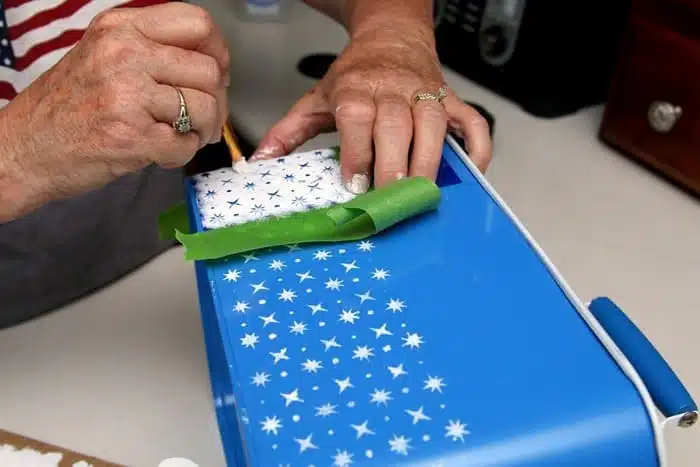
The stencil I selected for the project is by FolkArt. This stencil sheet is one of the design layers from the Shamrock Layered Stencil Pack. I taped off a portion of the stencil because I only wanted to stencil part way up the caddy. You can see I placed the stencil in the middle of one side of the caddy to start the design.
I poured just a dab of the acrylic paint on a piece of cardboard (inexpensive palette). Next I dipped the stencil brush bristles in the paint and then dabbed off most of the paint on the cardboard. A bit of paint goes a long way and it tends to leak under the stencil if your brush is anything but almost dry. Seriously. Dab off most of the paint. Now you’re ready to go.
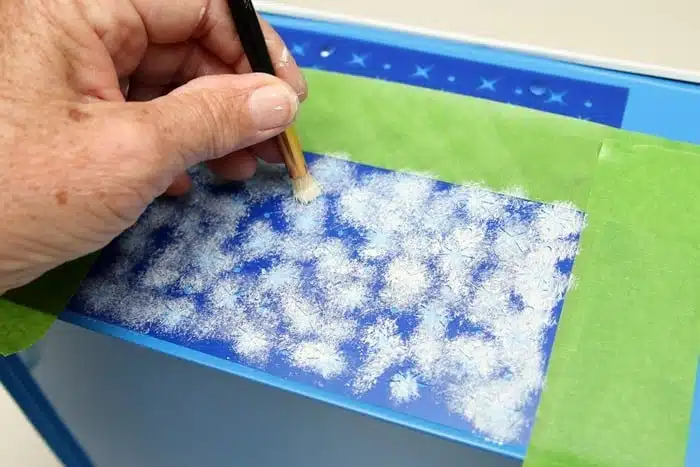
It only takes a couple of minutes to go over a stencil area this small. Swirl or pat your brush over the stencil. You don’t really want the stenciled design to be perfect so don’t worry about getting the paint even over the whole stencil. The Delta Ceramcoat Acrylic Paint is perfect for stenciling, nice and creamy.
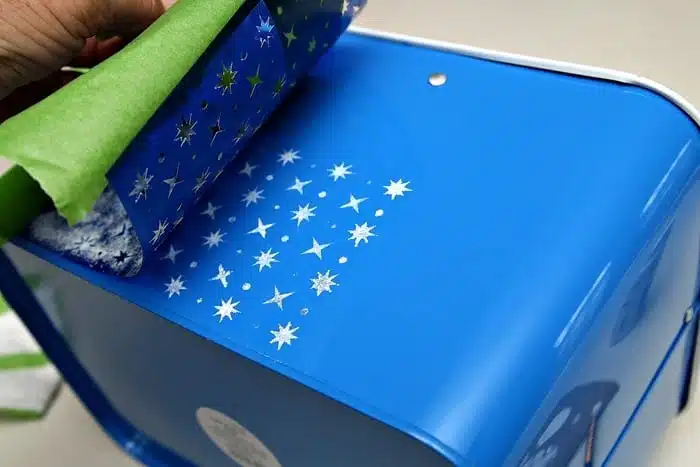
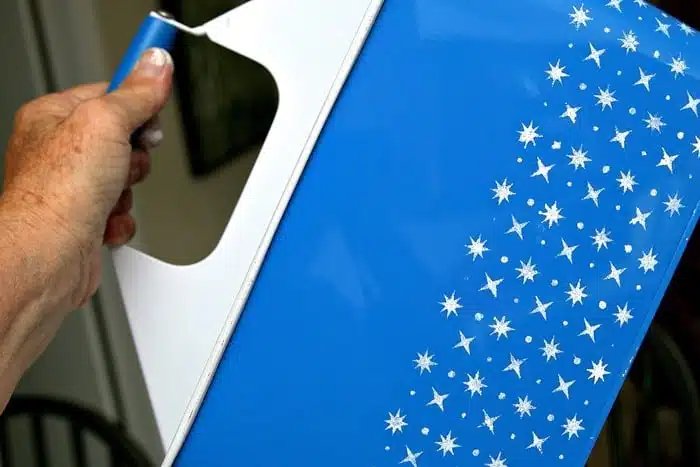
Pull the stencil off as soon as you get finished painting. Don’t wait for the paint to dry. Some of the paint might come off with the stencil otherwise.
I let the paint dry for just a few minutes before moving on to the adjacent area with the stencil. I moved the stencil all the way around the caddy using the last row of “stars” as a guide. Hubby got a photo of me doing the curved sides. It was easier to hold the stencil down once I lined it up than to tape it down on the lightly sloped sides of the caddy.
Ta-Da! That design looks awesome doesn’t it. The paint has a nice matte finish and it looks great against the shiny metal caddy.
Stenciling is one of my favorite paint techniques. I can’t draw a stick figure but I can stencil a pretty design with the best of them. Just a bit of stenciling kicked this caddy up a notch…..or two.
I’m ready to party now. Once Summer entertaining is over I plan to use the painted metal caddy to hold Sofi’s coloring books and markers.
Multi-Purpose Painted Metal Caddy
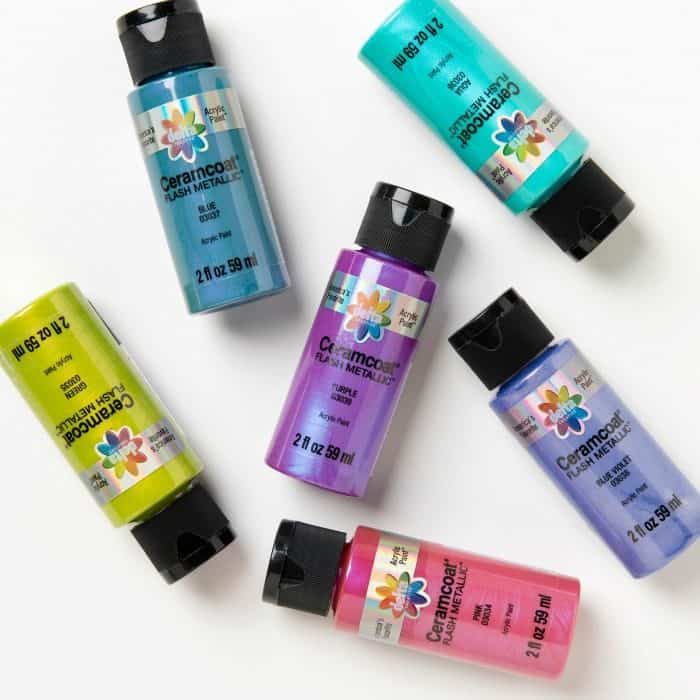
Are you ready to work on an easy paint project? Maybe you have something around the house that needs a little perking up? You can find Delta Ceramcoat® Acrylic Paint in 22 colors and six new Flash Metallic colors at Target in the craft aisle or at Target.com.The paint is perfect for wood, terra cotta, plaster and paper mache. What do you have that needs painting? Leave me a note and tell me how you would use the caddy.
The photo above shows the 6 glossy Flash Metallics colors. Pretty. All that flash is calling my name. You can find the paint I used and other Delta products at Target by clicking here.
Disclosure: This post is sponsored by Plaid Crafts as part of the Plaid Creators program. All words, project ideas, and opinions are 100% my own.
Thanks for being here and have a great day, Kathy

Sweet!
This is so cute, love it.
Too cute!