
How To Repair An Old Cedar Chest
This cedar chest had a damaged bottom drawer, so I removed it, added decorative trim, and cleaned and sanded the chest to prepare it for paint. Here’s how I handled each step.
Supplies and Tools Used for this Project
Simple Green Cleaner
Ryobi Sander
Ryobi Brad Nailer
How to Repair an Old Cedar Chest
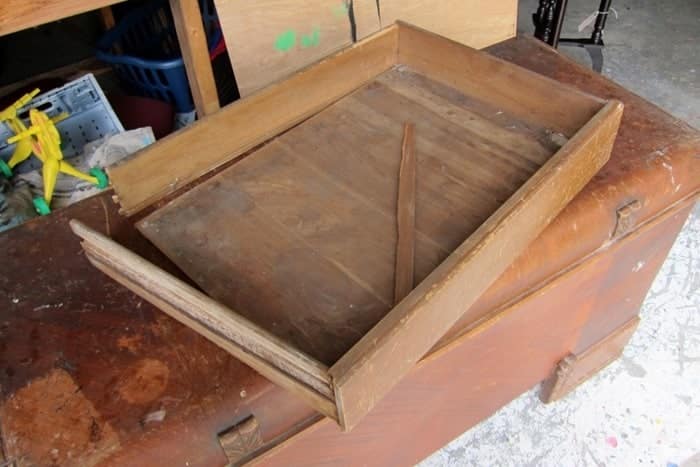
Remove the Damaged Bottom Drawer
The first step was deciding what to do with the damaged bottom drawer. This is the first vintage cedar chest I’ve found with a drawer underneath.
But the drawer was falling apart and would have required a complete rebuild. I considered repairing it, but because I preferred the chest’s open base, I decided to remove it instead. That was the easier option!
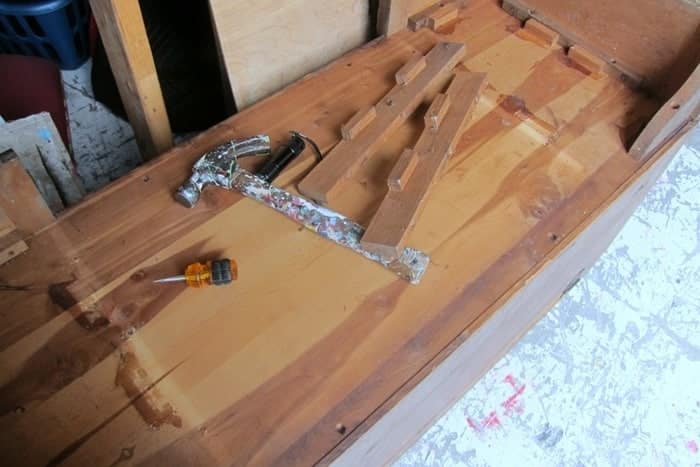
I turned the cedar chest completely upside down and removed the old drawer slides. It was incredibly easy—just a matter of backing out a few screws and knocking the glued wood blocks loose.
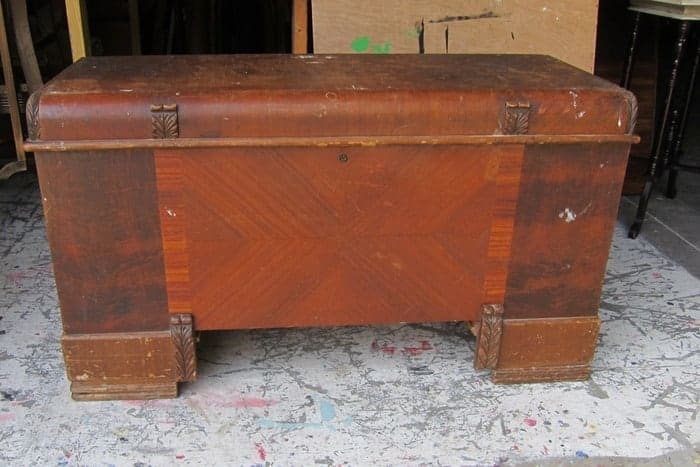
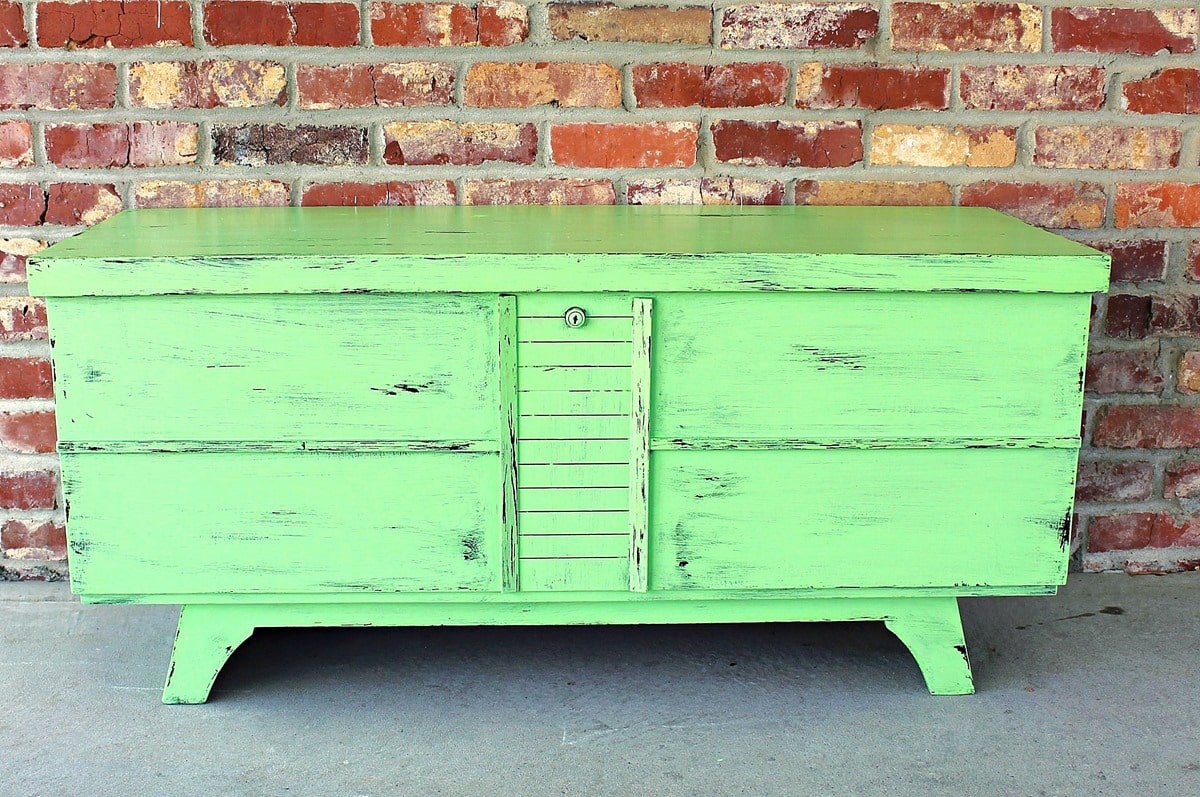
The open space between those beautiful, detailed feet was what first caught my eye when I spotted the chest at my favorite junk shop. Without the damaged drawer, the carved feet stood out and gave the chest a lighter, more open look.
Once I realized a bulky drawer was supposed to fill that space, I knew I didn’t want to rebuild it. Still, after removing the drawer hardware, the front edge looked unfinished. A simple piece of decorative trim was all it needed.
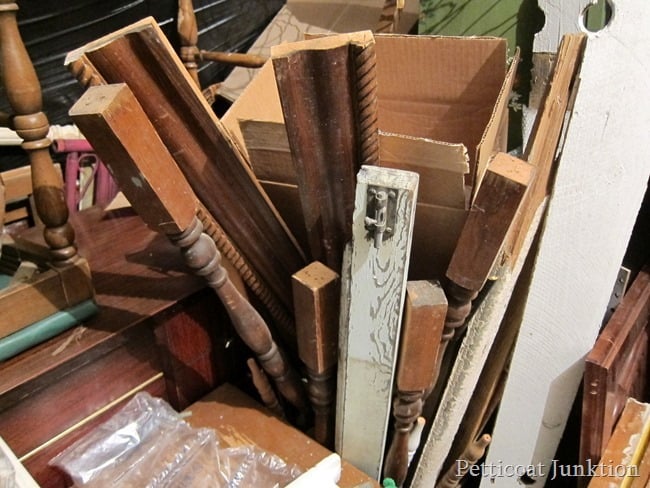
Add Decorative Trim to the Open Base
I dug through my wood stash and found the perfect piece of vintage trim.
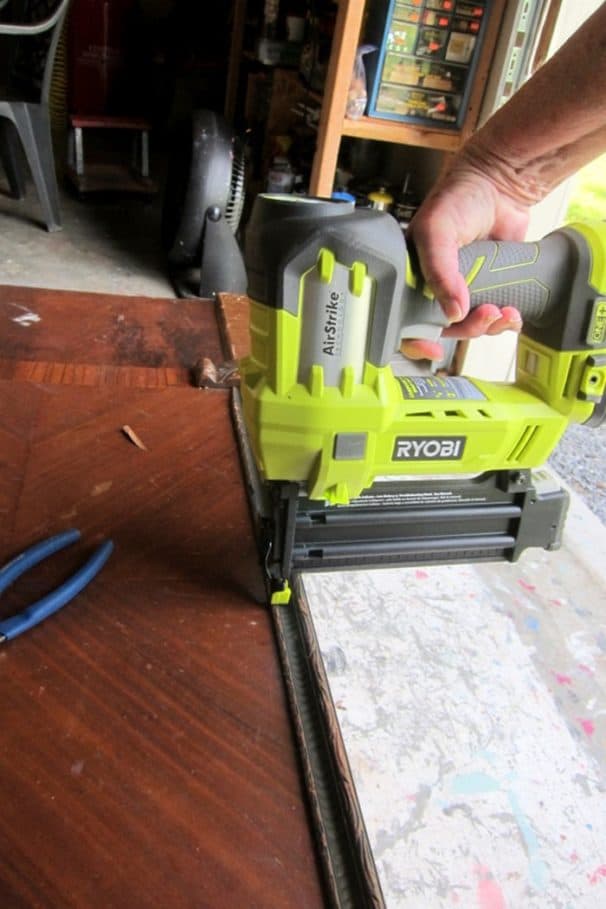
I cut it to size using a small miter saw. After checking the fit, I attached it to the front of the chest using my Ryobi brad nailer. Use brads short enough that they won’t come through the other side of the wood.
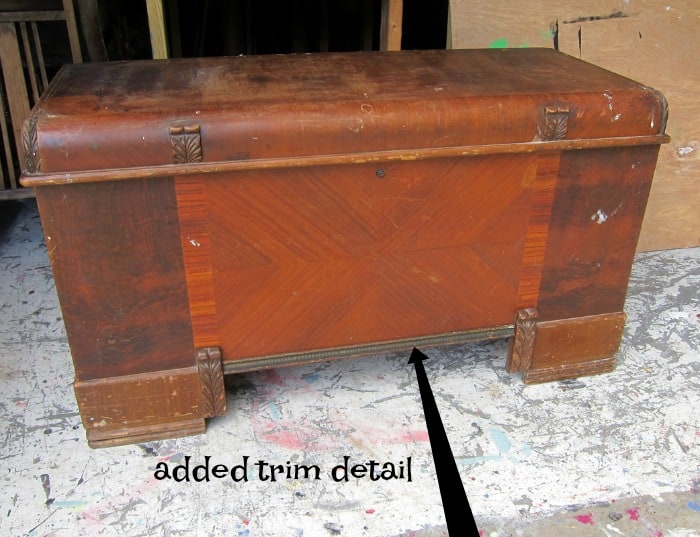
What a difference! The trim hides the raw edge, ties in with the detailed feet, and makes the open base look intentional. It only took a few minutes, but it gave the whole piece a more finished look.
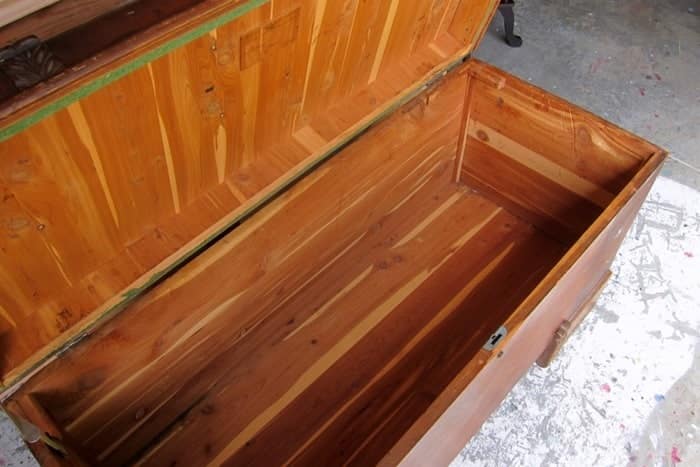
The cedar-lined interior was in beautiful condition and still had that wonderful cedar scent. Cedar naturally resists moths and can help keep stored items smelling fresh, although any vintage chest can develop odors if it has been exposed to moisture. I also forgot to mention that I paid only $40 for this chest. Not bad at all!
How to Clean Vintage Furniture Before Painting
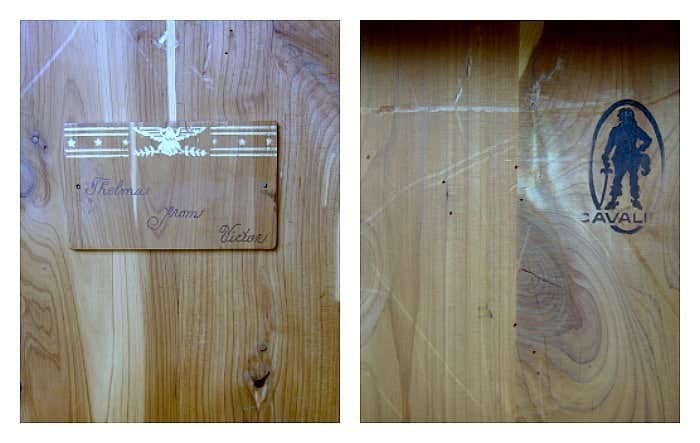
An original wooden tag attached inside the lid has the sweet inscription, “Thelma from Victor.” Details like this hint at a piece’s history, so I always leave them in place when possible. It makes me wonder about the people who owned the chest and whether their families know what became of it.
This is a Cavalier cedar chest, a brand I hadn’t come across before. If your vintage cedar chest still has a label, tag, stamp, or serial number, photograph it before cleaning or painting. Those markings can help to identify the manufacturer and approximate age.
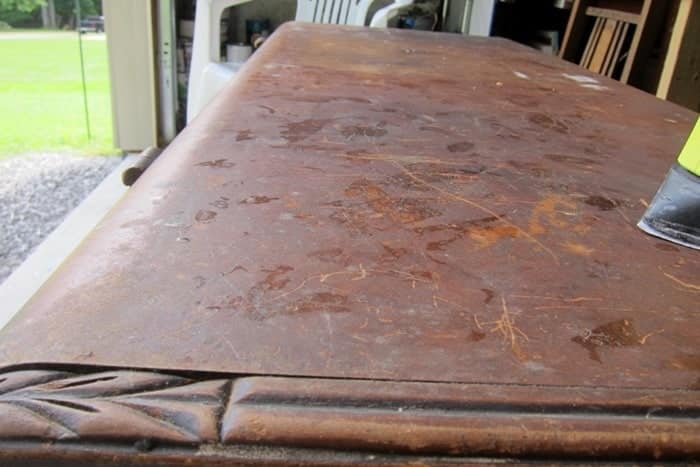
Inspect and Sand the Veneer
Before painting, I inspected the entire chest for loose veneer, damaged wood, dirt, wax, and oily residue. The veneer on top had several sticky-looking spots.
After cleaning a small test area, I lightly sanded the top to smooth the surface and prepare it for primer. Be careful when sanding veneer because the wood layer is thin and easy to sand through.
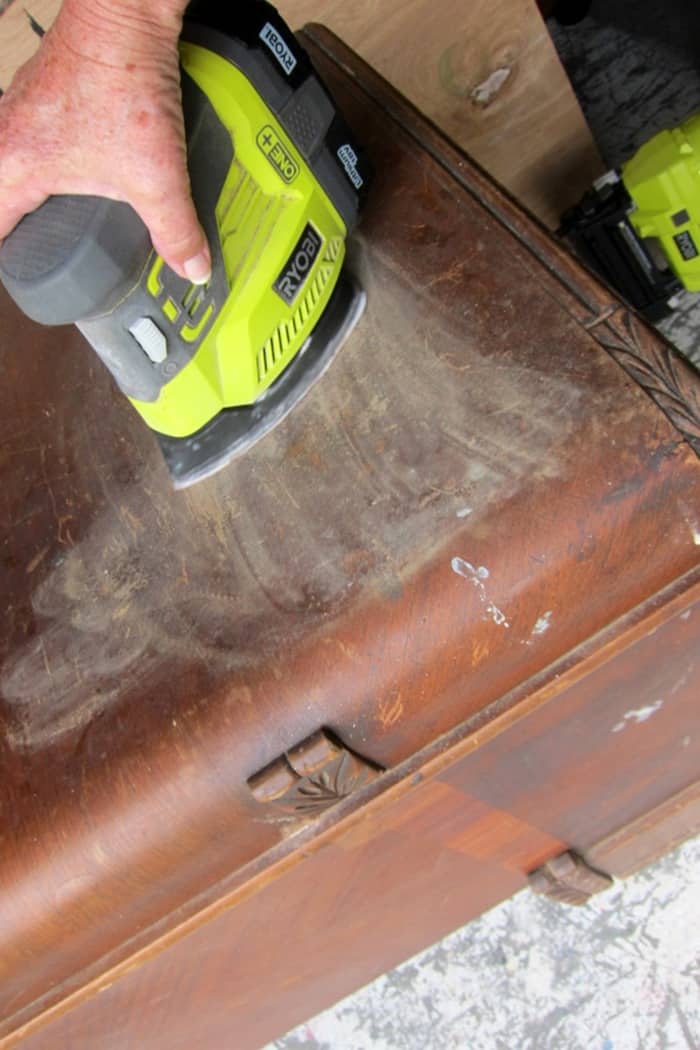
Old oils, waxes, tannins, and stains can bleed through a fresh coat of paint. If you are unsure about the original stain and the possibility of bleed-through, apply a stain-blocking primer before painting.
A little extra prep is much easier than sanding everything down and starting over later or having to apply several coats of primer.
Clean the Cedar Chest Before Painting
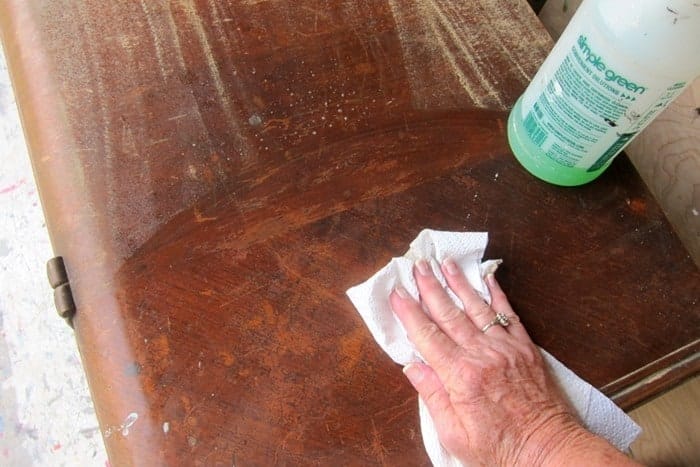
After sanding, I removed the dust and cleaned the chest from top to bottom with a diluted solution of Simple Green. I wiped away any cleaner residue and let the wood dry completely before painting.
Avoid soaking the wood or the cedar-lined interior, since too much moisture can damage the veneer and cause the wood to swell.
Okay, the repairs and cleaning are finished, so now it’s time for the paint. That will be a post for tomorrow. Update: See the paint post here. Chalk Painted Cedar Chest With Wax FinishSee you then, Kathy