
Easy Fall Wood Craft: DIY Pumpkins From Reclaimed Wood
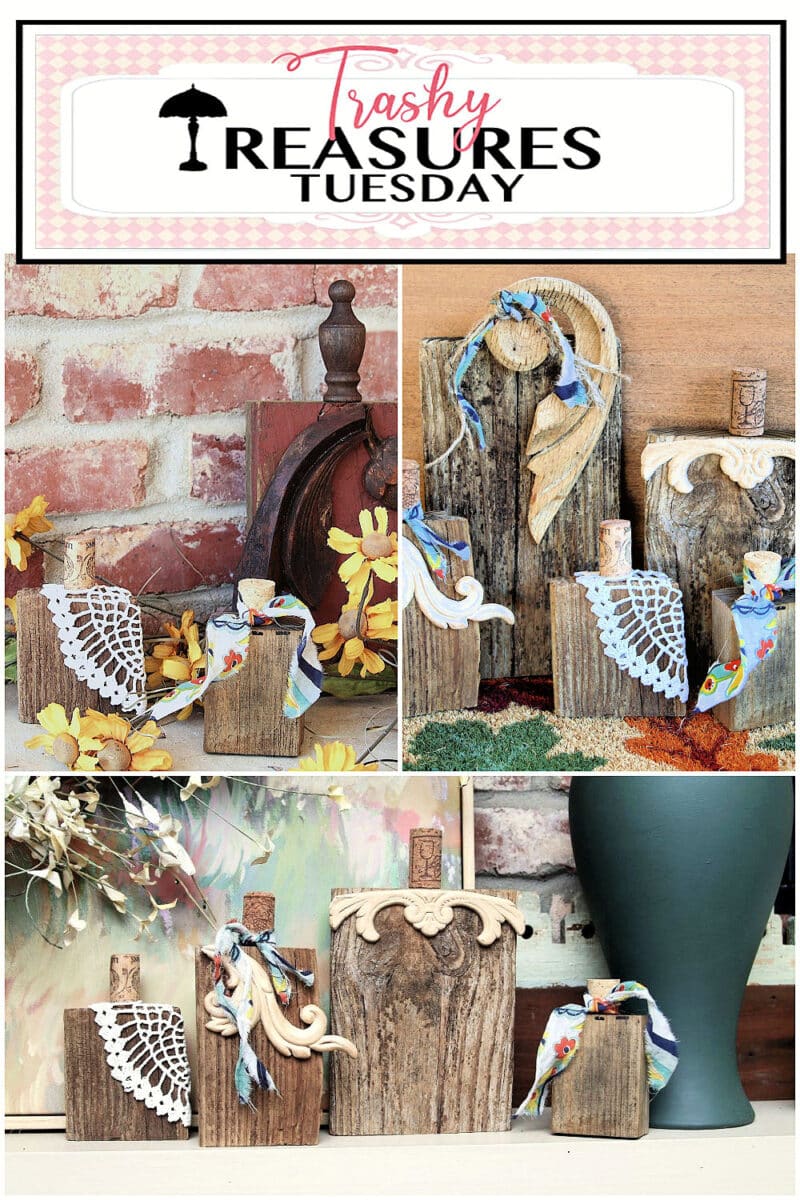
These reclaimed wood pumpkins are a fun way to turn old wood and architectural trim into unique fall decor. A little wax refreshes the wood, while fabric scraps and wine cork stems add the perfect finishing touches. Each pumpkin has a look all its own.
You can make these DIY pumpkins at home with whatever you have on hand. Use 2x4s instead of reclaimed wood, tree branches instead of wine corks, and twine or faux fall greenery instead of fabric scraps. Personalize them with colors that match your decor.

Today is our Trashy Treasures Tuesday Tour, and the projects are always fun, with plenty of photos and full tutorials. This is one of my favorite days of the month. You’ll find the tour links after this tutorial! Denise, Nancy, and Christy are looking forward to you stopping by.
Supplies and Tools
Reclaimed wood (or old wood)
architectural trim pieces
Howard’s Feed-n-Wax
fabric scraps
wine corks
glue gun and glue sticks
How to Make Reclaimed Wood Pumpkins
Gather Reclaimed Wood
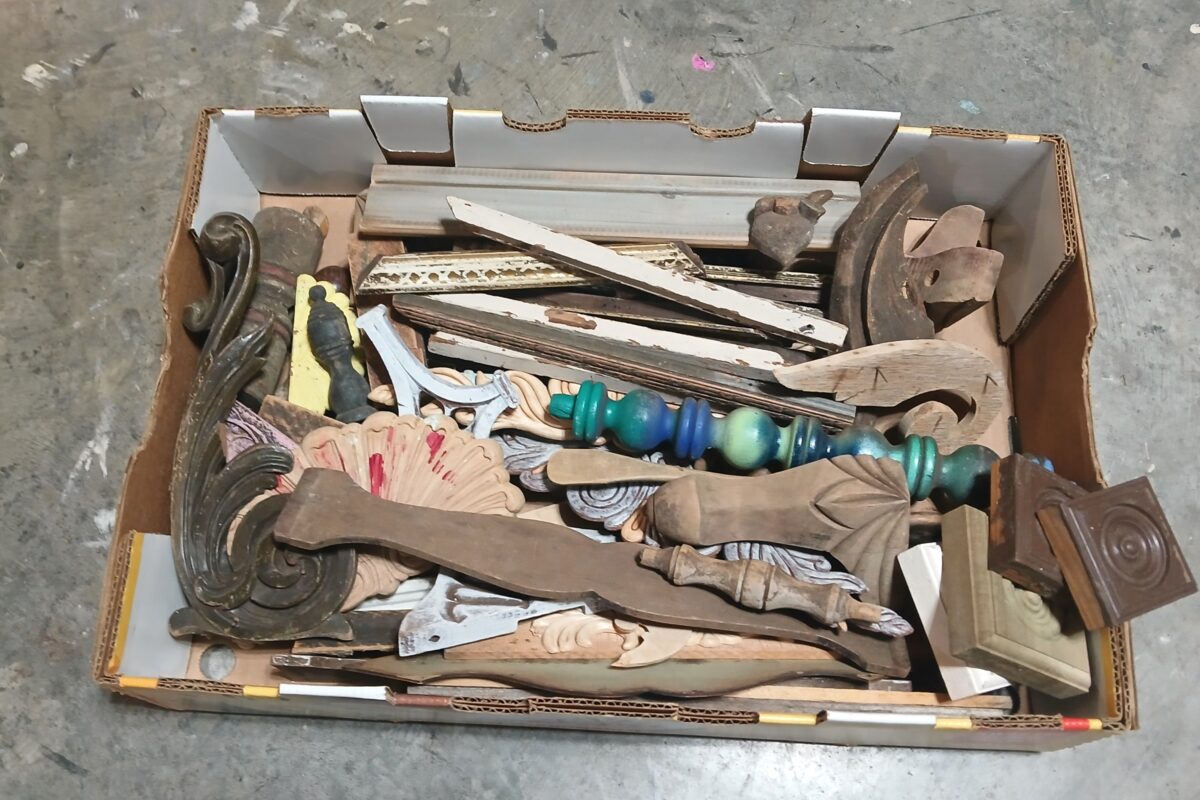
I have a large box of wood trim pieces I’ve collected over the years, all waiting for the right project. I pulled the box from the shelf and sorted through it, looking for detailed pieces to add to my wood block pumpkins.
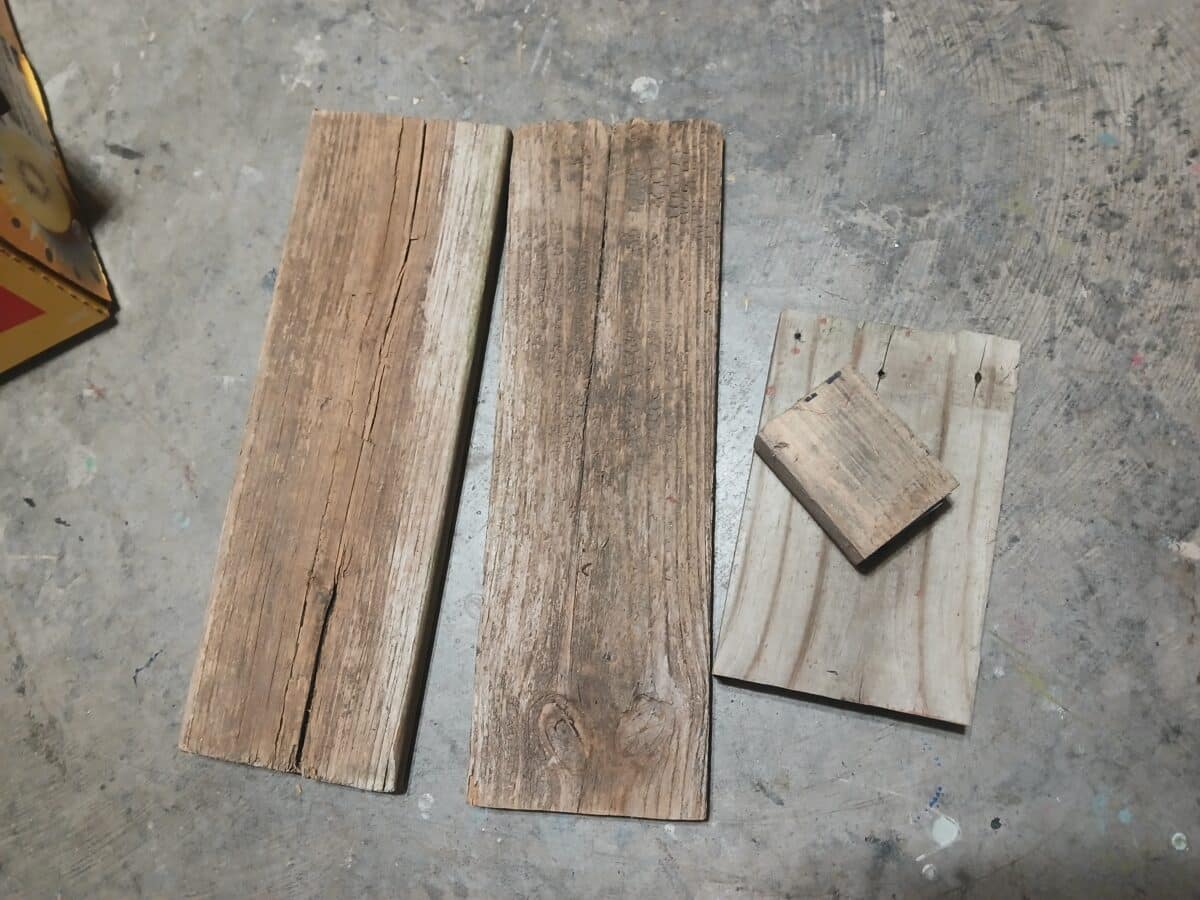
Next, I went through our stash of reclaimed wood and found a few pieces to cut into blocks for the pumpkins. One piece was already just the right size.
Cut the Wood
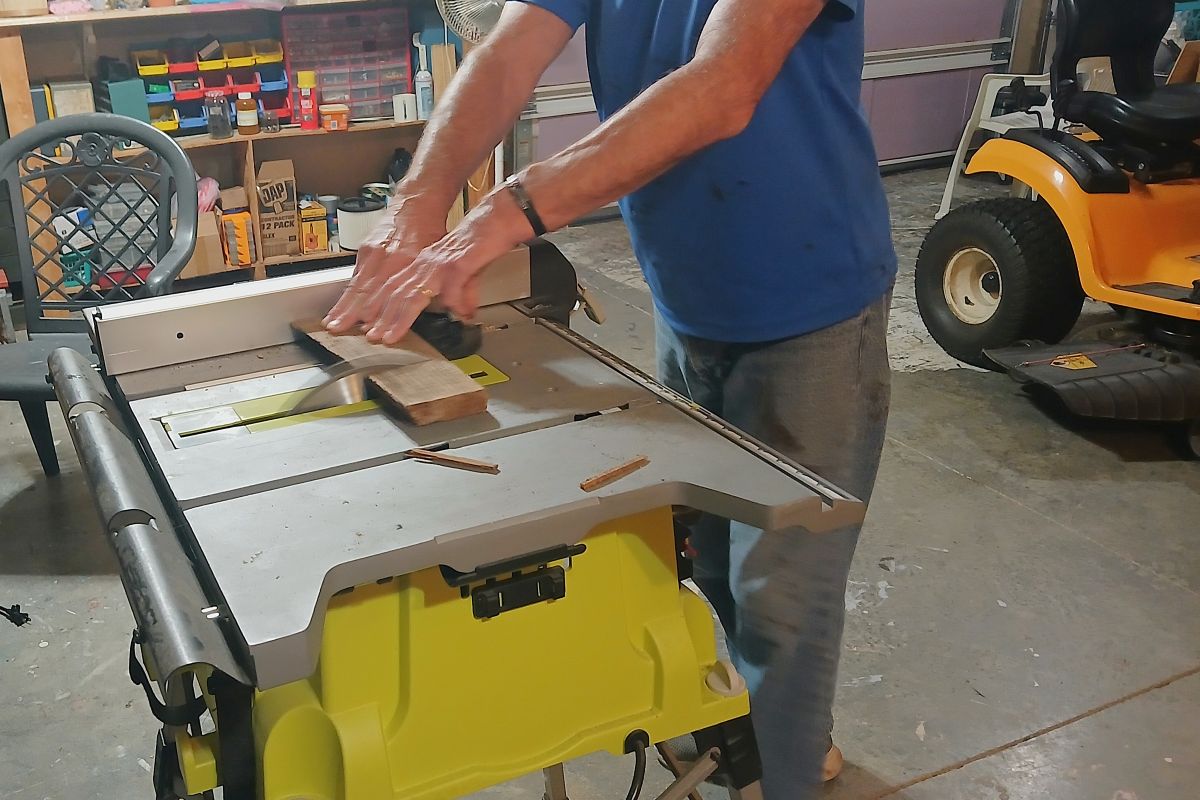
The JTS, aka hubby and Junktion Technical Specialist, cut the wood for me. Table saws make me very nervous. That might have something to do with my dad cutting off the tip of his finger with a table saw when I was about five. I got off the school bus, saw the blood on the saw, and that did it for me.
The two pieces of reclaimed wood had several vertical splits, so cutting them could have caused the wood to split even more. I decided to take the chance. We ended up with two good pieces and several split ones, but guess what? I used a couple of those pieces too.
Arrange the Pumpkin Pieces
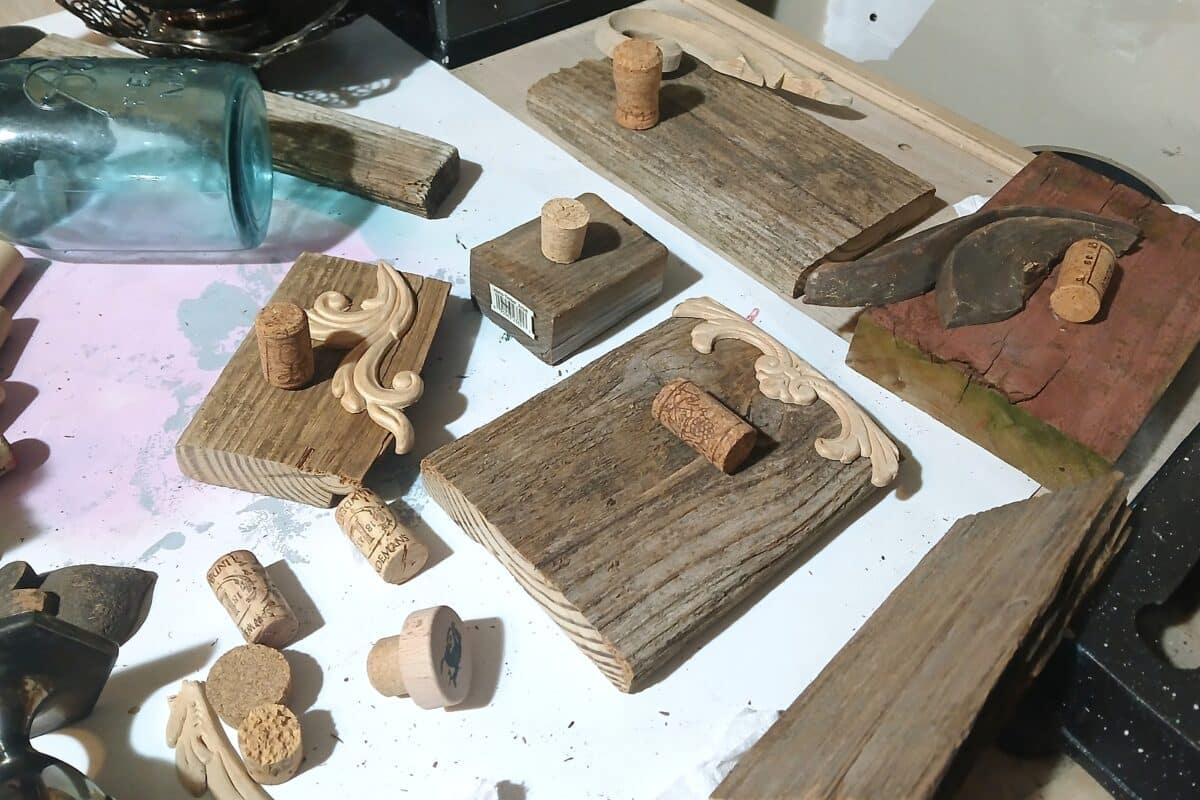
You can see that the pumpkin on the left in the photo above is made from one of the split wood pieces.
Once the wood was cut, I grabbed my jar of wine corks and the trim pieces and laid everything out to design the pumpkins. I changed a few things during assembly. You never know exactly how a project will come together, and it’s fine to make adjustments as you go.
Condition and Refresh the Wood
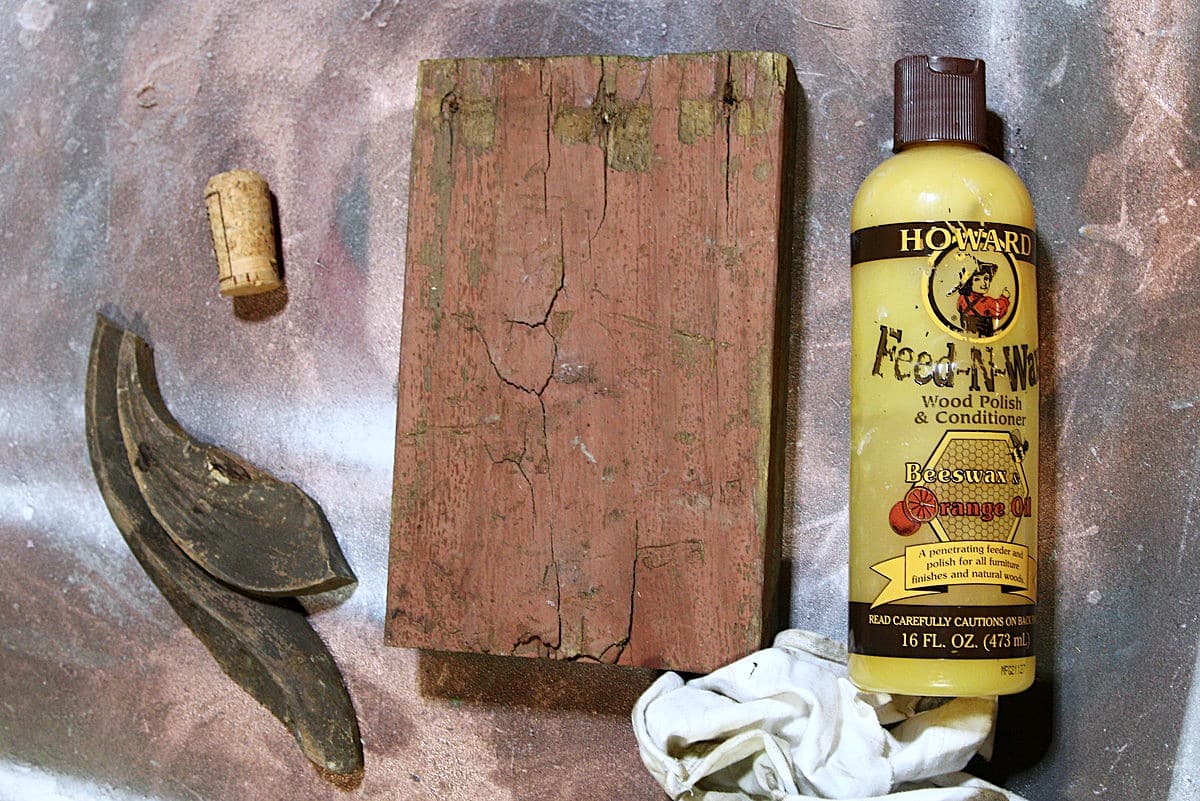
All of the wood pieces were old, dried out, and just plain dirty. After dusting them off, I wiped them down with Howard’s Feed-N-Wax to clean and refresh the wood.
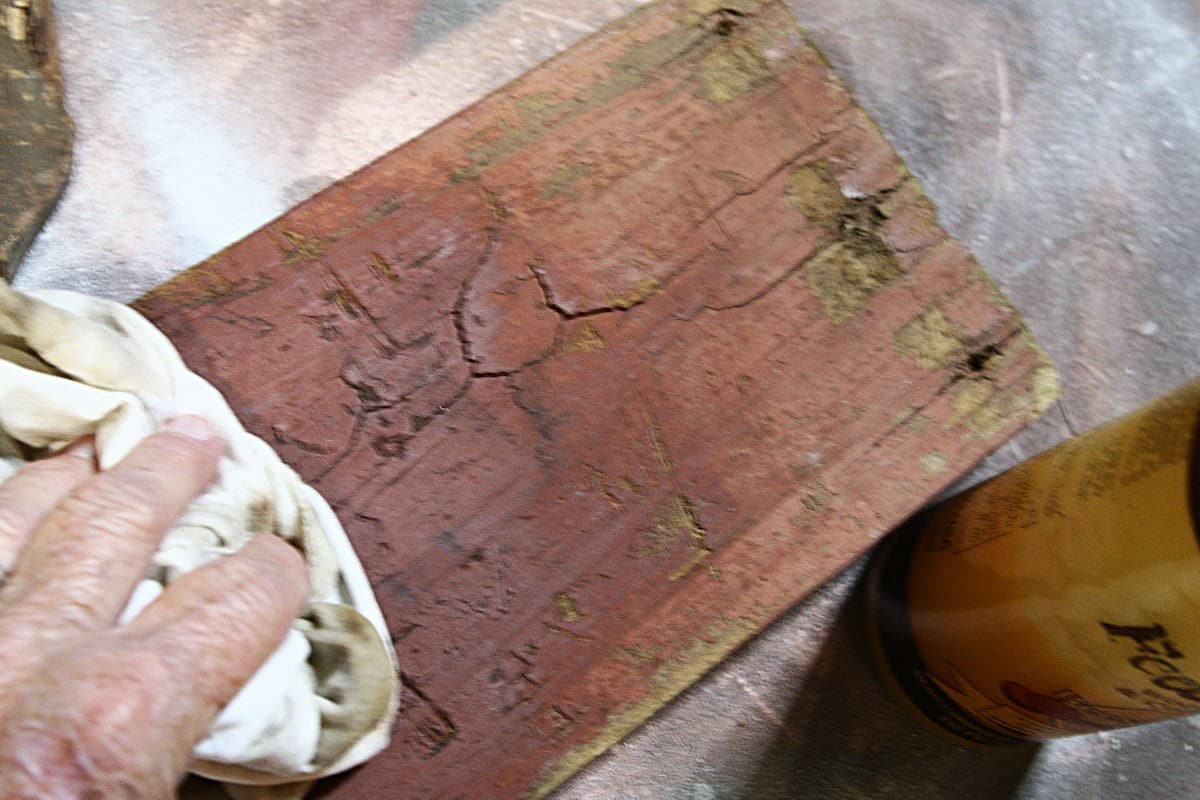
This one simple step made all the difference in the world.
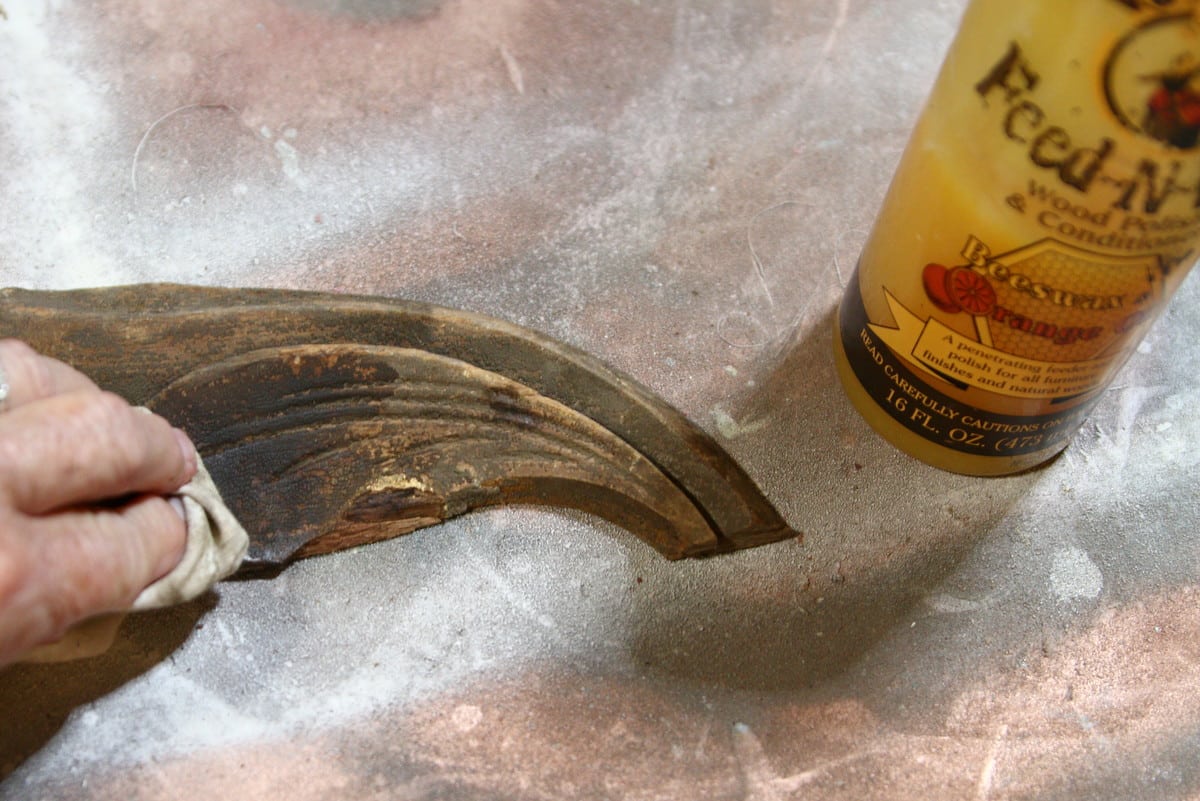
I used a small paintbrush to clean the detailed trim.
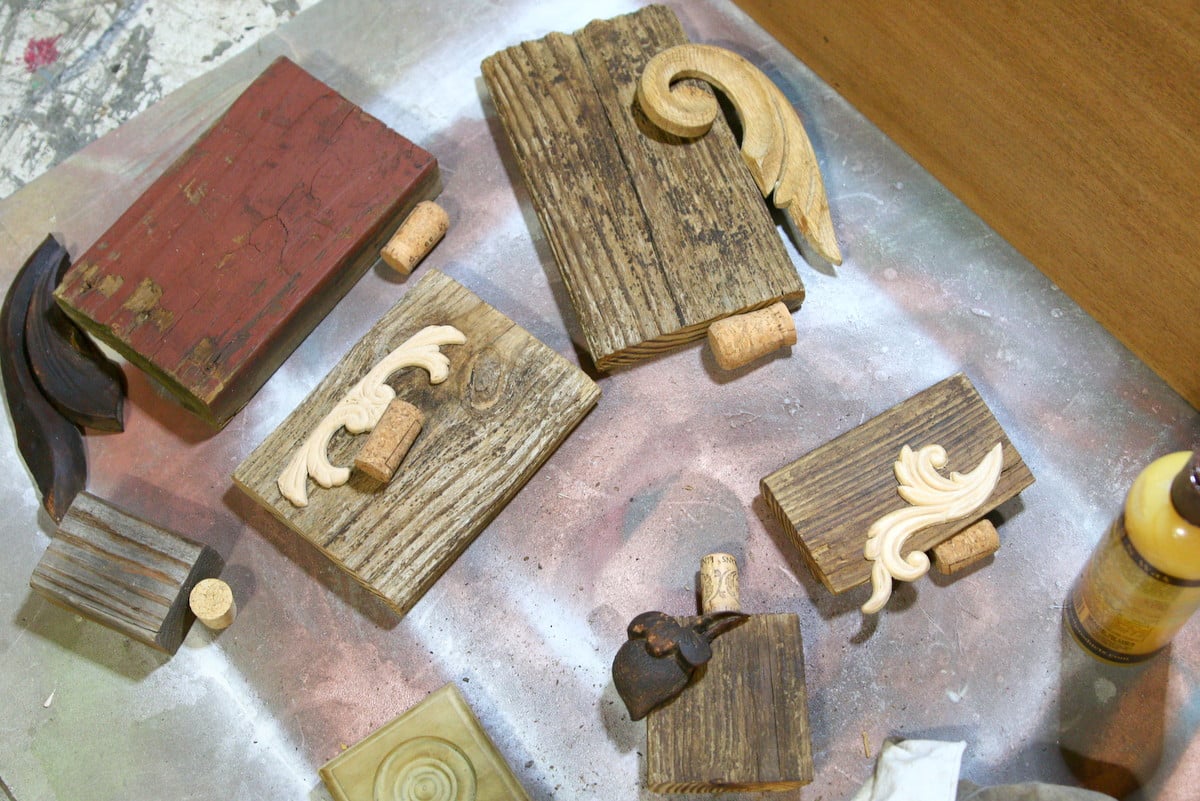
The wood looked so much better. I laid out all the pieces again and made a few changes.
Assemble the Wood Pumpkins
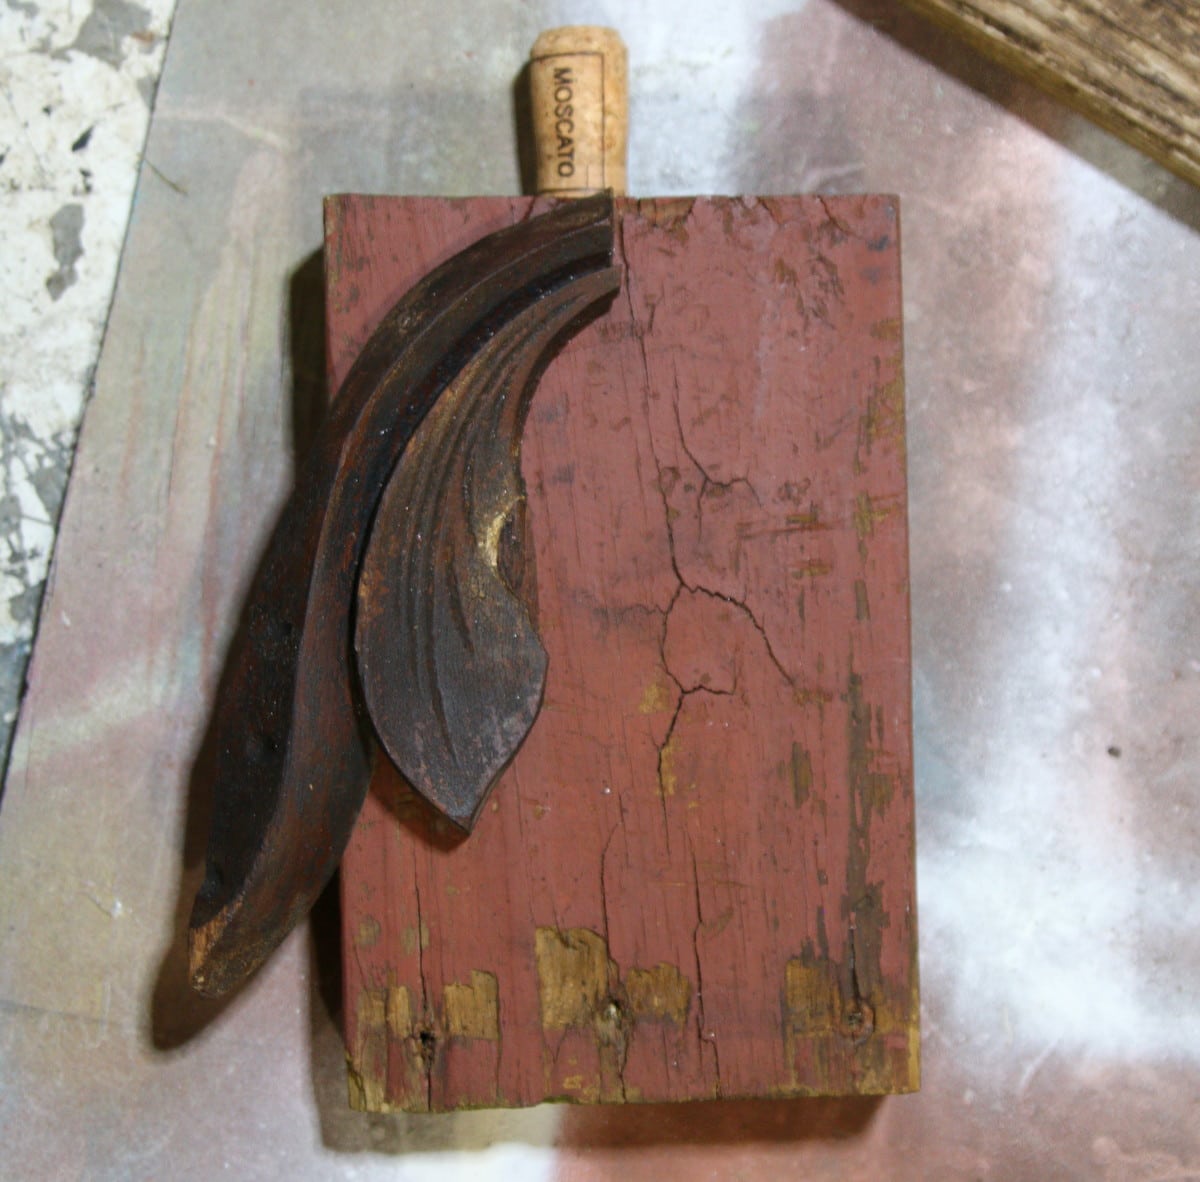
I tried this look for the rustic red wood block.
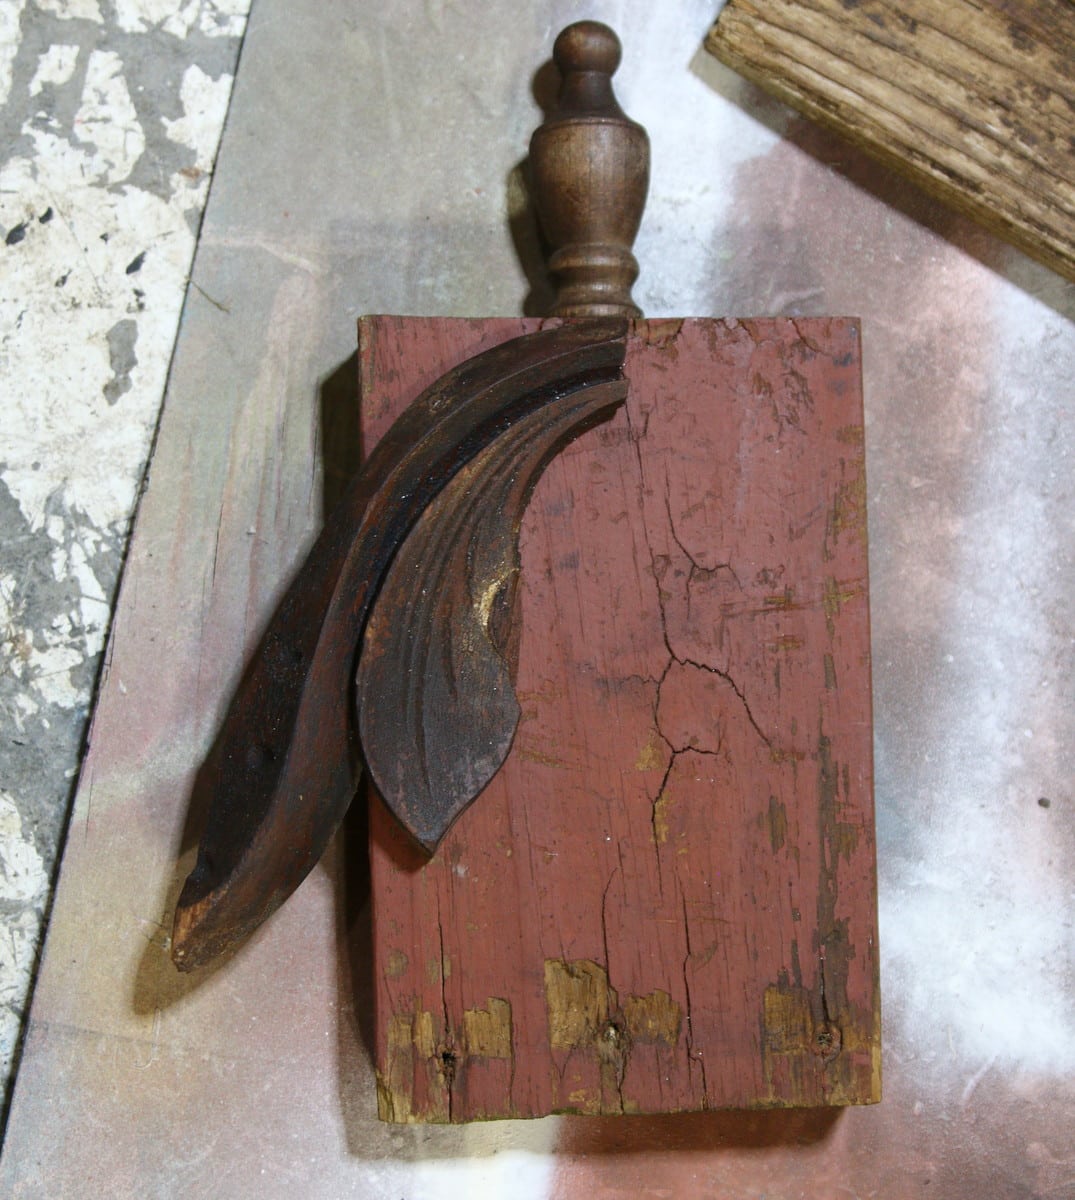
Then this happened! I use a little creative, or artistic, license when putting projects like these together. Who says wood block pumpkins have to be made with specific elements?
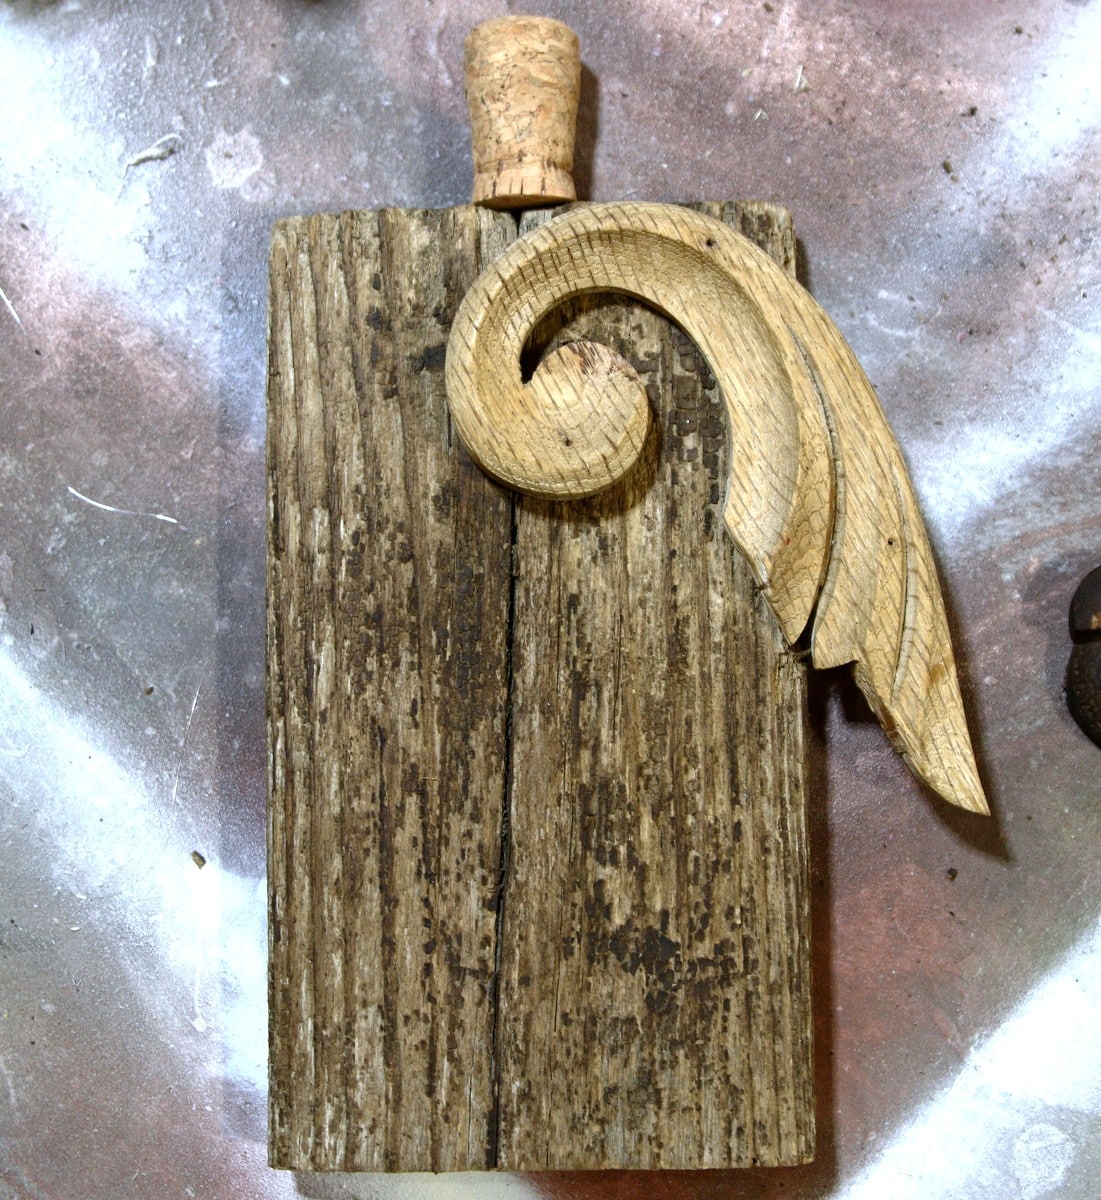
I first laid out this pumpkin with the scroll trim piece facing one way, but I changed it later.
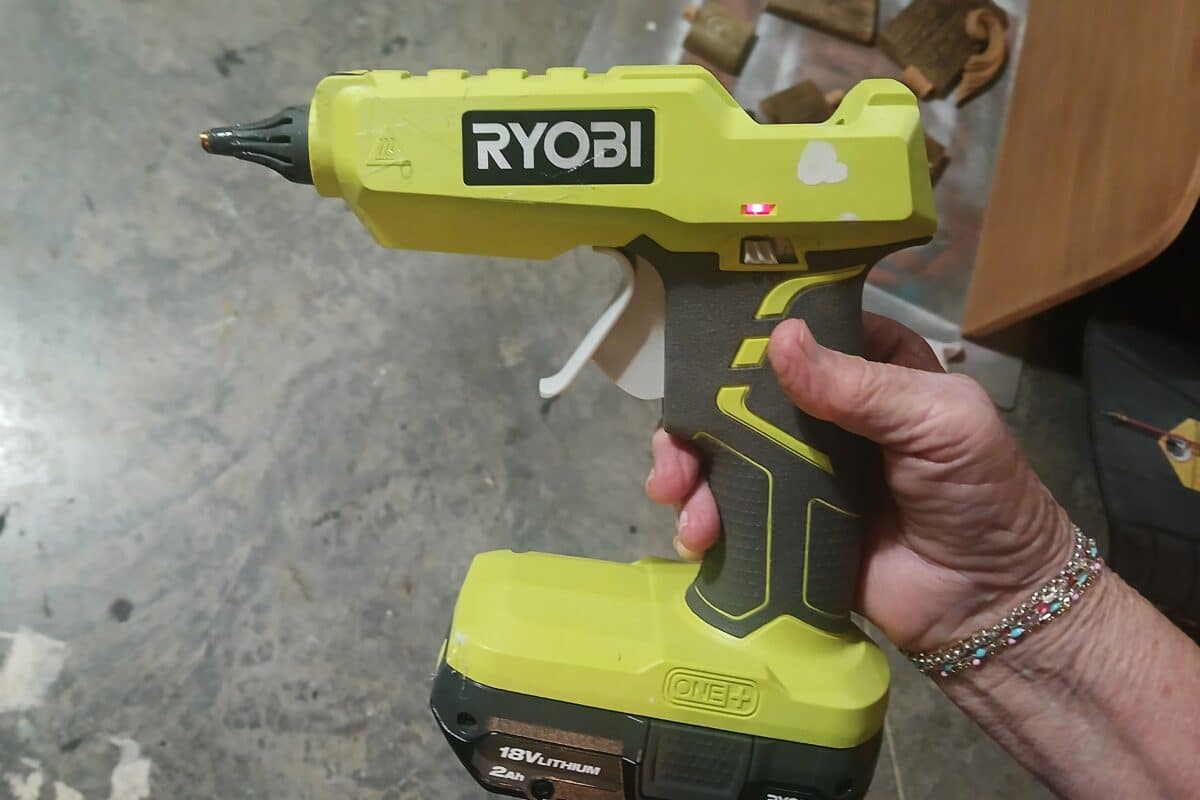
I glued the wood pieces together with my Ryobi battery-powered glue gun. I love this thing! You don’t have to worry about a cord pulling it over or getting covered in glue.
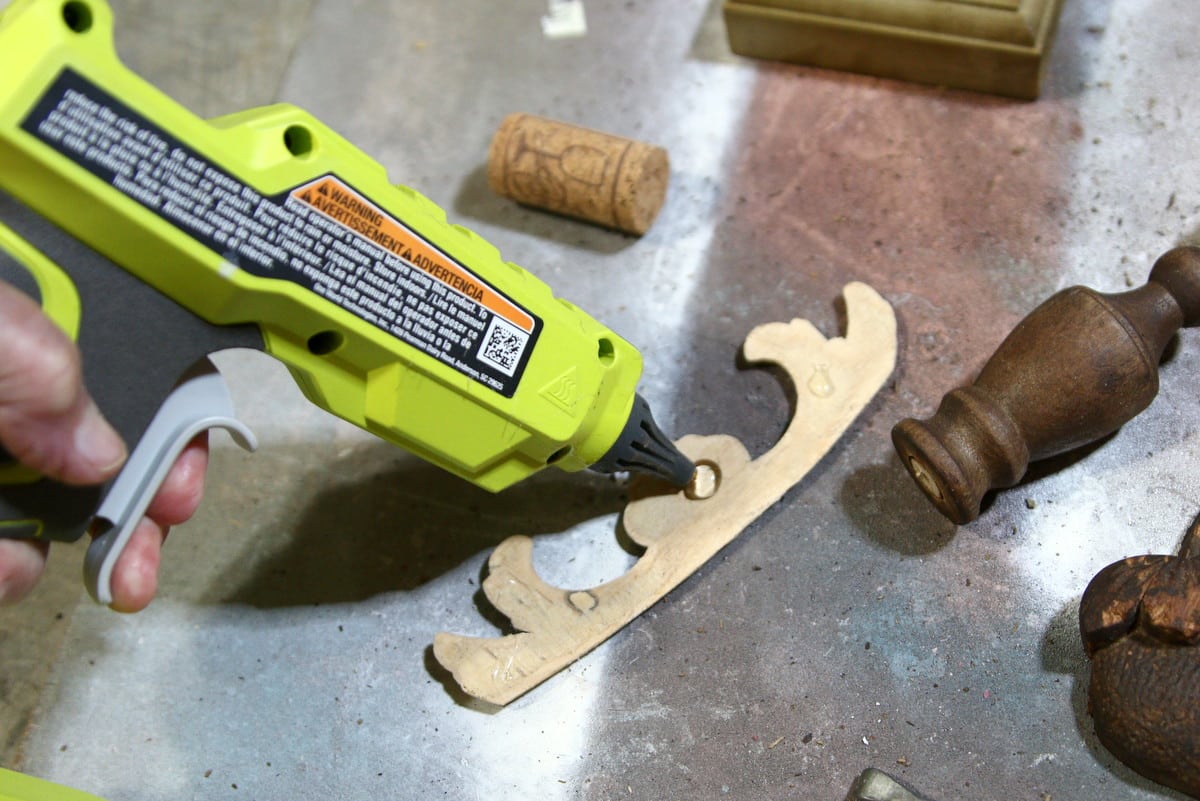
I placed a few drops of hot glue on the architectural piece.
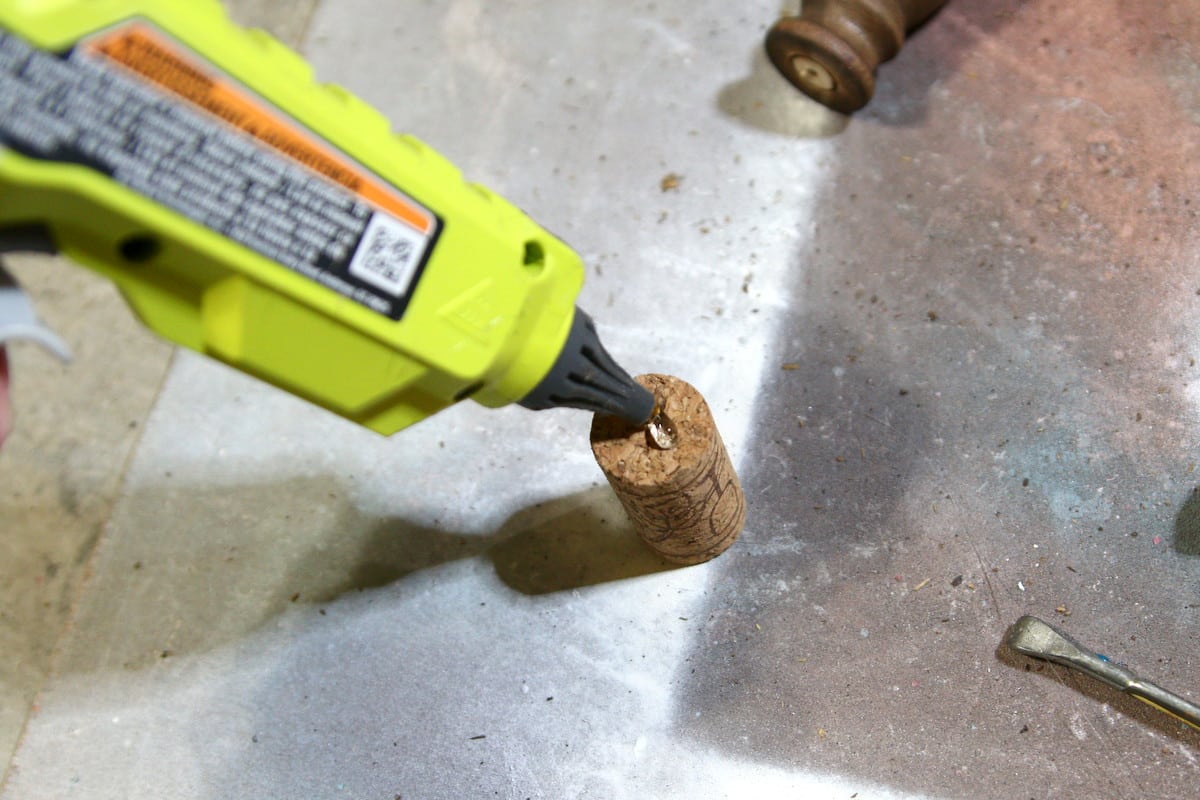
Then I placed a drop on one end of the cork.
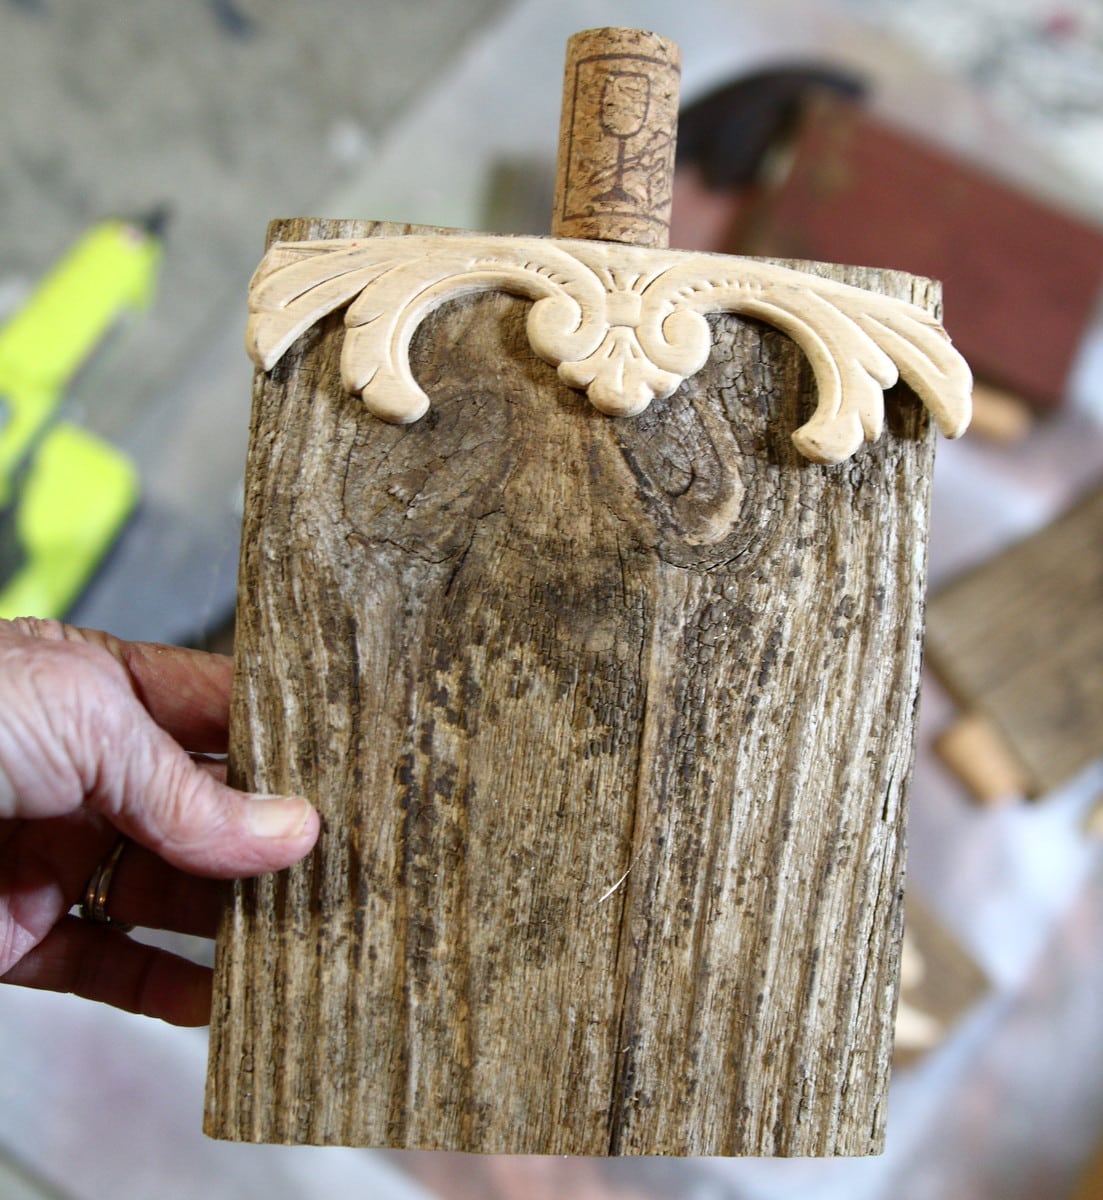
And stuck both pieces to the wood block.
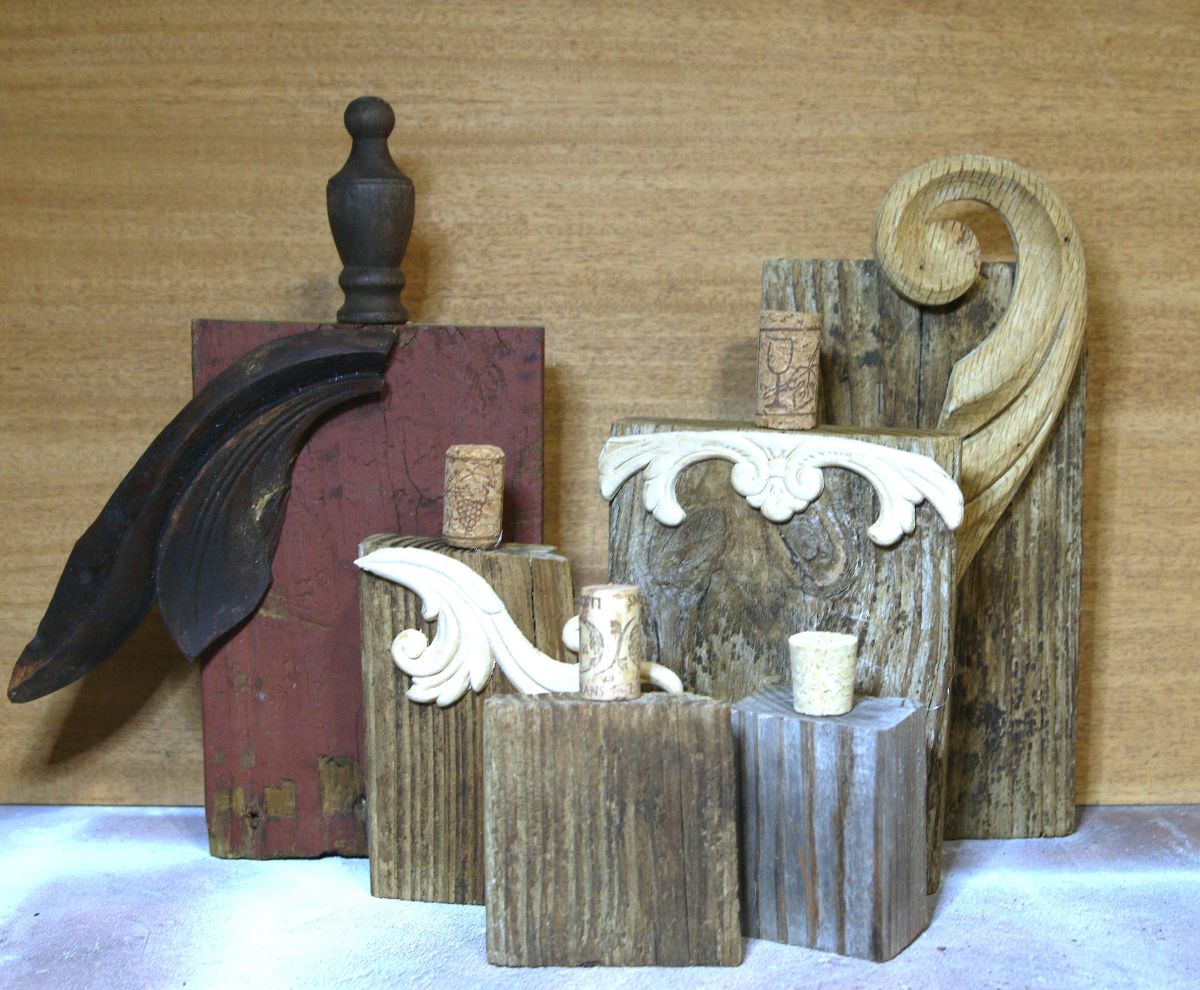
I assembled all of the pumpkins and took a group photo, but I didn’t like the rustic red pumpkin. The “leaf” stuck out too far, so I pried it off and gave the pumpkin an even better look. Just wait…
Add Fabric Details
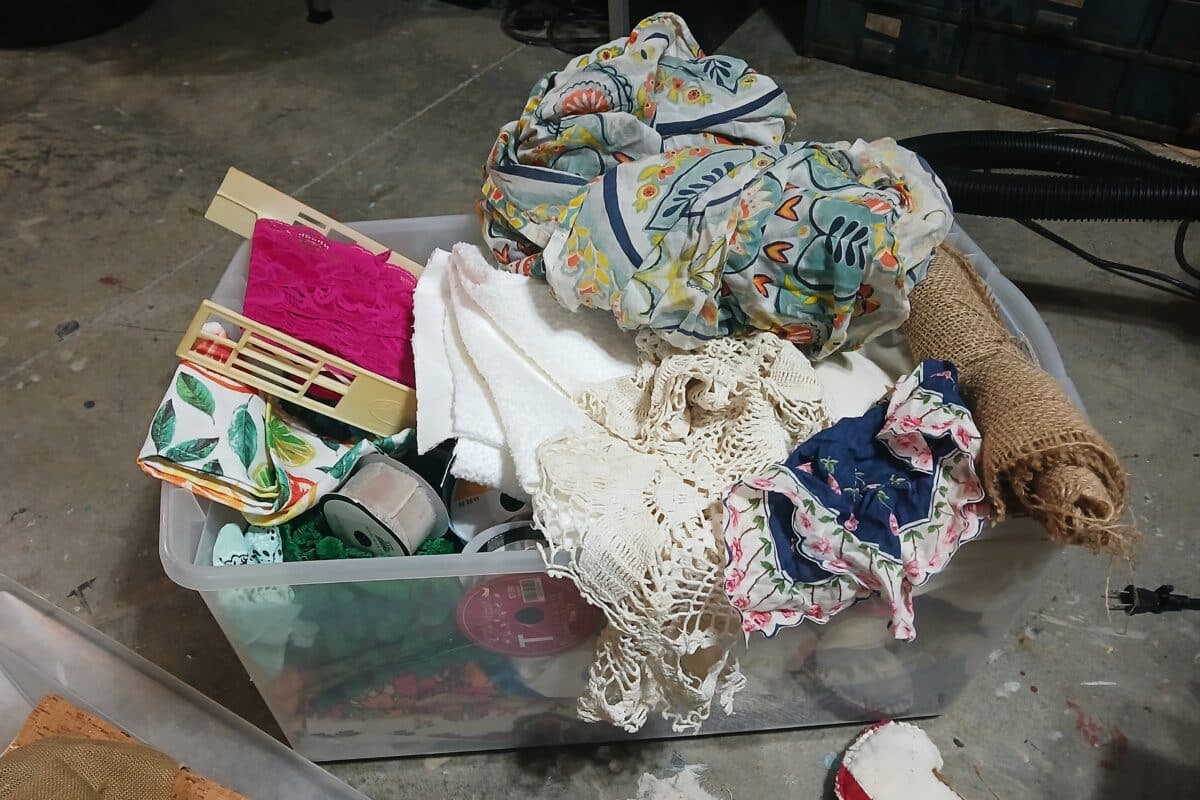
The pumpkins looked okay as they were, but I wanted to add more texture and softness. I went through my ribbon and fabric stash, although I wasn’t quite sure what I was looking for.
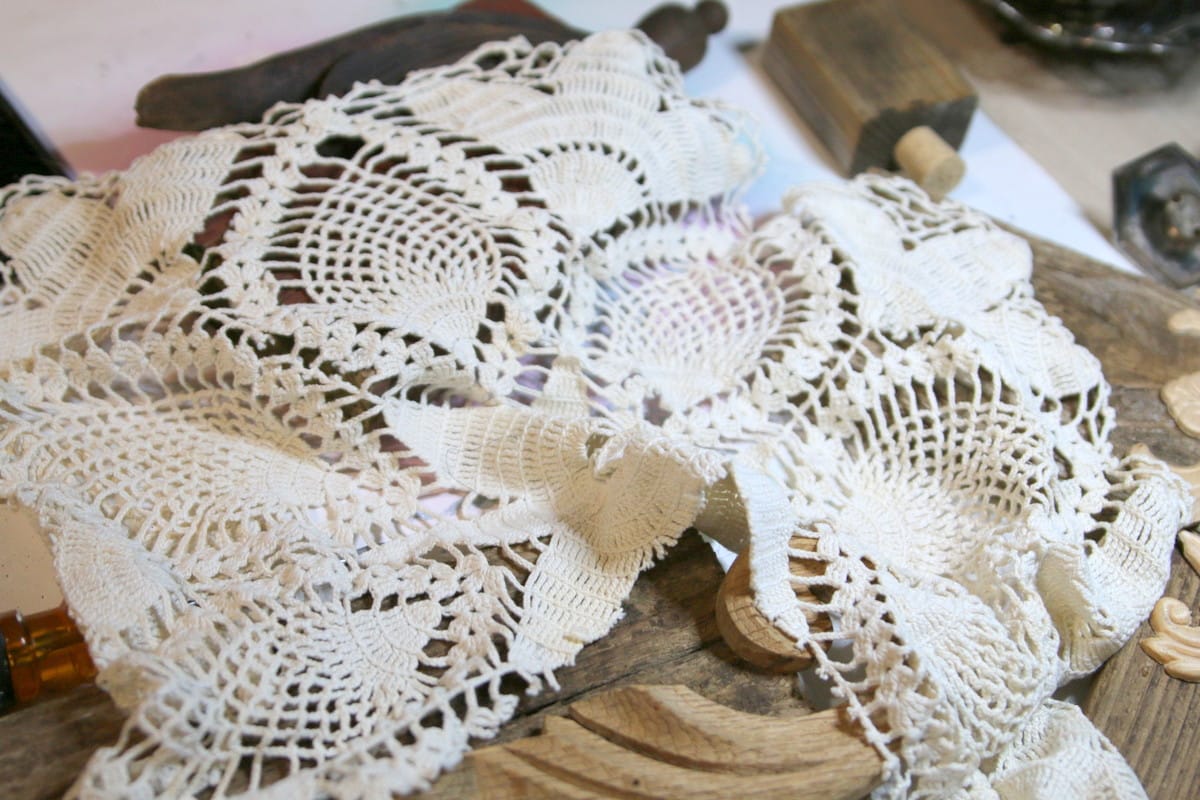
I found part of a vintage crochet doily.
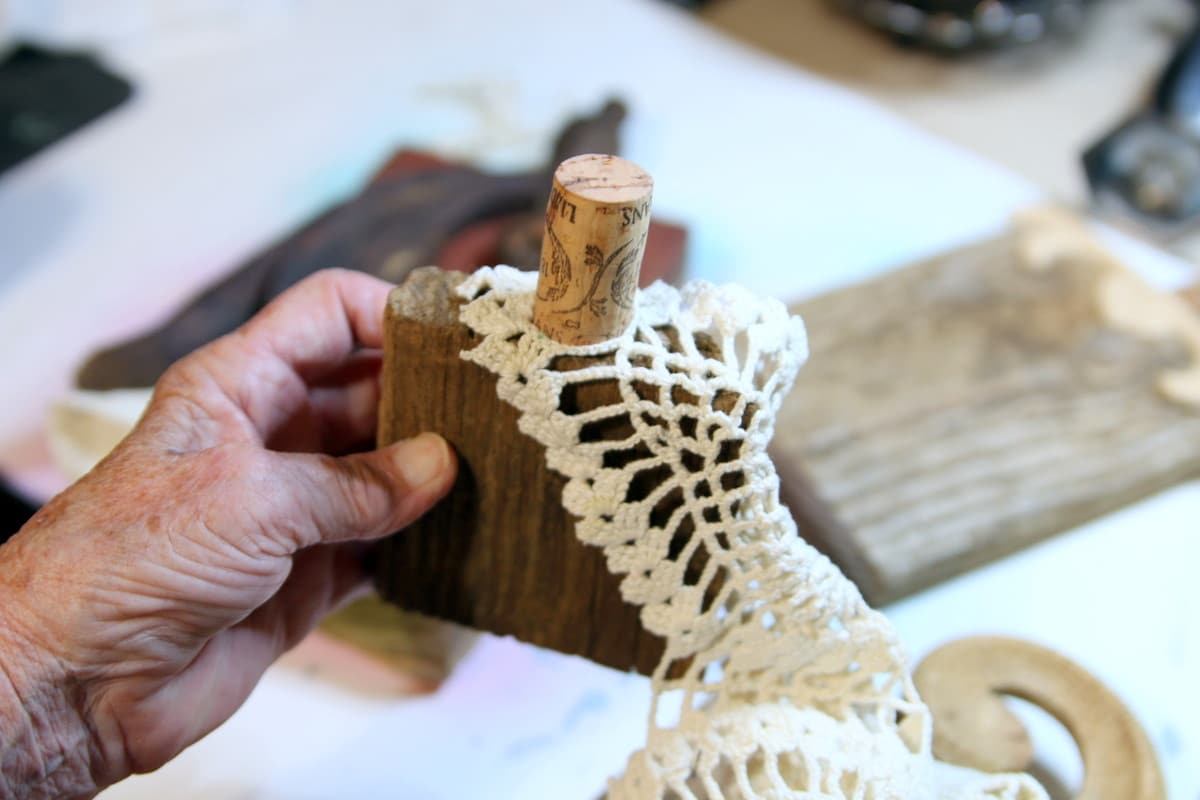
I started wrapping it around one of the small pumpkins.
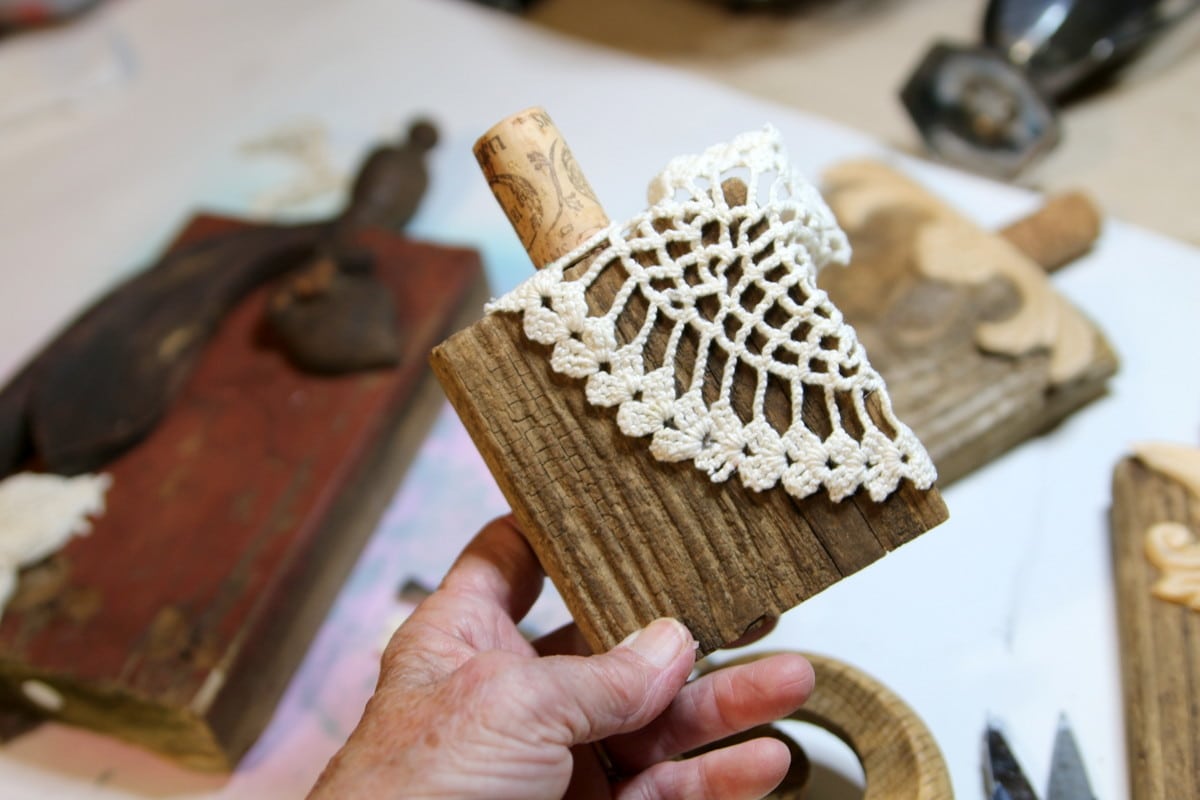
I trimmed the doily, hot-glued it in a few spots on the front, then wrapped it around the back and added more glue.
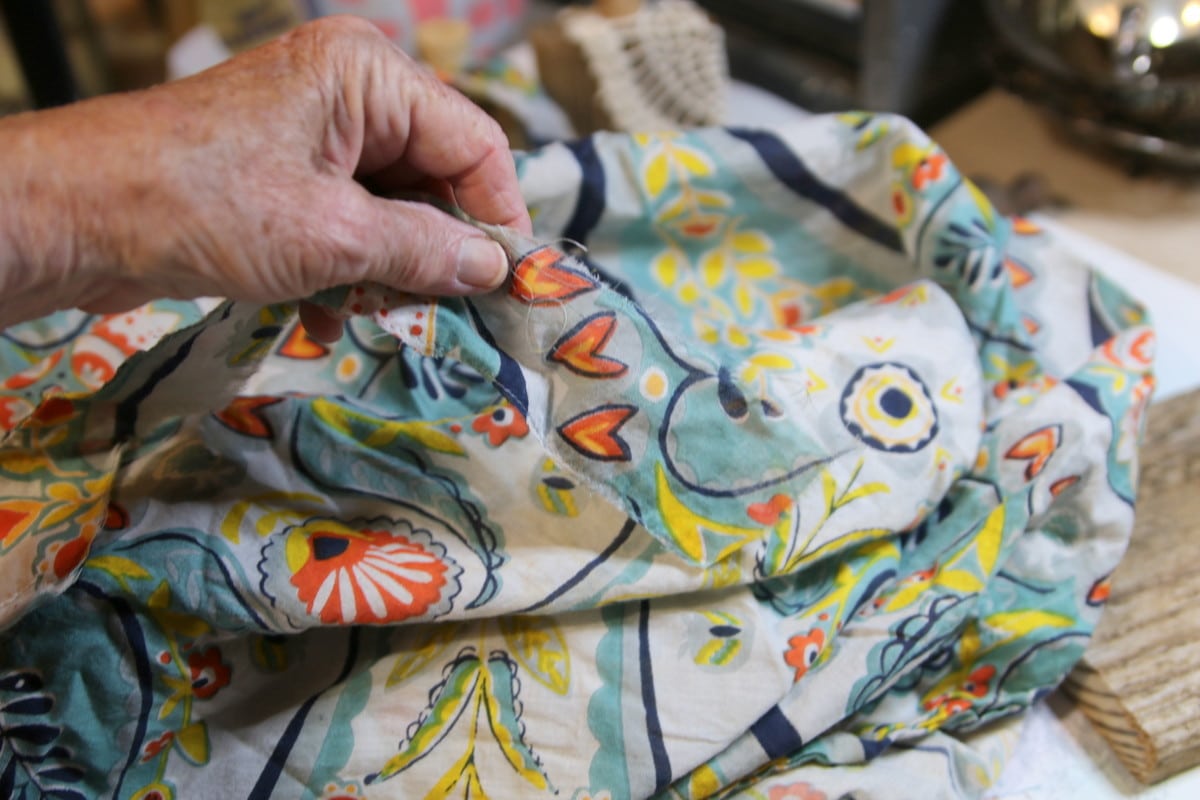
This pretty fabric was once a shower curtain. I’ve used it in several projects because I love the design and bright colors.
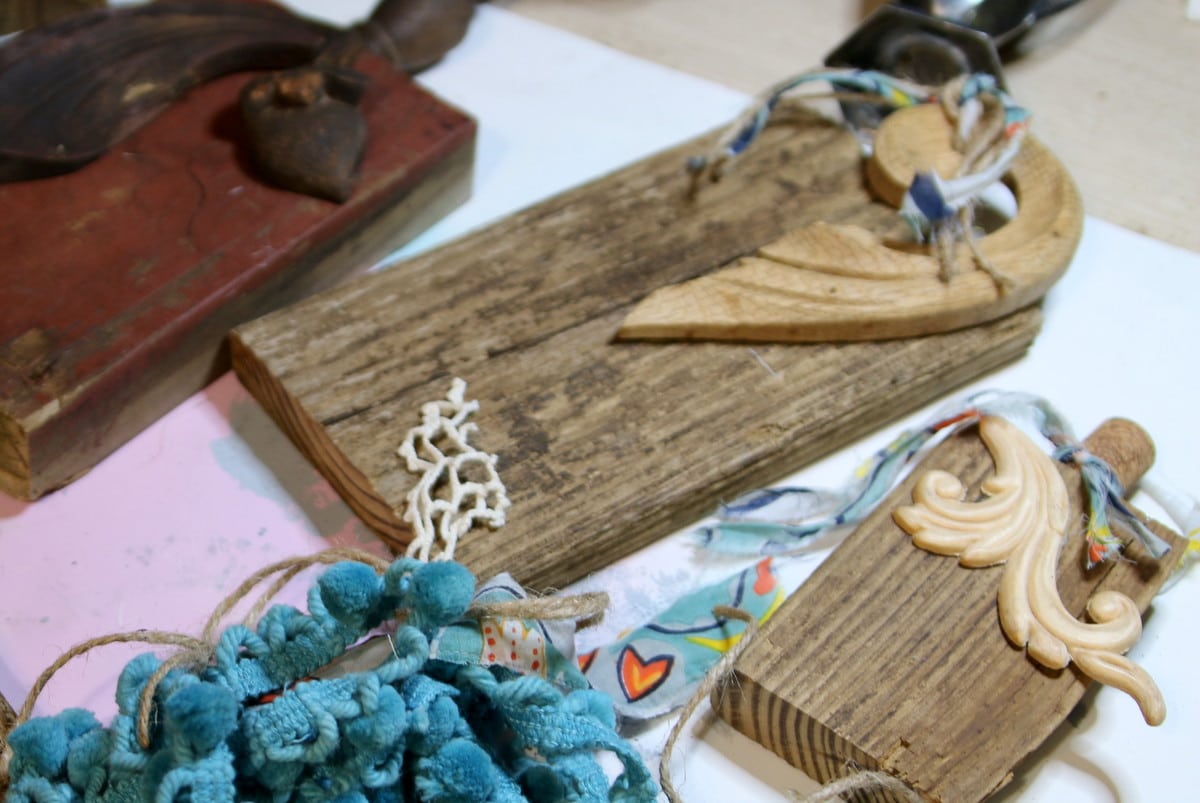
I tore a few narrow strips from the fabric and tied them around two of the pumpkins. I really wanted to use the pompom fringe, but with all the wood details, it just didn’t work.
Ways to Display Your Wood Block Pumpkins
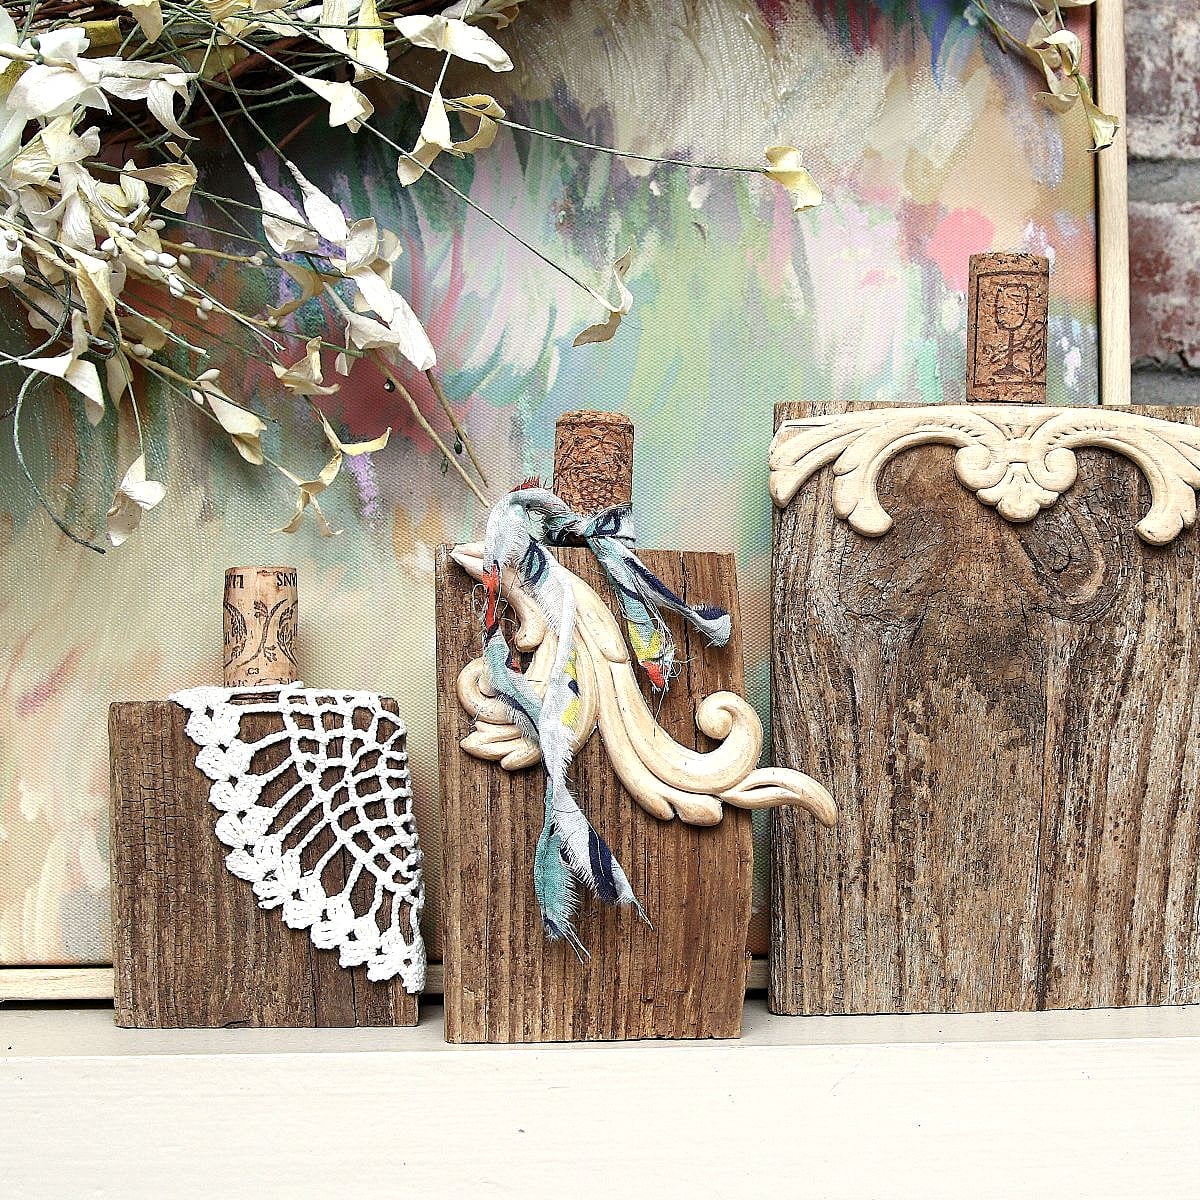
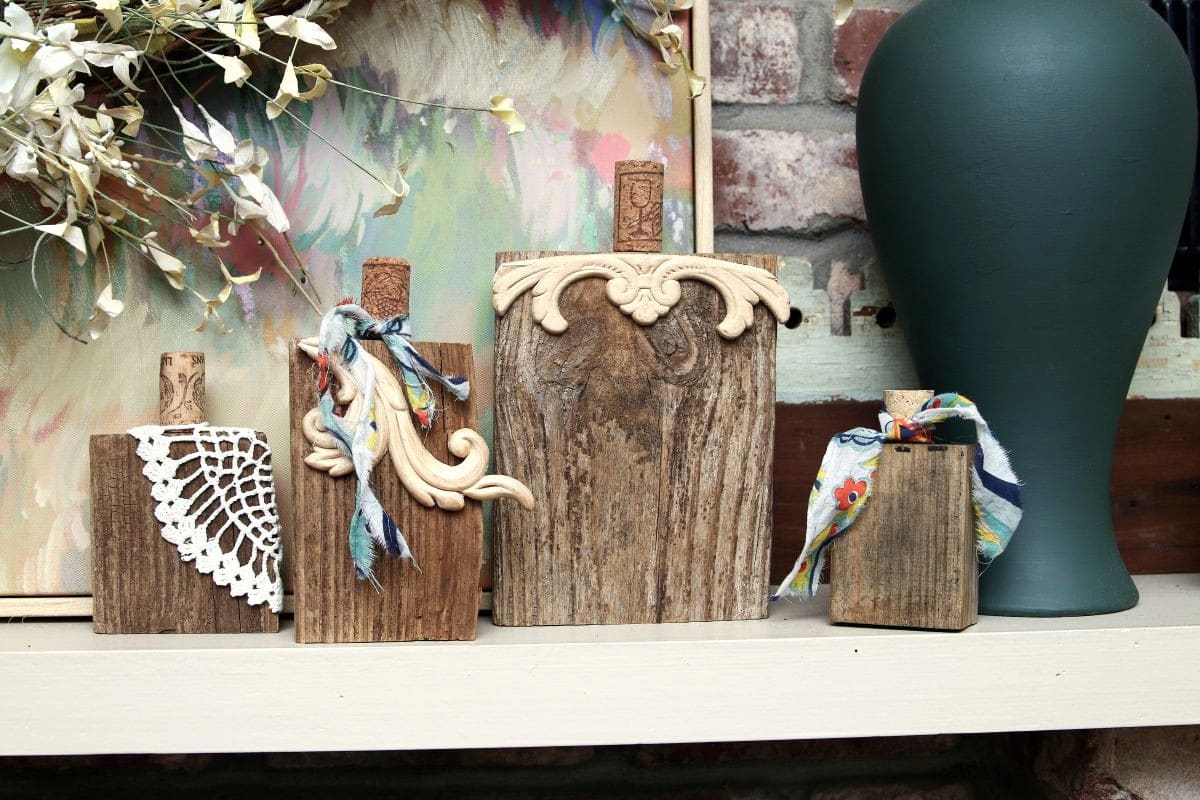
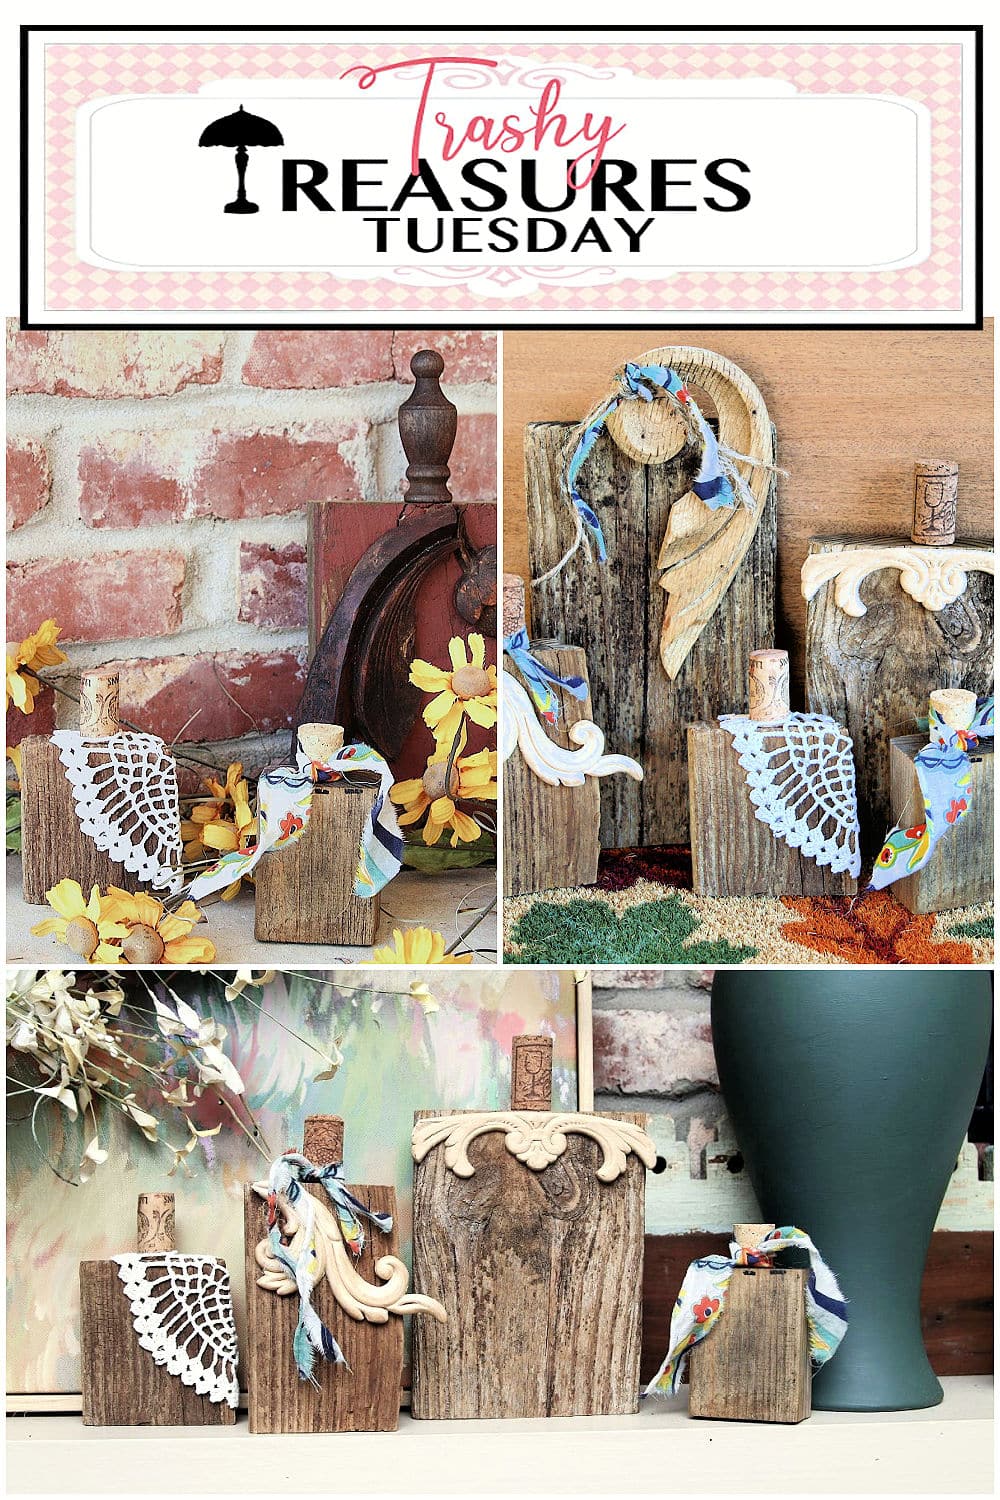
I finished this project in just a couple of hours. The scrap wood pumpkins might be rustic, but they look very stylish, if I do say so myself. They fit right in with our mantel decor.
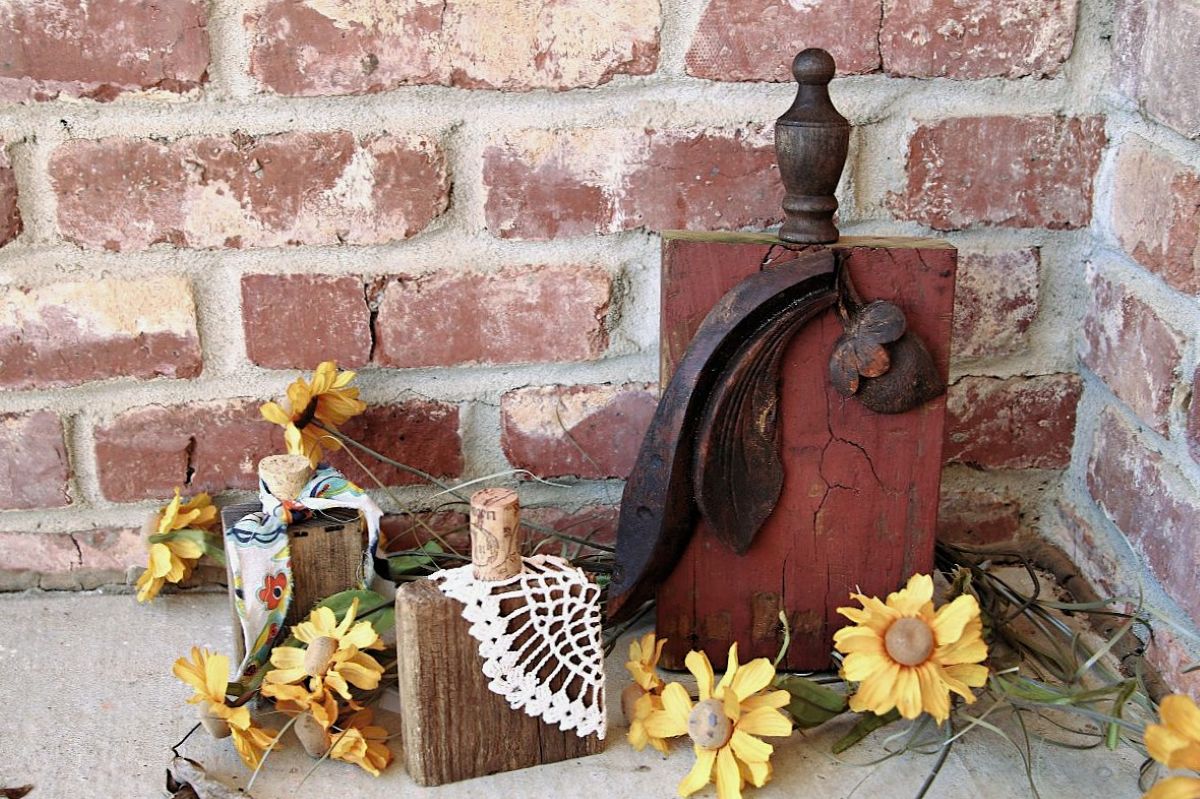
I took the pumpkins outside and set them on our carport, using the brick wall as a backdrop for a few photos.
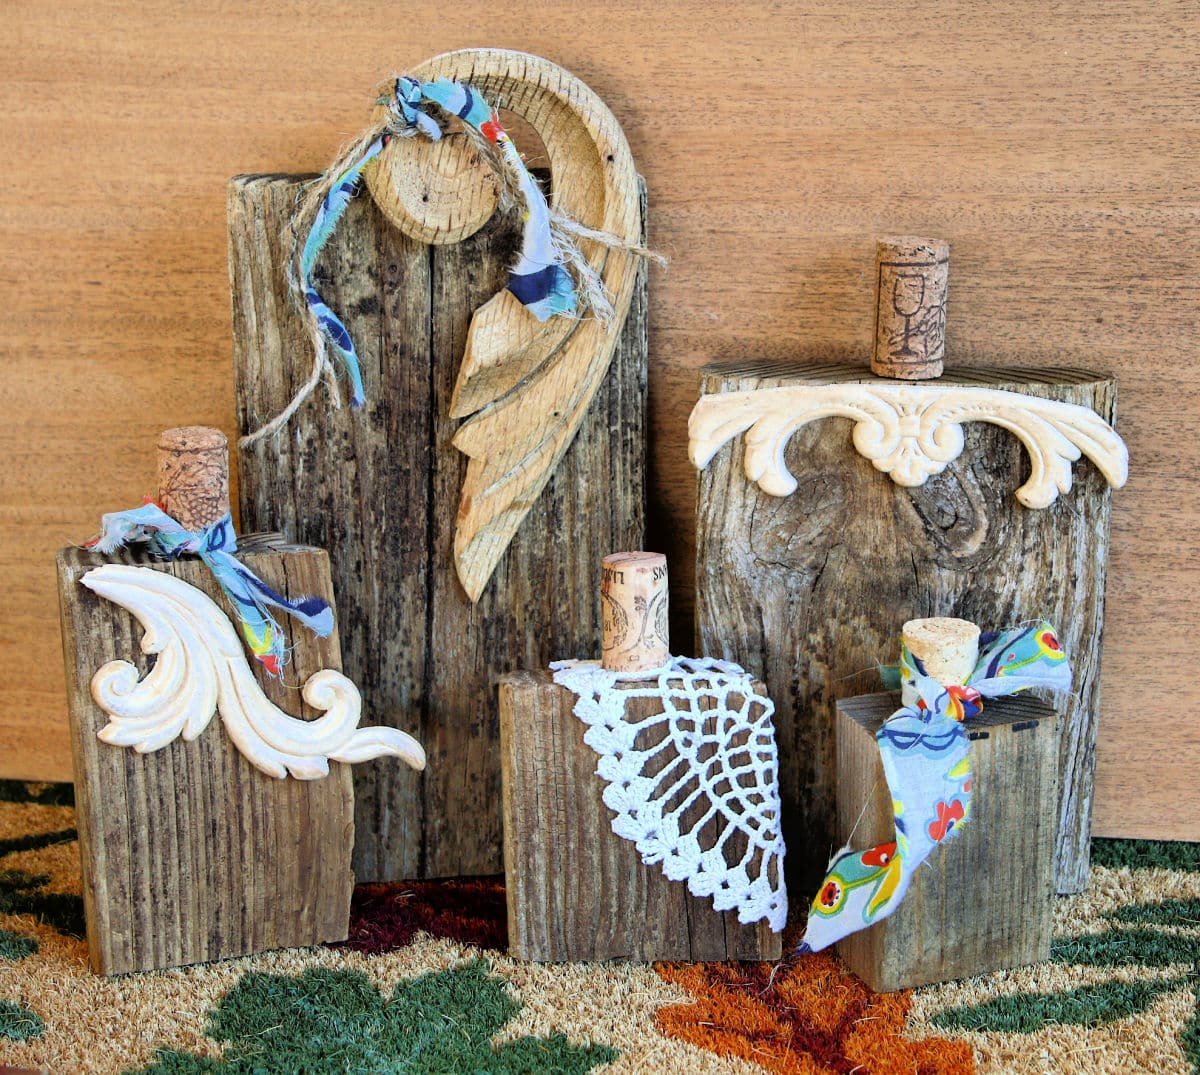
Then I set them on my new outdoor fall rug.
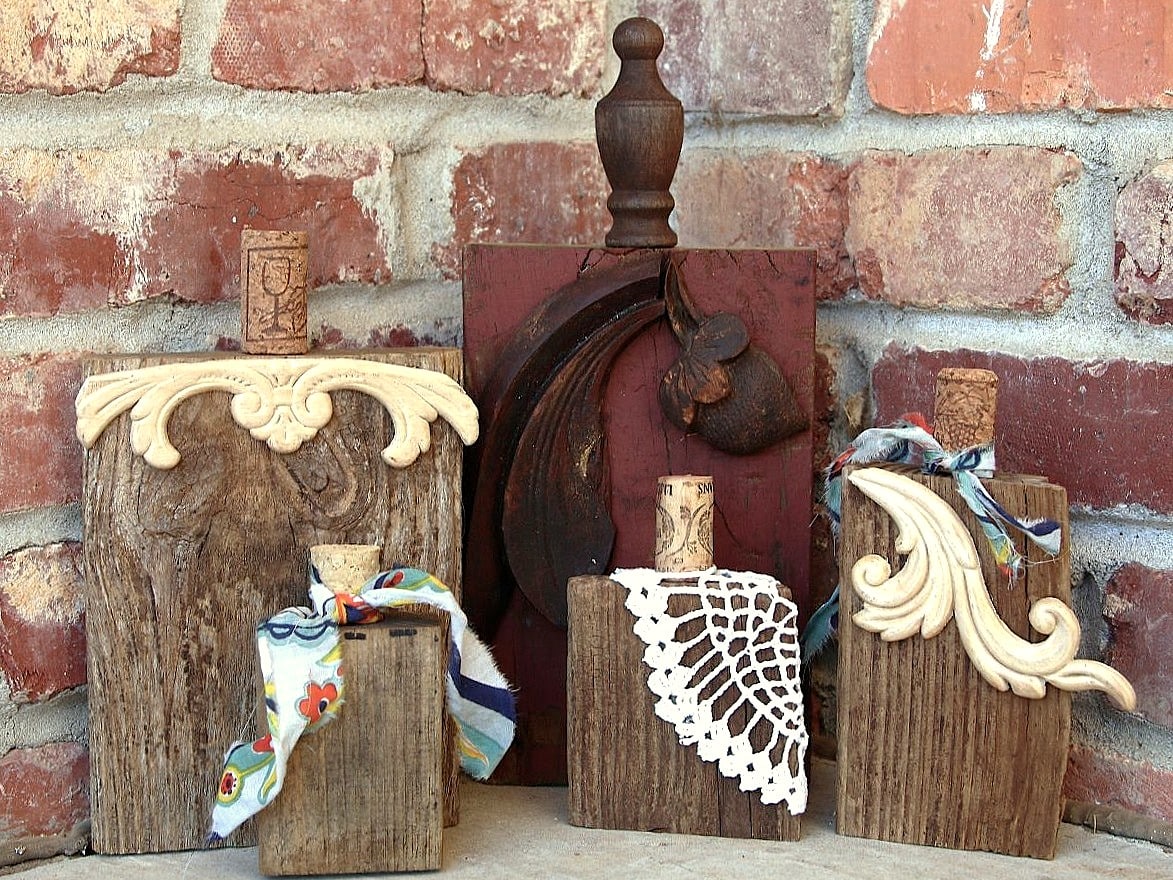
It’s difficult to pick a favorite, but I am partial to the three smallest ones.
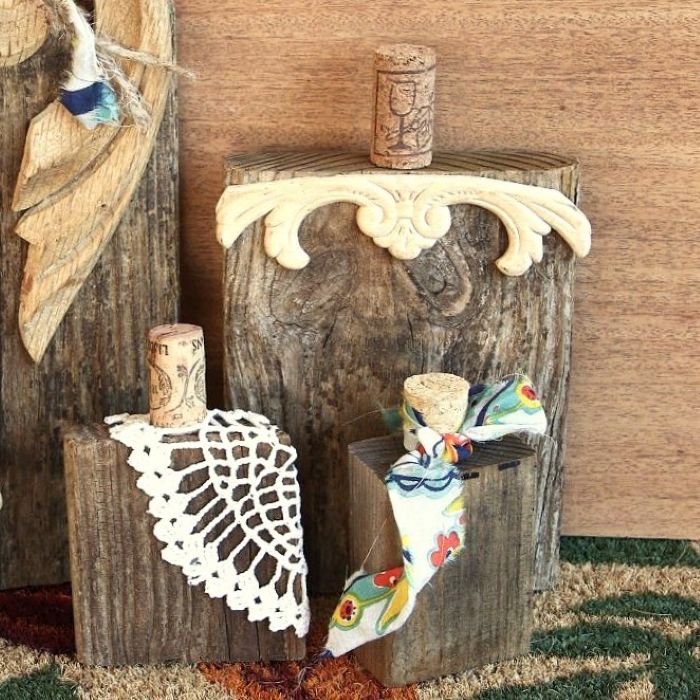
I tried tying fabric around all of them, but some just didn’t need anything else.
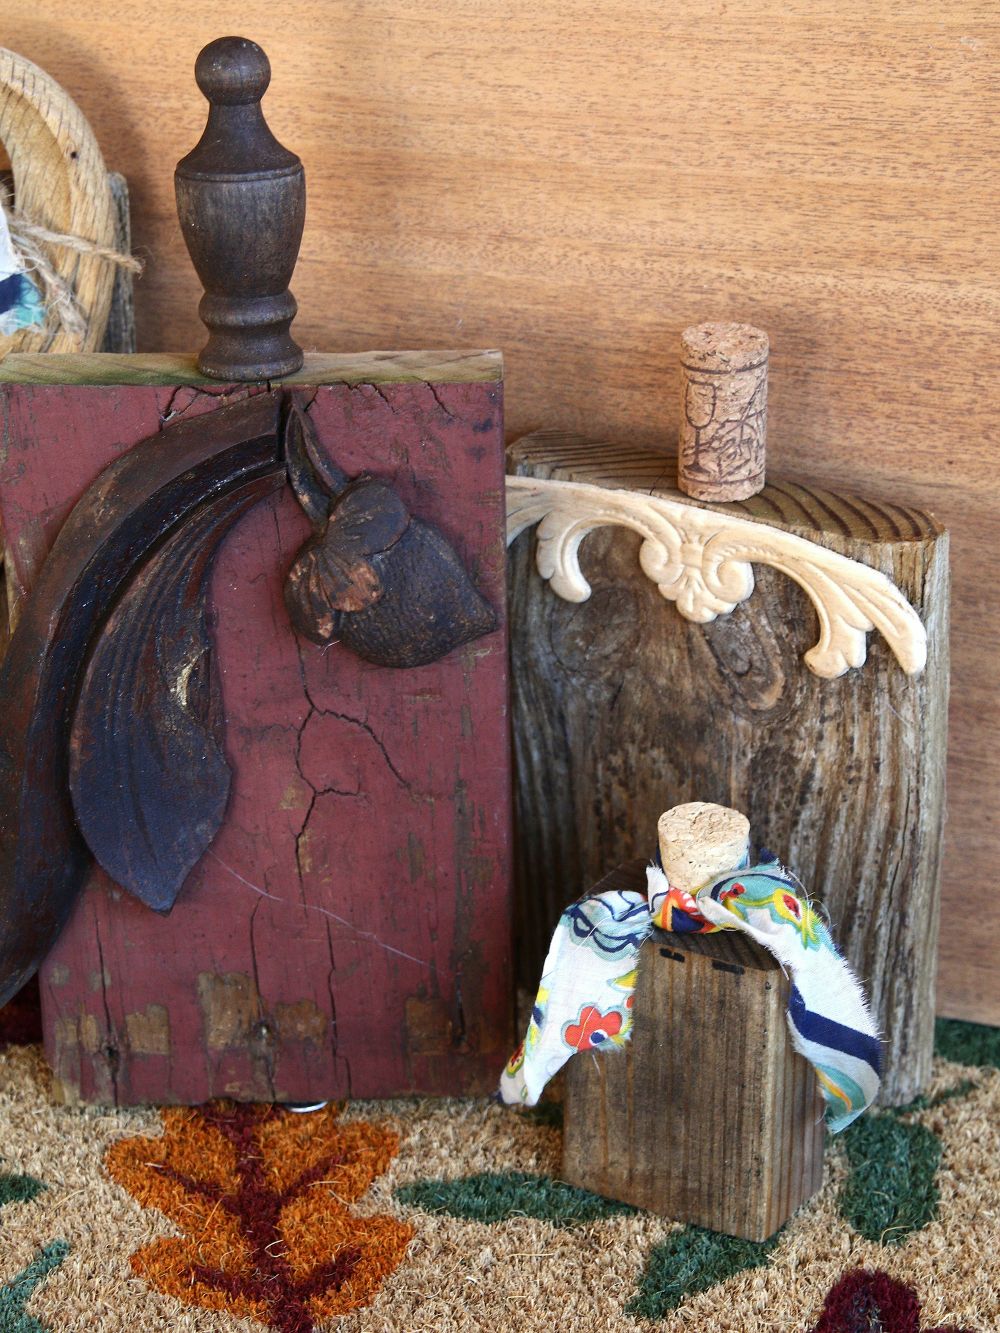
I realize the little “fruit piece” on the rustic red pumpkin doesn’t really fit with the project, but once again, I’m claiming artistic license, lol.
More DIY Pumpkin Ideas
There are so many fun ways to create pumpkins for fall.
- Cover wood pumpkins with cutter quilts and tie them with pompom fringe. They’re colorful and at the top of my favorites list.
- Cover dollar store pumpkins with thrift-store sweaters and tie them with ribbon.
- Paint wood rosettes orange and add small pieces of tree branches for stems. This is a simple craft to make with the kids.
- Paint scrap wood in multiple colors to make a fun pumpkin display.
Trashy Treasures Tuesday
Now it’s time for the Trashy Treasures Tuesday tour. My friends have some over-the-top makeovers to share, and you don’t want to miss them. Just click the links below the “before” photo collage to visit each project.
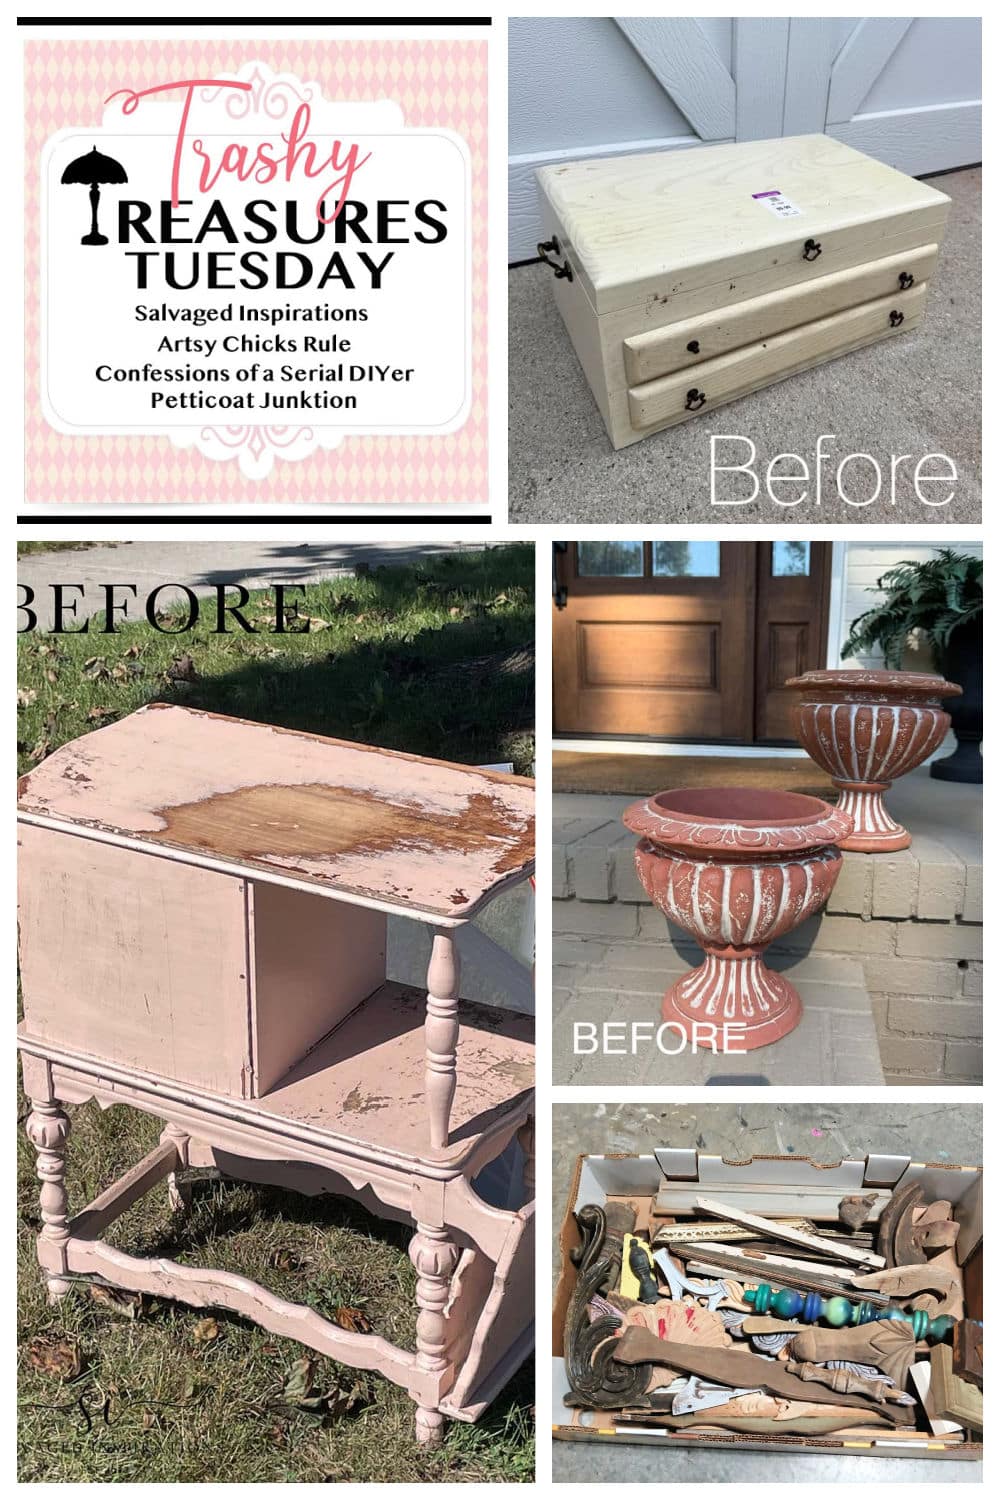
Trashy Treasures Tuesday Tour Links:
Upcycled Jewelry Box – Confessions of a Serial DIYer
4 Ways To Remove Wood Paint From Furniture – Salvaged Inspirations
DIY Faux Concrete Planters – Artsy Chicks Rule
Reclaimed Wood Block Pumpkins- Petticoat Junktion
As always, thanks for being here, Kathy