How To Make Pretty Rosette And Scrap Wood Pumpkins For Fall Decorating
As an Amazon Associate, I earn from qualifying purchases.
You can make these wood rosette and scrap wood pumpkins in a matter of minutes. They are so easy…..and so fun. I made some of the wood pumpkins back in 2014 and decided it was time to use the rest of my yard sale rosette blocks. I made a total of 18 wood pumpkins, 3 reclaimed wood pumpkins and 15 wood rosette pumpkins. They’re painted various colors and I added tree limb “stems” and pretty ribbon decorations.

I dug through my scrap wood stash and found 3 old pieces of wood that made perfect pumpkins. I had to spruce up the wood a bit but that wasn’t a problem. The unfinished wood rosettes were ready for paint.

What do you think of all that pumpkin goodness? The wood squares with the rosette design in the middle are corner molding.

I have a box full of square wood blocks. The orange-painted blocks are from last year’s pumpkin project. I removed the stems and ribbons after the Fall holidays last year and threw them back in the box waiting on the next project idea. So far I haven’t come up with another idea. I bet you guys can come up with some ideas for the blocks.

I decided on off-white, orange, and blue for the scrap wood pumpkin colors. The blue is the oops paint I bought years ago and still love. I wasn’t sure which orange color would work and I pulled out three colors to try. Turns out the FolkArt Outdoor paint in Monarch was the perfect shade. I also used this new orange color to re-paint the orange blocks from last year. It is a much prettier color.

The blue oops paint is a flat sheen and I think that’s why I like it so much. Plus it’s a soft blue that has a nautical feel. Before I finish off the gallon of paint I need to take a sample of it to Home Depot and have some more paint mixed up.

If you are going to work on a small craft like this one you might as well work in bulk. I agree with the motto “work smarter, not harder”. When I get ready to spray paint a small home decor piece I search my house and workshop to see if there is anything else I want to spray paint the same color. Often I spray paint several pieces at one time.

The photo above shows the three pieces of reclaimed wood I found in my stash. The large white piece is split and uneven on one side but that’s okay. It will make a nice pumpkin. The chippy paint got cleaned up then aged a bit more with dark wax.

I painted the two smaller reclaimed wood pieces my favorite blue color then distressed with sandpaper and gave them an aged look with Howard’s Wax, Walnut color.

I dry-bushed a bit of orange onto a white pumpkin or two and onto a blue pumpkin then I dry-brushed a bit of white on some of the orange and blue pumpkins just to add a bit of pizazz.

I took a walk down the street in the rain to gather a few tree limbs off the street to make pumpkin stems. This would be the one time we didn’t have any branches in our yard. You could also use wind corks, sisal rope, etc. to make the pumpkin stems.

I used hot glue to adhere the “stems” to the wood blocks. I considered using some type of regular glue but I get immediate satisfaction with hot glue!

Next I gathered ribbon from my stash and hot glued the ribbon to the blocks. As you can see I used a wide variety of ribbon designs and colors.

The three orange blocks got the yellow, orange, and green flower design ribbon. These pumpkins look so fresh and light.

The rustic off-white wood rosette pumpkin on the right got distressed a bit and then dry-brushed with orange paint. The dark multi-colored ribbon was a thrift store buy as was the yellow flowery ribbon. The buffalo check ribbon and the light brown burlap looking ribbon were purchased new.

I distressed just a few of the pumpkins and I spread the ribbon love around. I don’t think any of the pumpkins are identical.

The blue pumpkins with the dark ribbon look the best, more dramatic. I went crazy and used sisal rope as a stem on one of the blue pumpkins.

There is that rustic off-white pumpkin again. I think it may be my favorite. Do you have a favorite?

I like the blue pumpkin with the brown ribbon and that orange pumpkin with the bits of white paint.

The chippy white pumpkin made out of the large block of reclaimed wood got a long stem and neutral color ribbon. Keep proportions in mind when working on your DIY projects. A short stem would have just looked wrong on the tall wood block. These pumpkins are just the cutest. Wish you could see them in person. I have them sitting all over my house in small groupings.

What other color would you paint the wood rosette pumpkins? I still have blocks left. You might also like the little white pumpkins I decorated with things I found in my workshop….How To Decorate Small White Pumpkins

Wood Rosette Pumpkins
Did you see my awesome sideboard makeover last week? If you missed it you can see it here.
Would you like to see some of my Chalk Couture creations? Click here. How about a teacup Christmas ornament idea? See my video below…
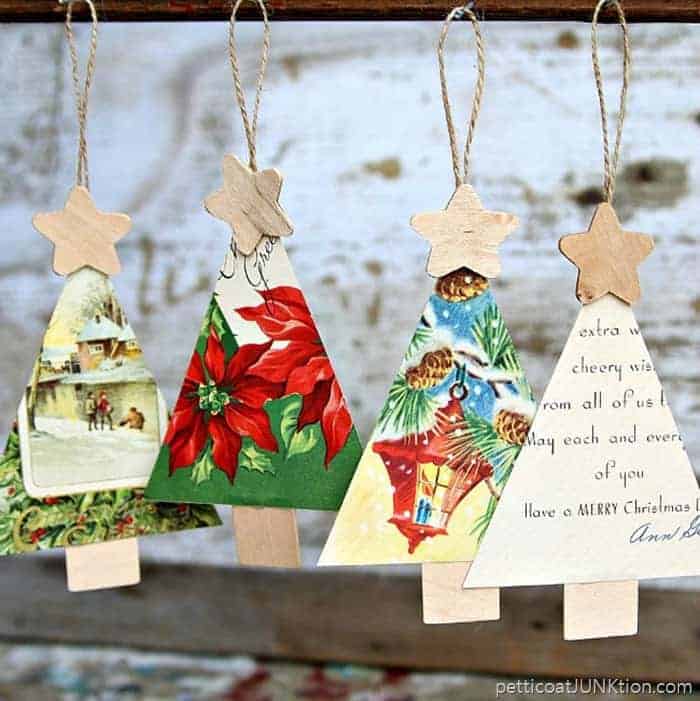
Teacup Christmas Ornaments
As always thanks for spending part of your day with me, Kathy

Good for you getting a head start. I am traveling so can’t measure it but it is either 4″ or 6″ wide and 1″ thick.
What size is the white distressed pumpkin with the two rosettes? The boards I have don’t look as wide as the one you used and mine look off. Trying to get a head start on making decorations for fall.
These are just so much fun and very colorful. I like that they are all different. Visiting from Creative Crafts Linky Party.
Love them! Such a creative idea. Thanks Kathy. Pinned!
I love that idea!
LOVE them! Super cute!!
I am planning a trip and would love to see your shop. Can you give me a name and address?
when you put the stems on them, they came to life. These are so cute!!!
Very nice idea, thank you
I whitewashed two rosette blocks and nailed decorative hooks to their centers. I have two vintage coffee cups hanging from them and hung them on the wall beside my coffee station. I have pics but couldn’t upload them to my comment.
You are absolutely tireless it seems! I am amazed by how much you do and what you magically produce from so little.